You must be logged in to rate content!
23 minute(s) of a 136 minute read
3-2-2011
66 Volvo P1800 Custom Build ( Pro-Touring Ls1 V8, Body Mods, and Flush Mount Glass)
Compliments of Iamtheonlyreal1 @ http://forums.swedespeed.com
3-2-2011
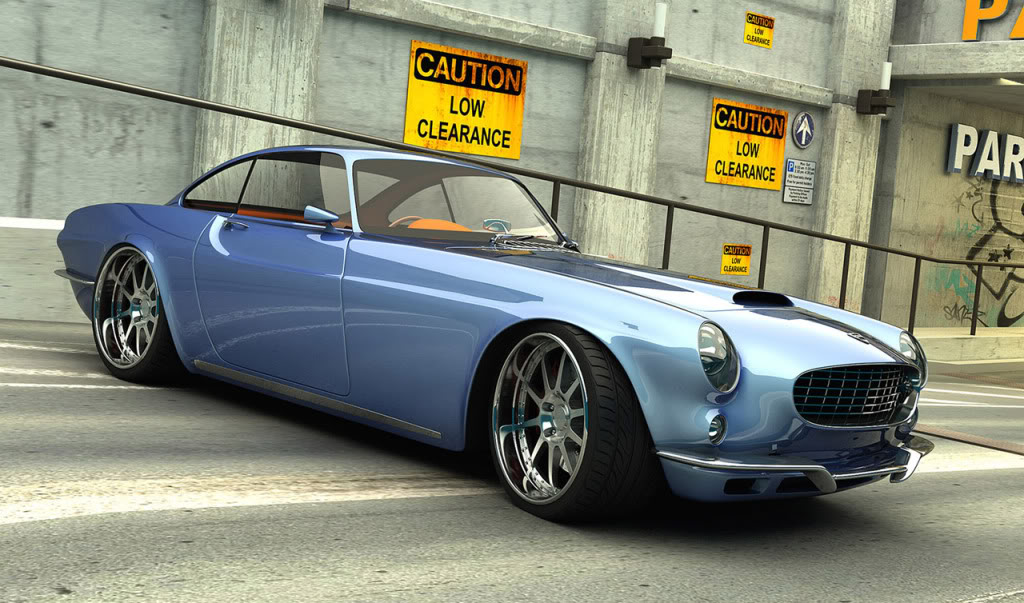
I am currently in the process of build a Pro-Touring style P1800 based off the Renditions of the Vox Volvo. I will be performing body mods and developing Newly Designed glass kits to update the car. I will be moulding the grill shell into the body and extending it a bit forward at the top, installing layed back headlamps with the outer glass lenses, recessing the tail lamps and license plate mount, installing a hood scoop, shaving drip rails, flaring out the quarters and fenders a bit, moulding in the front marker lights, removing the side trim, modifying 63 Corvette rear bumpers.
I am working with a suspension company to see if we can develope a bolt in updated crossmember.. The options will be rack and pinions steering, tubular control arms, adjustable Coil over (height and dampning), up to 13 inch drilled slotted rotors with 6 piston calipers, and the crossmember will accept several motor configerations.. I am also having some nice 4-link adjustable arms made for the existing rear end with coil over shock replacment for the factory Coil spring.
My company designs Flush Mount Glass Kits for the classic cars and they require no body mods. I will be making the flush mount windshield and rear glass, along with the one piece Green House glass roof and rear glass. I am not sure if they will be offered for sale, because I am not sure the demand would be there.. I have always loved these cars, and fell in love with the updated version.
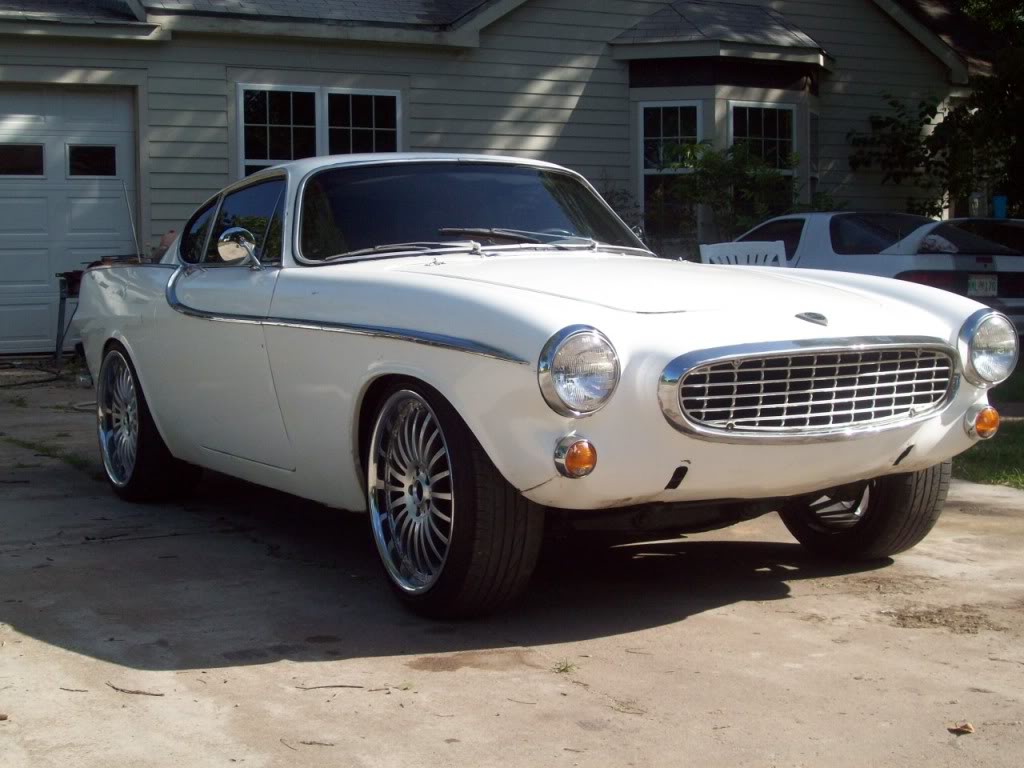
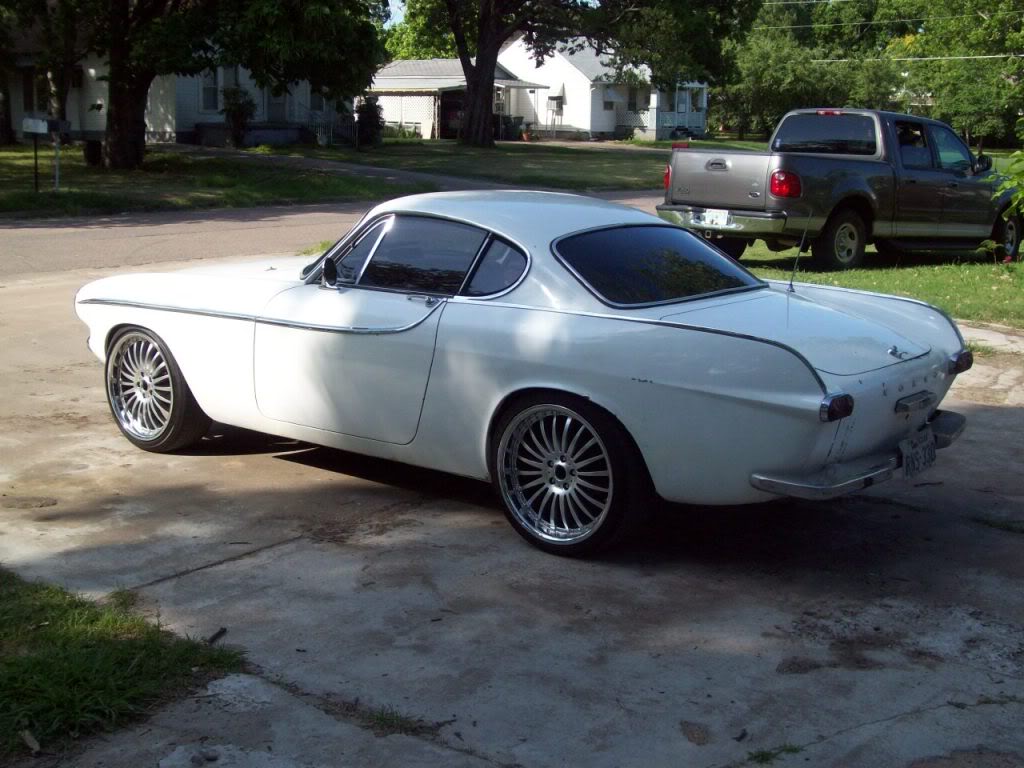
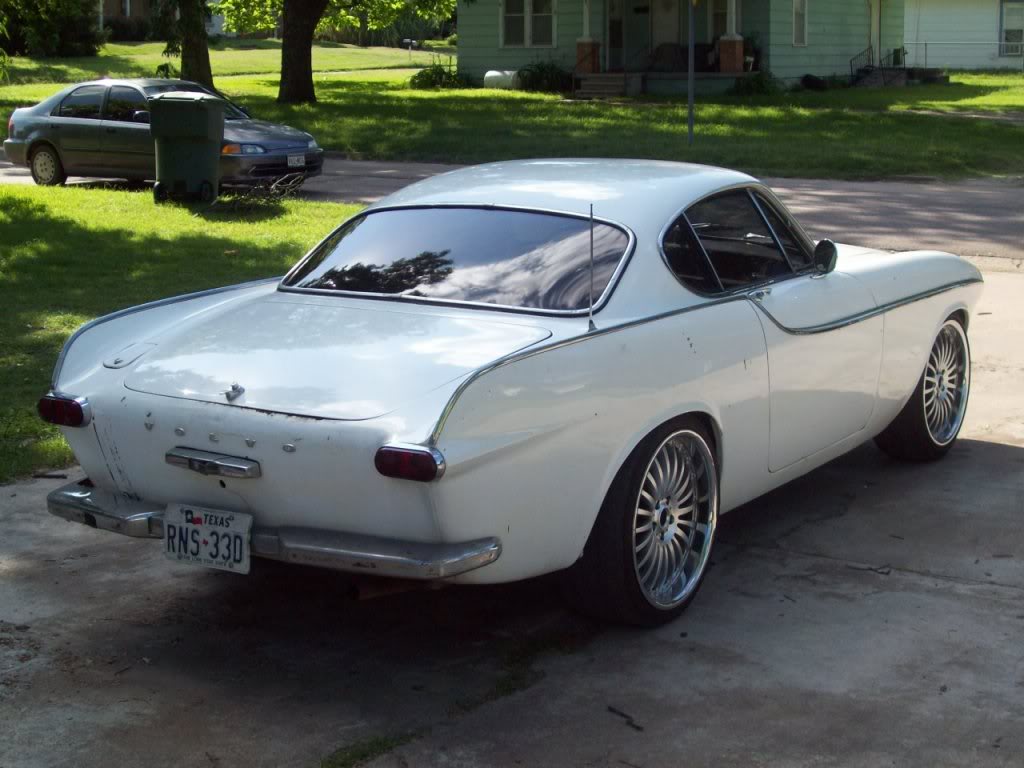
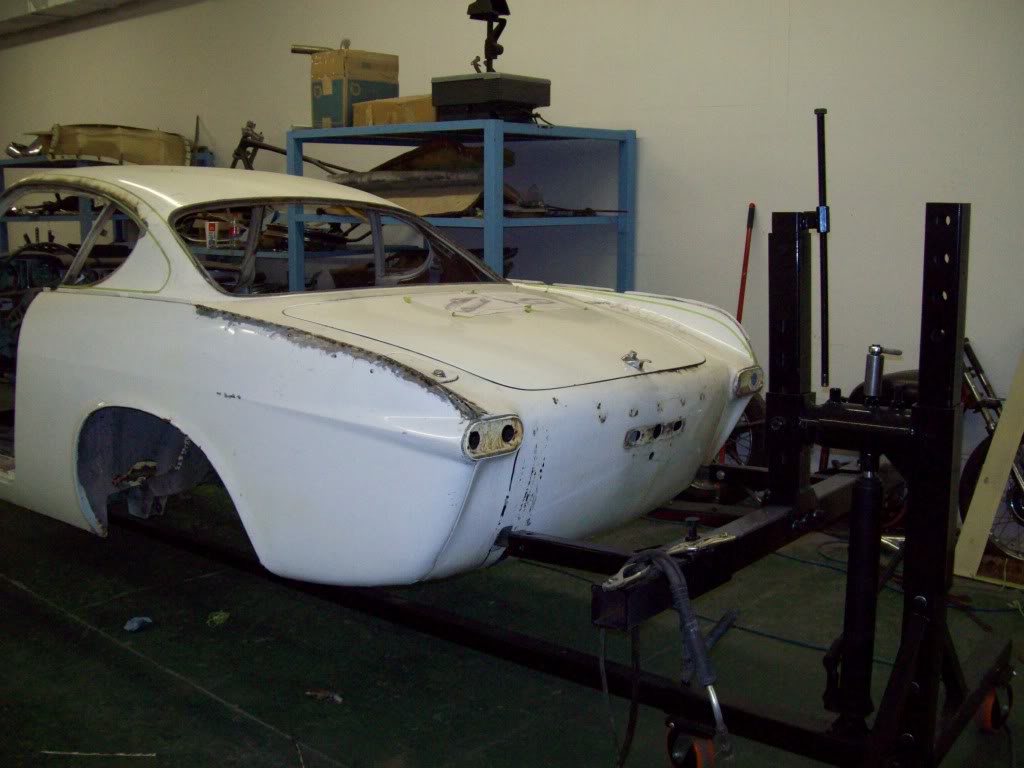
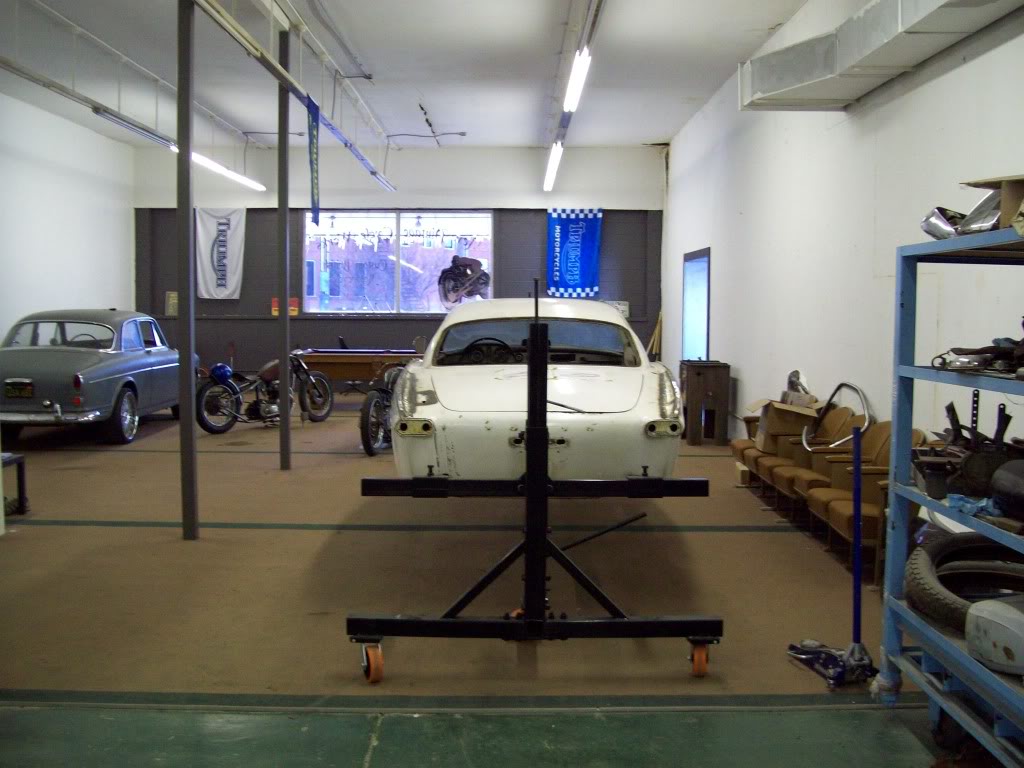
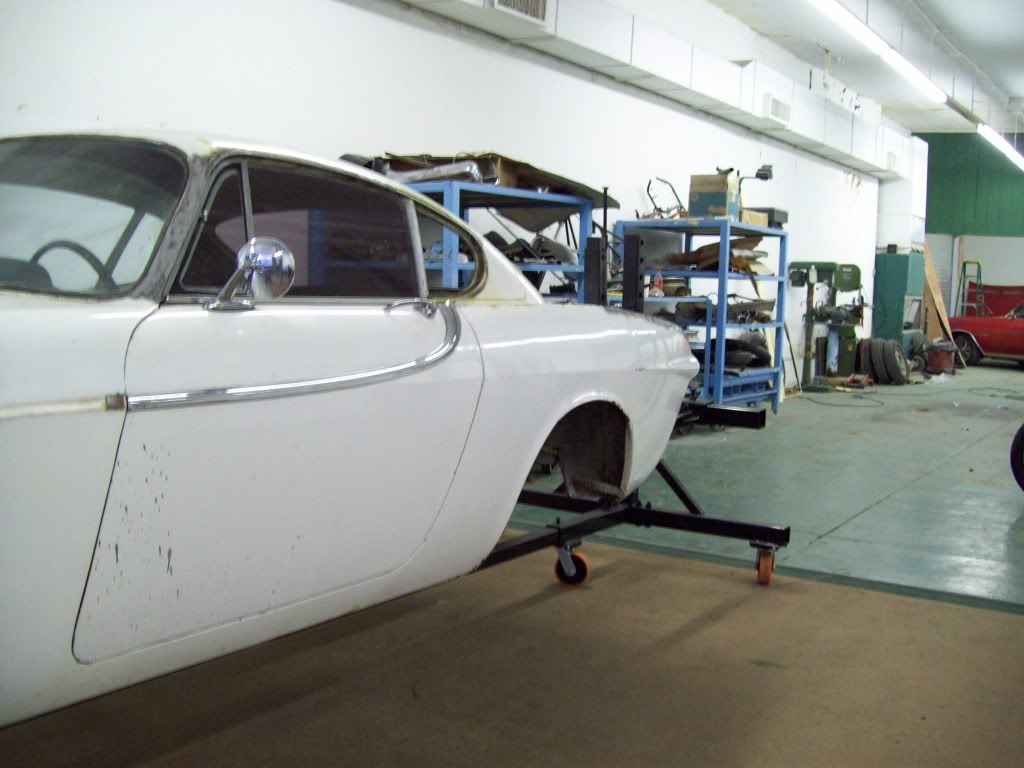
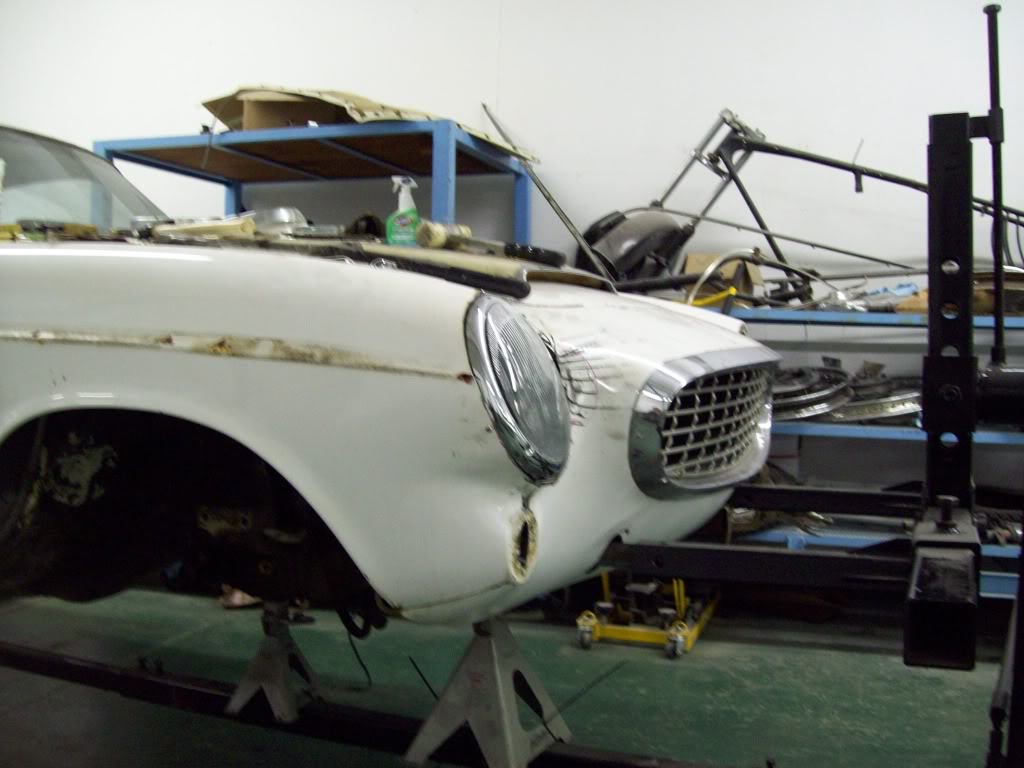
This is what I started with.. I paid 1000 U.S dollars for this car, and it ran just fine. I had installed the wheels and lowered a bit to see what size wheels the body would accept without evasive mods.
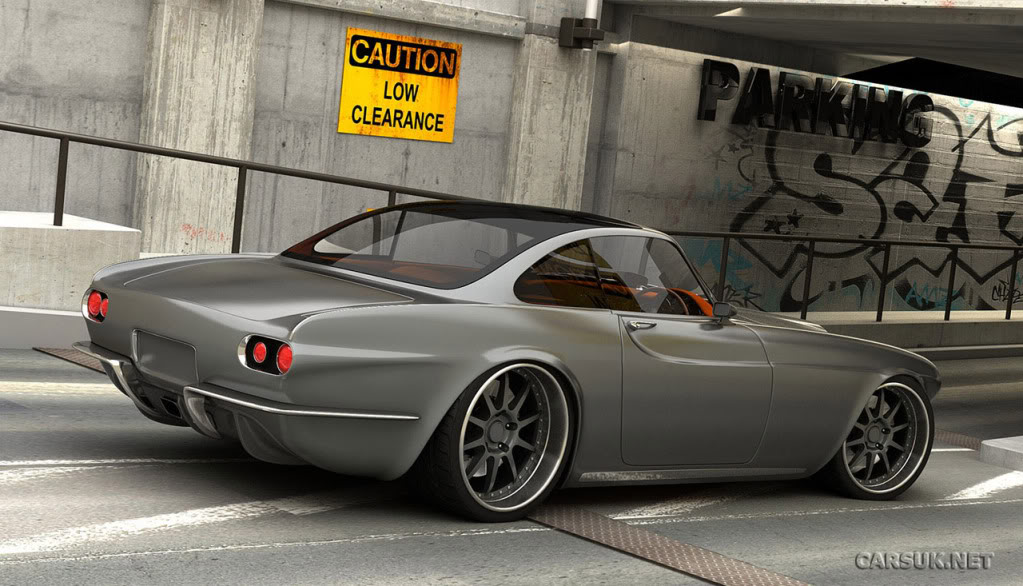
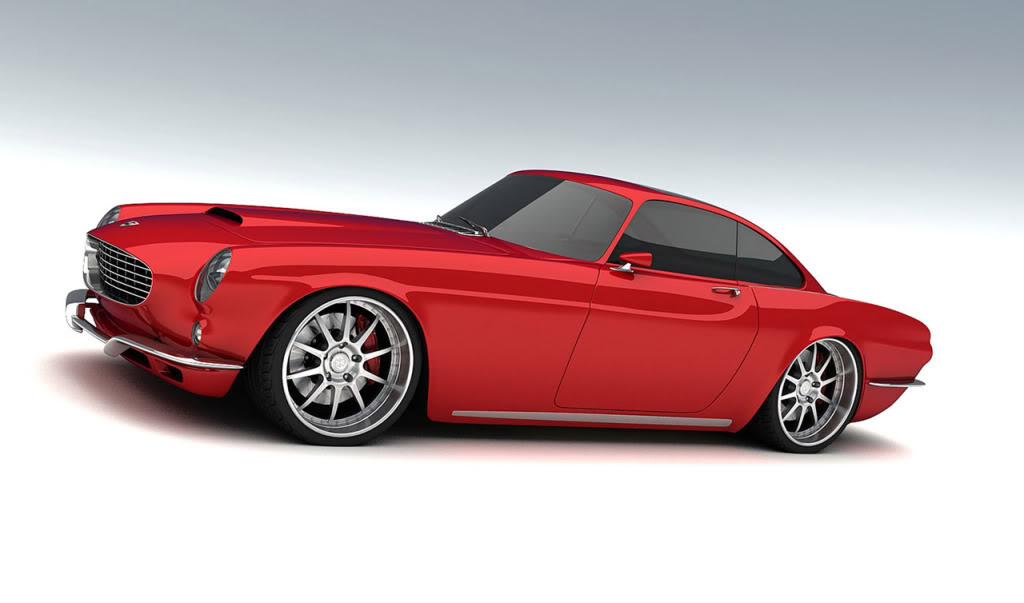
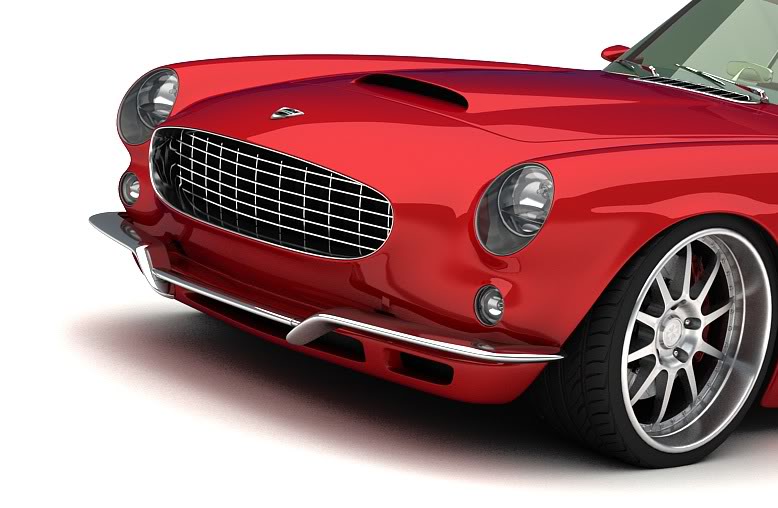
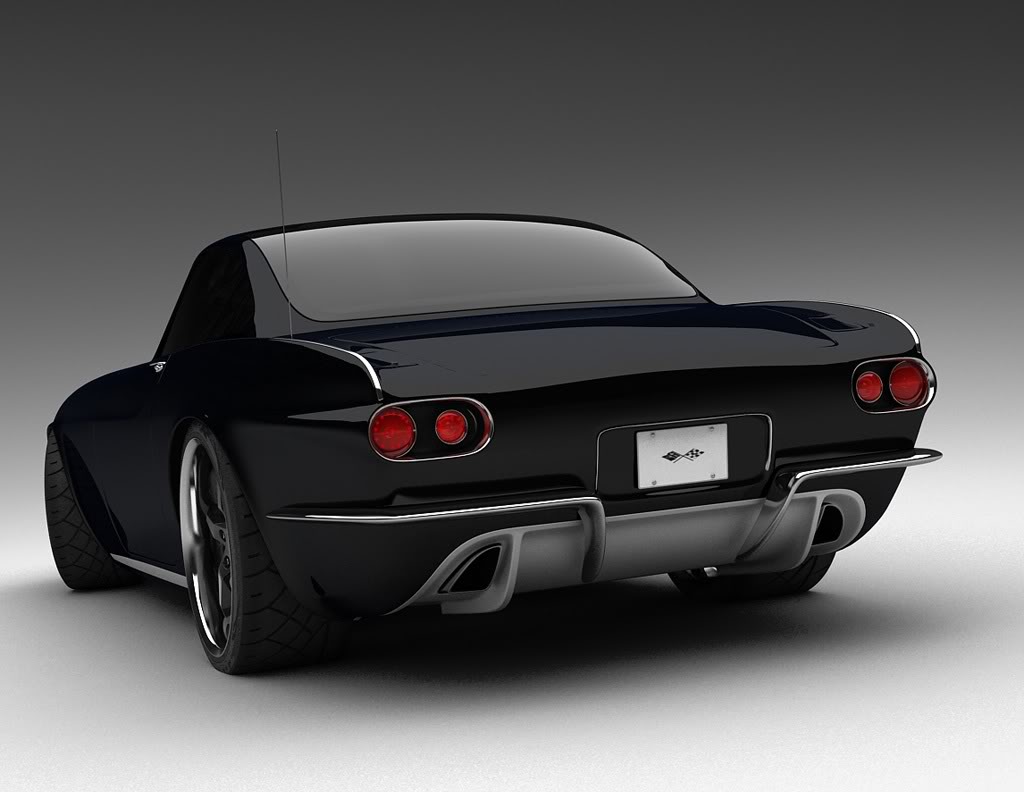
I am sure all you guys are familar with this rendition of the P1800 Volvo done by a designer from Vox.
My first engine and drivetrain source, was the Toyota Supra's 2jz twin turbo inline 6 cylinder and 6-speed.. I really wanted to go this route because I felt European car in this style should not have a V8 in it.. The 2jz motor looked beautiful in the car, but it was going to take way too much work to make it happen.. Dont get me wrong, the V8 is work, but it was going to take even more to get the car to drive right with the motor positioning..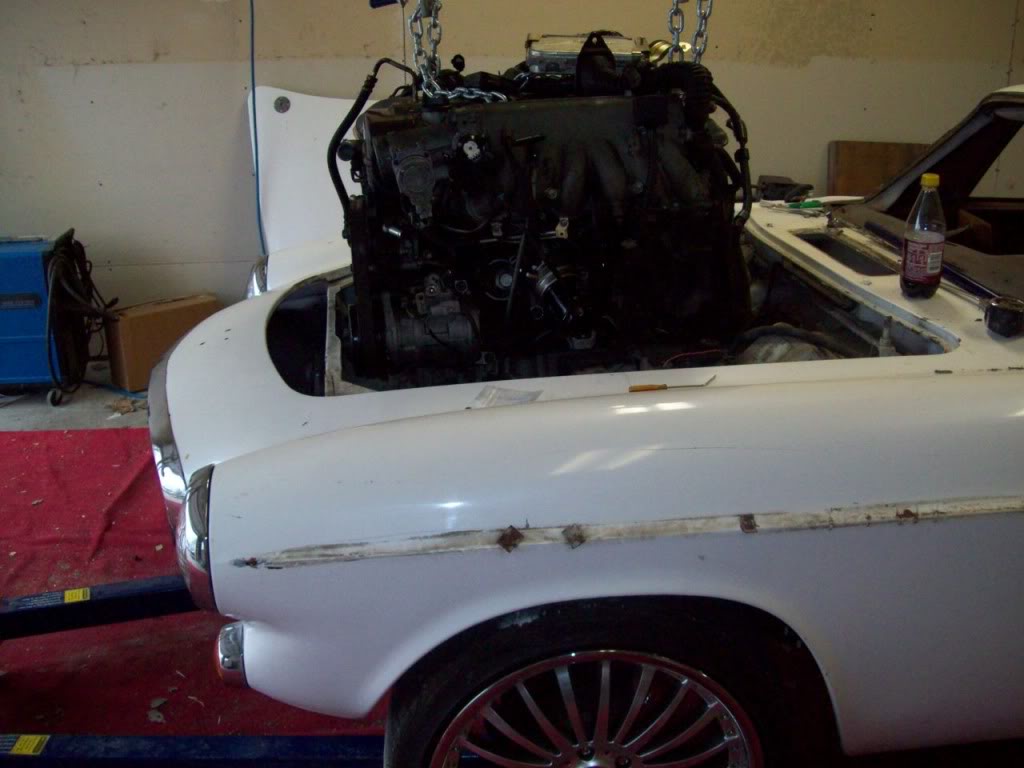
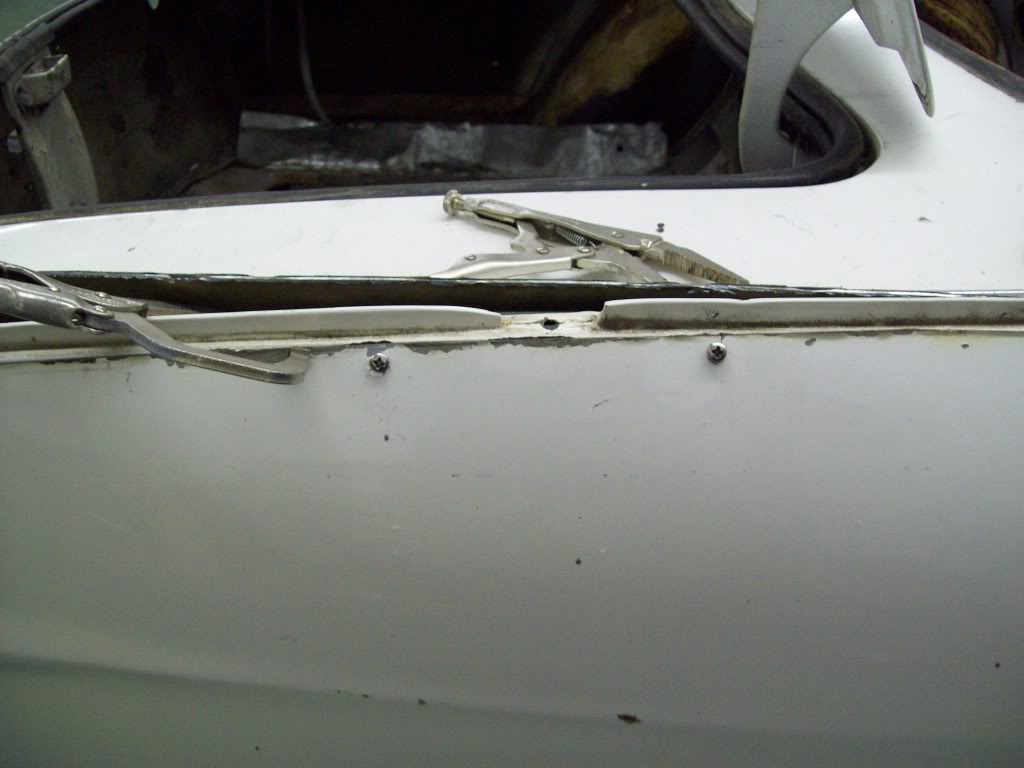
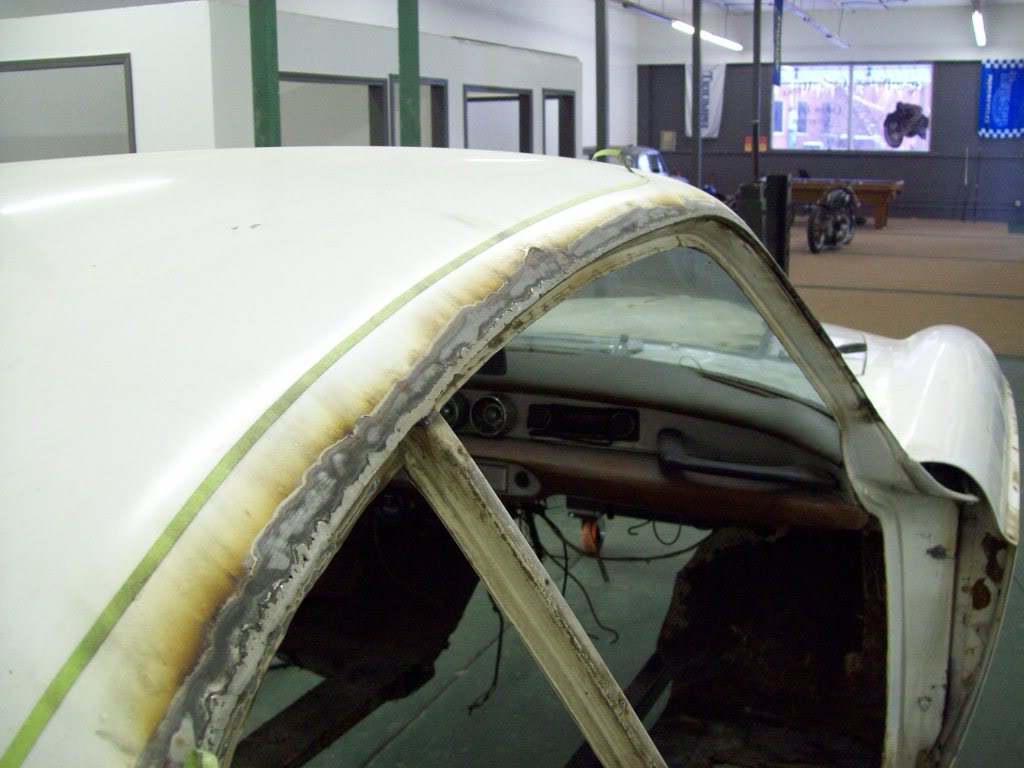
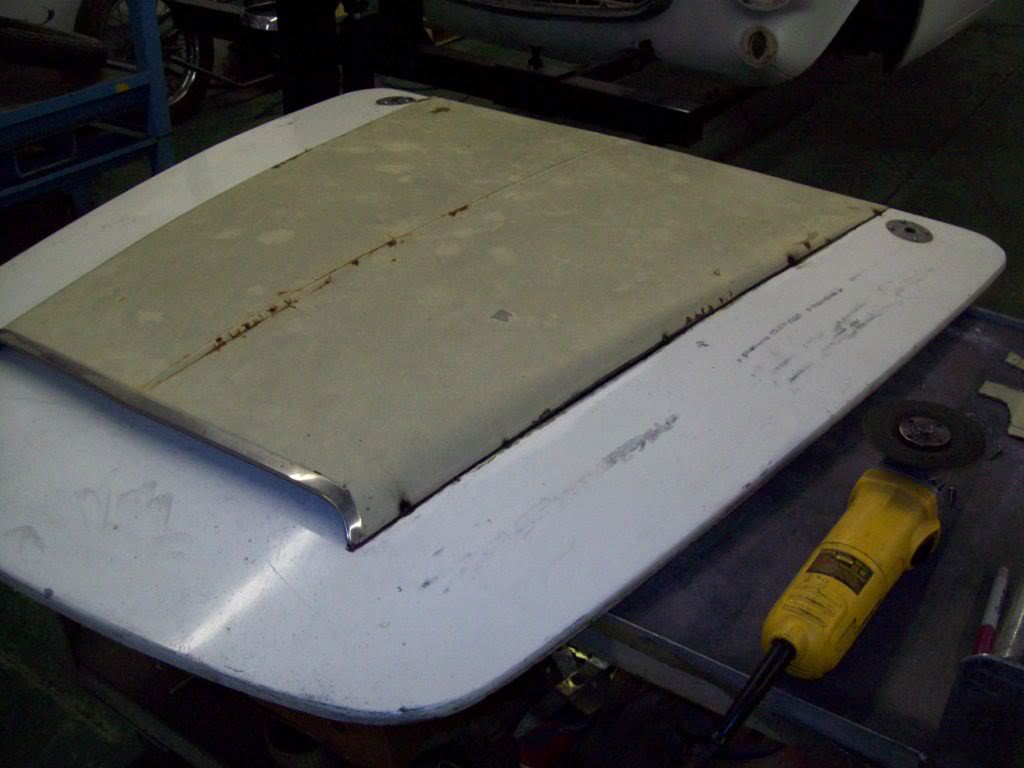
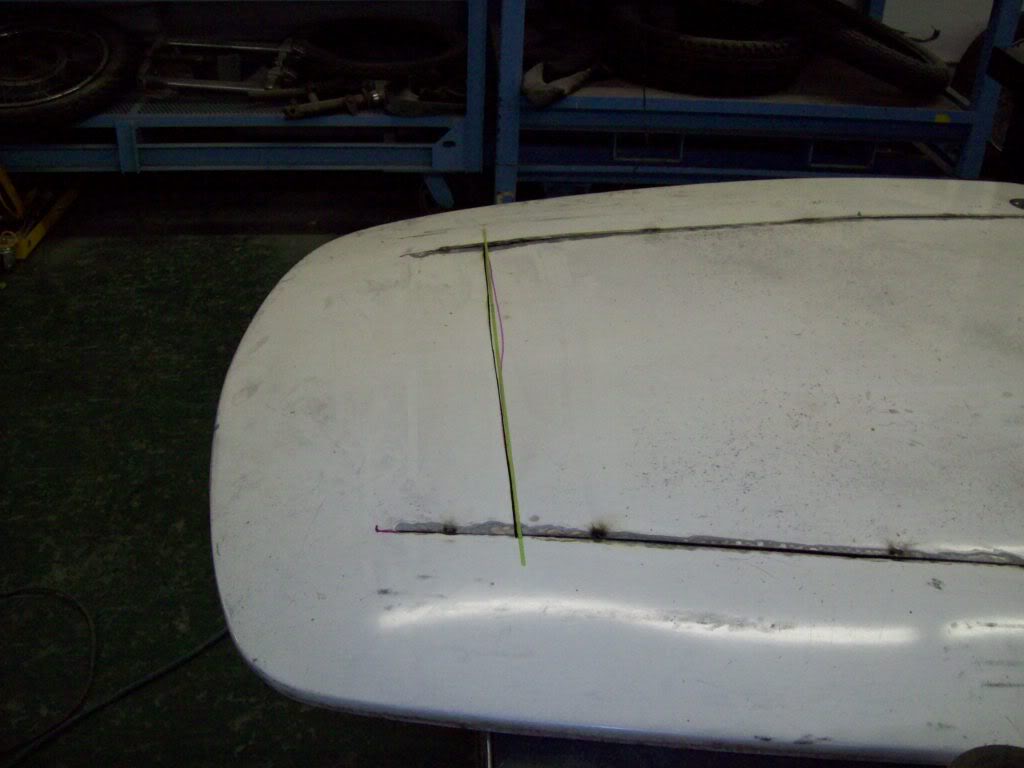
Here are the Drip Rails and the Hood Scoop Install pics..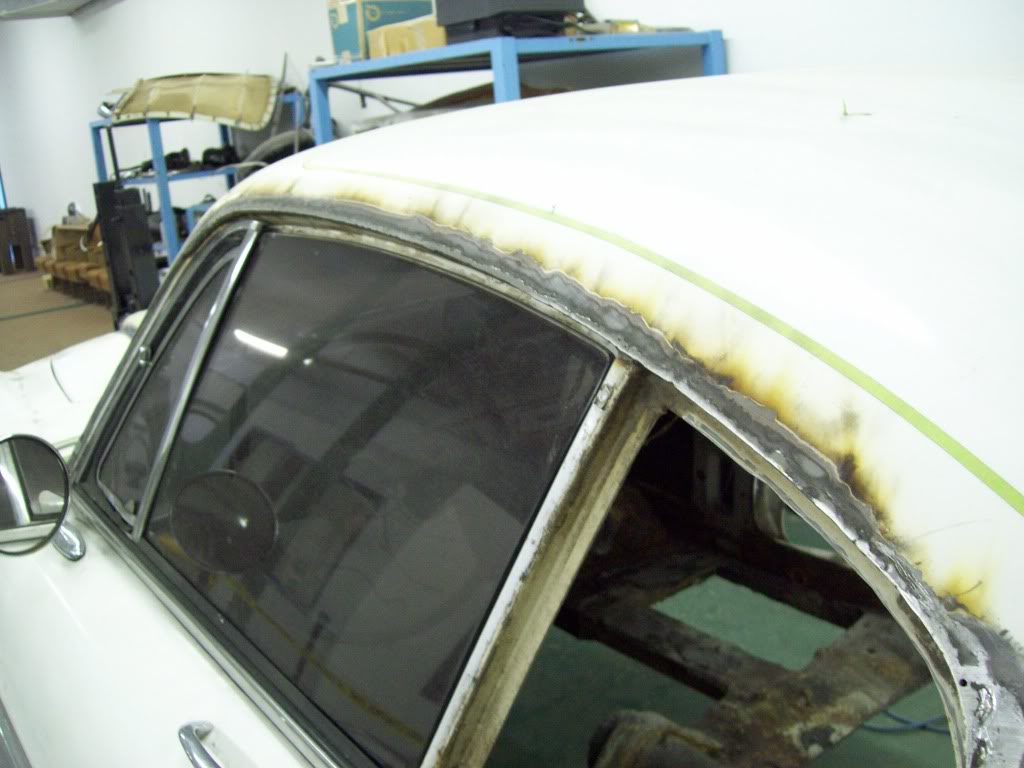
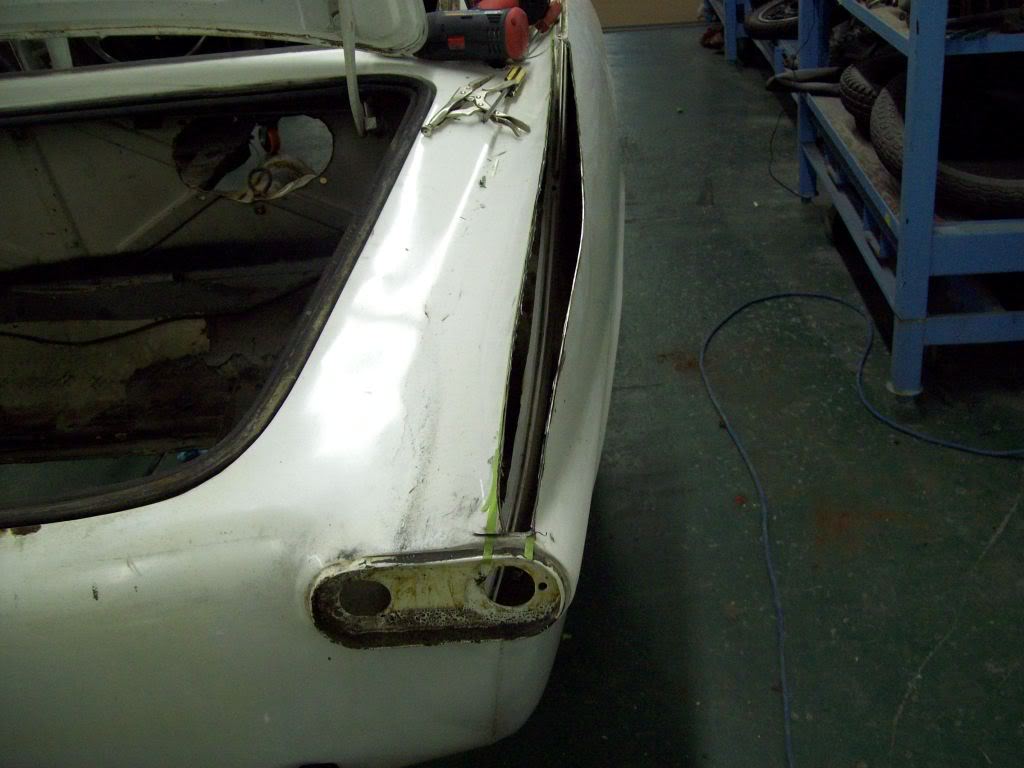
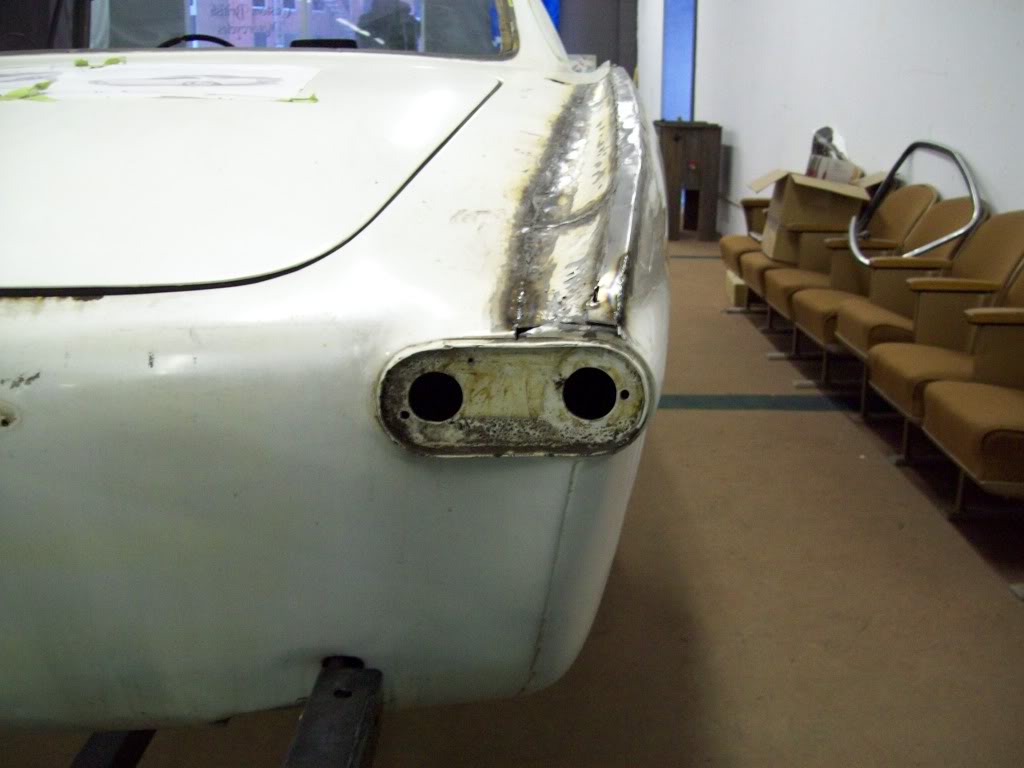
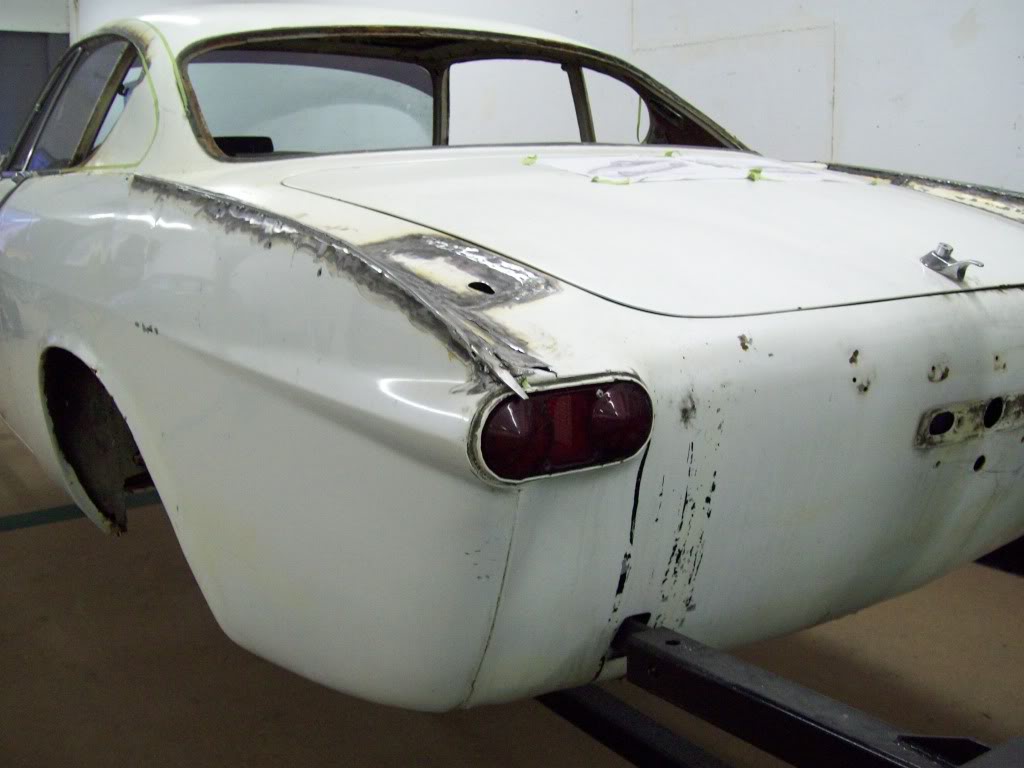
One of my next issues is the Tail lamps.. I cant seem to find a recessed light style that ressembles the P1800 or the Vox rendition, so I am considering other options.. It appears that I may be able to make the bulb sockets snap into the body to get rid of the tail light housing. The lense fits in body where the housing would normally mount, so I am considering a few options to stream line them if I dont actually recess them.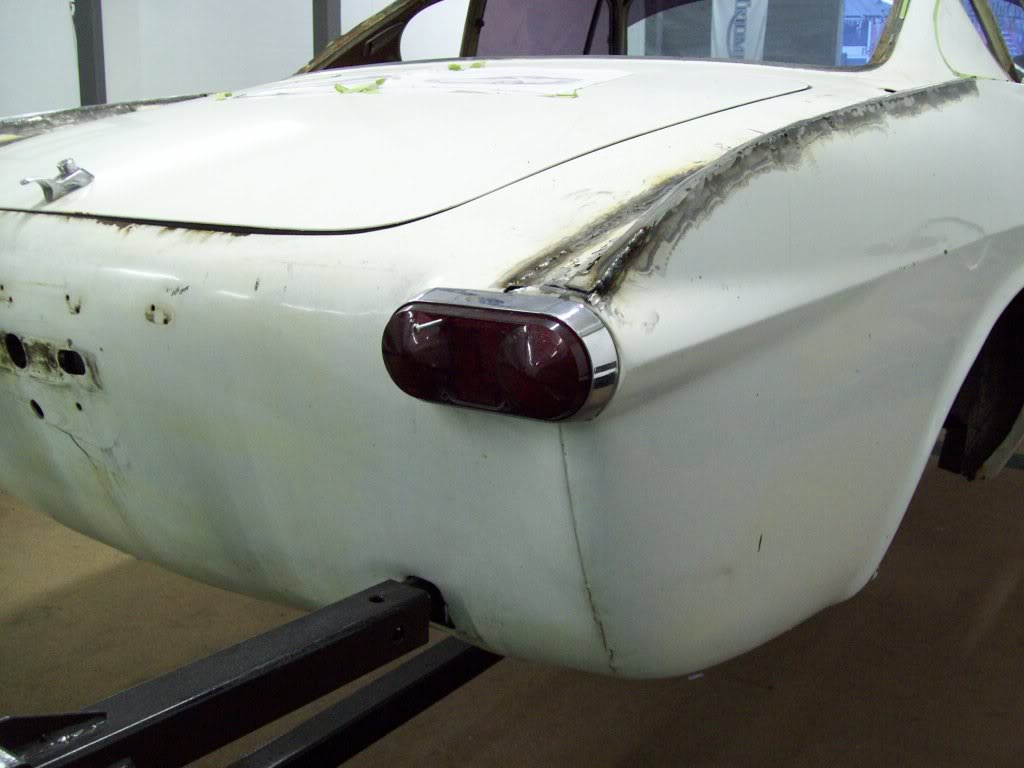
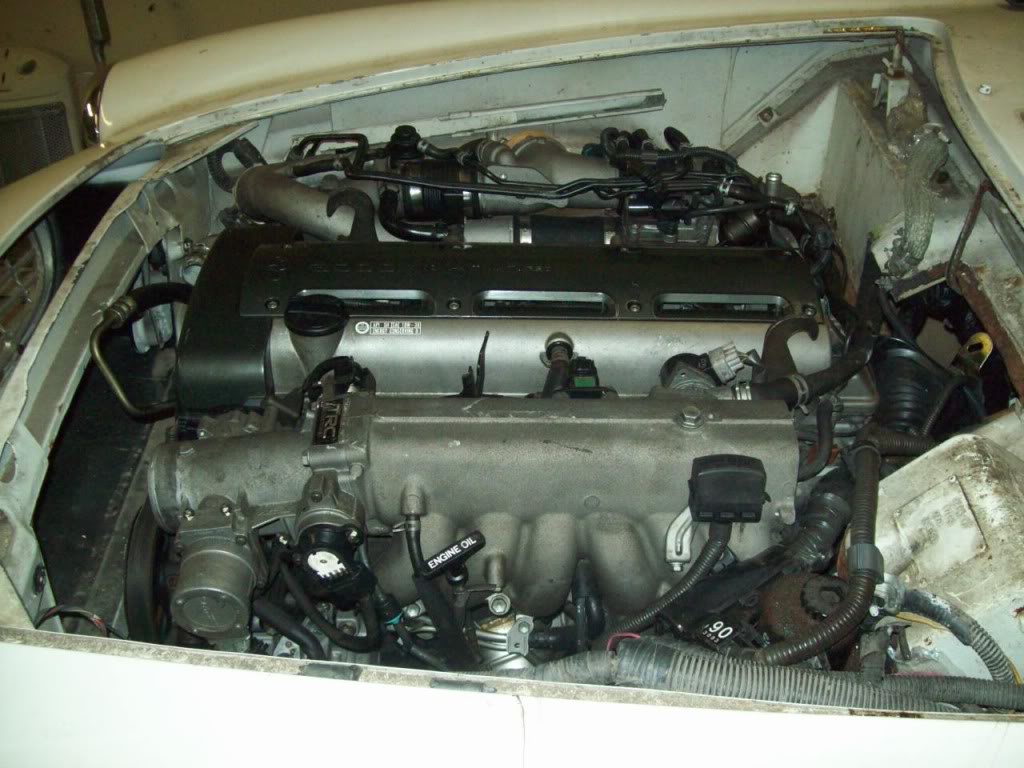
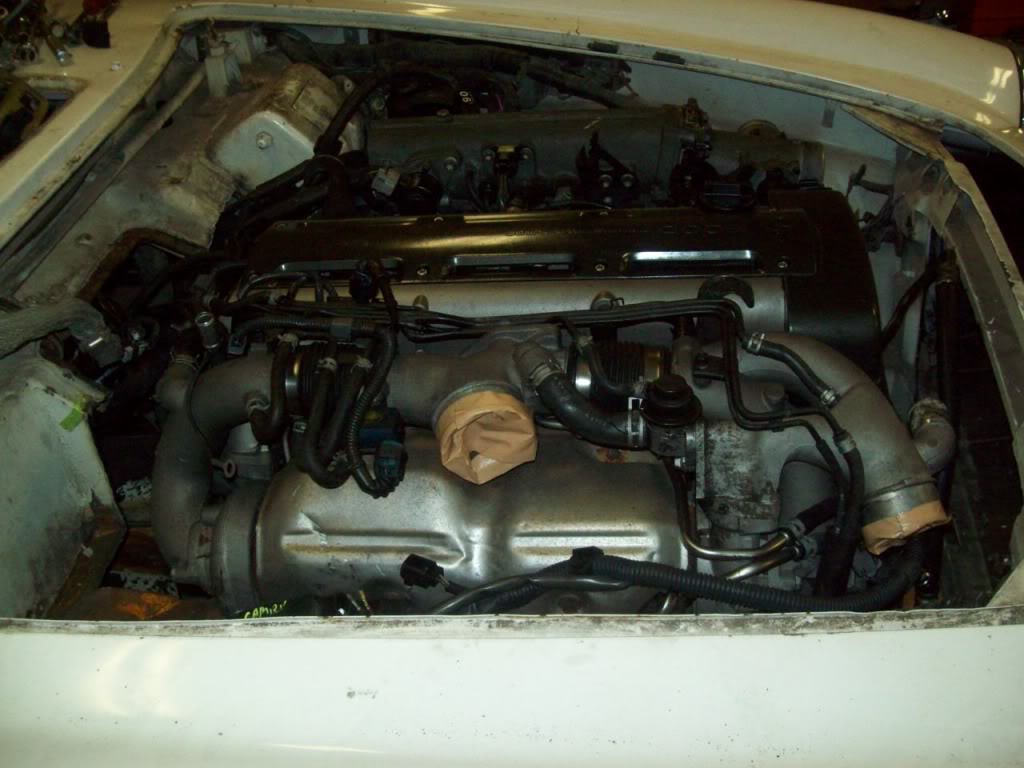
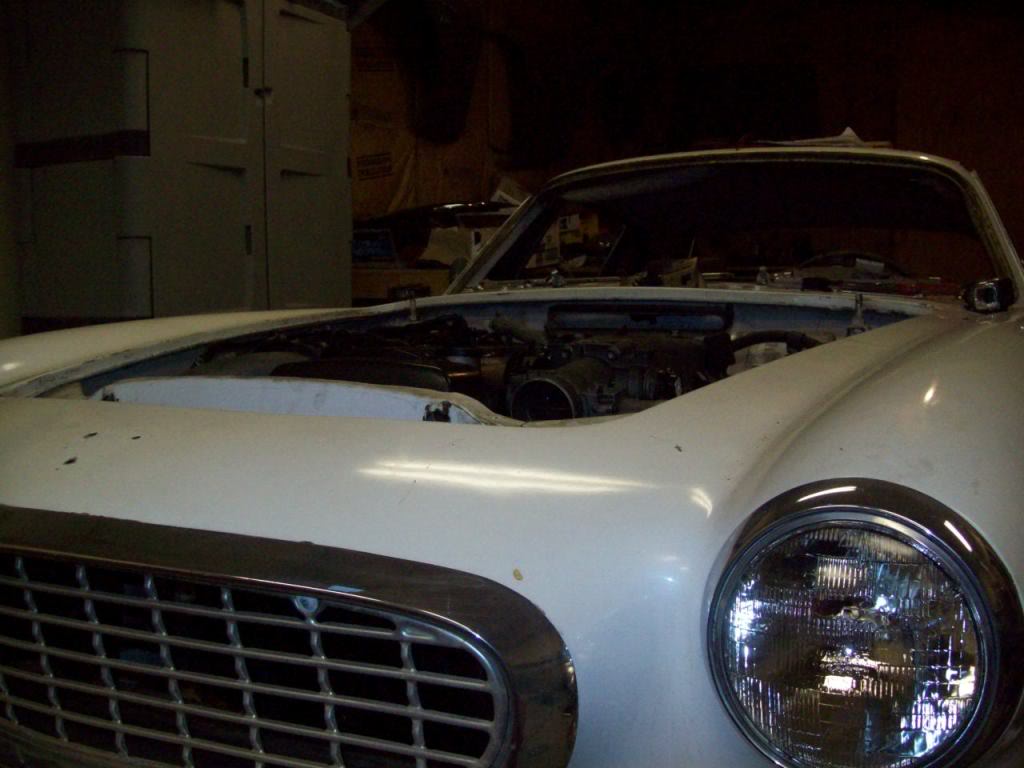
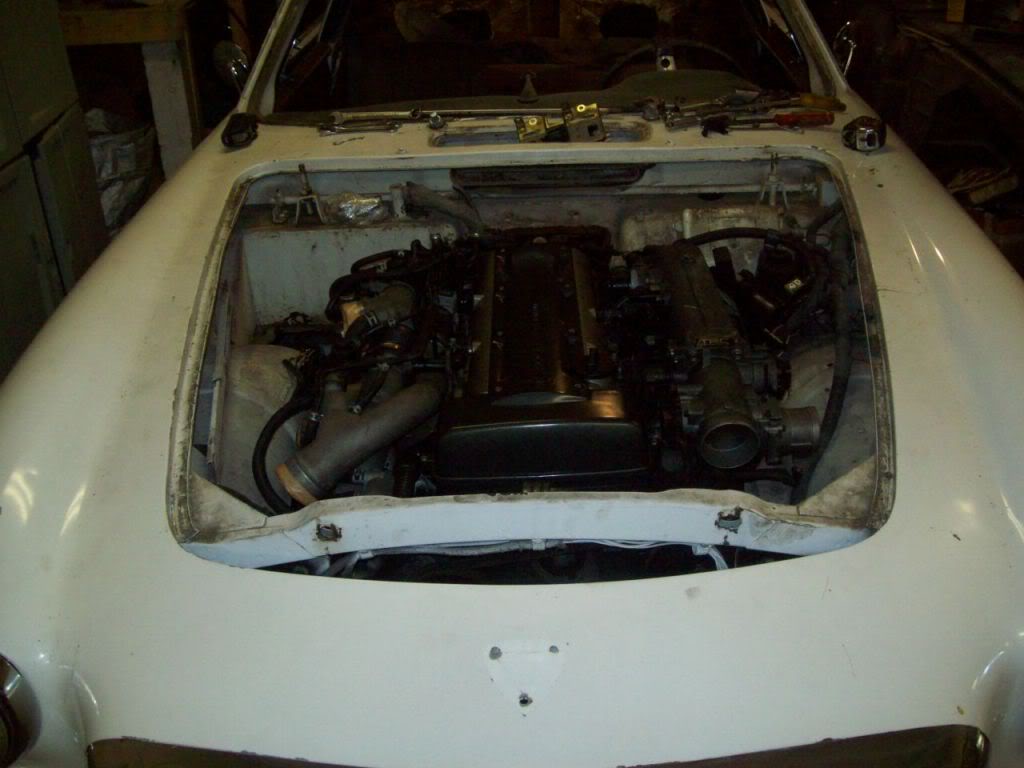
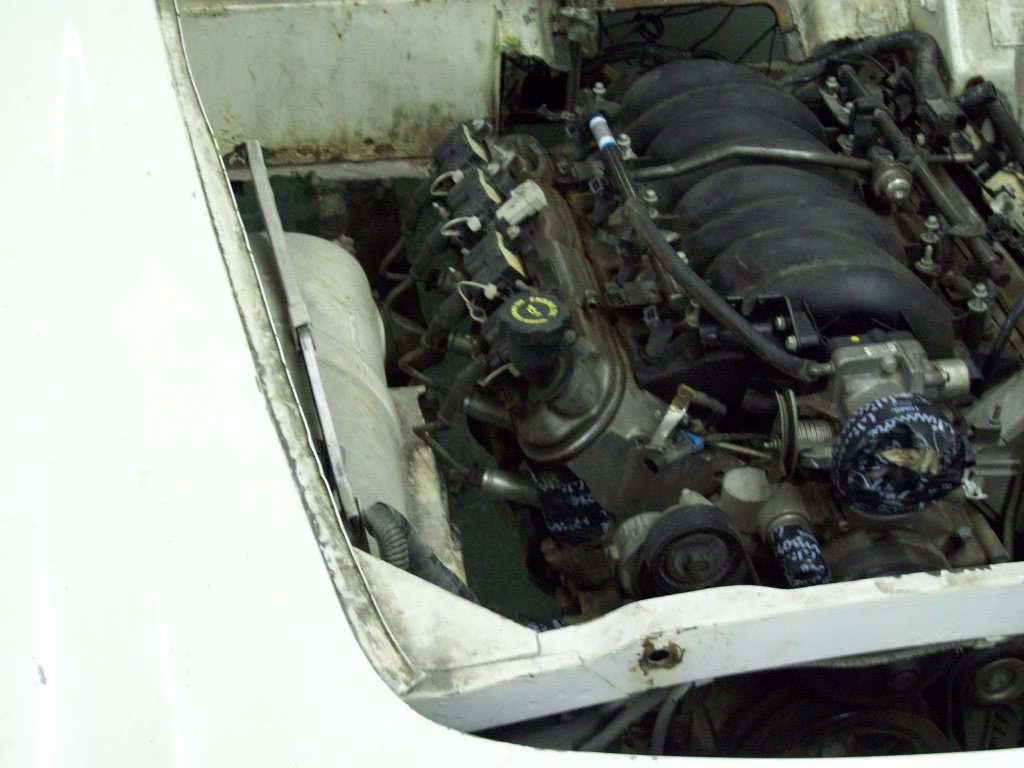
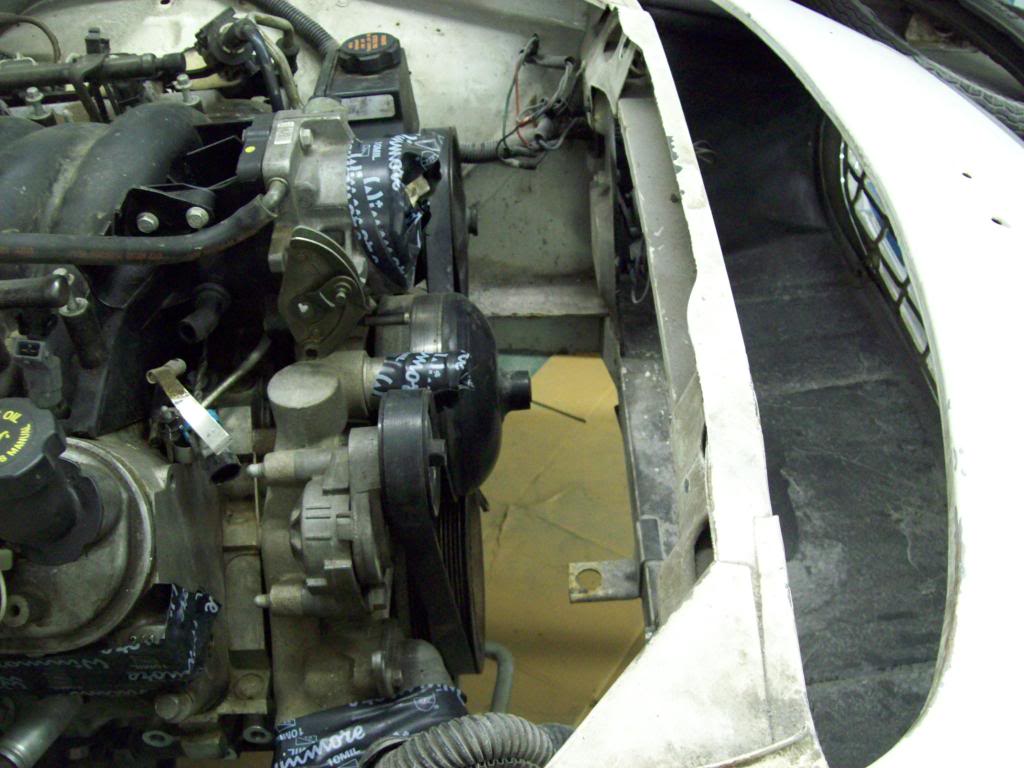
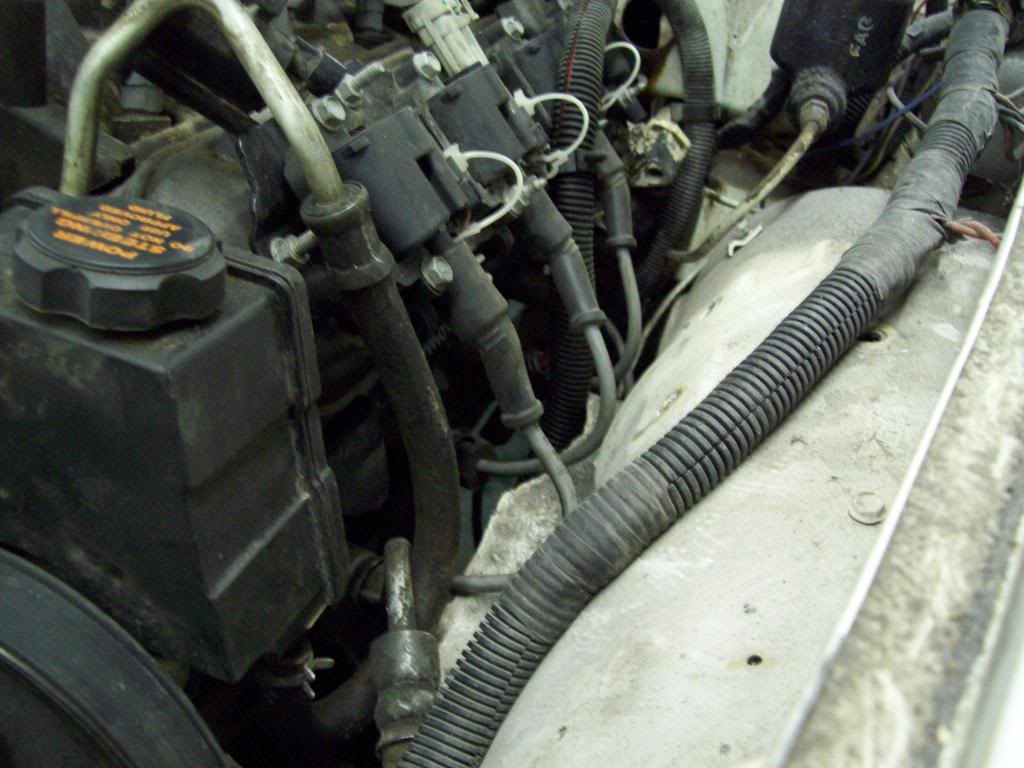
I am testing fitting an LS1 motor that I had laying around.. I really liked the looks of the 2JZ motor, but the LS1 opens it up a bit. I was thinking about turning the intake around and making my fresh air vent in front of the winshield my air intake and filter housing, but there really doest appear to be the room to make it look right.. My other plan is to build a filter tray on top of the radiator support and making the hood scoop an functional Ram Air...
So far, everything looks managable. The shorty style headers are going to be tight, but I believe they will work out with a bit of tweeking. The accessorie clearance is good along with the starter and oil pan height. I can move the motor back a bit more, and I may do that, but I am trying to get all the floor space I can get. The V8 Bellhousings are a bit wider, and I would rather have a bit more width if possible, without sacrificing handling. Overall the motorposition doesnt look bad, and it seems to sit nice and low in the body...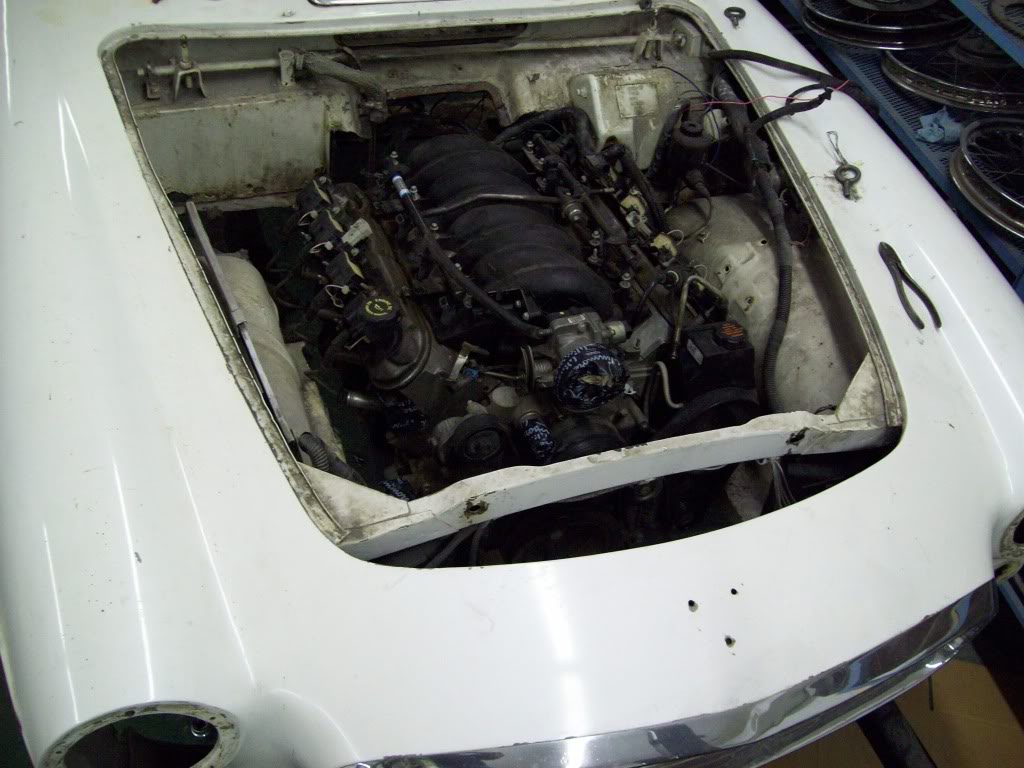
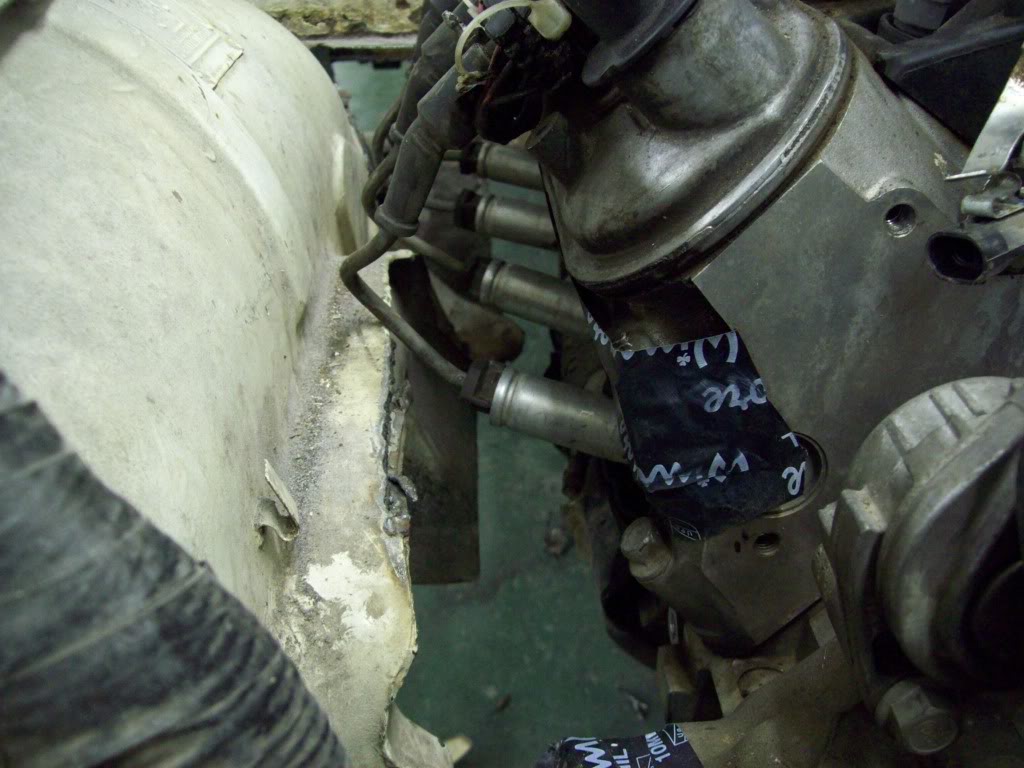
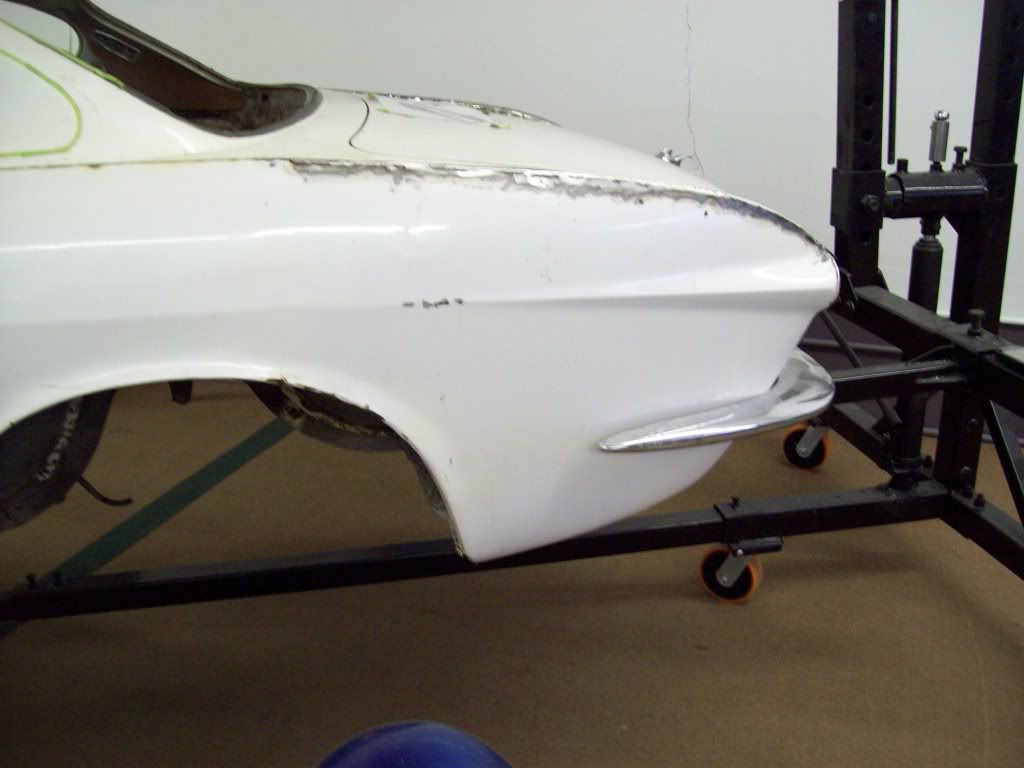
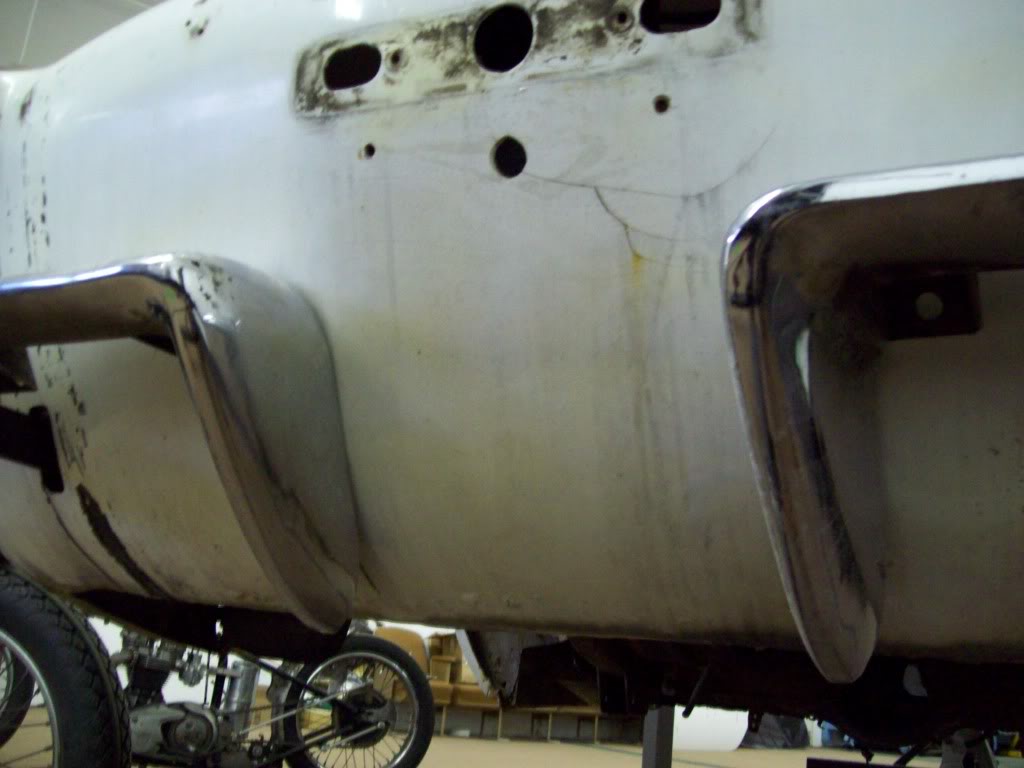
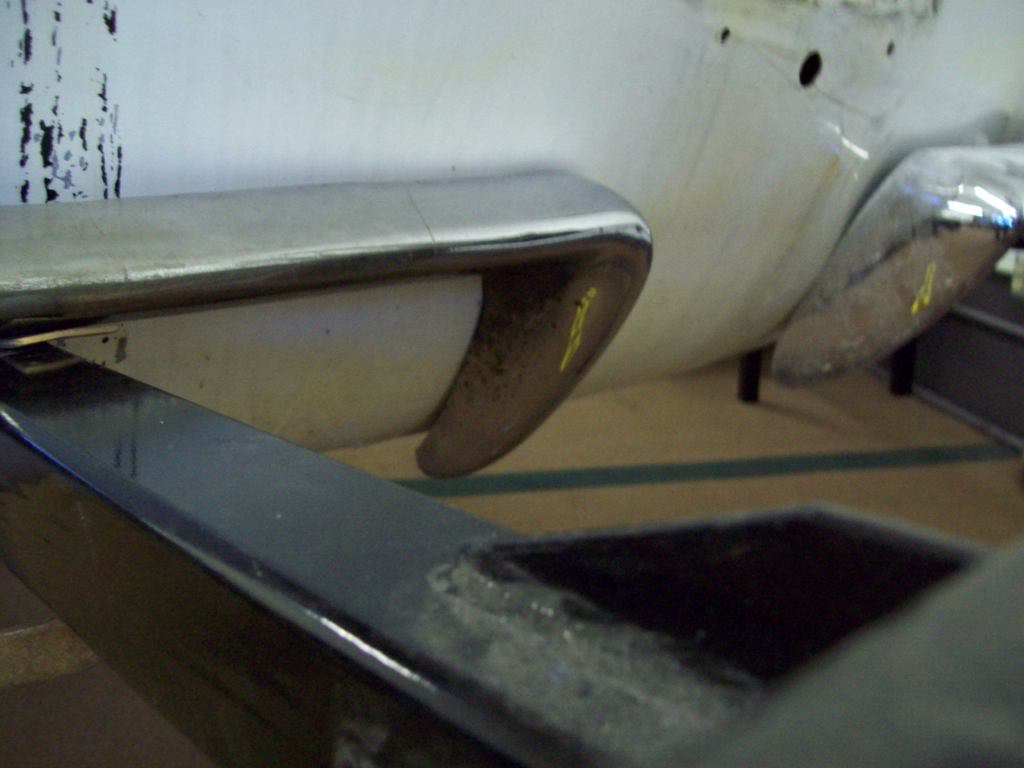
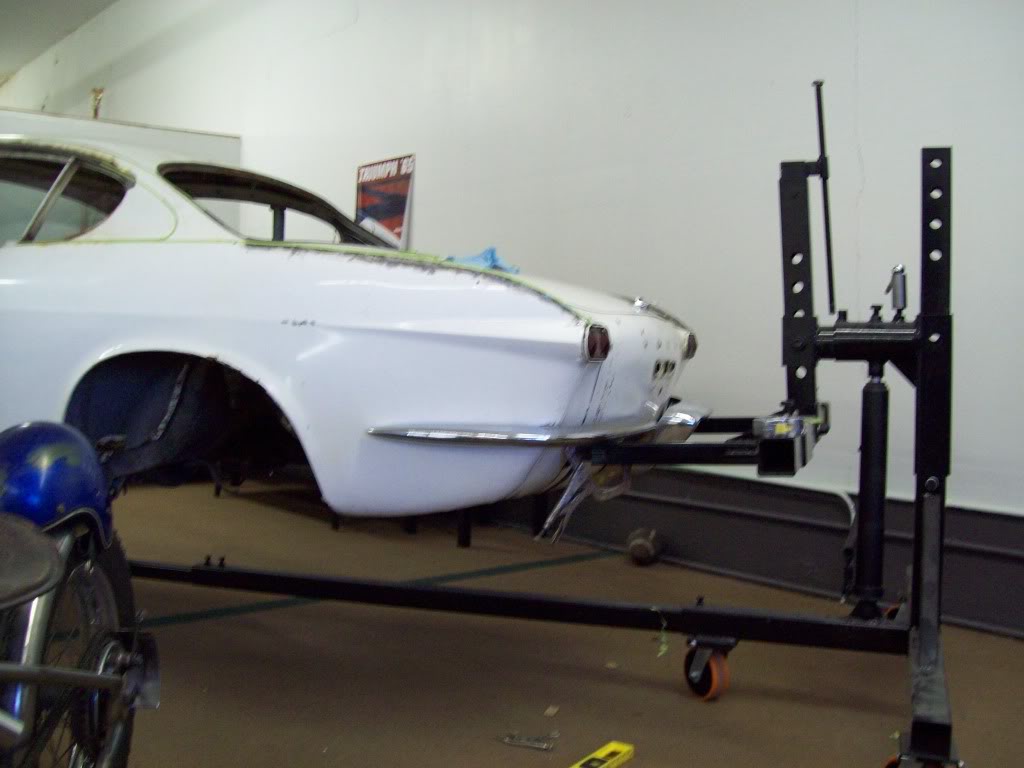
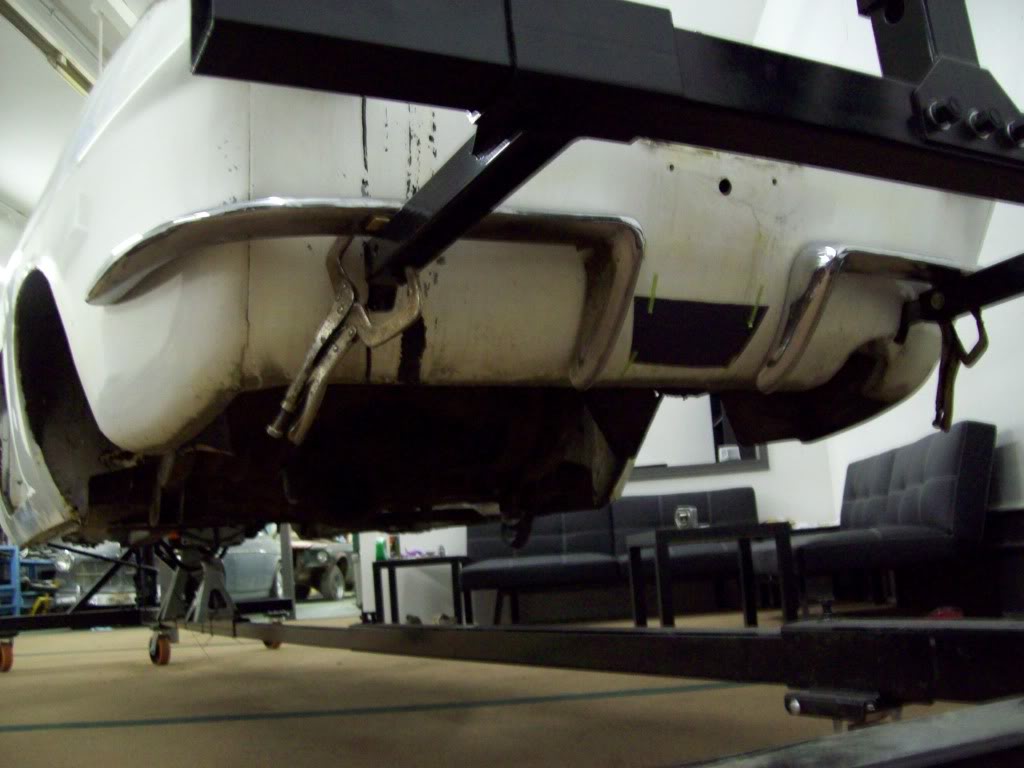
Here are some pics of the rear bumpers I am going to start with and modify.. I think I can use the these 63 Corvette Rears and the Factory Volvo rear bumper to blend something very close to the rendition.. I am going to trim out of the inside edge of the bumper, rather than add material to fill in the gaps between the bumper and body contour. I will be taking about 1/3 to 1/2 the over all bumper bulkiness out of it, to give the streamline fit that appears in the rendition (Atleast I hope that works...ha ha ) The front bumper is an early factory Bull Horn bumper flipped upside down...
The green tape in the last picture shows about how much bulk I will be taking off the Corvette Bumper.. By the time I remove all that surface area, the bumper will make the nice defuser feature in the picture. I am hoping that if done correctly, all the contours of the body will fit nicely to the Rework bumperedges...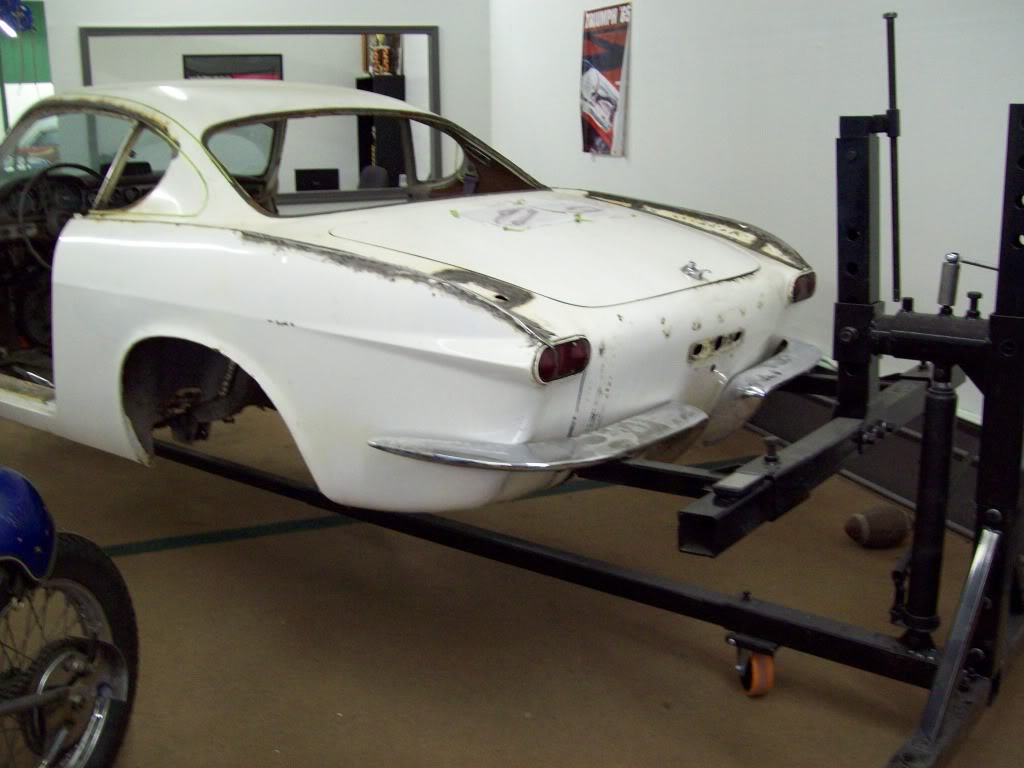
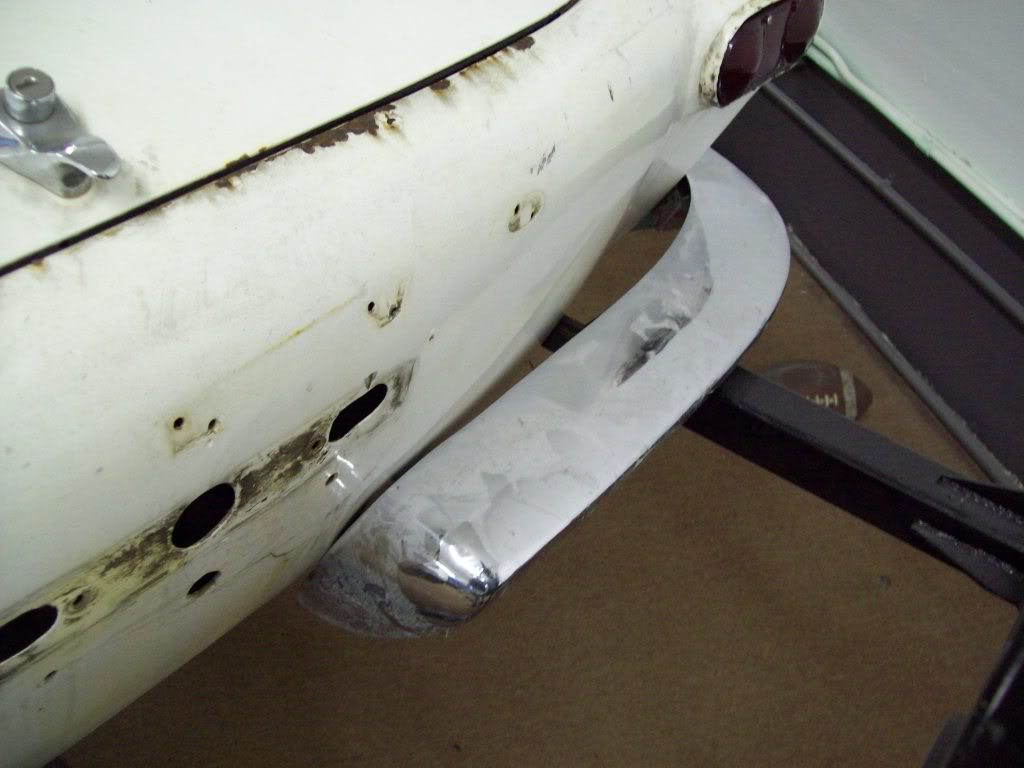

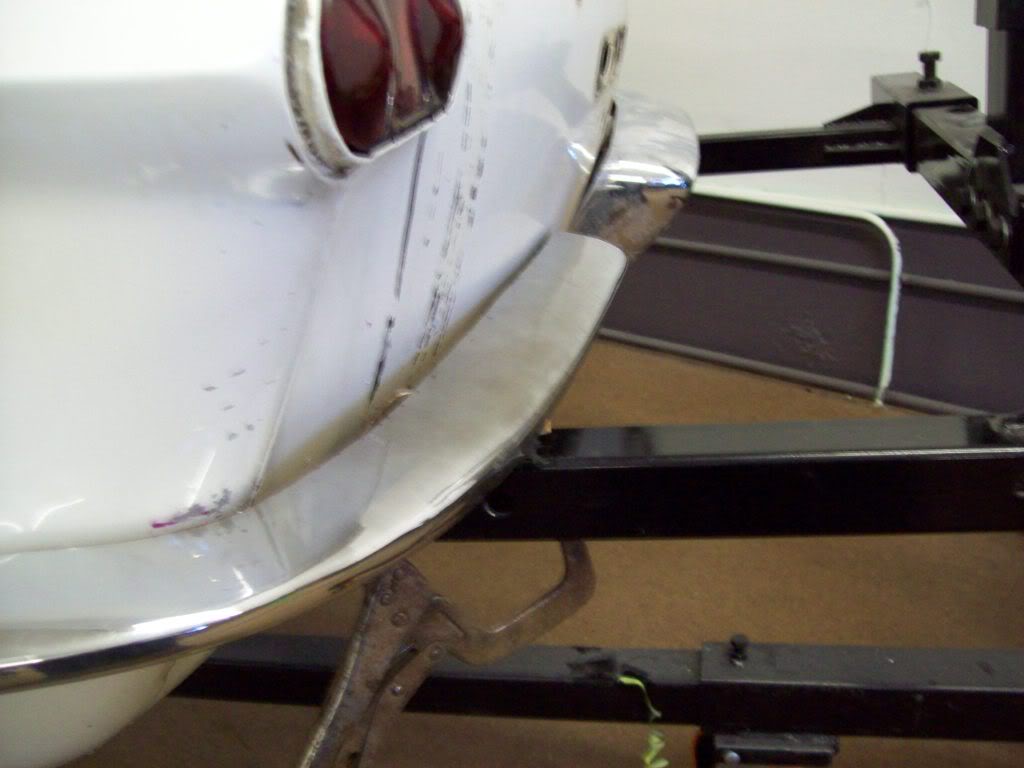
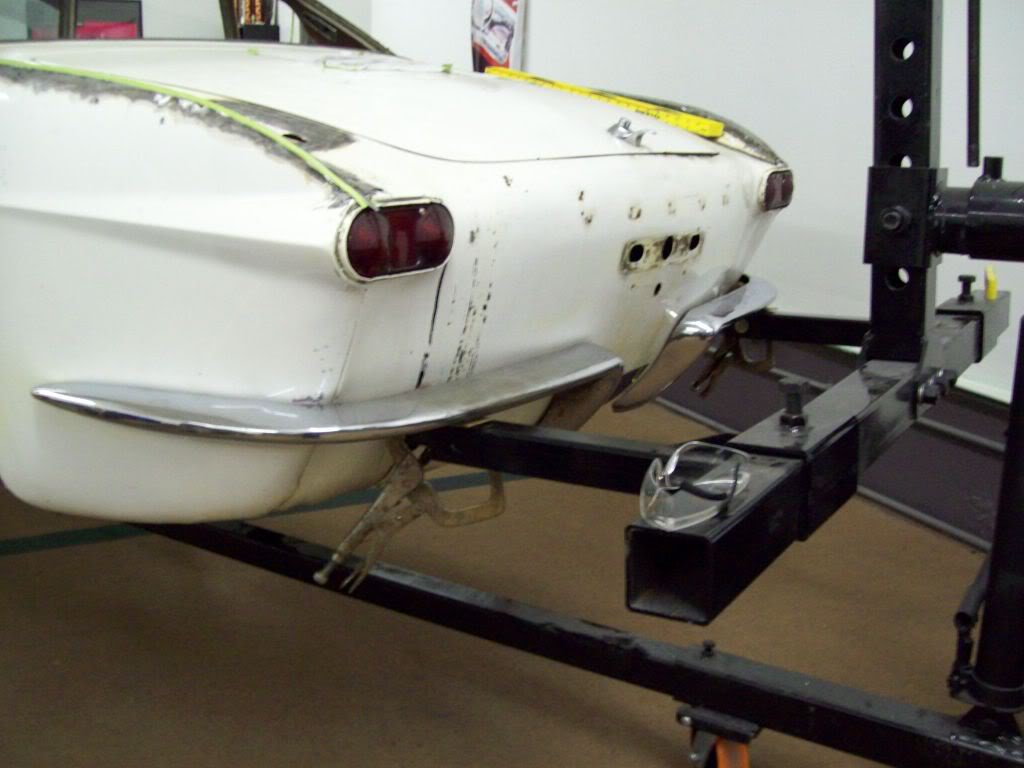
Here are some pictures of one of the Corvette bumpers roughly cut. I tried to contour it to the rear body panel when I was cutting it, but it actually didnt look right.. I think it looks much better acting as a bumper bar rather than a body fixture.. I actually cut alot of material out of the Corvette bumper, and dont think I am going to have to add much, so far no welding. I still have to do a bit of trimming to the verticle bumper bar, but it doesnt look like it is going to take to much to get it there.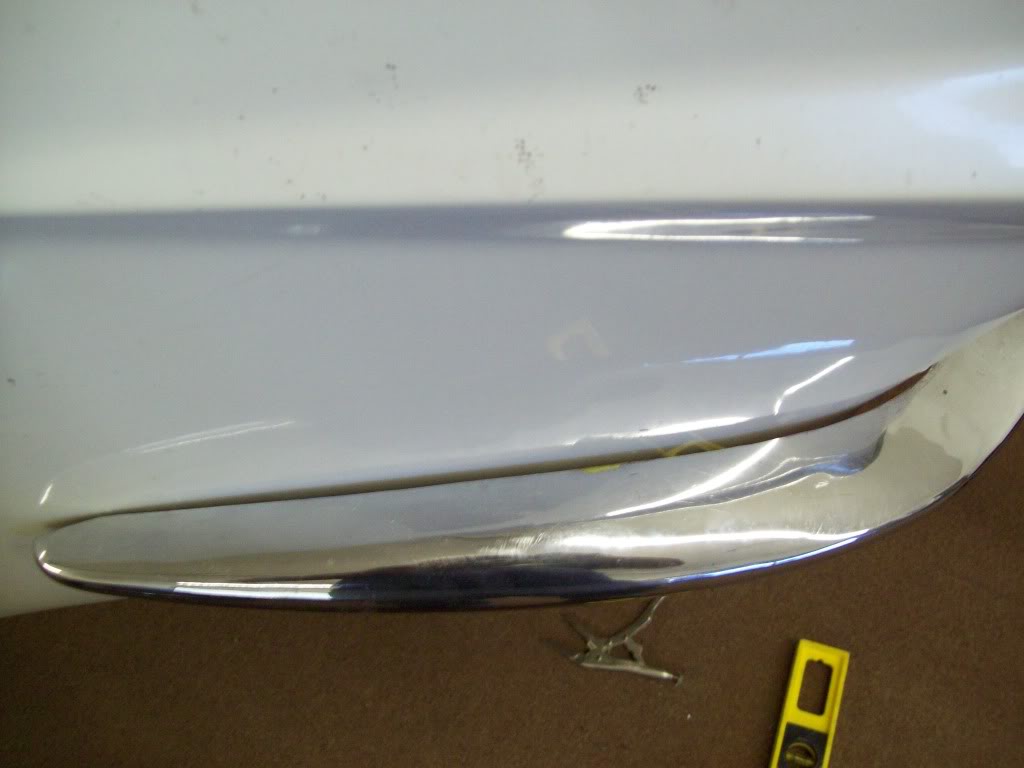
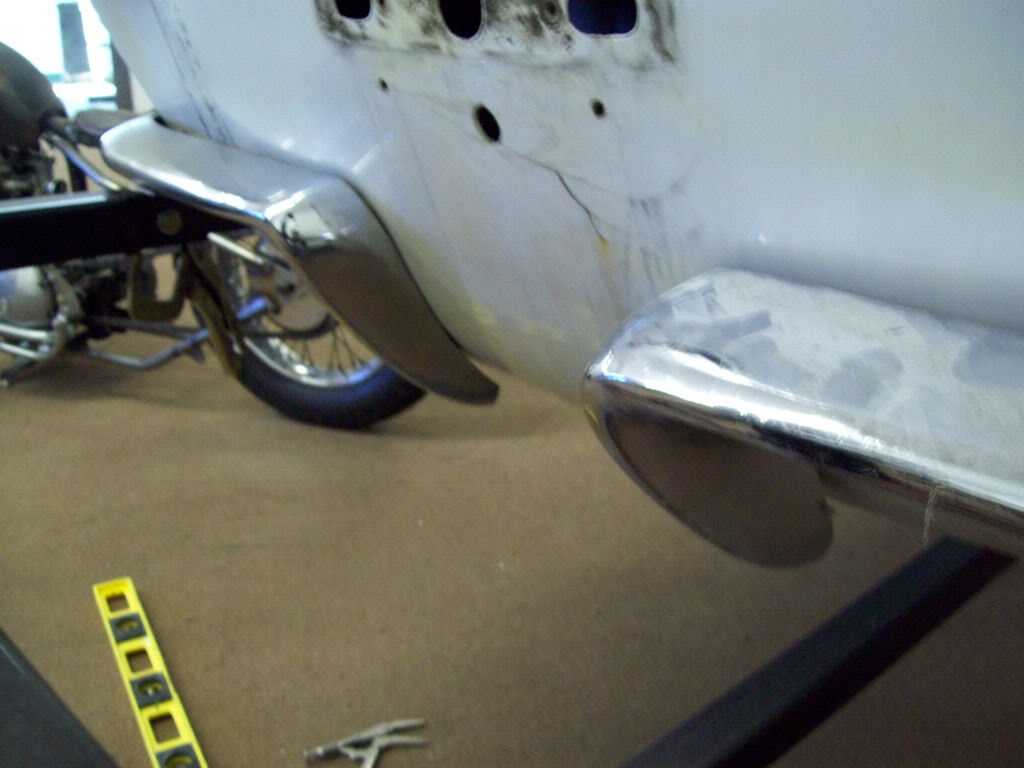
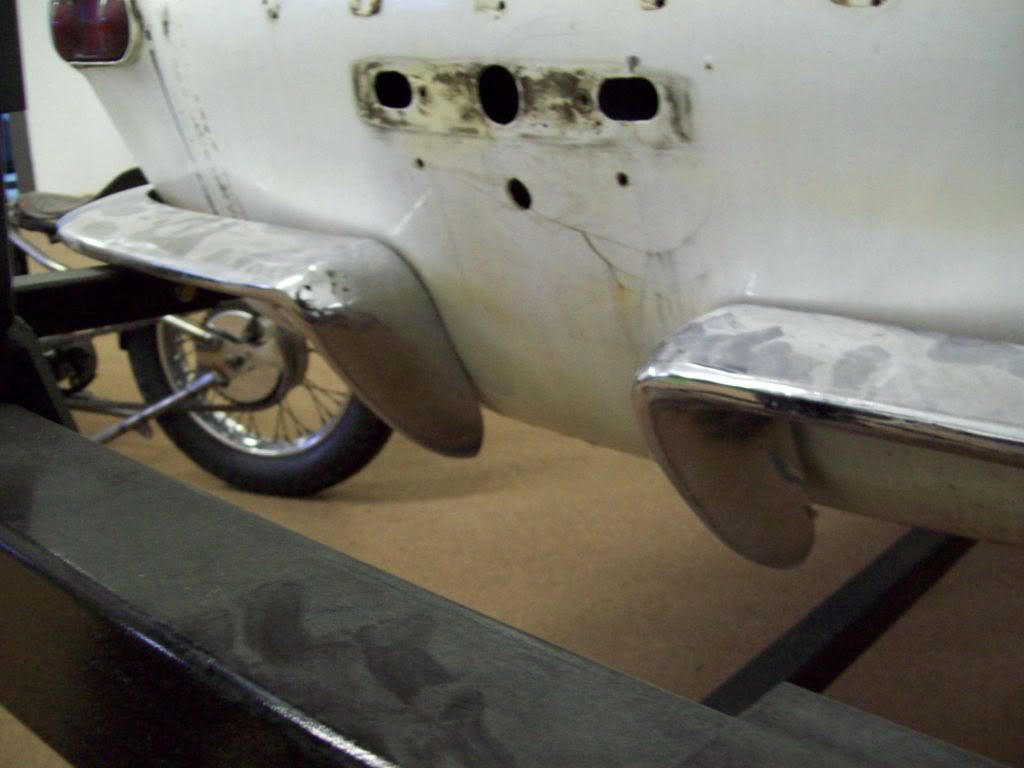
Well I got the passenger side bumper roughly trimmed also, amazingly I got them EVEN, PROPORTIONED, and LEVEL, so it appears it may work out.. I will make some mounting brackets, and then order some new bumpers to re-cut... These bumpers have a bit of rust, and I am thinking it may be better to start all over fresh. I had ordered these from Ebay just to see if they would work.. Nothing like double labor.. ha ha I also put a black out where the exhaust will probably be coming through, the shape is not exactly what I am looking for, because I am going to be looking for an exhaust housing and tips that are hopefully already manufactured. If anyone knows a good source for them, I would appreciate the heads up.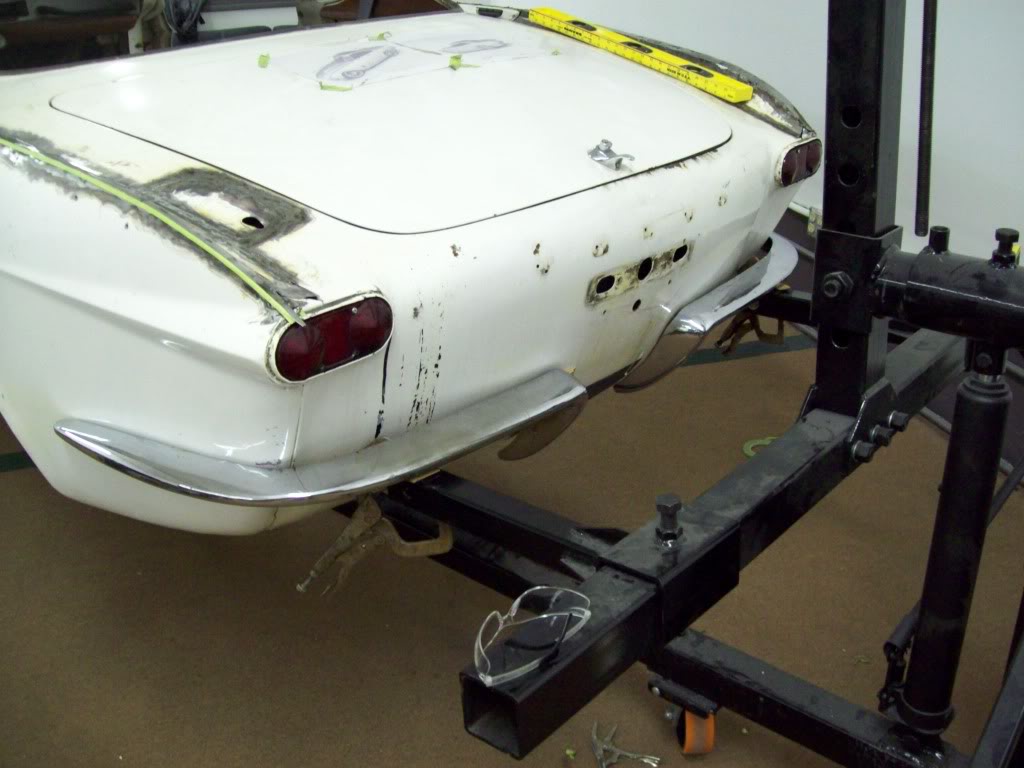
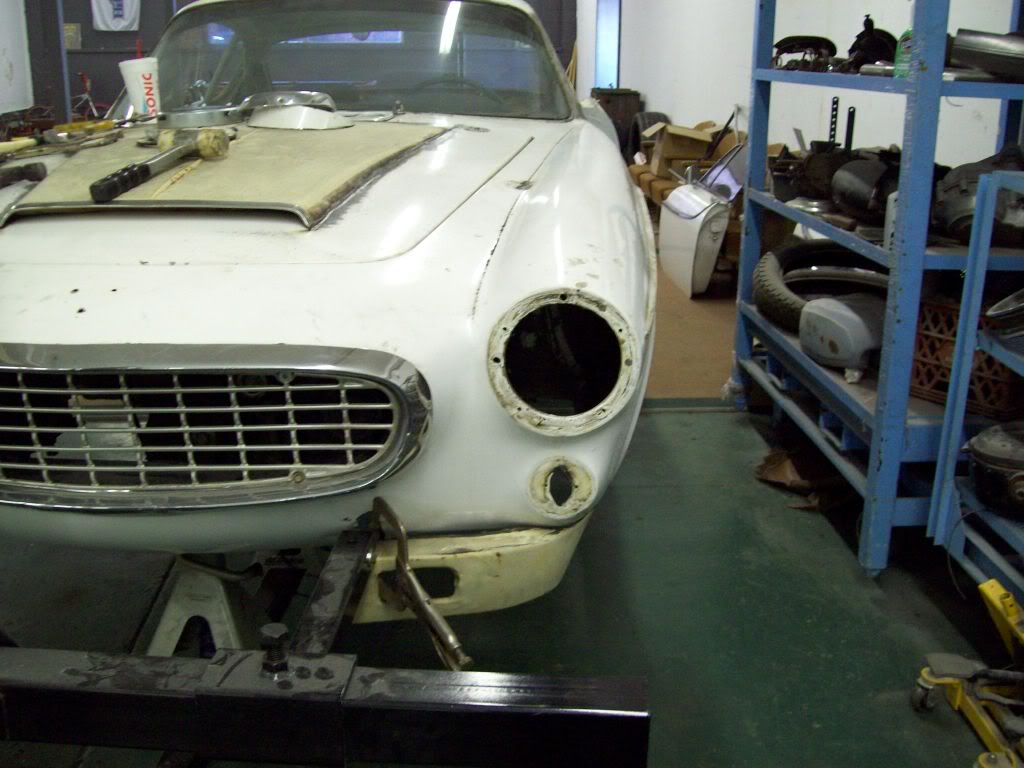
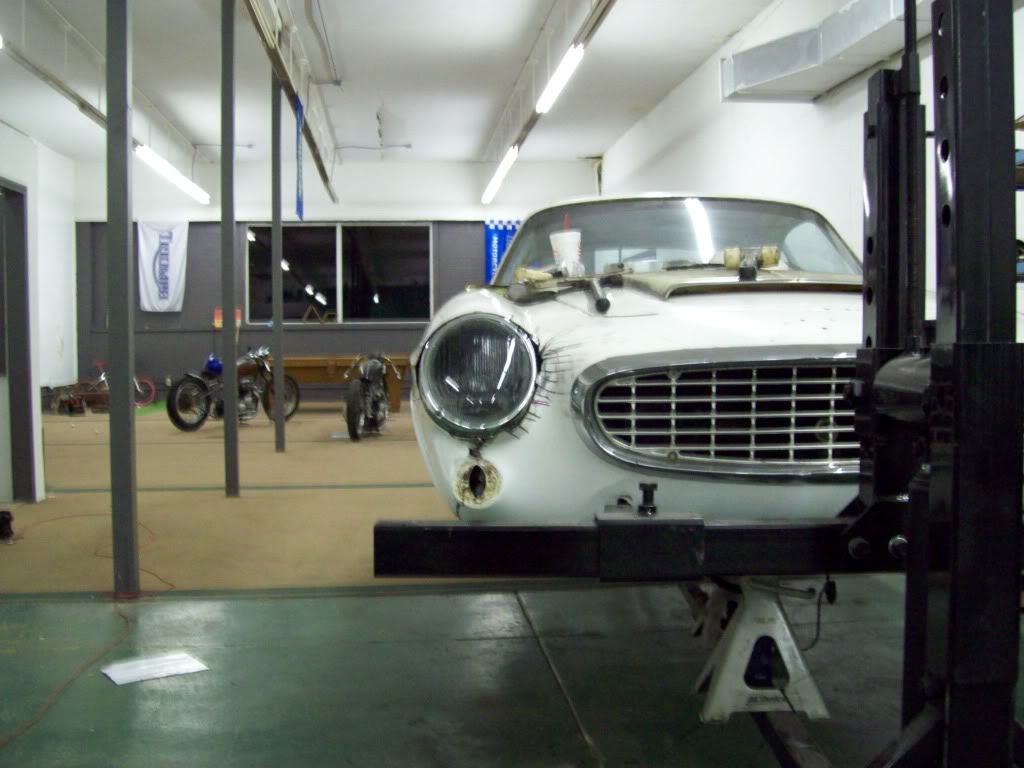
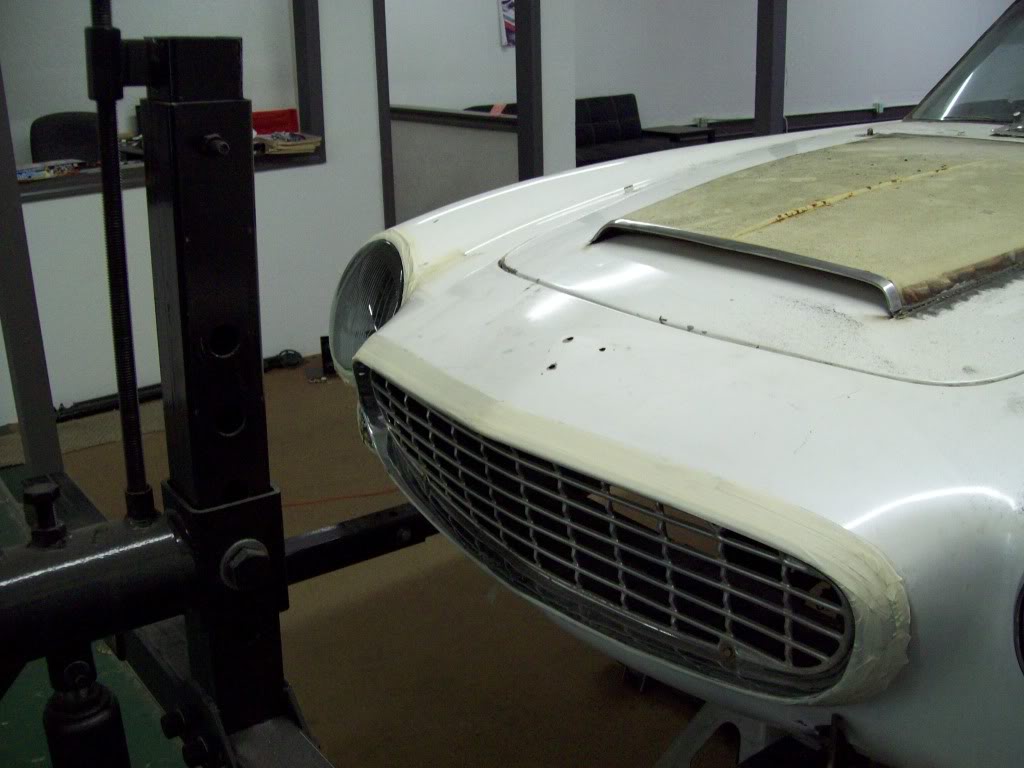
Well I am working on the slanted headlamps, and to have a conventional sized headlamp with a sloped lense, there is alot of added surface area. I have trie to find later model composite headlamps that will work, but they are all mis-shapen to the fenders they are made to fit.
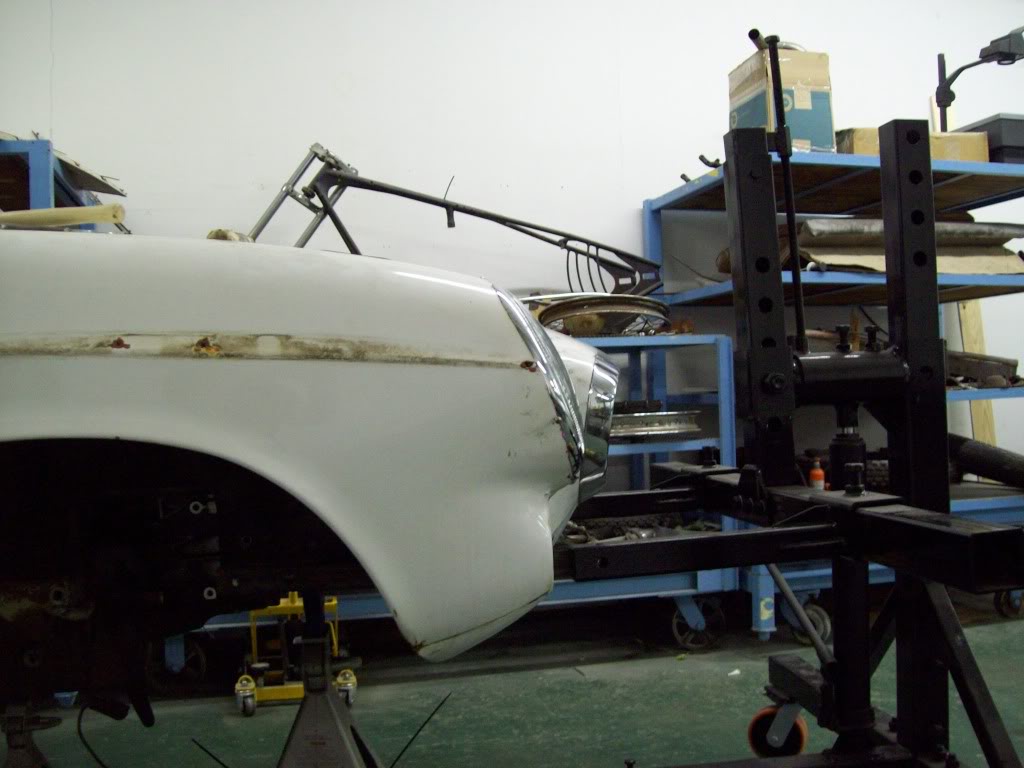
So here is where I am at... I am worried the light is way over-sized for the car right now, but it does appear that way in the rendition.. I am thinking that once I get the metal work completed where the only thing showing is the actual lense, it will dramatically shrink up the oversized appearance. Atleast that is what I am hoping.. ha ha Right now, turning back isnt really an option. It really does give the car that over-sized European Headlamp look from the 60's-70's
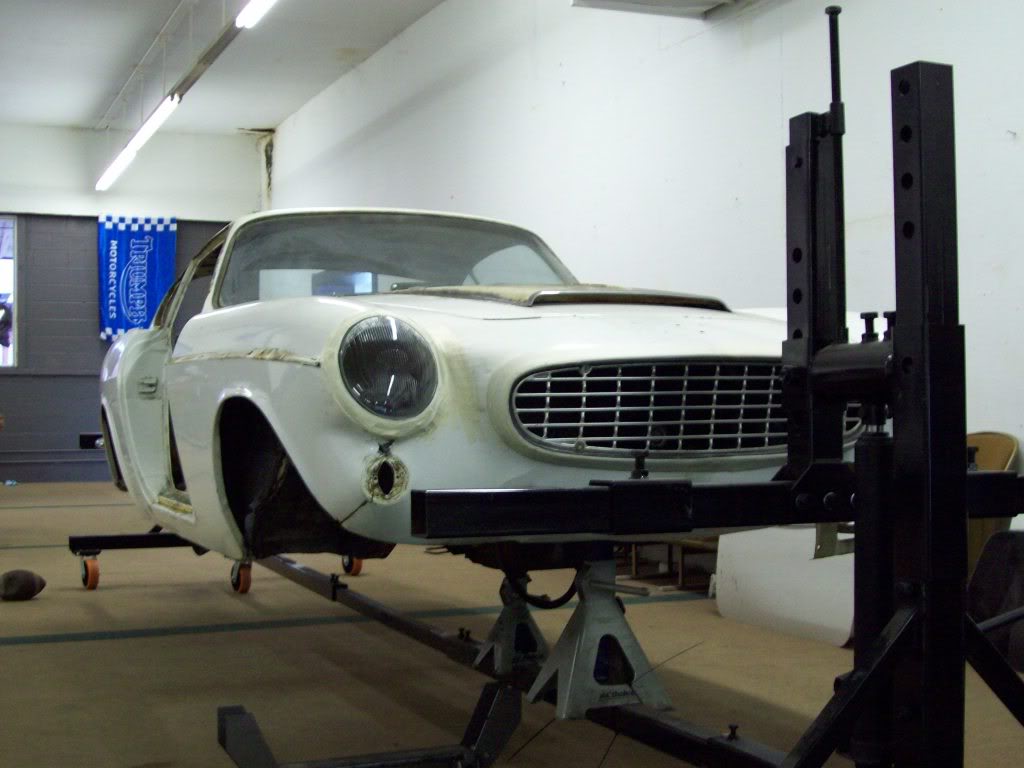
The way this headlamp system works, I can actually finish weld the ring to complete the fender, then blend it all in. The ring is the main part of the bucket system, so the mechanics of the light will attach to the back side of the headlamp ring. I believe I will only have to add a couple of support braces to the rear of the bucket for extras support.. Here are some updated pictures.. I will say that the light appears to be much bigger in the pictures for some reason, I guess it is the chrome ring blending into the lense.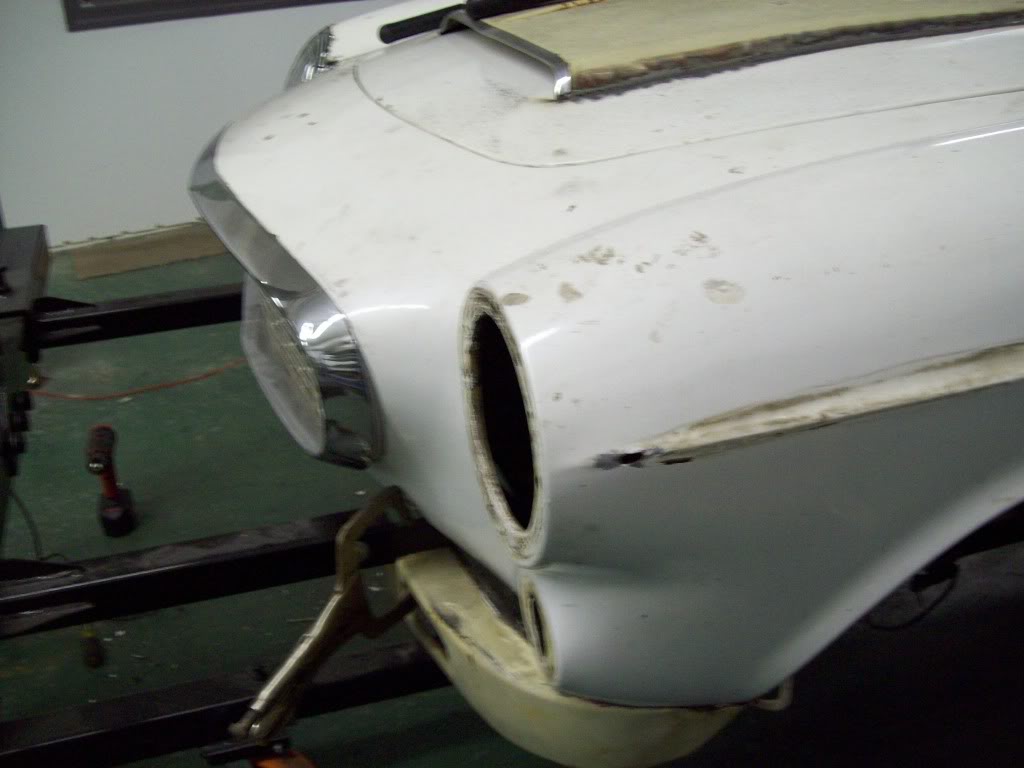
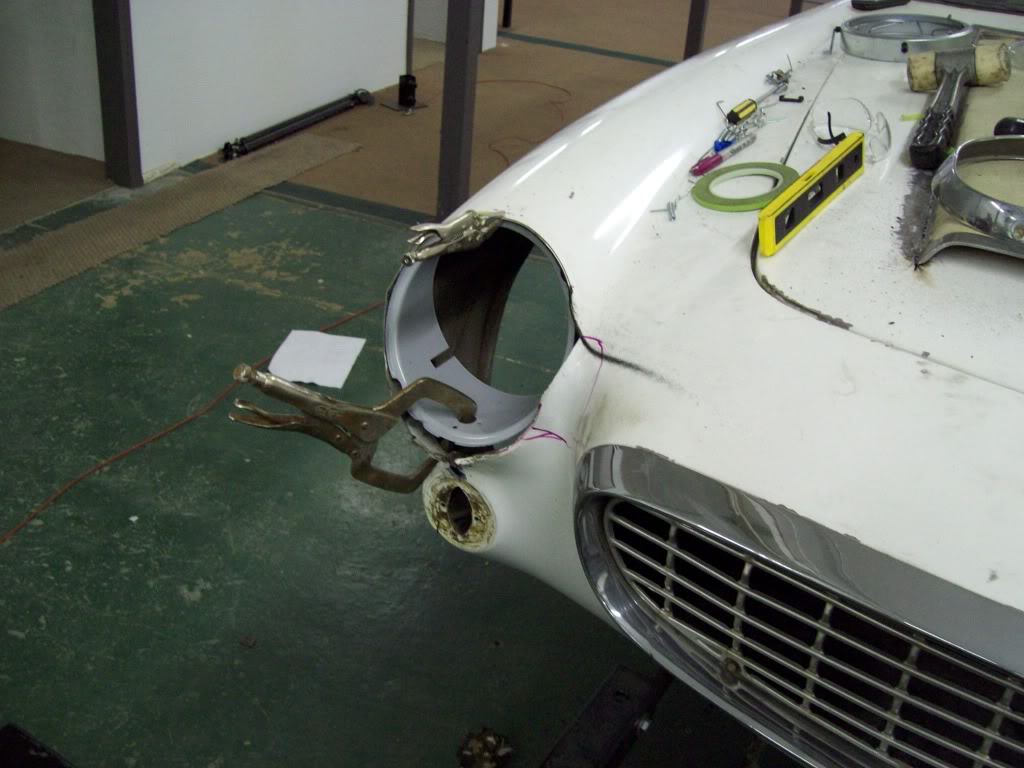

I am feeling kind of unsure about what I think of the parts for this mod, so I am going to assume the critisisms will start flying... ha ha... I really think (Really Hope) the ring being made part of the fender to finish it out, and the lens being the only stand alone part, will shrink the overwhelming appearance...
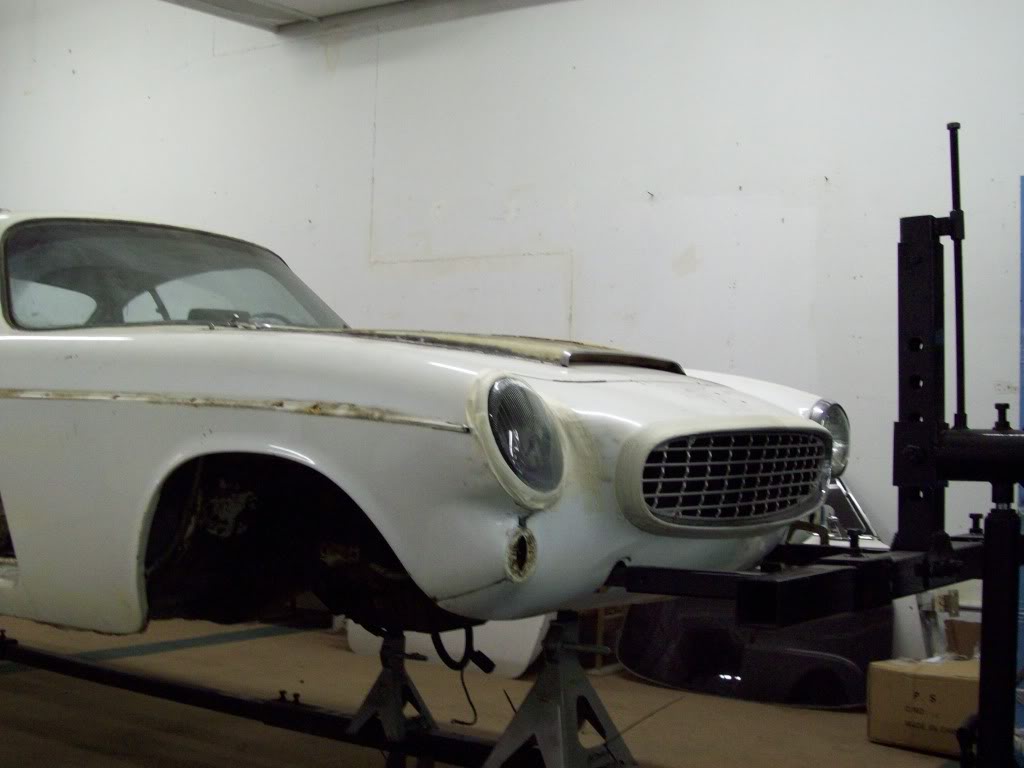
The new headlight ring is actually only a 1/4 inch wider, and 3/4 inch taller that the factory bezel and headlamp assembly. Once the ring becomes part of the fender work and is painted, the width of the light is actually a 1/2 narrower and a 1/4 inch shorter.... So by the measurement, I am actually installing a smaller assembly, but it sure doesnt look like it...
Here are a few comparisons of Factory and Modded...

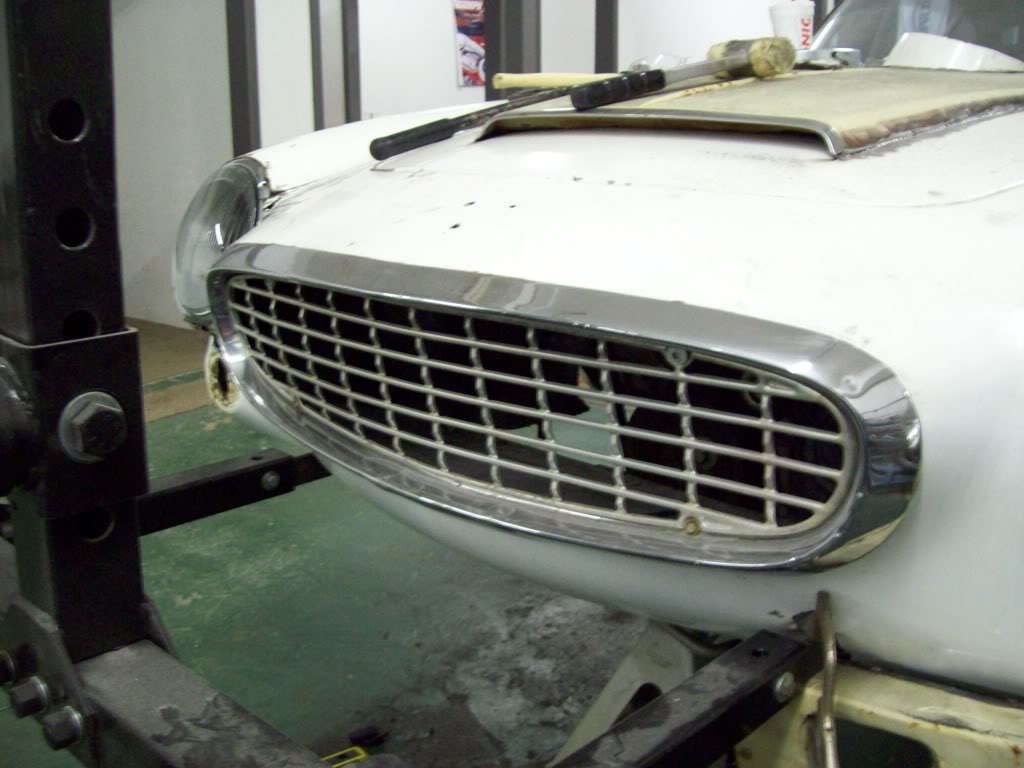
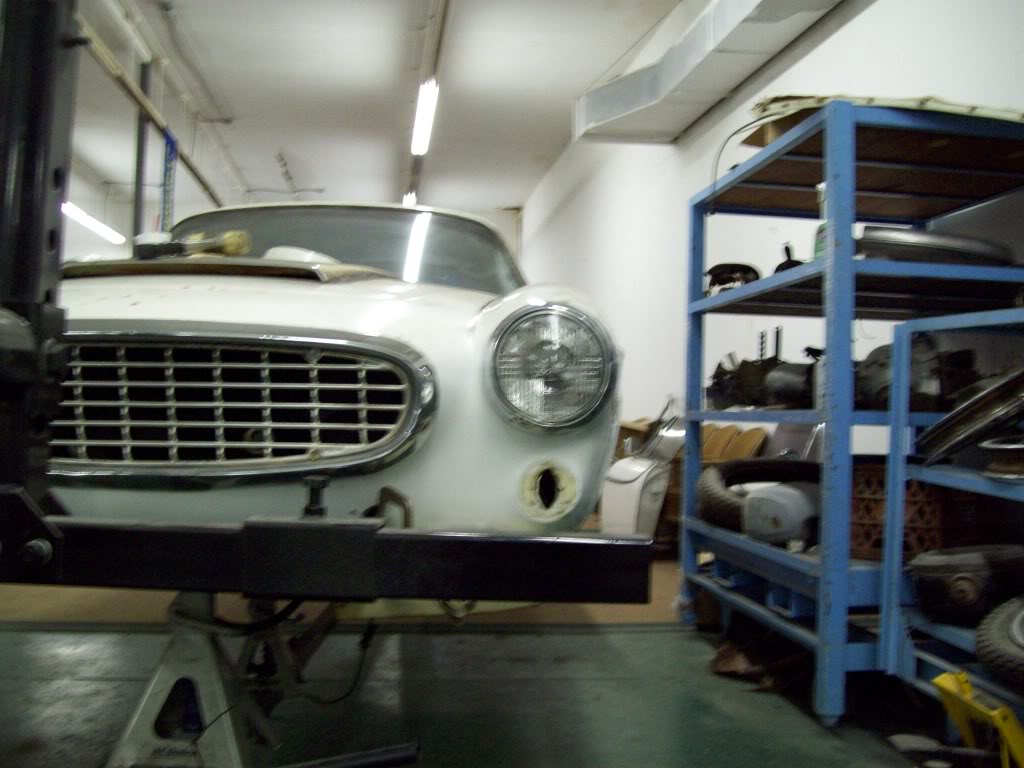
Here are some pictures that I taped out a the chrome that will not be there when the car is done.. I think it really helped with the proprotions here..

Here are some pictures...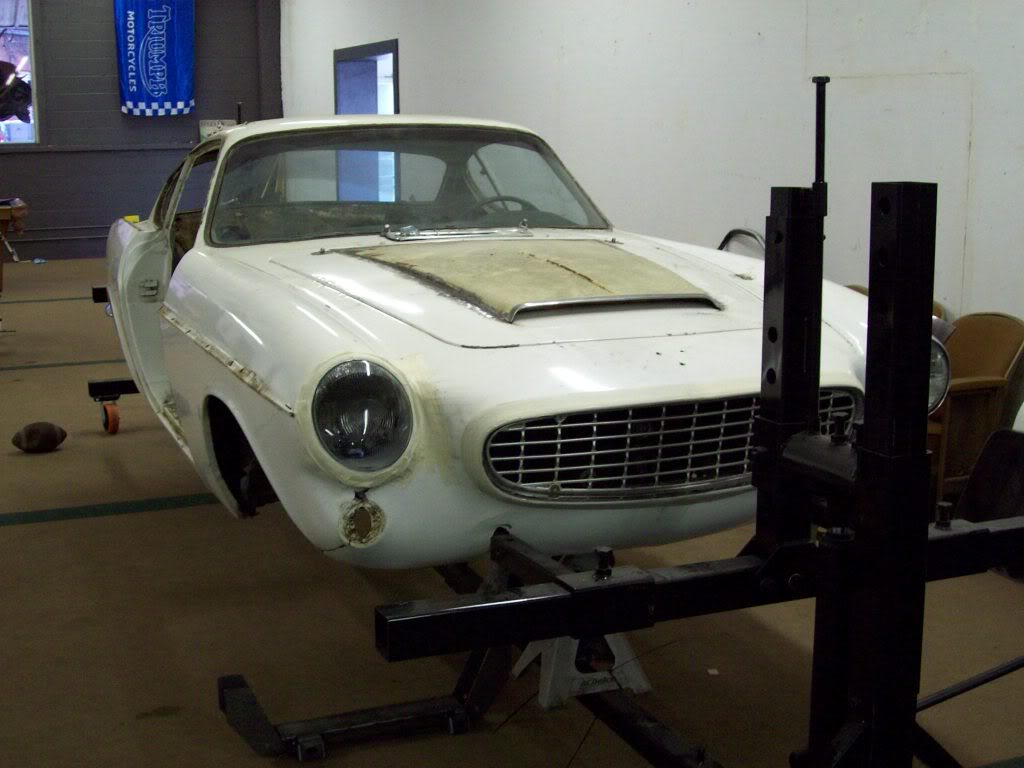


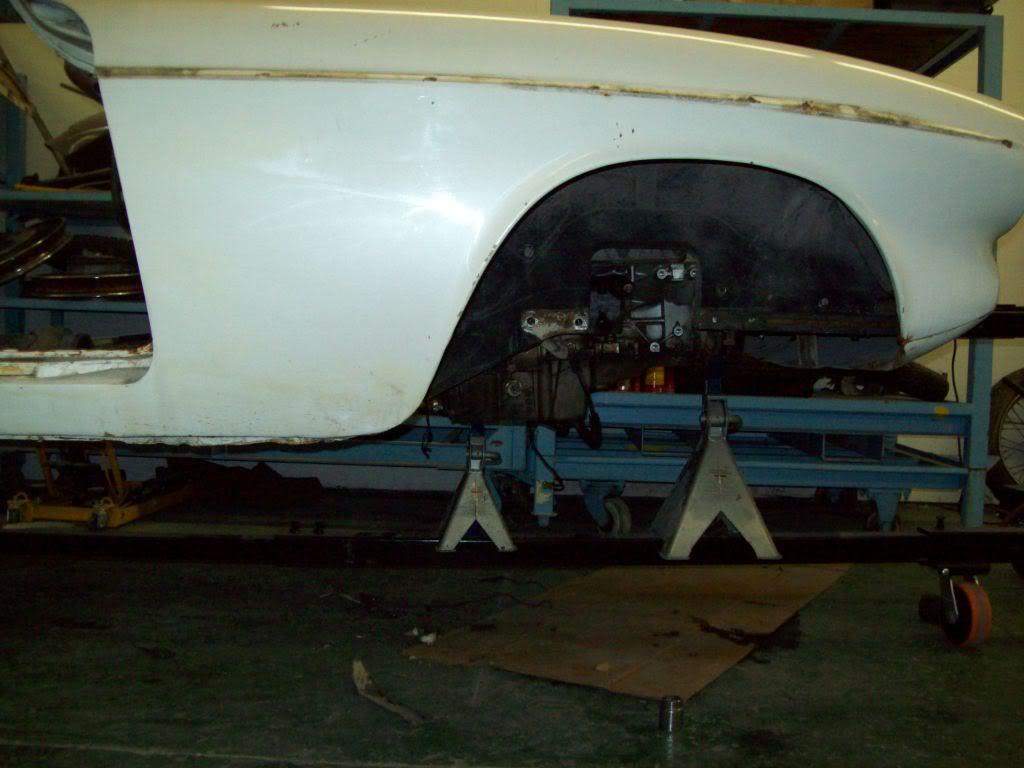
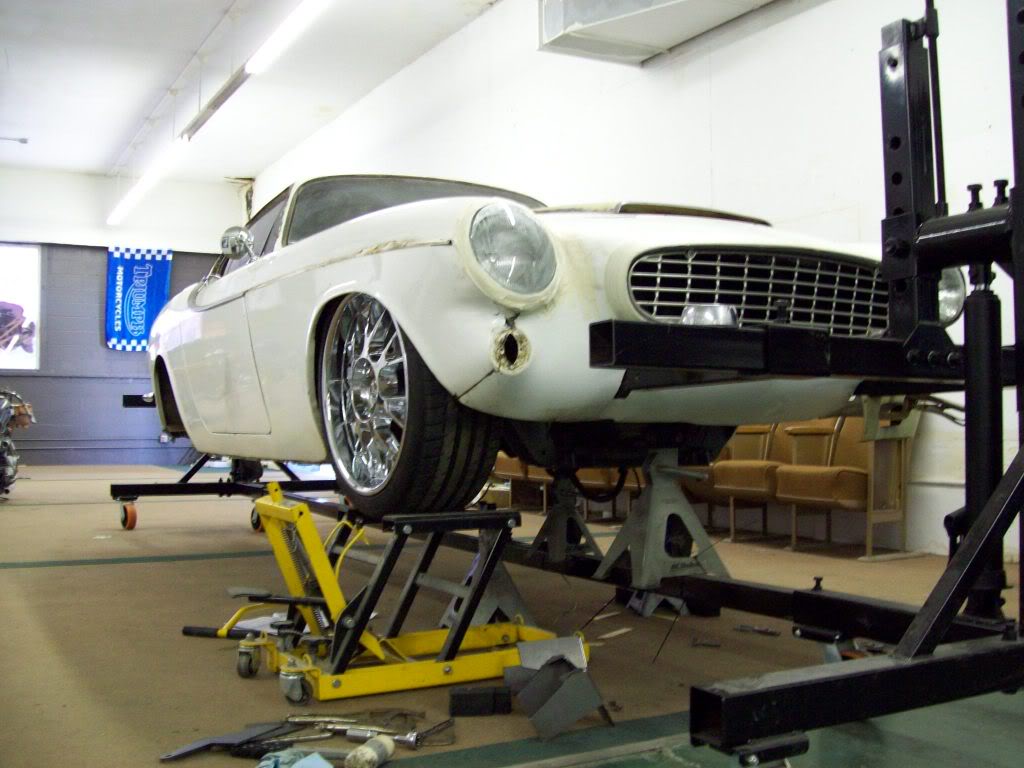
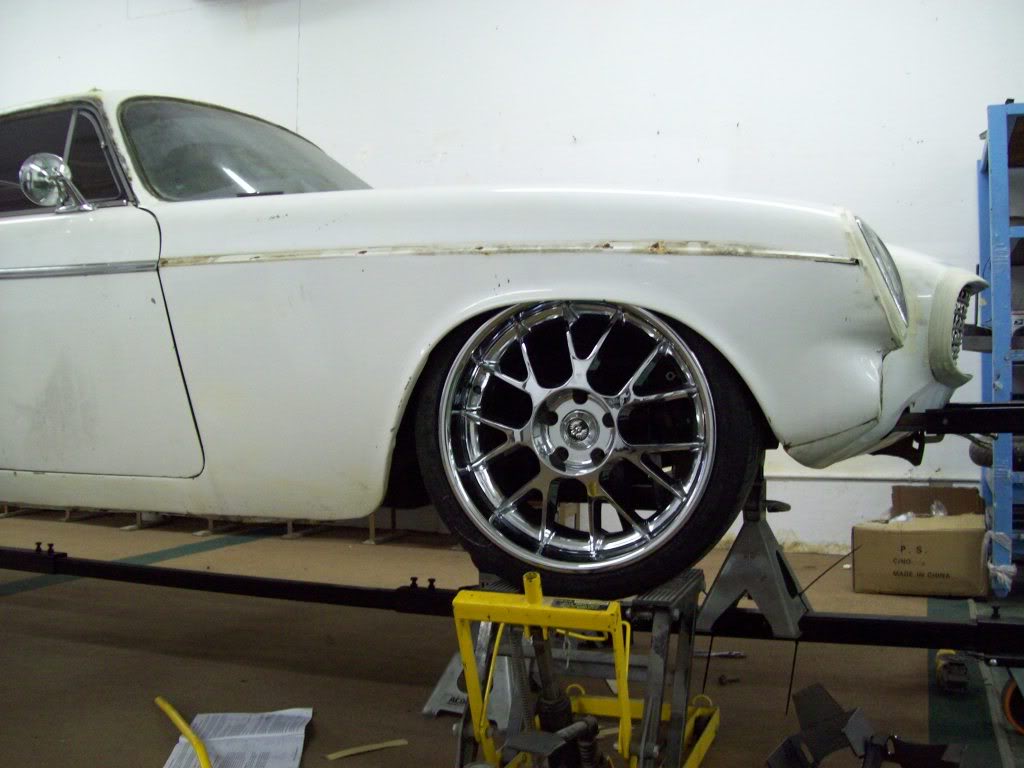
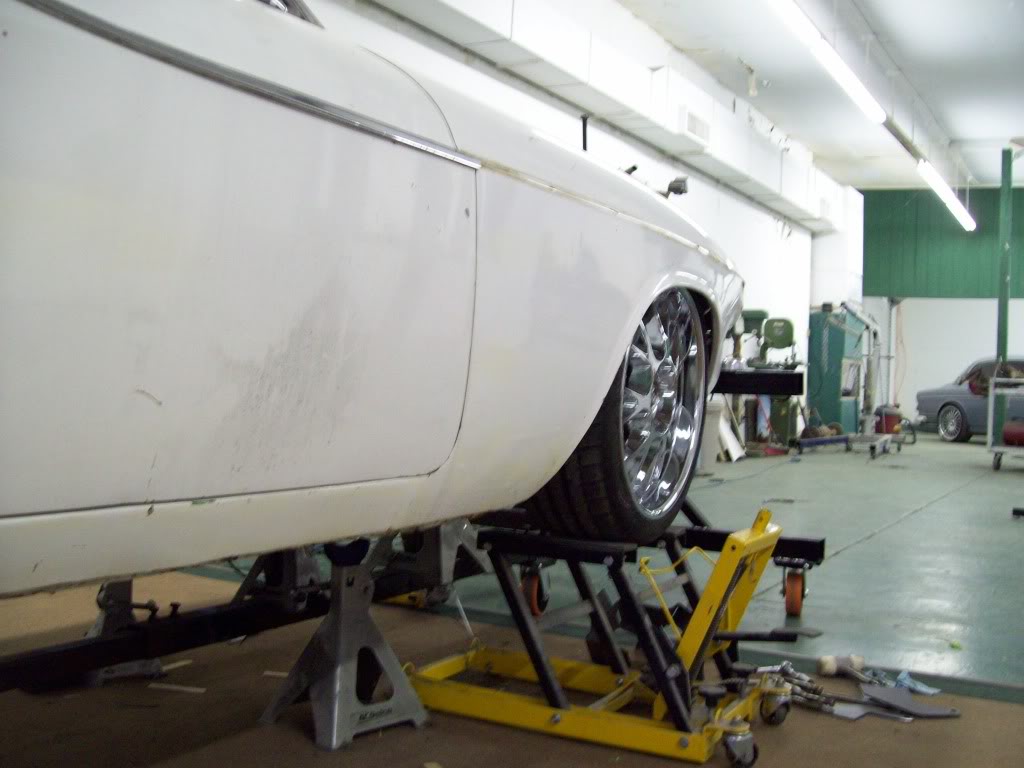
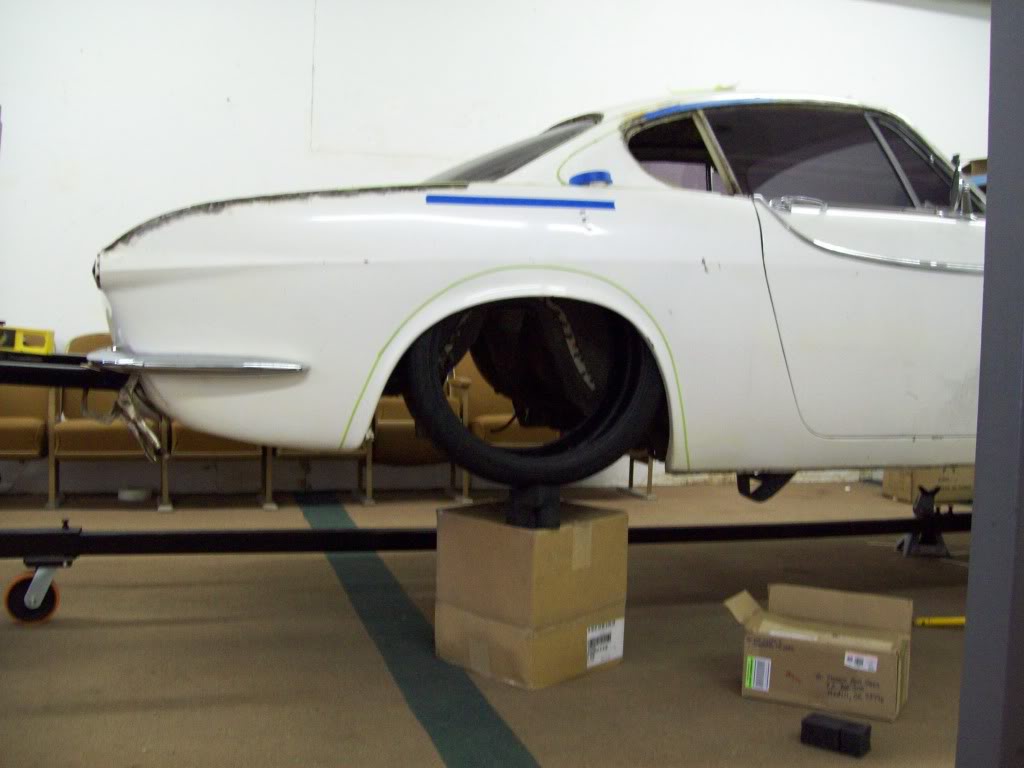
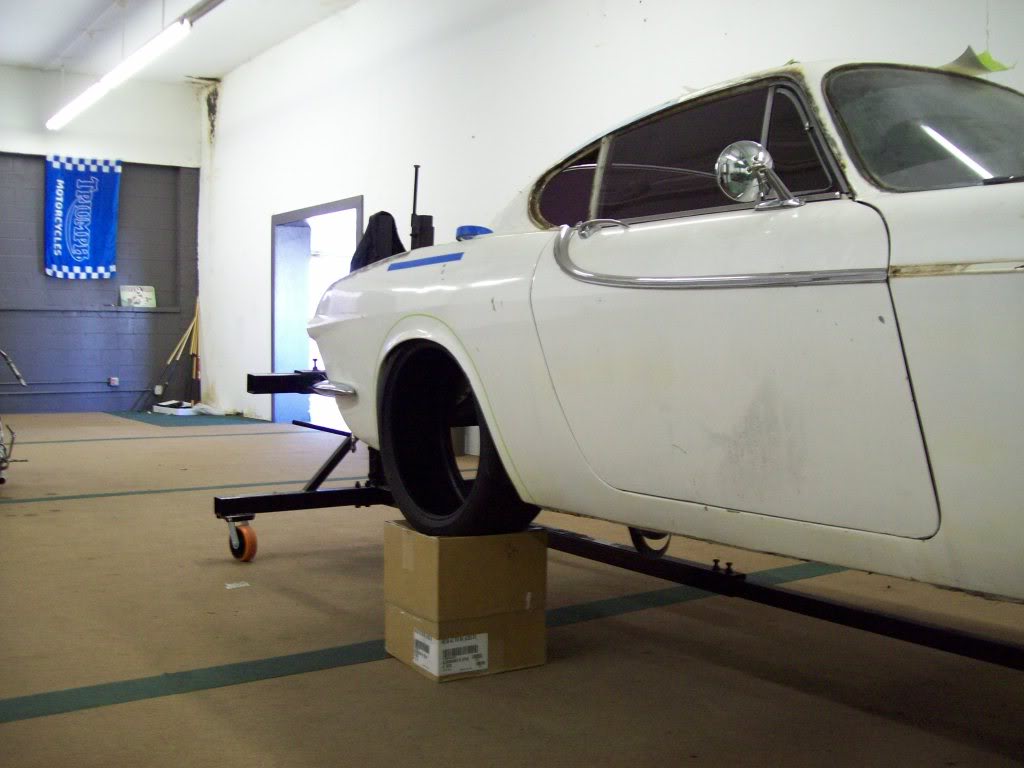
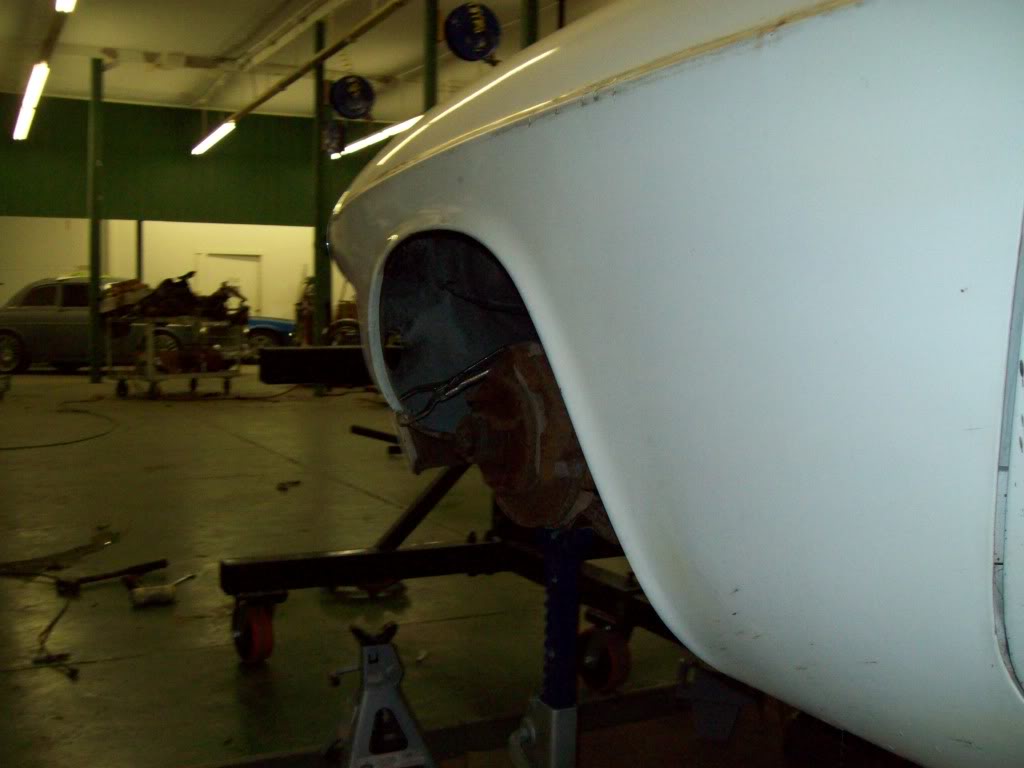
After trying to determine a few things, I think it is very clear that the wheel wells will have to be raised. That is a 19x8.5 rim in the front of the car, and in order to get the ride hieght about where I want it, you see where the wheel is located. It looks more like a drag/funny car, than an actual driver.. The car always sat higher than most, even when I had already lowered, it.. It really sat high in the front nose, it always looked incomplete in the very front end.. Even when the tire is in the position it is in right now, there is adequate room for steering if the actual opening was opened up enough to allow the tire to stick through.. Even if there is some tweeking that needs to be done to the inner fender, there really isnt a issue or to much labor involved.
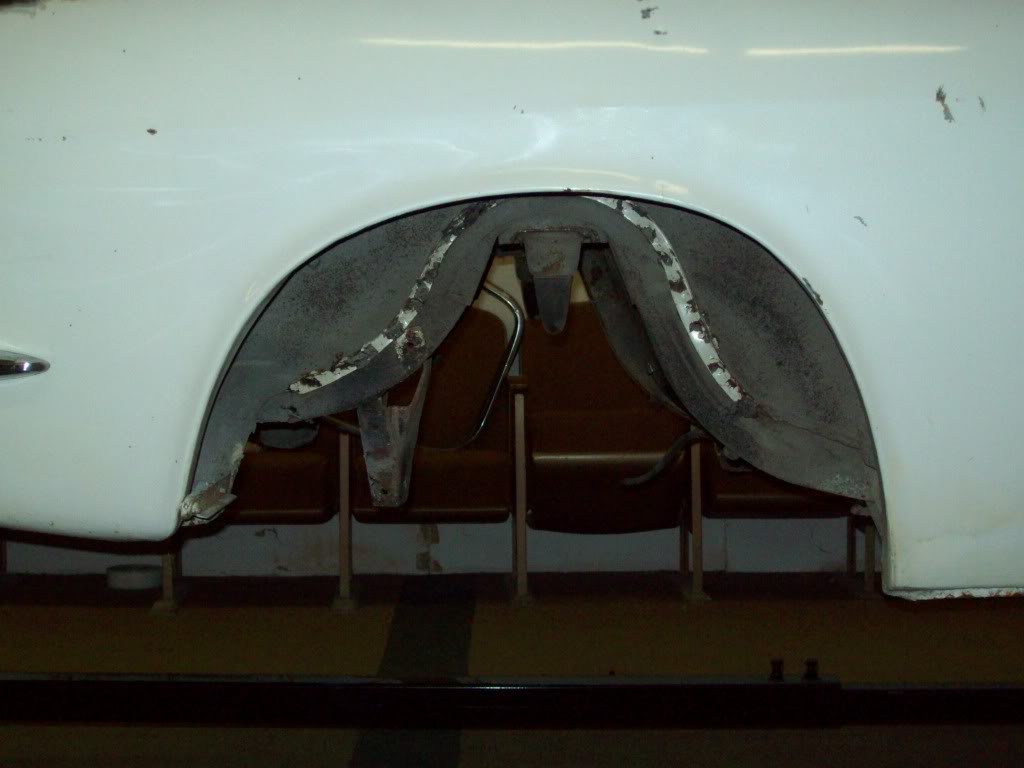
I am going to have the wheel arches blend into the body line as pictured in the renditions, there seems to be plenty of room.. I really dont understand why the car was built in the fashion it was.. The wheel housing literally look like, if you pulled all the suspensiona and set the body on the ground, you can still stick the 19's in the wheel wells with plenty of travel clearance.. In the pics below, the bottom of the blue tape line is literally the wheel house roof, and it is wide enough to accomadate the tire... Plus, look at the size of the axle bump stop, and with the opening for the axle housing travel.. There is adequate room for the pumpkin to travel to the same level as the axle tubes...
My plan is this.... I am going to find a few donor arches from and maybe tack them in place before I do any cutting to this car.. I should hopefully get an decent image of what it appears to look like, and I am not stuck into anything yet, because nothing has been cut..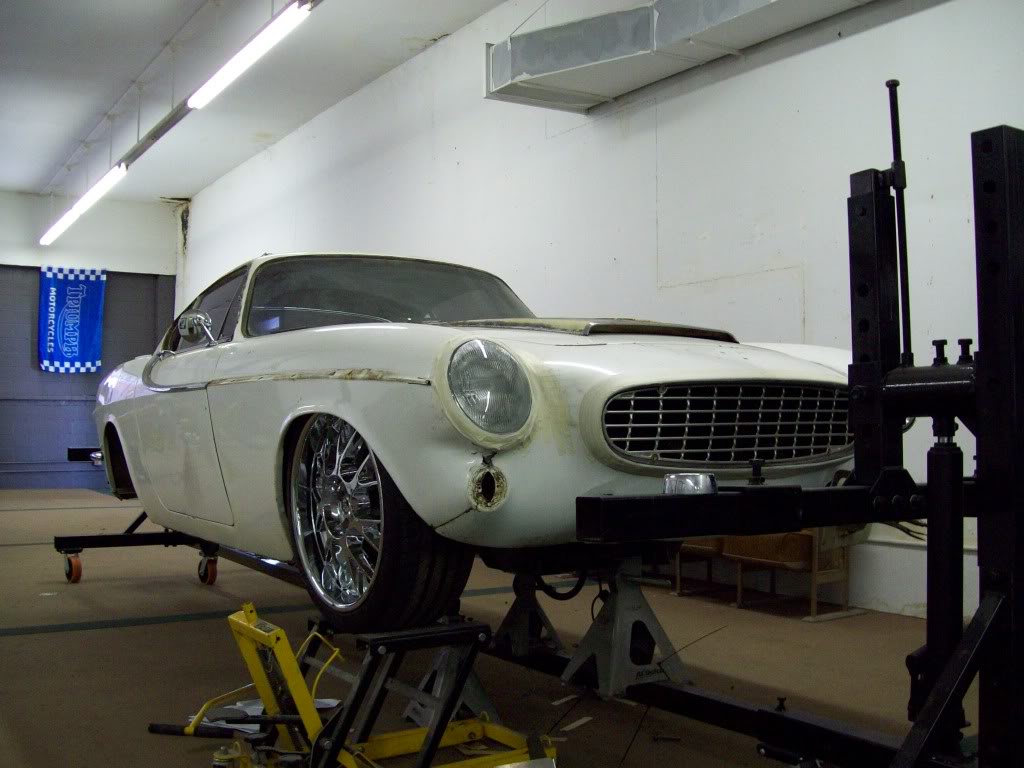
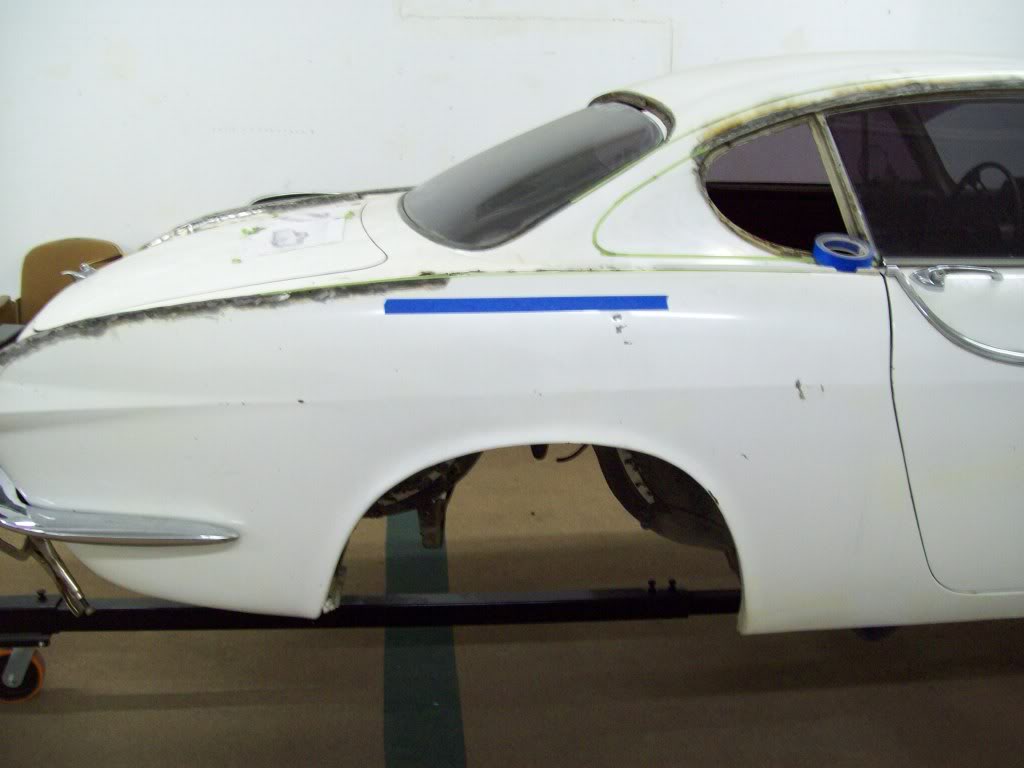
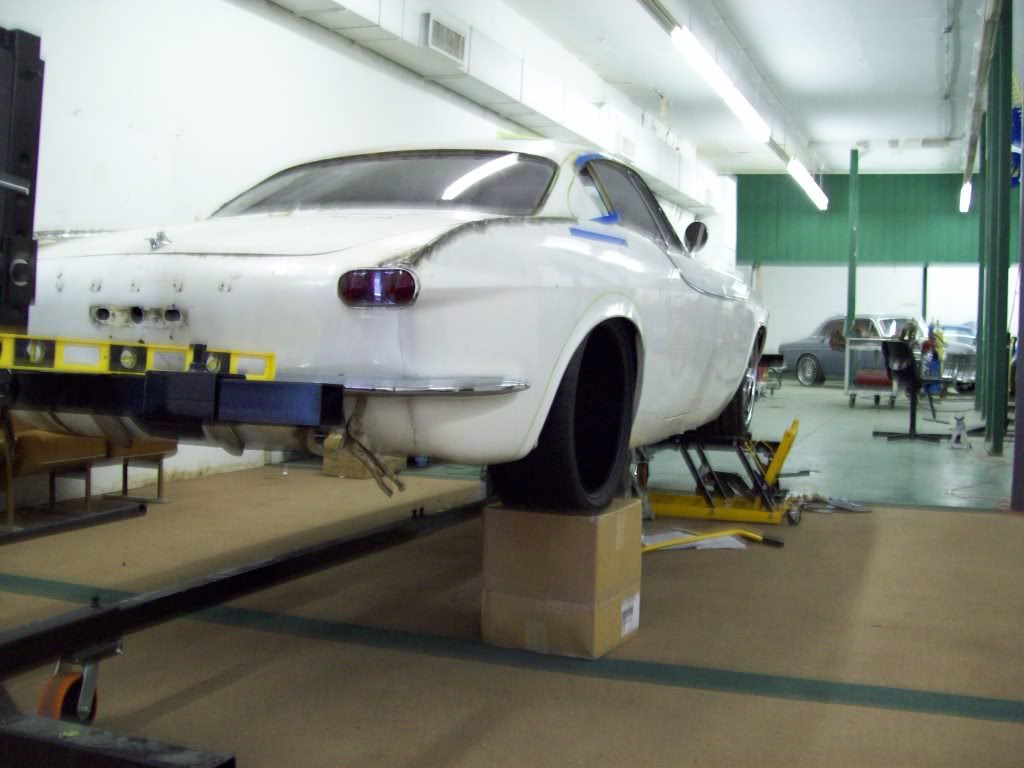
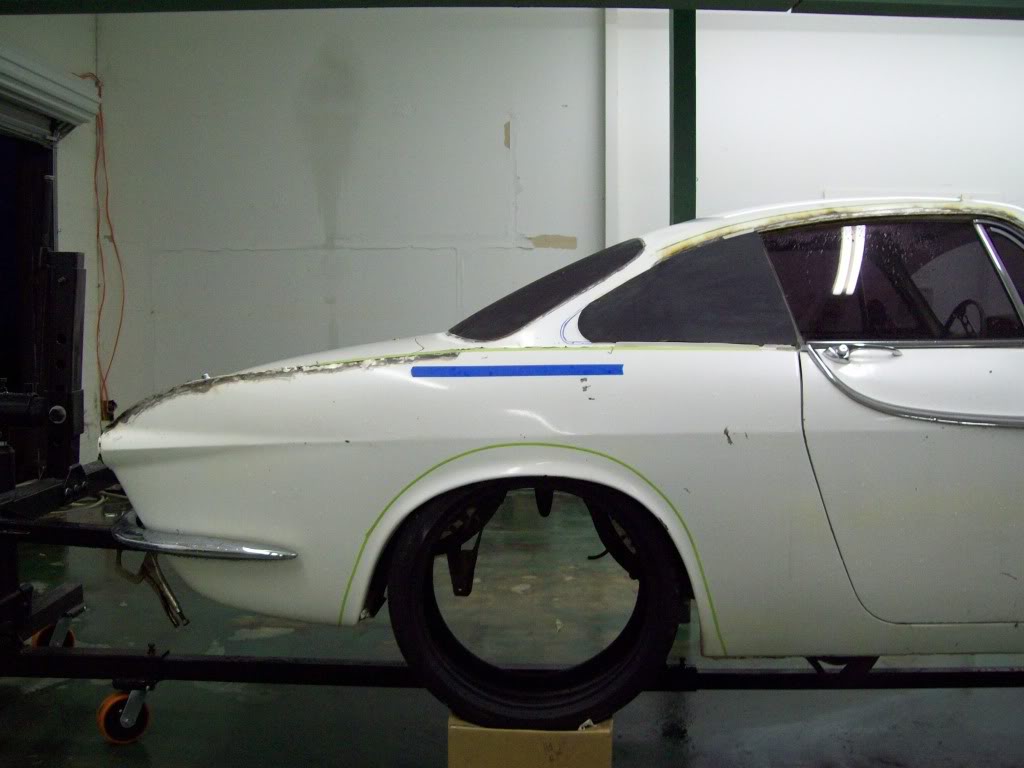
Here are a few pics to the rear clearance area, and some ballpark taped out wheel well lines... That is a 245/35/19 inch tire in the hole there. Once the quarter lip is extended up and out a bit, I am pretty sure I can get a slightly larger tire in there with very little hammering.. ha ha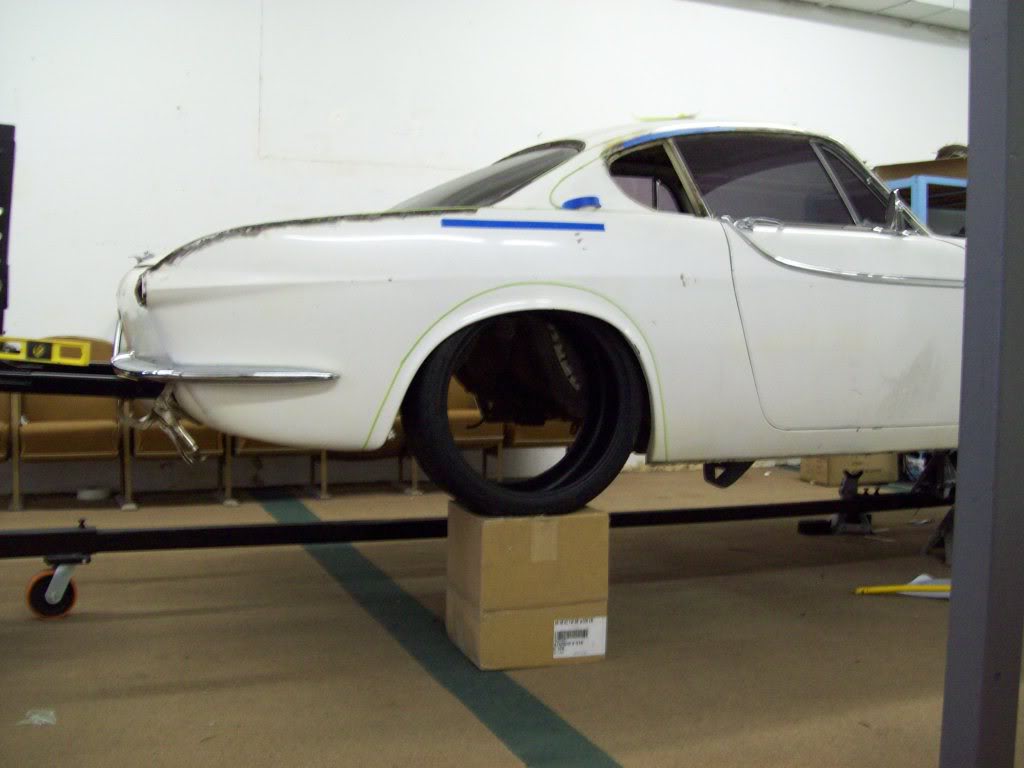
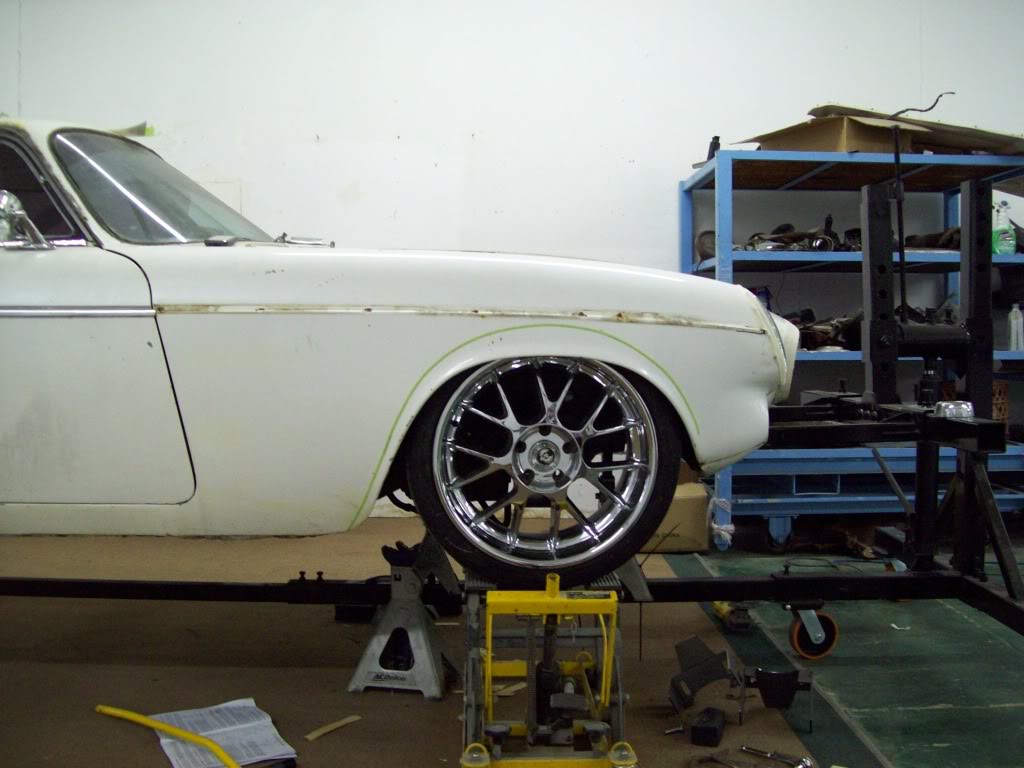
I got my factory Mustang II front end today and robbed some parts off of it.. I have the spindle and rotor in position to where it would have the front wheelin the ride hieght pictured on the other side.. I will have to run a 2 inch drop spindle, and would probably be better running the 7/8" shorter upper and 1" shorter lower to give myself better offset control with my wheels.. Right now, if the wheel was the same bolt pattern, it would bolt on the drivers side and be in the same poistion hieght and offset, so I think things may work out just fine..
Where my dilema falls is this... I need the Upper A Arm to bolt and adjust in the wheel housing, because the factory Volvo opening is not wide enough to accept the Mustang control arm.. It does appear that will definitely be possible with the shorter arms, because it looks possible right now with the exception of the Control arm Over hang on the backside of the pivot point.. I need all this to fit in the wheel housing, because I do not want to cut the car, and I am looking for a complete bolt in system.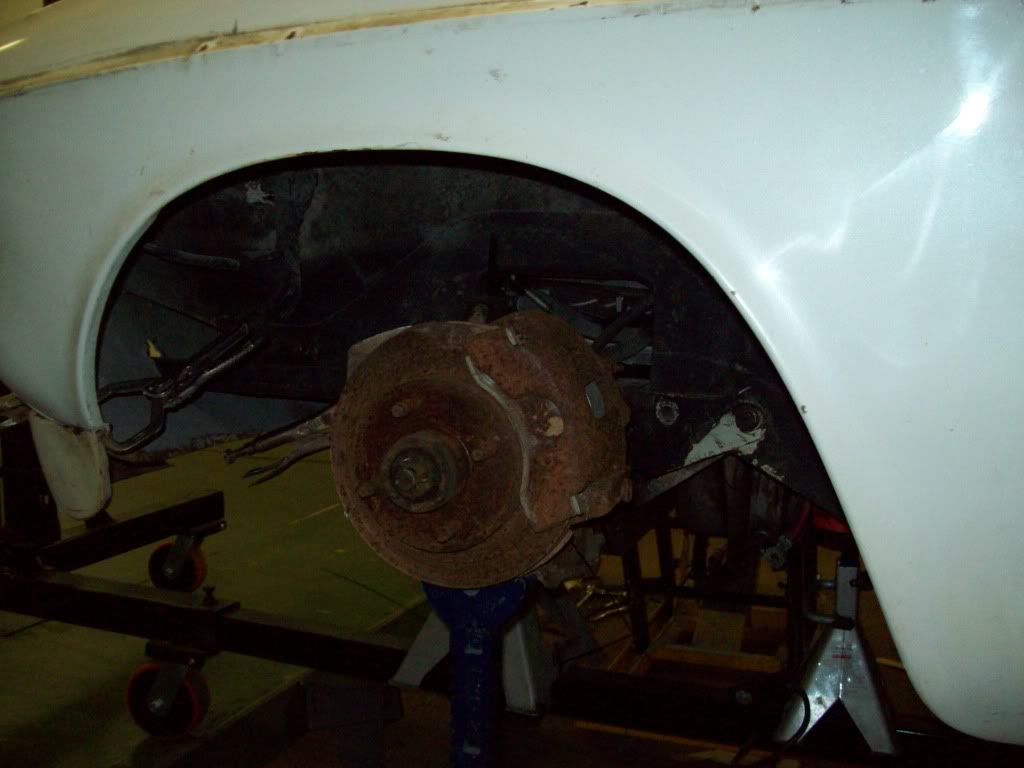

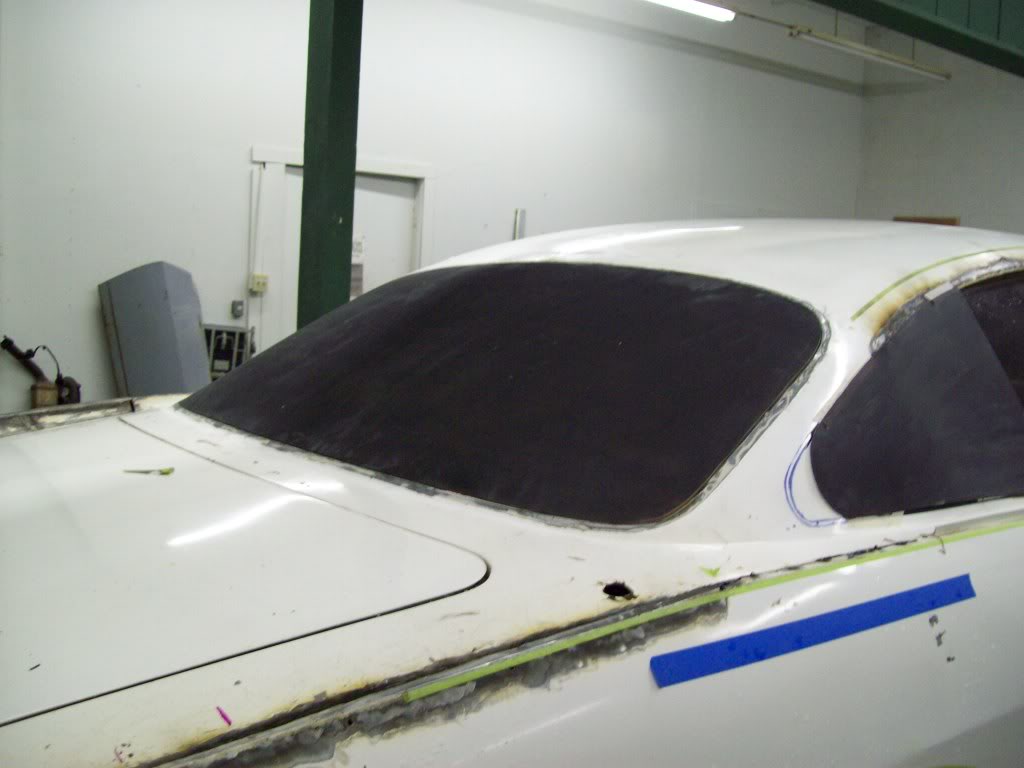
I have been working on a rough (Not smooth with a glossy surface yet) in on the Flush Mount Glass Patterns for the rear glass, I will finish up on the patterns for the Front Windshield and post them later.. This is the basic fit of my glass kits, and is the kit I will be offering if anyone wants some. The patterns really dont do the glass justice, there is nothing like shiny new glass to continue the body contours. Especially when it is un interrupted by the trim or rubber. At this time, I will not be offering the Green House Roof/Back Glass..
I had to make the Flush Mount Rear Glass pattern to fill in the hole, before I can make a pattern of the complete top and back glass for the Green House Roof/Back Glass.
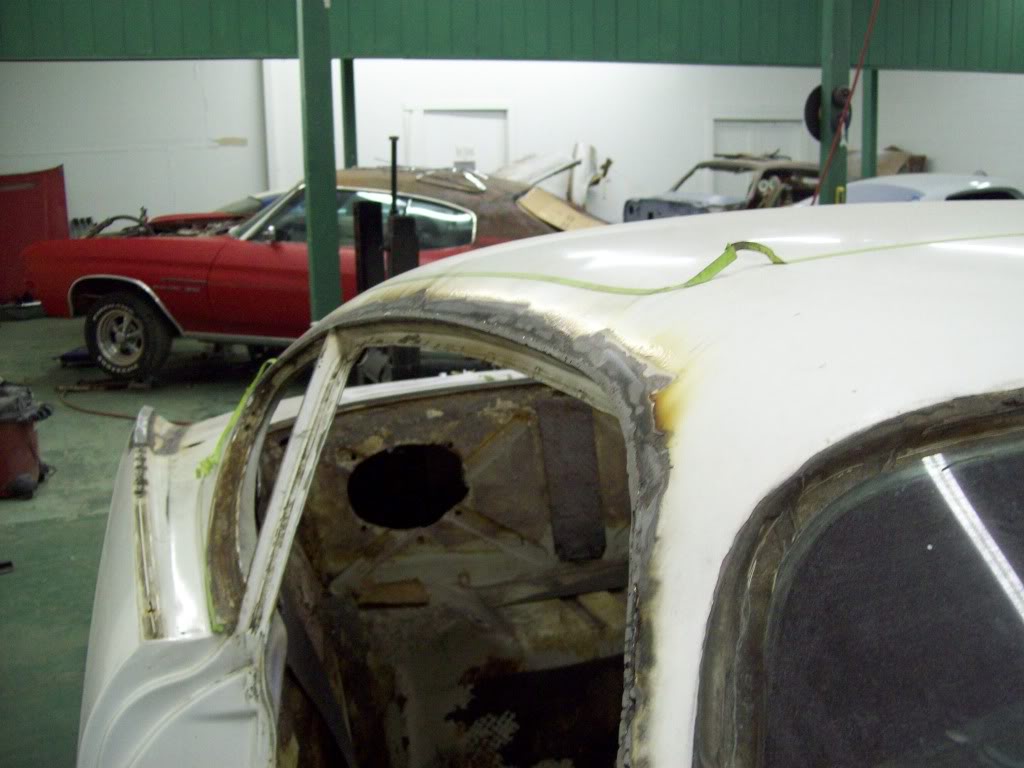
I have also made a stencil for the quarter window, what do you guys think? It seems very close to what is pictured, so I think I will go with it.. Pictured below is a comparison between the lower glass/quarter glass lines on the rendition and the glass patterns I have.. They appear to be very close, but I think I have to sharpen the corner on the rear of the quarter glass stencil....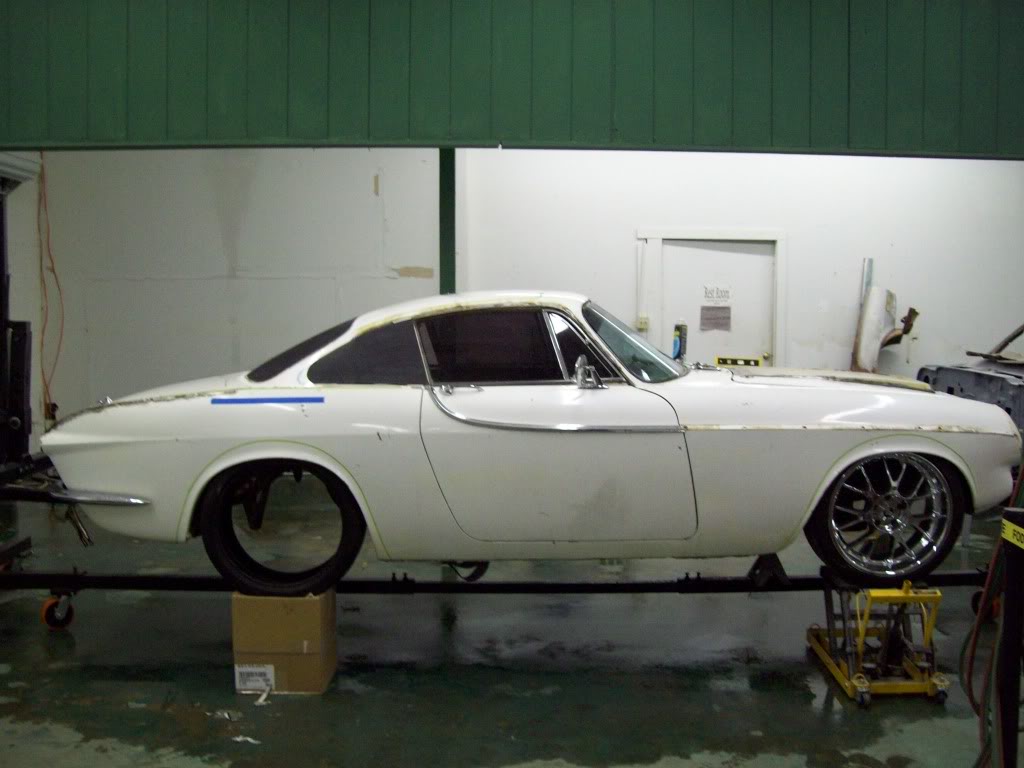


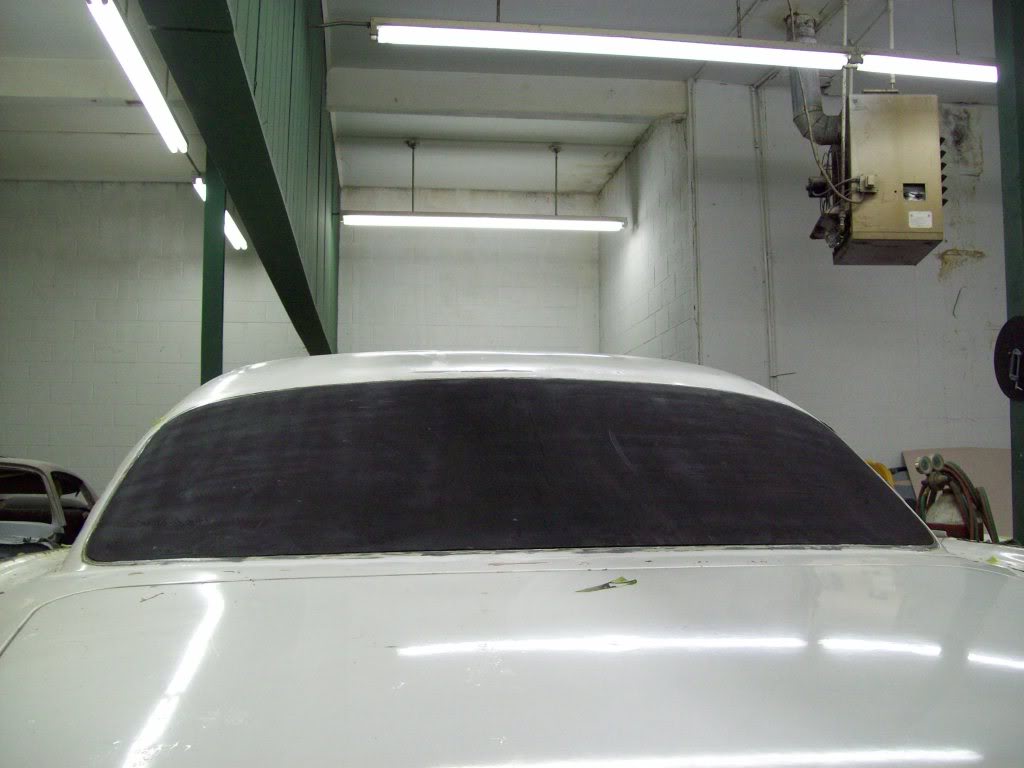
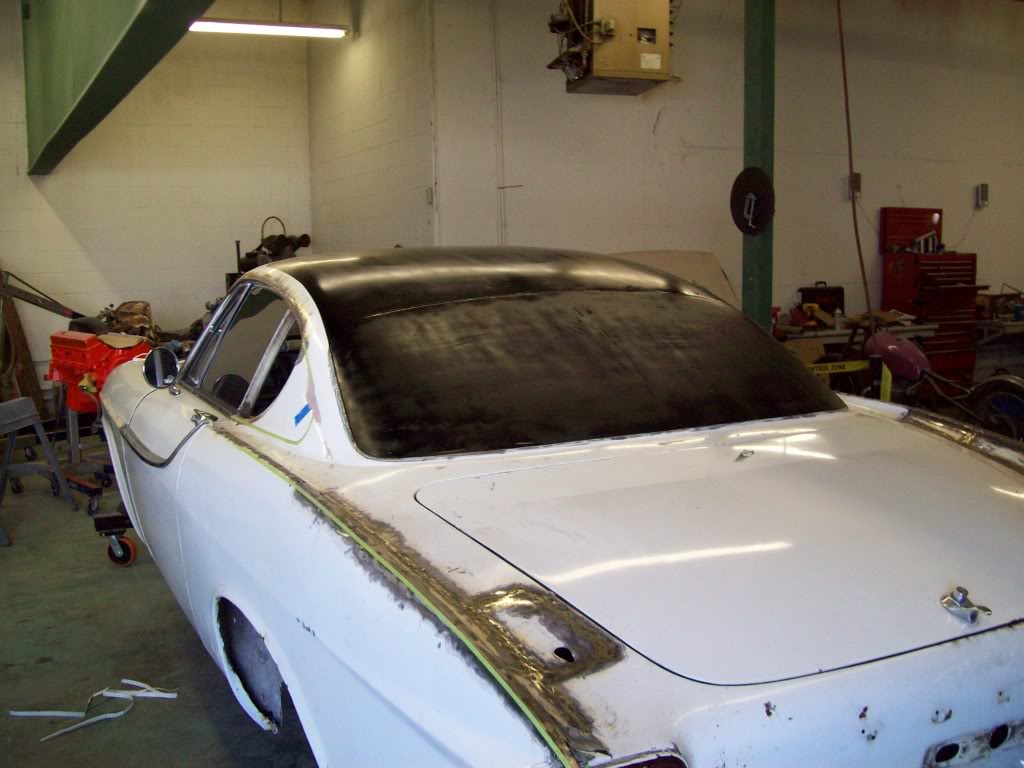
It takes a bit of vision here, but this is the basic outline of the Green House Roof/Back Glass... I will still be tweeking the rear of the quarter glass template a bit, just to tighten and refine the back corner a bit. This looks like the basic outline that will work with the body structure, with minimal metal fab...
I am very visual, so the Tape and Black outs really helps put things in perspective before the cutting.. I have all too often thought something would look right by measuring it out, but for some reason, it just doesnt flow correctly.. So, I have grown very dependant on the extra time to map things out and stare at it for a couple of days before I do anything drastic.. ha ha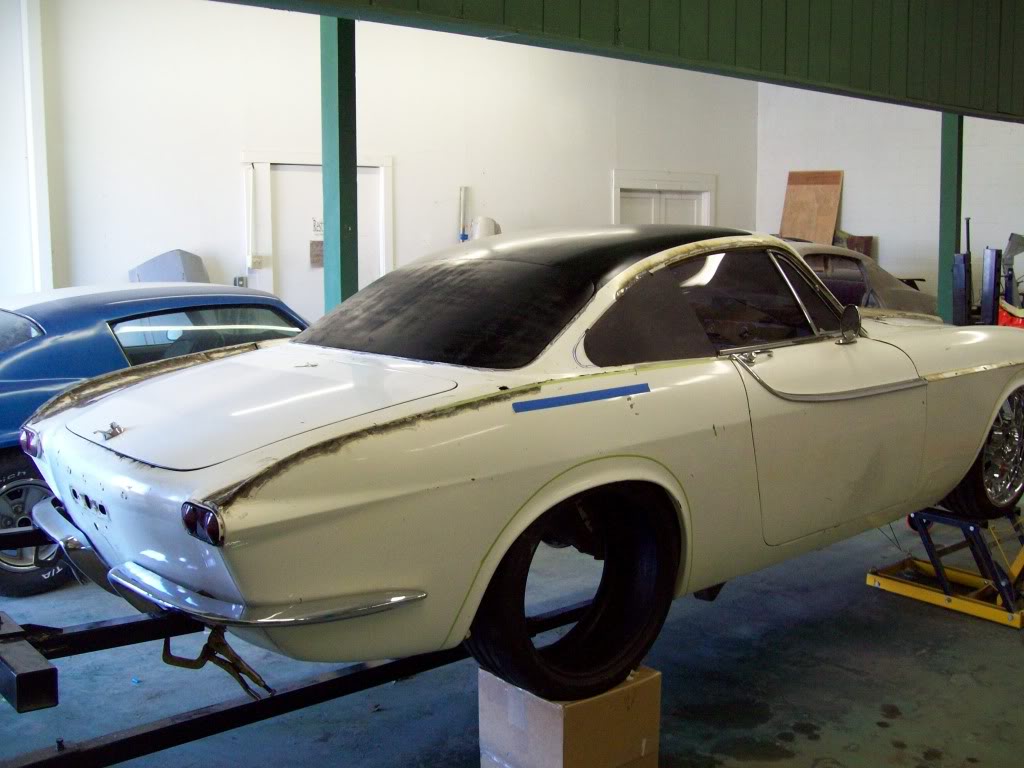

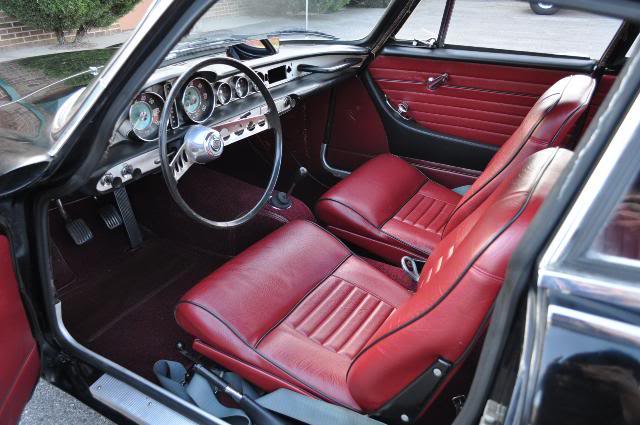
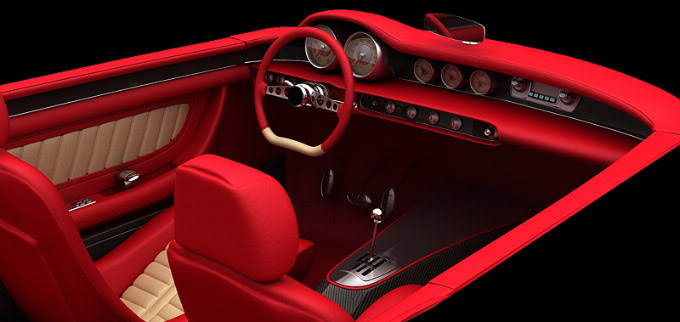
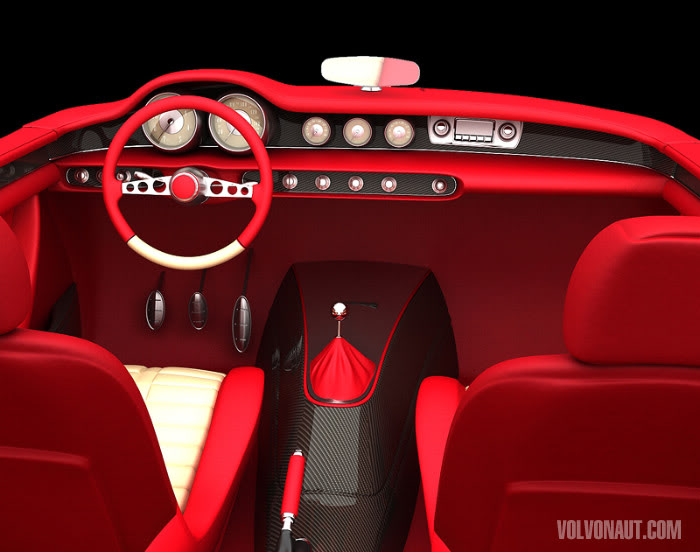
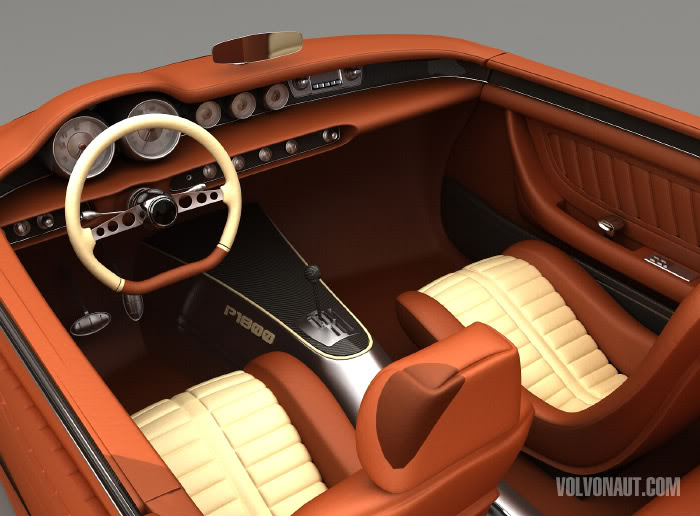
Here is the interior concept I have to work with.. It seems that the P1800 interior style is timeless, with very little tweeking, it right there with the current High End Cars.. I really dont think these cars had as much appreciation for its styling as it deserved.
Just look at the original interior compared to the concept, not much was changed at all, and I personally think it is spot on with the exception of the shape of the front seats.. I personally like the original seats and think there can be a happy medium between Original and Custom when it comes to the seats.. Now all the rest of the interior is beautifully done, and I dont think there is room for improvement there.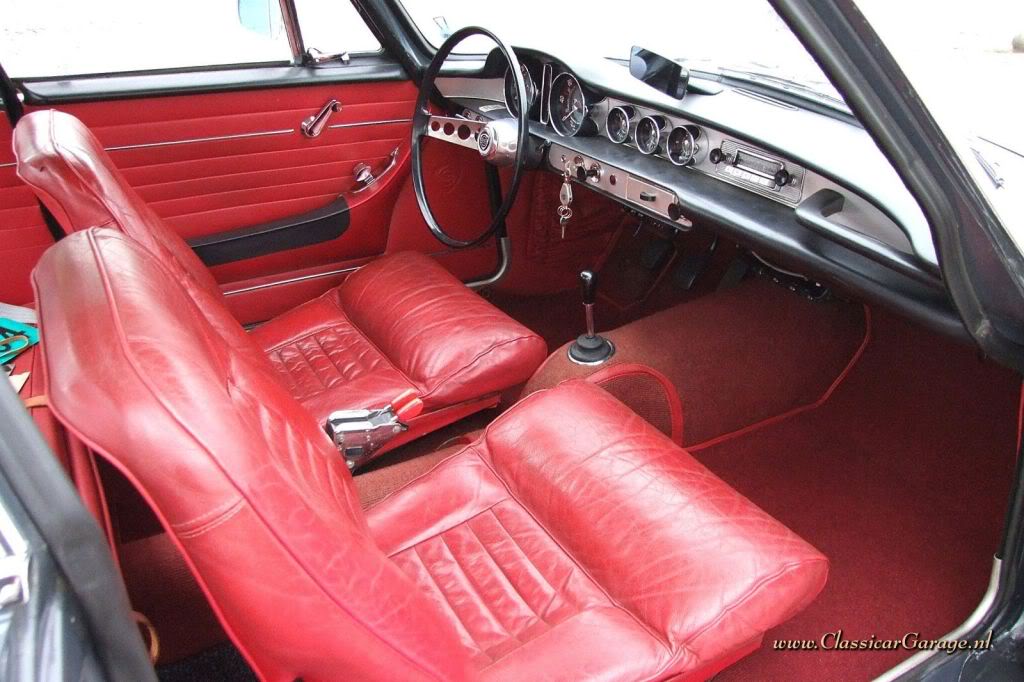

Wow great build!
Posted by Diggymart on 1/23/19 @ 12:57:35 PM