You must be logged in to rate content!
7 minute read

1. Put blocks on the rear wheels to prevent vehicle from moving. Engage the handbrake. Put the key into the ignition in the on but NOT started position and foot on brake to shift into "Drive (D)" (engine is NOT running).
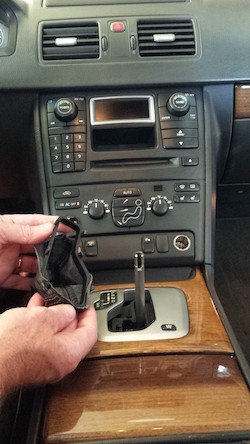
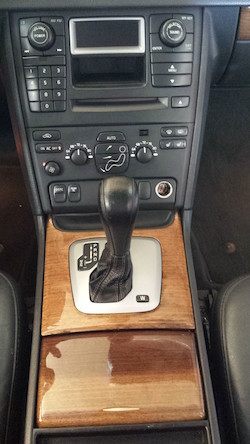
Right under the base of the gear shift is a ROUND CLIP that holds the existing "Fake leather" boot in place to the bottom "head" of the knob..... Gently wedge that clip away from the base of the gear shift knob. It will take the top of the boot with it away from the "knob". Set this plastic ring clip aside. You will inset it back up inside the new boot for re-assembly.
Climb into the car and literally straddle the console. Right leg in the passenger side, left leg in the driver side.... reversed for RHD cars. :) You are going to take both fists and grasp the gear shifter after putting it in (N) Neutral. With an upward thrust forcefully pull upwards and outwards. Careful about hitting yourself with it. Thrust upwards a few times until the gear shift releases and comes unattached. It will, keep trying.

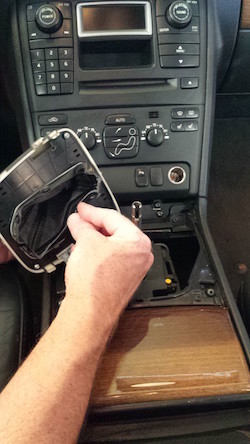
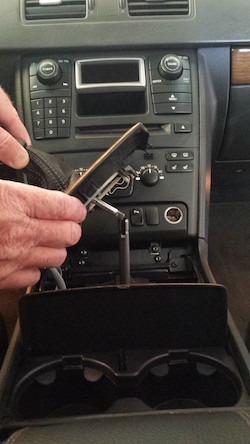
2. Open the cup holder door and from the edge of the cup-holder hinge area, your going to gently lift the edge of the wood plate that surrounds the gear shift and gently pull it away from the center counsole. Lift and un-scoop away from the back of the dash board.
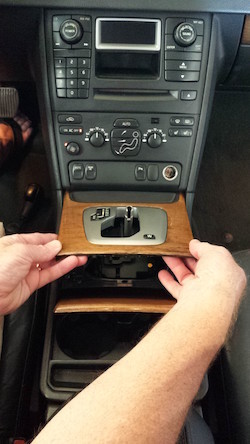
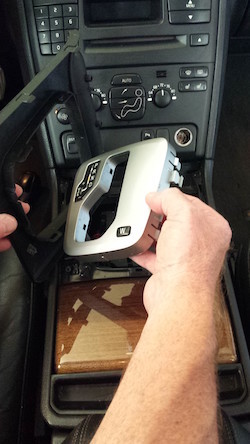
3. Turn the gear shift plate over and disconnect wire clips. Then look for the plastic taps that hold the silver gear plate to the wood frame. Separate the two.
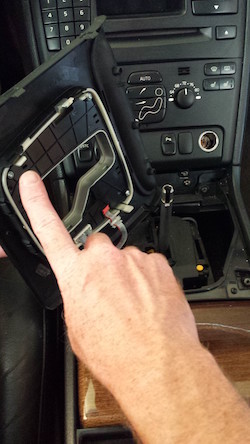
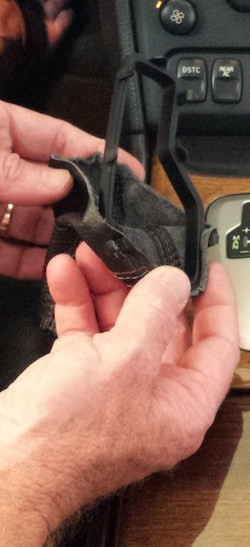
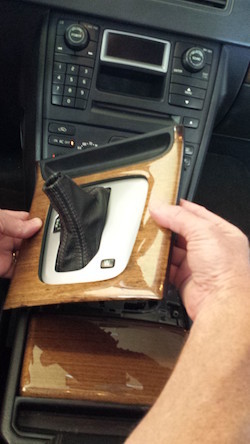
4. Remove the old boot from bottom of the gear shift plate by removing the frame.
5. Put the new boot on the frame.
6. Alignt the cuts in the boot with the notches on the frame.
7. The fit will be tight.
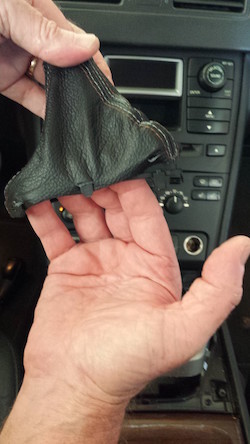
8. Allow leather to stretch. Attaching sides first, ends later works best
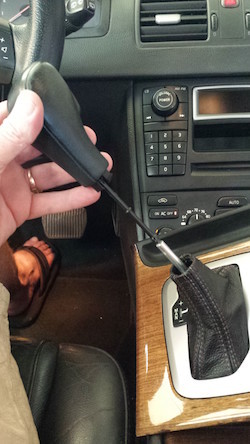
9. Start re-assembling:
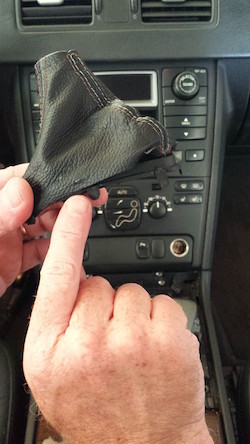
10. Fit the shifter plate to the trim frame...
11.... and tuck the two plates back into the center console.
12. Tuck in the round boot frame inside the boot to attach (snap) in the base on the shift knob. Put a dab of grease on the end of the shift knob metal end before inserting back into the gear shift manifold. This assures smooth shifting and this is a good opportunity to keep everything lubricated.
13. Enjoy your new shift boot. :)
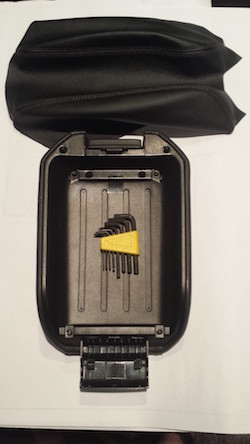
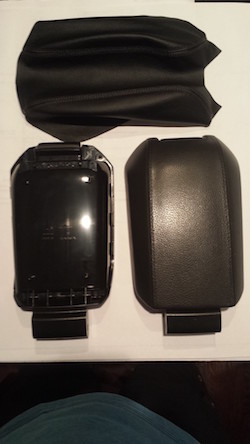
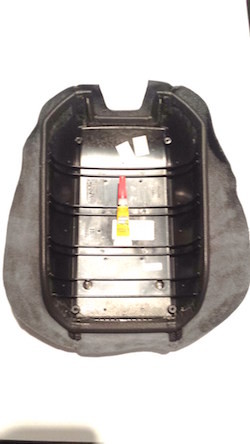
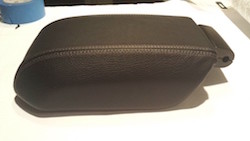
14. Remove the armrest from the center console. Turn the lid over and you will see several bolts to remover the armrest plate. So this is a two part lid. The lid and the holding plate.
15. Once you remove the holding plate, you will see the vinyl assembly that is glued in place.... I chose to keep the old fake leather in place as RedlineGoods provides ample extra material to wrap around the factory fabric. There is NO NEED to remove it. You are going to wrap this with the new leather cover.
16. You need Super Glue to attach the new leatherto the base of the armrest. Lay out the Leather on the table Top Down, Place the armrest upside down in the center and work from the SIDES first. Small dab of Super Glue on one side.....hold it in place until it dries (2 minutes), then do the same on the opposite side. Be sure to check that the New Leather wrap is aligned to the armrest before setting the glue. Once both sides are dry and holding, do the same thin on the front and back pulling firmly but not too hard for a firm snug fit with no bagging or flap in the leather. You want a factory like fit. Now you can work around the edges with just a spot of glue all the way around. This takes a bit of time because you are waiting for the glue to hold.
17. Insert the armrest tray back into and over the ends of the Leather.
18. Remove any extra leather that is in the way. Some trimming with scissors may need to take place.
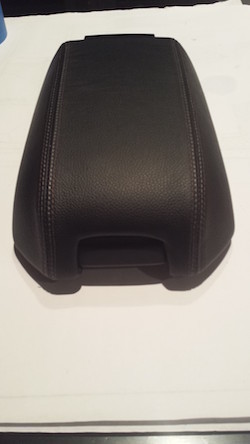
19. Reattach armrest to center console. Now the armrest and the shift boot are a matching set. :)
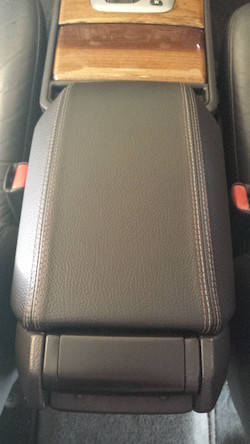
ENJOY YOUR NEW LEATHER BOOTS!
Useful tip
You have installed a product made out of genuine leather. As you know, to maintain a leather product in good condition, you should take care of it. We suggest occasionally (every 4-6 week for example) applying some leather conditioner/UV protector to keep your leather from drying up in the sun and cracking.
Redline Automotive Accessories Corp. will not be held liable for any labor, incidental or consequential damages of any kind. Proceed at your own risk.