You must be logged in to rate content!
5 minute(s) of a 113 minute read
8-1-2013
8-1-2013
Music pretty much reflects parts condition. ![]()
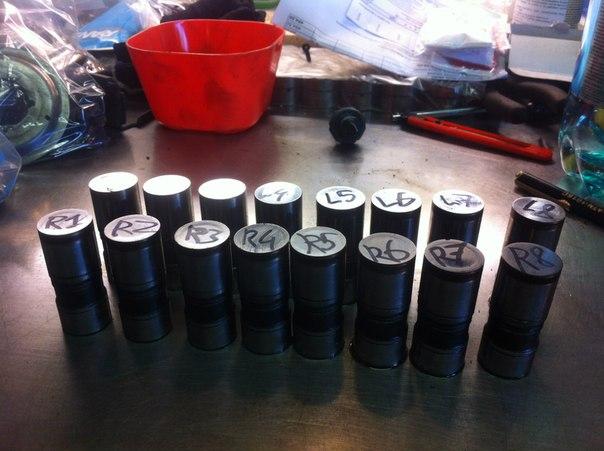
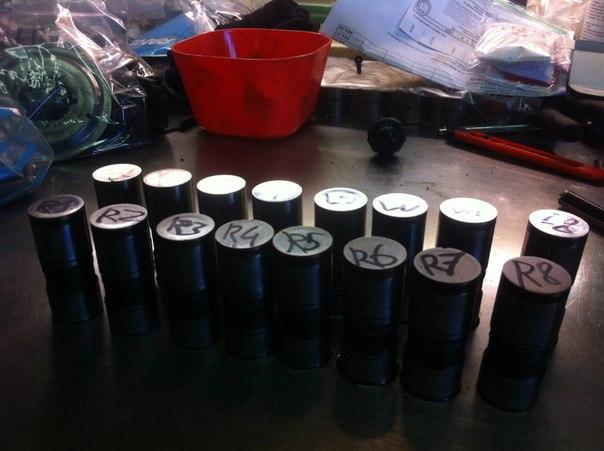
All lifters are different! Most of those are worn "in".
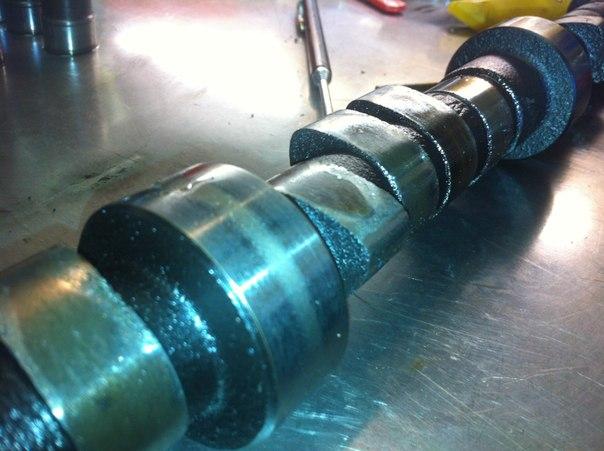
Dat cam!
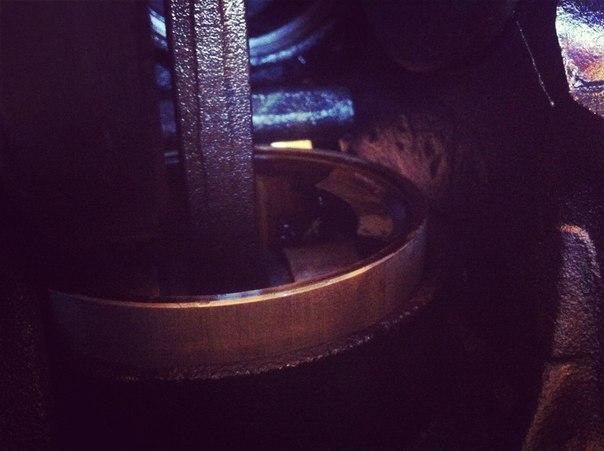
I like the design of the engine block! It's different and beautiful.
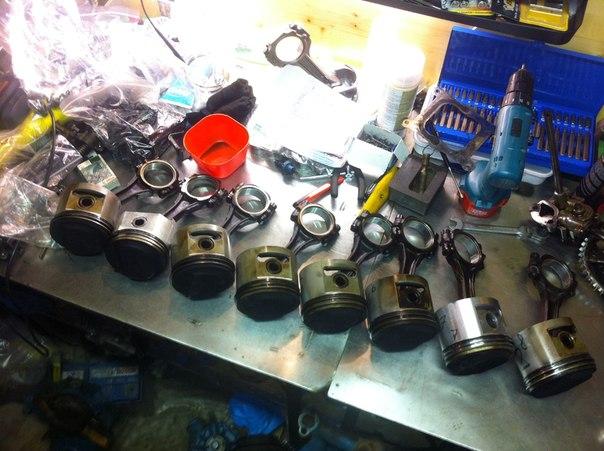
The pistons! Guess what! None are originals! All STD size!
5 are Bohnale (or some like that) pistons.
2 (on the right) are fresh looking not marked ones (egge?)
1 is probably a TRW forging! (2nd) The one which didn't have valve recesses!
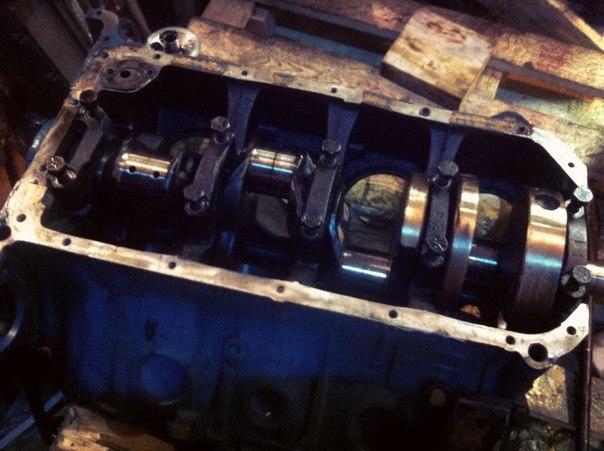
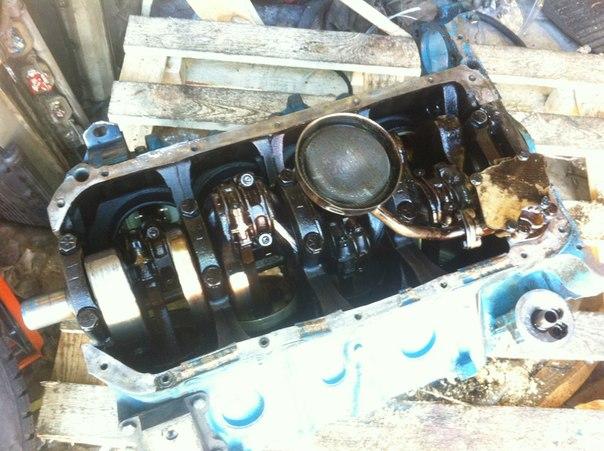
I was surprised, the crank did rotate like a charm when free of the rods (tightened up, of course)
All bearing are worn out, scratched and scored, but nothing too hard.
I expected a spun bearing actually! The crank will go for the first undersize.
So that's it. Right after that I called Russ and asked him to supply me some parts with a 2nd day air shipping, in order to get the parts to my forwarder on Friday. Okay-okay, we figured that some is at the TX warehouse, and I'll need to call tomorrow. Suddenly, it also turned out that he was late for a pickup at UPS and we were all up for next day air. It was sad, sad, sad. I had to call him at 9 o'clock in the morning, California time, so he'd prepare stuff in Texas and weigh up. And so I did. But then he suddenly had to go for an appointment... Called within 2 hours, just like he said, nobody on phone! Not to say I had to miss a train to Moscow in order to buy the parts, because he had a sudden appointment, but whatever, I was on the phone. Got worried so much, so I called Carmen Faso. Now he's the man, really. If you ever need Buick parts, don't choose and think, just get him a ring. He was fortunate to help me, he had the parts, but we were out of time. So I called Russ again, guess what? "It's too late for Texas warehouse, why didn't you call in the morning like I said" ![]() I did try few more things, but I couldn't get the right parts in the right time.
I did try few more things, but I couldn't get the right parts in the right time. ![]() No parts - no machining - no time gain. My friend wasn't happy either, but we weren't too sad, because we were already too sad yesterday! haha!
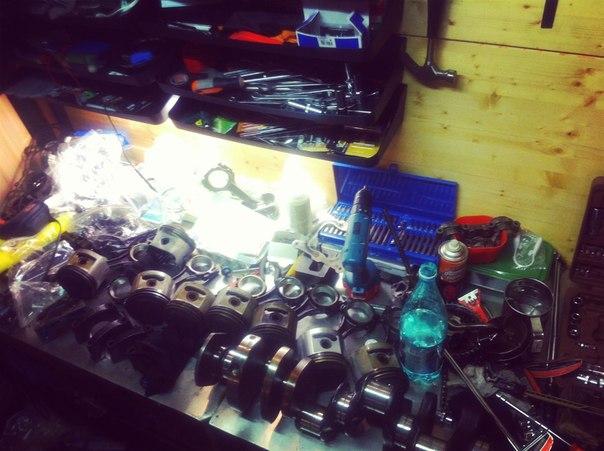
No parts - no machining - no time gain. My friend wasn't happy either, but we weren't too sad, because we were already too sad yesterday! haha! ![]() So here I am now. At least I have a plenty of type to inspect the bores more carefully and to check all journals for exact sizes and ovality of each, to kill the time...
So here I am now. At least I have a plenty of type to inspect the bores more carefully and to check all journals for exact sizes and ovality of each, to kill the time...
Anyway, you can clearly see, Russ is more of a trader, "don't ask" guy, and Carmen is more like a car guy, a hot rodder, with a proper dedication to the stuff he does and contributes to the Buick community. It's been a great pleasure to talk to him! ![]()
Still gotta buy a bunch of parts for the next Friday...
I'm looking forward for your advices on the rebuild, I didn't have a chance to get a Buick repair manual, but this website features clearances and they are the most important specs for any engine, I think. Maybe this thread would help to guide someone as well...
Thinking, I wouldn't trust too much "fixed-in-rod" wrist pin in colder climates. I'm afraid that a non-floating pin might stuck, if the piston would shrink too much in cold. And a full floating wrist pin would promote a more even wear on all of the surfaces - piston, rod and pin itself.