You must be logged in to rate content!
9 minute read
How to Install Draw Tite Hitch on Abarth
Compliments of an02wrx @ fiat500owners.com
12-28-2012
Let me get the disclaimers out of the way for this write up. First, this is my first actual write up I've tried to document with pictures, etc, aside from an WRX engine build. Second, this is way more involved than just a little modification as far as the level of fab I got into to complete it. Third, this is for a 2013 or late 2012 Abarth that has the tubular dual exit exhaust instead of the earlier pancake resonator. Fourth, some of the modifications that had to be made appear to me have no bearing on if the car is an Abarth or not, and are more due to the quality (or lack of) manufacturing of the hitch. Fifth, this may or may not have been written after enjoying a refreshing adult beverage due to the long day this caused in completing.
Here is a list of tools and equipment that I used. I can't say this will be all inclusive, but it gives you an idea.
30 and 15 Torx
8mm and 10mm nut drivers
10mm socket/ wrench
Phillips screwdriver
3/4" deepwell socket/ wrench
13mm wrench
ratchets/ extensions/ etc
Welder (MIG)
cutoff tool/ die grinder
angle grinder
tape measure
sharpie
square
paint
wire cutters
razor blade
sand paper
If you're still with me... Let's begin. Some steps that are included in the instructions for the hitch I will gloss over, as I'm trying to focus this on making it work on the Abarth.
To begin, you're going to have to remove the rear bumper cover. To do this, first remove the tail light housings by removing the 2 10mm bolts per side.
This will expose 2 30 Torx bolts to be removed.
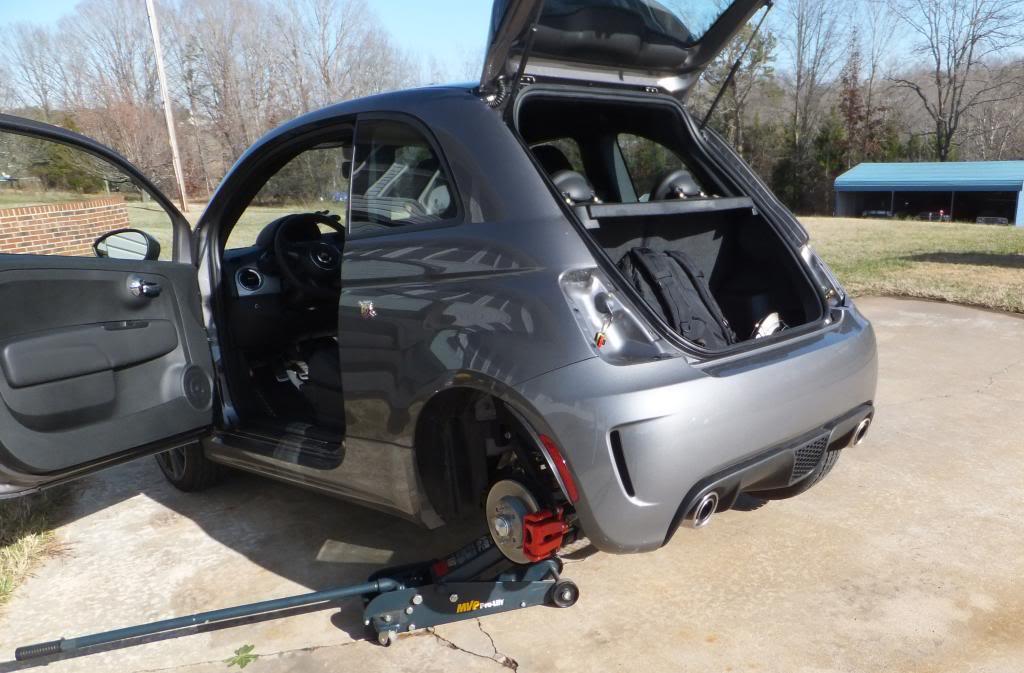
Next, jack the car up, and remove both rear wheels. In each inner fender there are 3 Phillips head screws to remove.
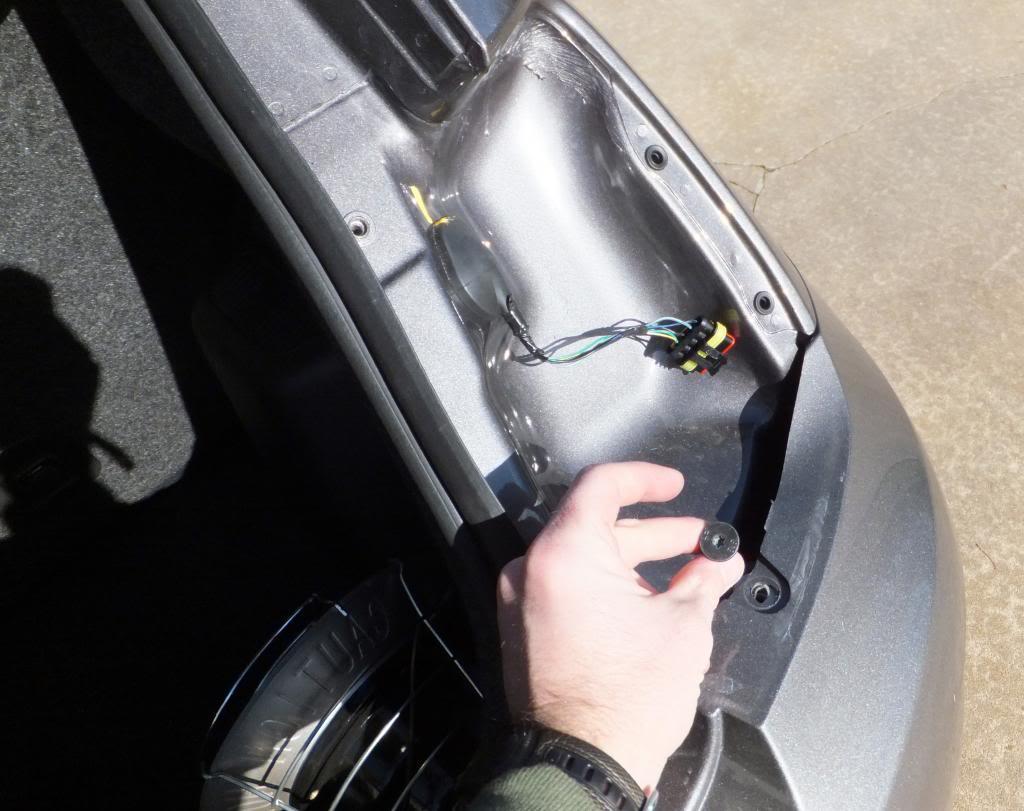
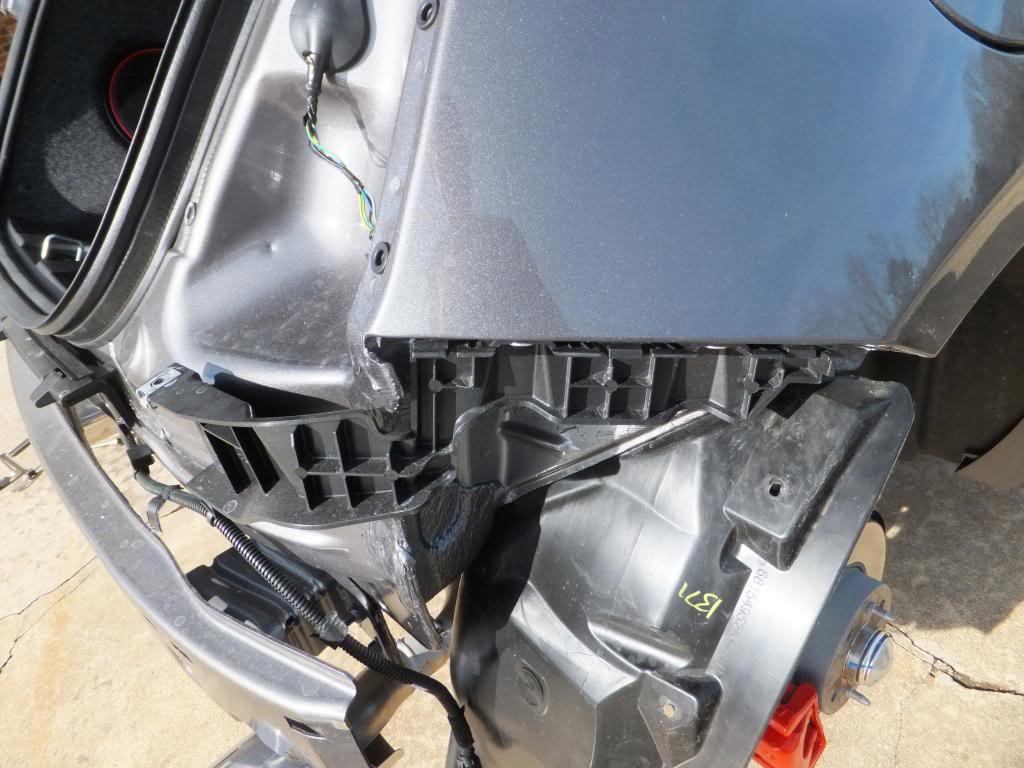
On the bottom of the cover/ diffuser are 2 15 Torx and 2 8mm bolts. Remove these as well. Then you will have to pull back the inner fenders to unplug the corner marker lights. Then you will look up and see another 30 Torx hiding per side like this.

Once you remove these, the bumper will unclip from the snaps along the top with a gentle bit of pulling.
That was the easy part. Now it's time to see how things are going to fit.
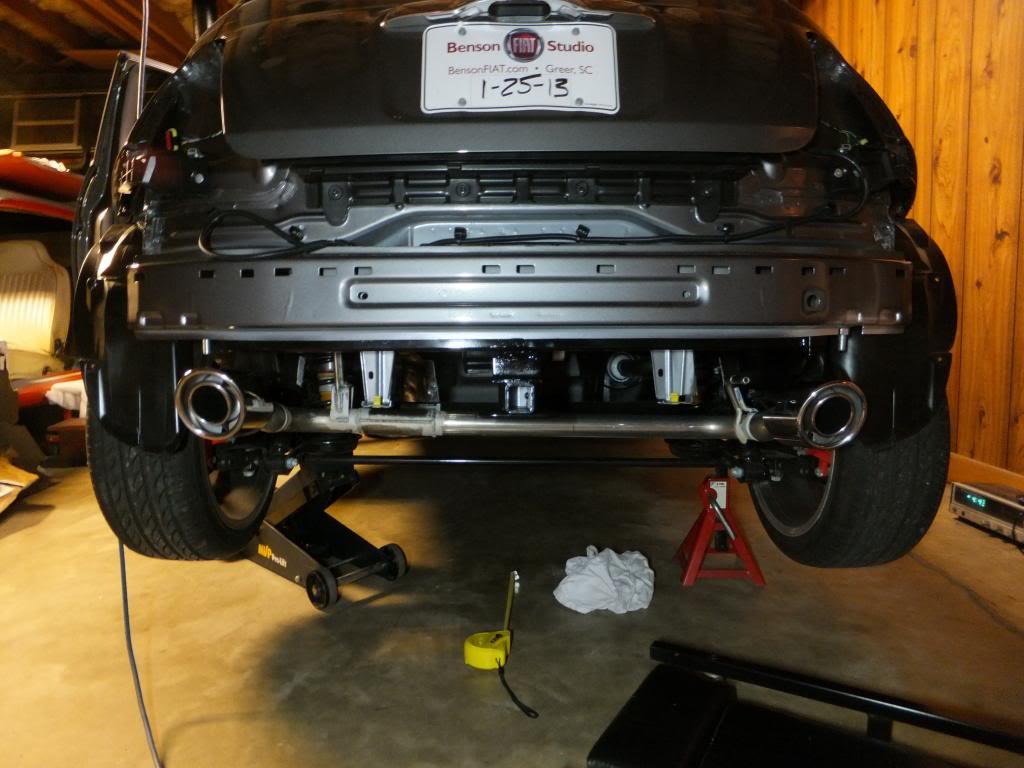
The idea of this hitch is it attaches by sandwiching the bumper beam mounts with some plates and long carriage bolts. The issues that will have to be addressed now will be; the amount of drop of the hitch to clear the diffuser, clearing the passenger side exhaust, and clearing/ aligning with other body areas (these being the bumper beam and the 3rd mounting point along the frame rail).
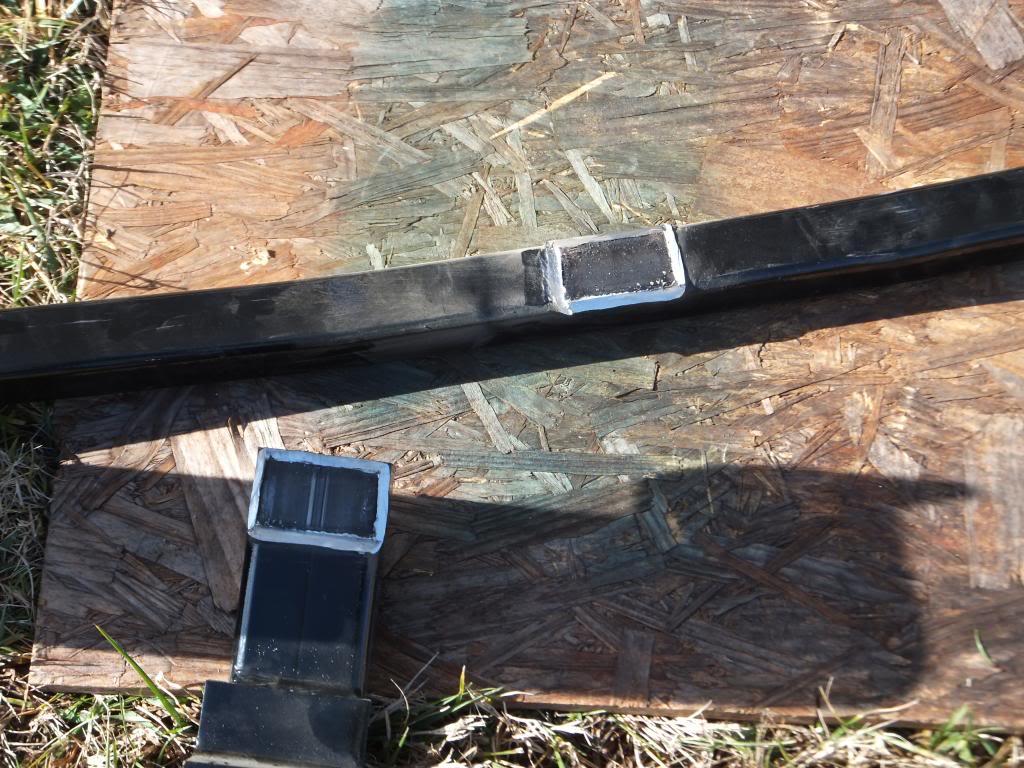
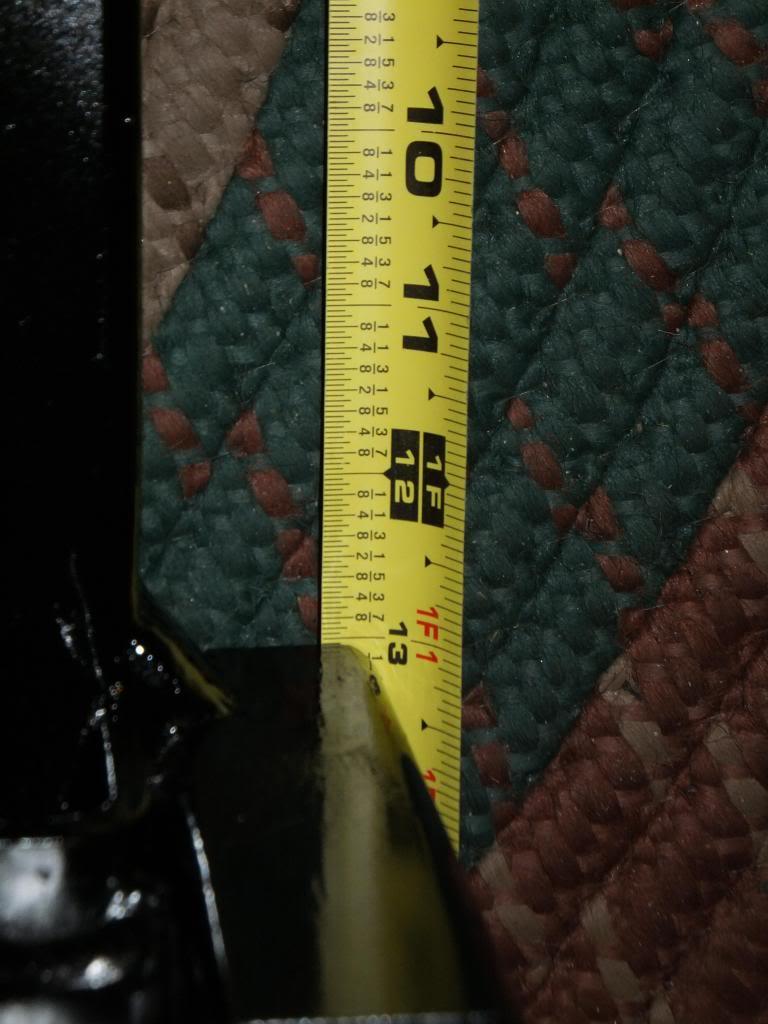
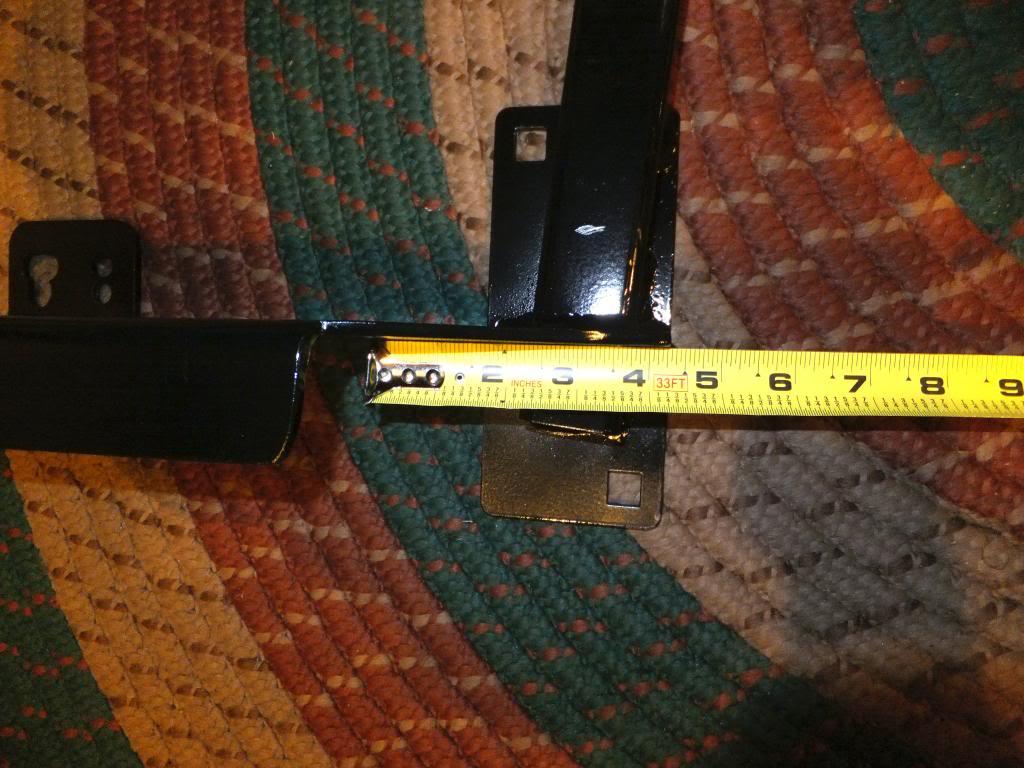
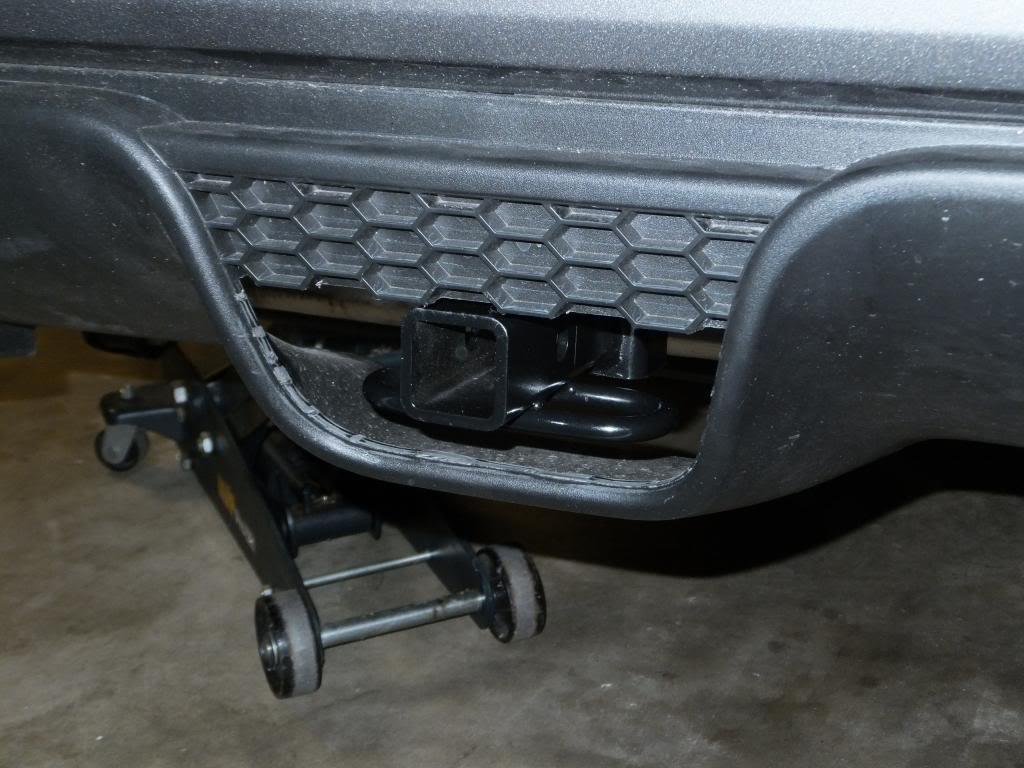
My goal was to allow the hitch to clear through the mesh opening on the diffuser. To accomplish this, I had to cut the welds and shorten the drop.
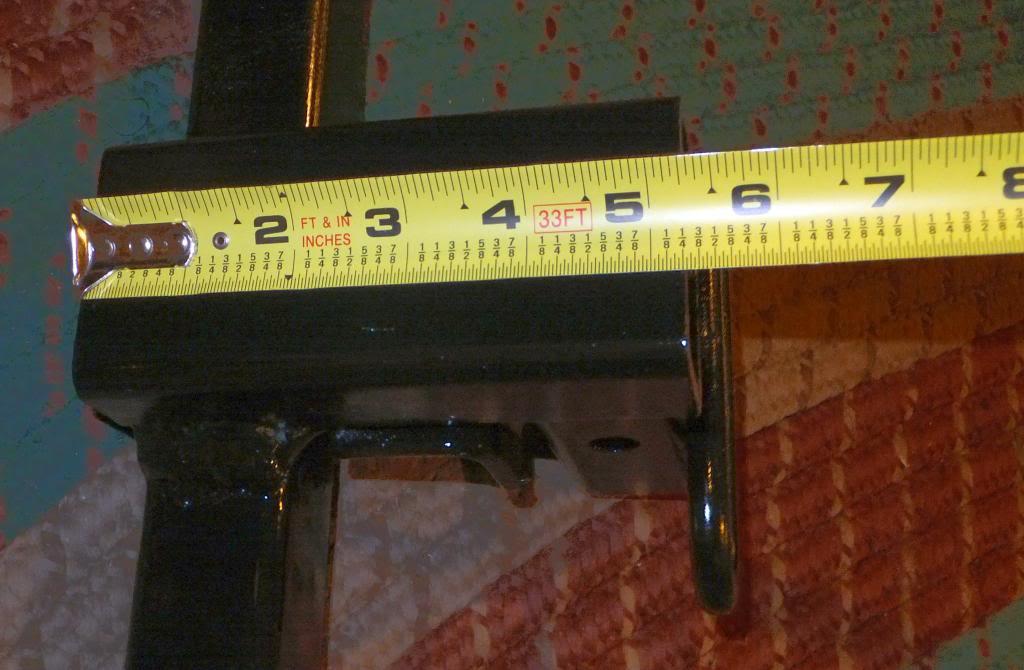
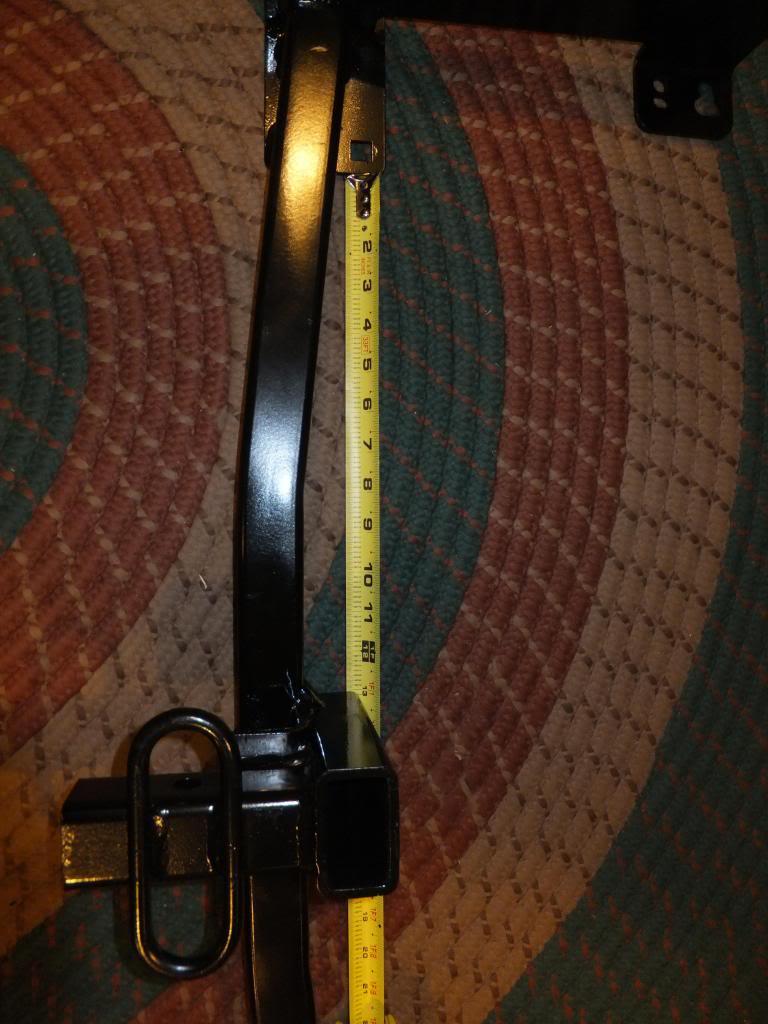
I also had to adjust it left to right to center it in the opening. I missed this mark by about 1/4" sadly, so I tried to show the measurements that would have made it correct for my car.
Reference these and take a few trial fits as each car and individual hitch will probably be off, so as always YMMV.
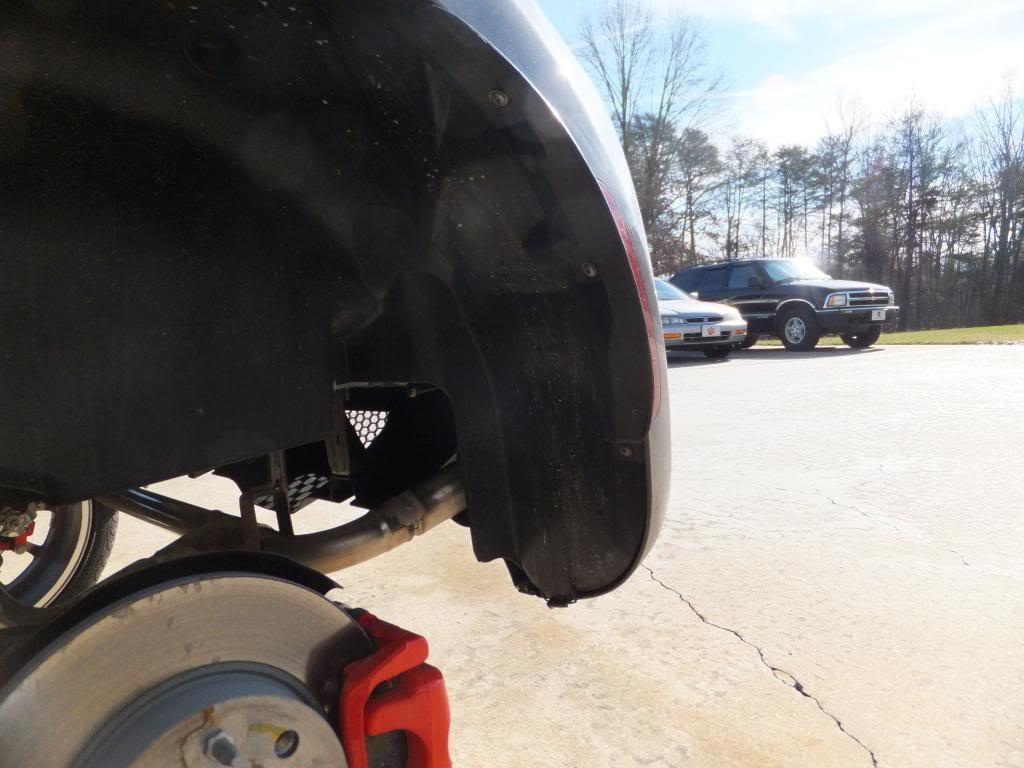
The next issue to tackle is working around the passenger side exhaust. There are two issues to resolve.
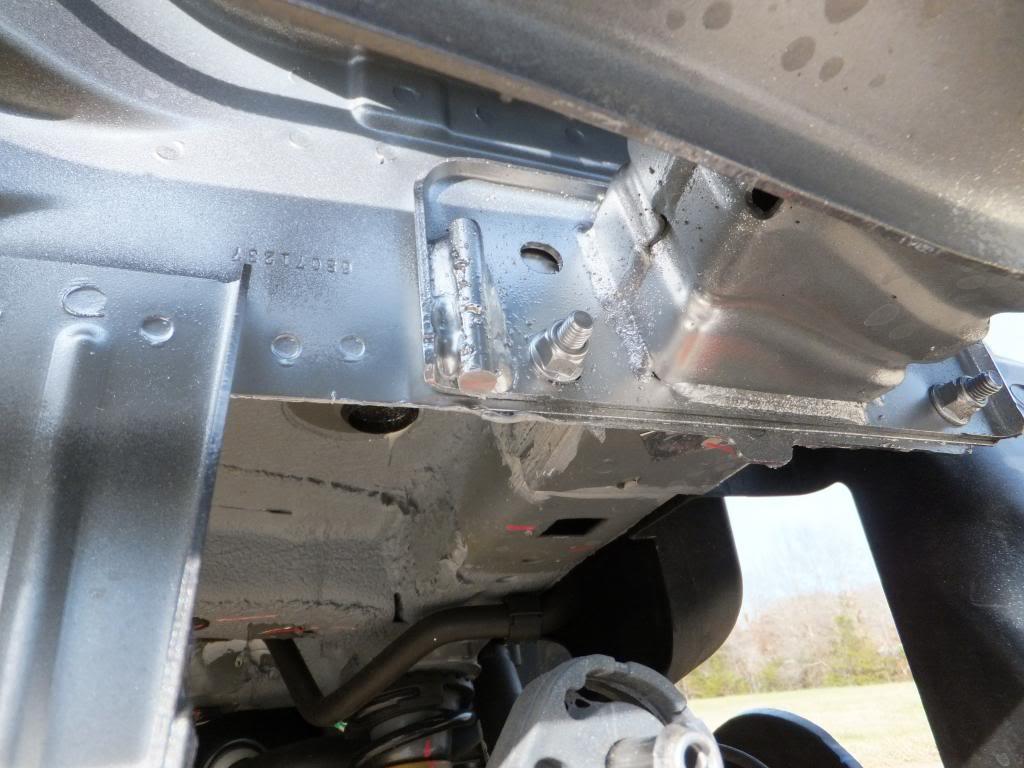
First, the hanger bracket welded to the body has to be removed for the hitch tube to fit.
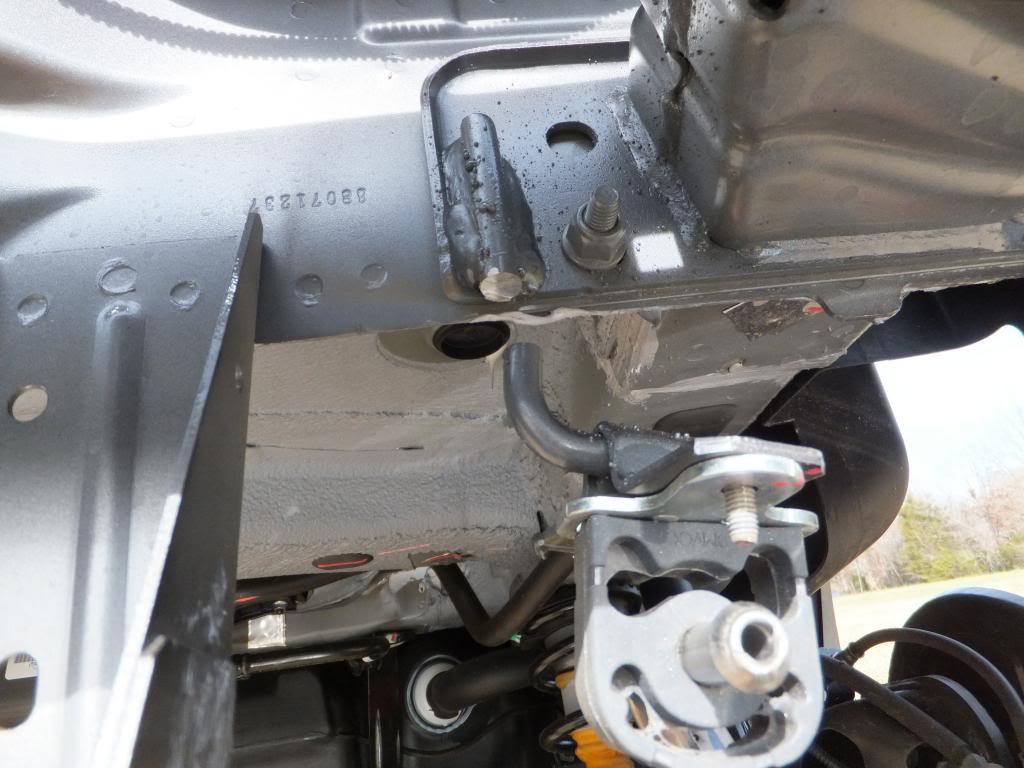
After a little fancy silver paint...
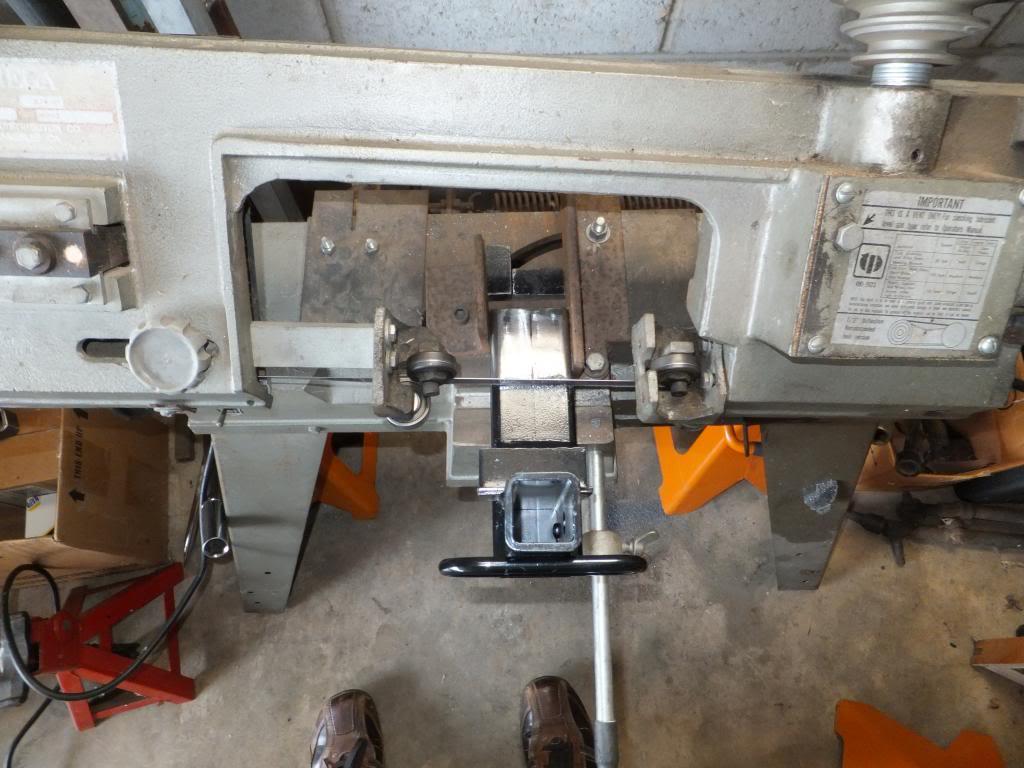
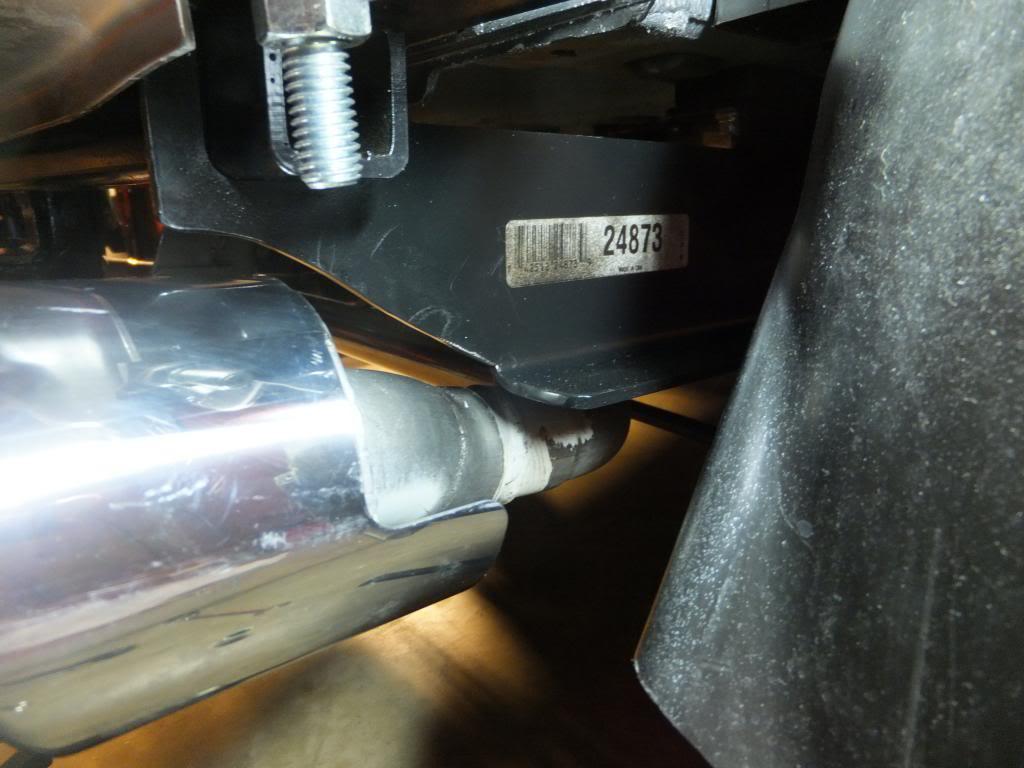
The second issue, the drop down support of the hitch interferes with the exhaust tip and shield. After a little cutting with the cutoff wheel and shaping with the grinder I was able to make it fit nicely.
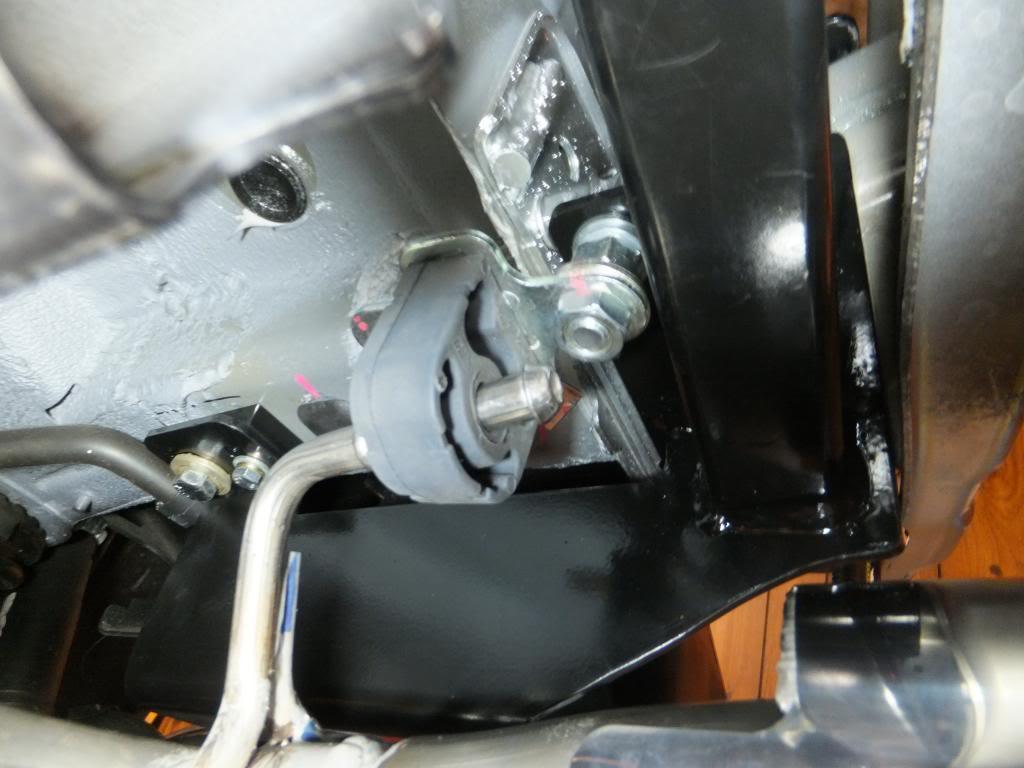
So now I'm sure you're asking, how are we going to reattach the exhaust hanger. Well, as it turns out, one of the carriage bolts is in almost the perfect spot as a new attachment point for the hanger with a couple of washers and a jamb nut. All you need to do is drill out the hole for the larger size. After a slight bit of adjusting with this, it aligned perfectly with the drivers side tip.
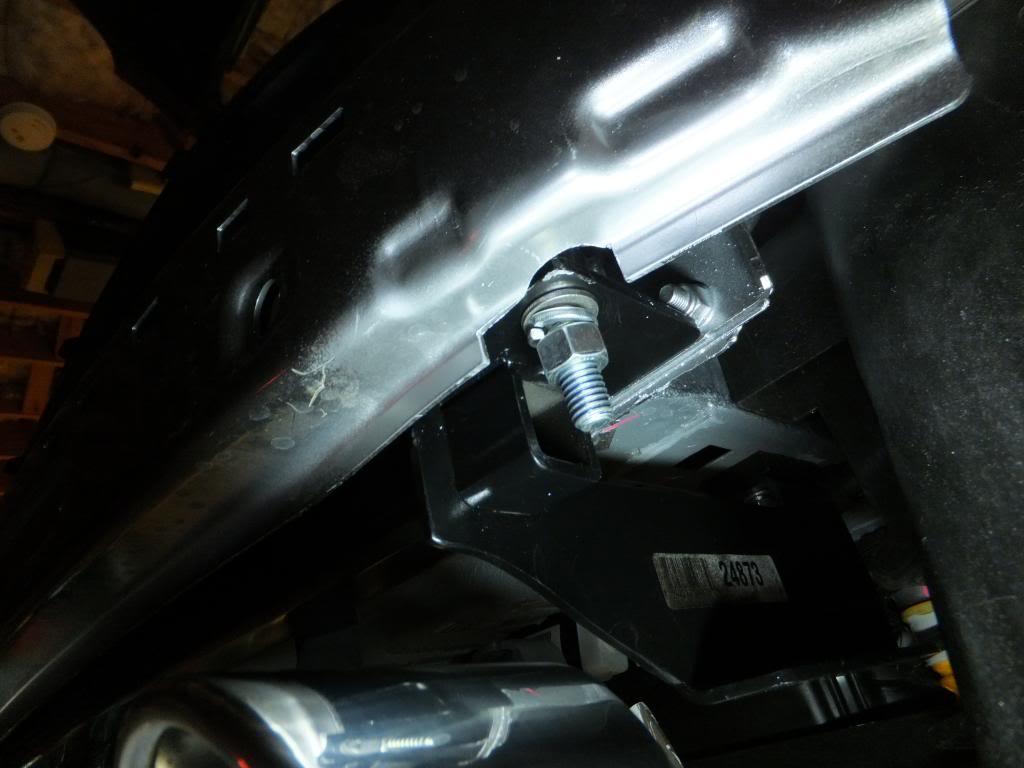
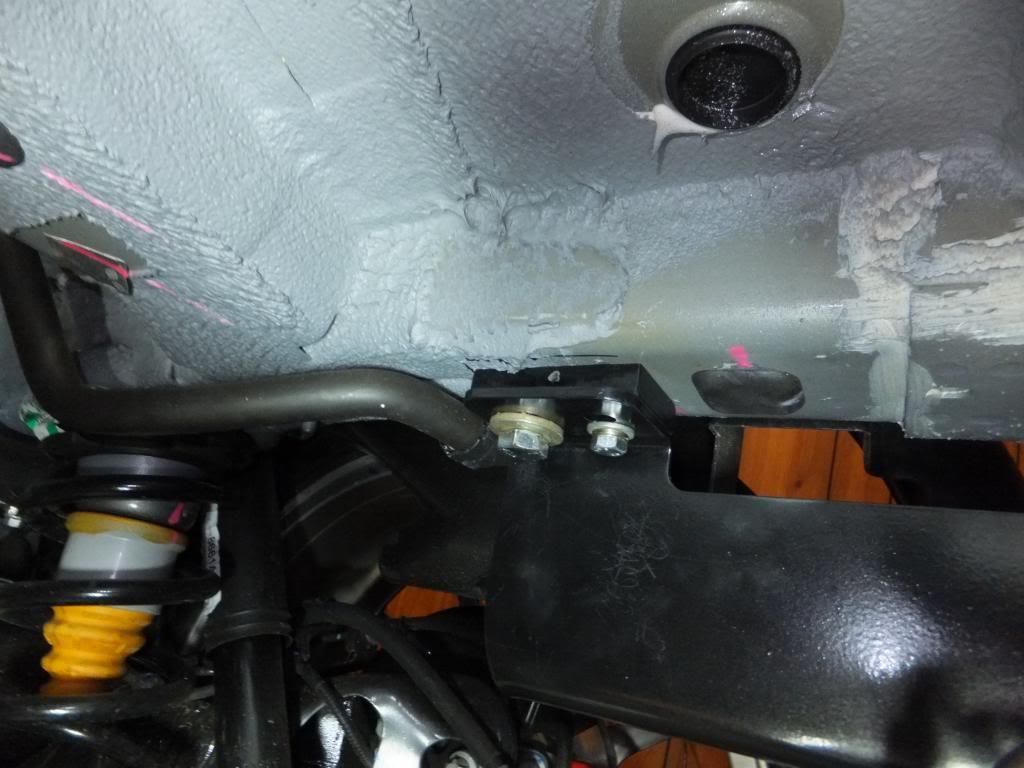
These issues with fitment came up, but I believe it could be an issue with an install on a standard 500 as well. The hitch wouldn't clear the bumper beam, and I had to fabricated a spacer for the forward mount onto the frame rail as shown. Because of the spacer, I welded a nut on the plate that comes with the hitch and use a longer bolt instead of trying to fish a carriage bolt through the frame.
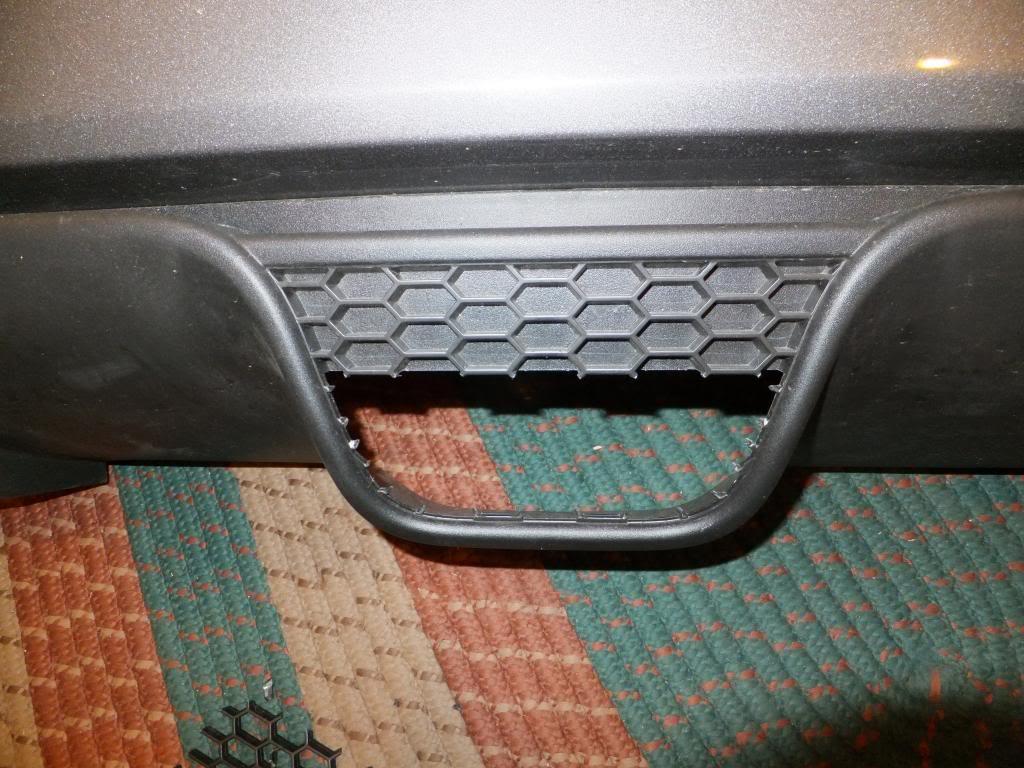
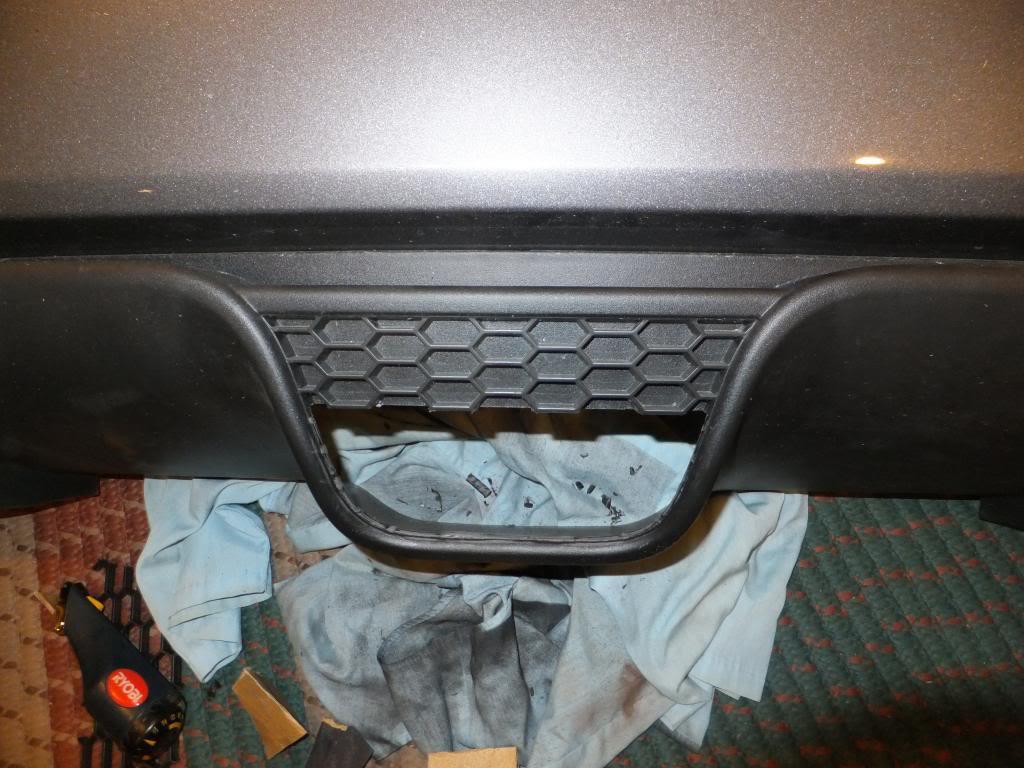
Once all of the above mentioned issues were sorted out, it was time to look at a slight modification to the diffuser panel to allow access to the hitch. I went with the idea of cutting out the mesh/ honeycomb opening. I used some snips and then a razor blade to achieve this. I finished it up with a bit of sand paper. The only downside is, this plastic is very soft and does not sand well to achieve a uniform color. If a quick application of Back to Black doesn't work I will dab a bit of satin black paint around the opening.
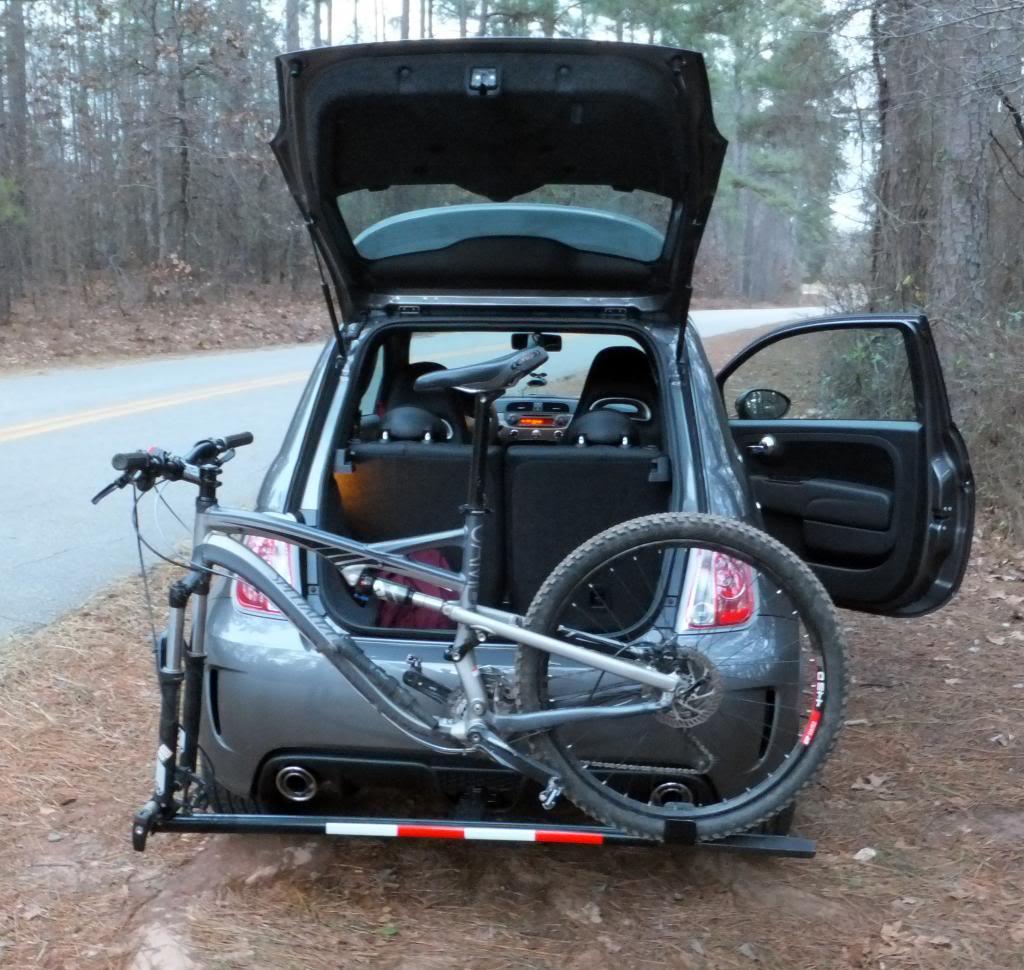
And... now finally with it installed and then back together. Like I mentioned earlier, I botched the left to right a slight bit, so don't hold that against me too much  I will post a follow up report when I see how easily I can attach my bike rack as well.
It actually doesn't stick out past, but given the material and my lack of plastic work experience, I'm not sure how one would go about doing that. My rack, uses a threaded bolt to hold it into the reciever, so it's a tight squeeze to put it in, but it fits. I am even able to open the hatch with the bike mounted. Here's one last picture from today showing it in action with my matching Specialized Camber 
12-29-2012
I'm going to put the exhaust concerns to rest with this. The grapefruit cannon of an exhaust on my WRX exits right where the fork and QR are on the driver's side. It gets it warm, but it's of such a distance that it's not hot. The whole purpose of how I have the rack setup is to be low and out of the wind.