You must be logged in to rate content!
3 minute read

95-99 MITSUBISHI ECLIPSE SHIFT BOOT INSTALLATION INSTRUCTIONS
1. Twist the shift knob counterclockwise to remove.
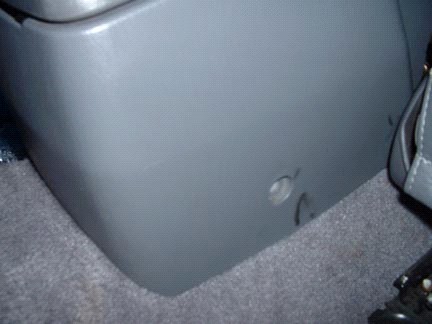
2. Remove the center cup holder/storage compartment by firmly grasping between the cup indents. Twist slightly and pull up. Remove the 2 screws visible under the cup holder.
3. Next, remove the two screws on the side of the center console. The two screws are on the bottom edge of the center console at the rear. You may need to move the front seats to the front most position with the seatback in the farthest up position.
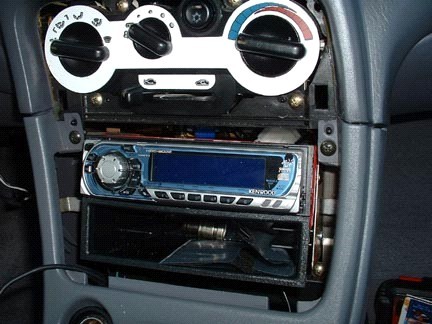
4. Next, remove the trim bezel around the stereo and the heating, ventilation, and air conditioning controls. This piece is held in with clips and it need to be gently pulled to snap out. Under the bezel, two screws that attach to the center console will need to be removed.
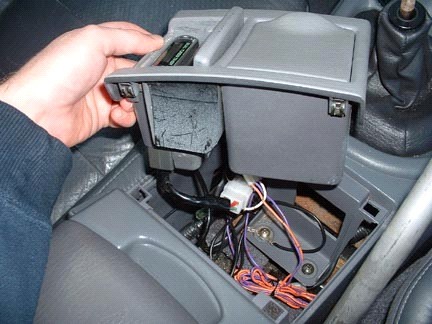
5. Now, all of the screws that hold the center console in place are out. Slowly pull up on the center console from the front. Pull the front up about 8 inches and look under it. You will see 3 sets of wires attached to the cigarette lighter. 2 sets of wires are held on with a clip. Press down on the clips and remove them. The remaining set of wires is for the lighting. Grab the light bulb and turn it 1/2 turn and pull it out.
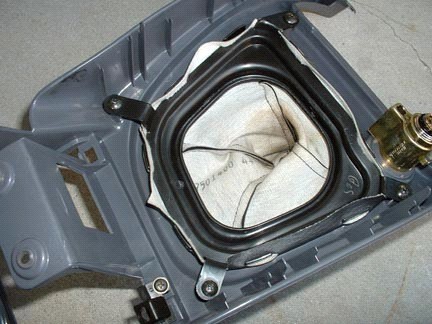
6. Now you can remove the center console from the vehicle. Turn the center console over and there are four screws that hold the shift boot on. Remove the four screws and remove the boot.
7. Remove the plastic bracket from the boot and install the new boot in the same fashion as you removed the old boot. Take the plastic ring off the top of the old boot and install it in the new one, using a ZIP-tie for a better hold.
8. Reinstall the center console in the vehicle using the reverse procedure of disassembly.
9. All you need to do with the ebrake boot is to simply slip it on to cover up the ugly plastic cover.
That's it, you're done! Congrats!
Useful tip
You have installed a product made out of genuine leather. As you know, to maintain a leather product in good condition, you should take care of it. We suggest occasionally (every 4-6 week for example) applying some leather conditioner/UV protector to keep your leather from drying up in the sun and cracking.
Redline Automotive Accessories Corp. will not be held liable for any labor, incidental or consequential damages of any kind. Proceed at your own risk.