You must be logged in to rate content!
2 minute read

2000+ MITSUBISHI ECLIPSE SHIFT BOOT INSTALLATION INSTRUCTIONS
1. Twist the shift knob counterclockwise to remove.
2. Remove the center cup holder/storage compartment by firmly grasping between the cup indents. Twist slightly and pull up. For GS/GT models removal of the console lid is not necessary.
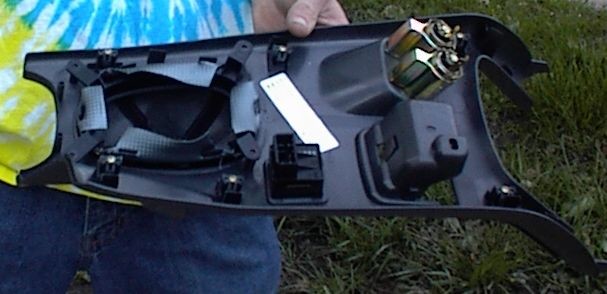
3. There are now 4 screws directly below that need to be removed. Once removed pull up on the entire console. There is one clip on the very front. Pop it loose by pulling up on the sides, being careful with GS/GT models as the power window switch will have to be pushed up from beneath once the clip is loose.
4. Once the mirror switch is removed the console should be free.
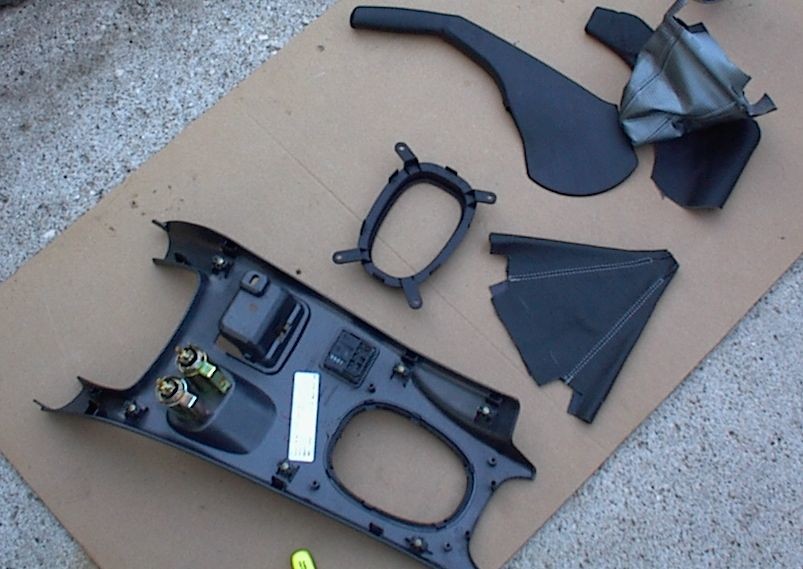
5. With the console removed you now have access to the bottom of the shifter cutout. There are 4 screws holding the plastic shifter boot retainer.
6. Once those screws are removed you will need to pry loose the staples holding the boot to the retainer.
7. Assembly is simply the reverse, however note: the retainer ring should be able to hold the new boot without staples or adhesive, but if slipping occurs, staples or adhesive will be necessary.
8. All you need to do with the ebrake boot is to simply slip it on to cover up the ugly plastic cover.
That's it, you're done! Congrats!
Useful tip
You have installed a product made out of genuine leather. As you know, to maintain a leather product in good condition, you should take care of it. We suggest occasionally (every 4-6 week for example) applying some leather conditioner/UV protector to keep your leather from drying up in the sun and cracking.
Redline Automotive Accessories Corp. will not be held liable for any labor, incidental or consequential damages of any kind. Proceed at your own risk.