You must be logged in to rate content!
16 minute(s) of a 128 minute read
1-15-2013
Antilag_200 attempts a Wire Tucking Project: PRESHOOTOUT BUILD
Compliments of antilag_200 @ www.evolutionm.net
1-15-2013
This has been posted on a couple of the local forums that I frequent. I would firstly like to thank all those that I have inspired me to do stuff like this. So big thanks to 6bolt2g, Junfan, Mr Wheatley, Scott Glassbrook, Kevin K and a host of others.
I was tired of messing with my tired harness over and over again, when I was pulling engines and consequently looked into complicating things for myself. The electrical components are kind of a mess in these cars, though effective, and durable, they lack the aesthetic element in my eyes. Consquently I realized that I need to educate myself on Military Grade connections. So here is the story , I hope you enjoy it and as always if you have questions feel free to ask
on to the pictures
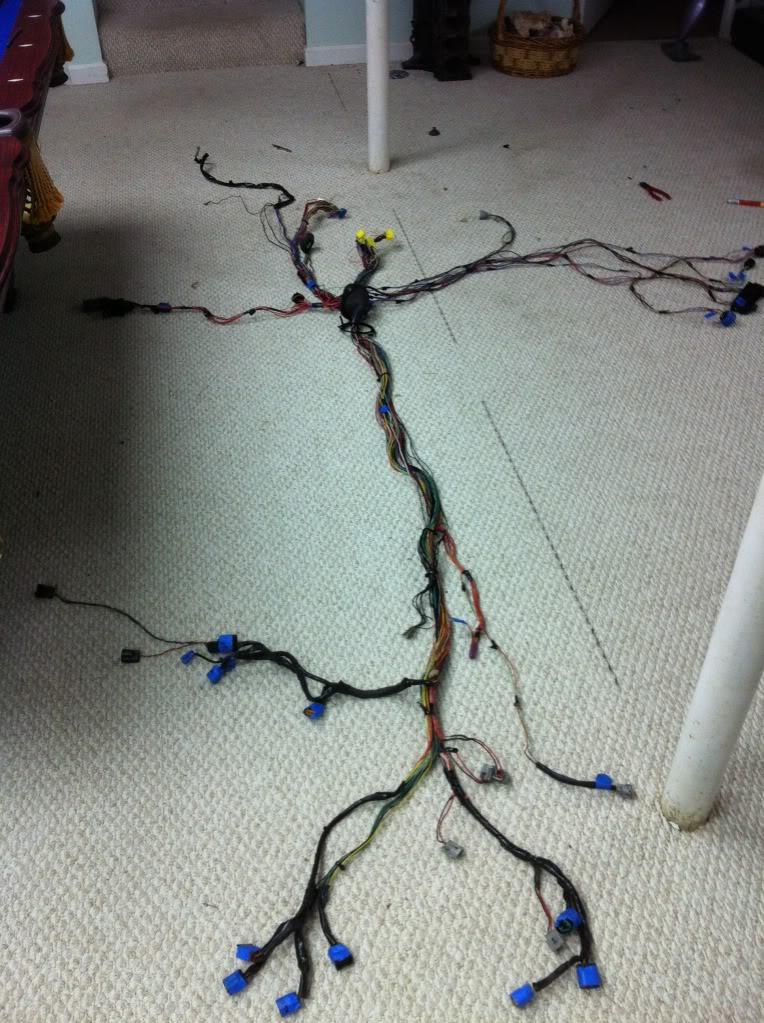
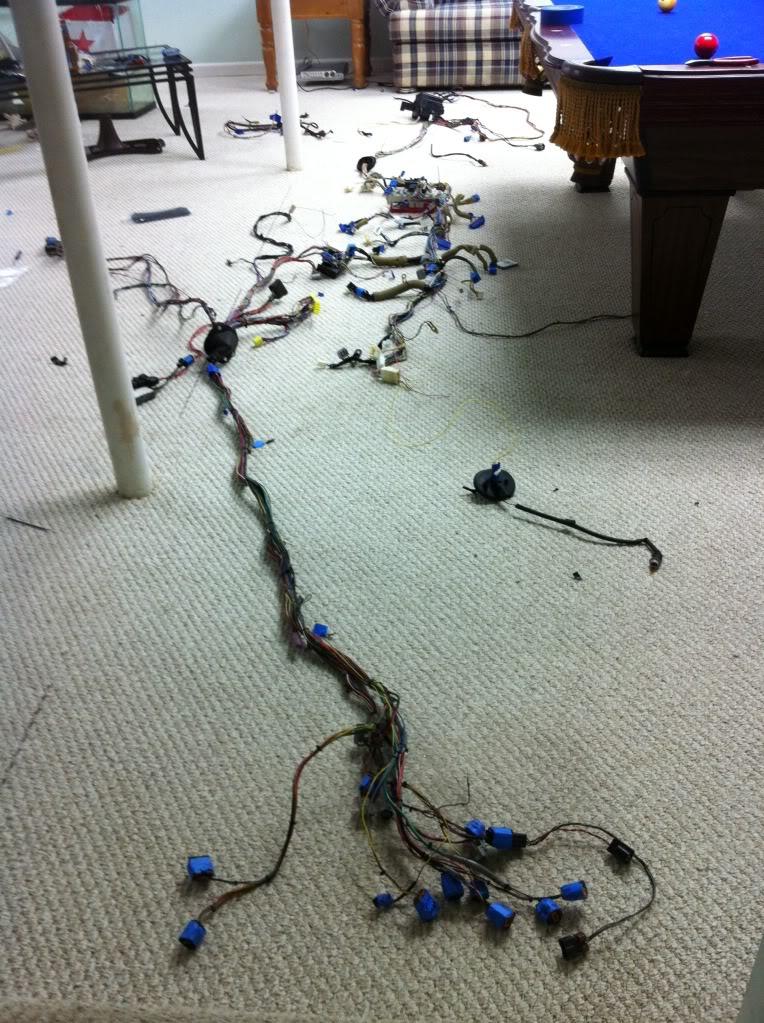
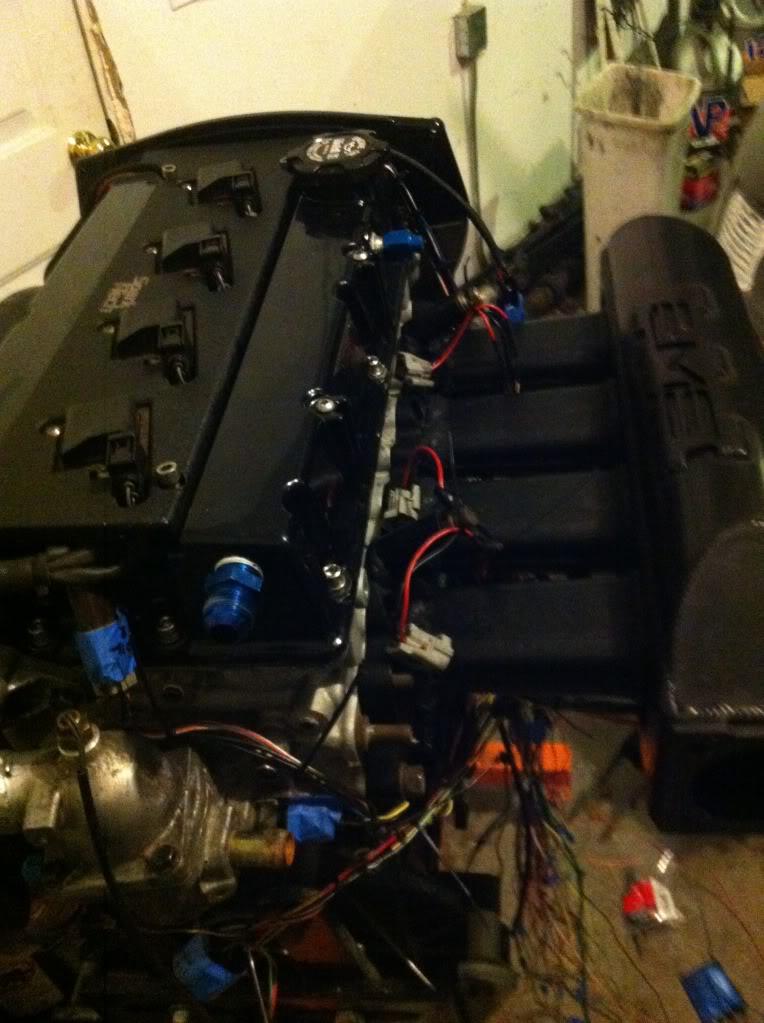
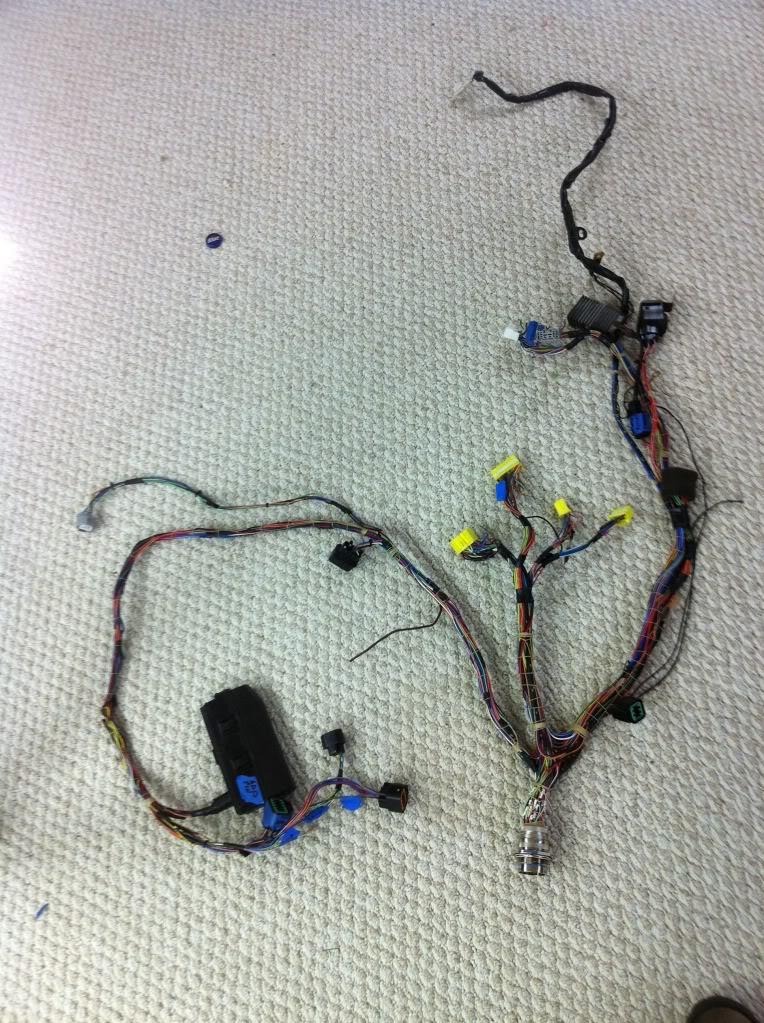
the usual bull**** removed, emissions, AC, and starting on the abs stuff
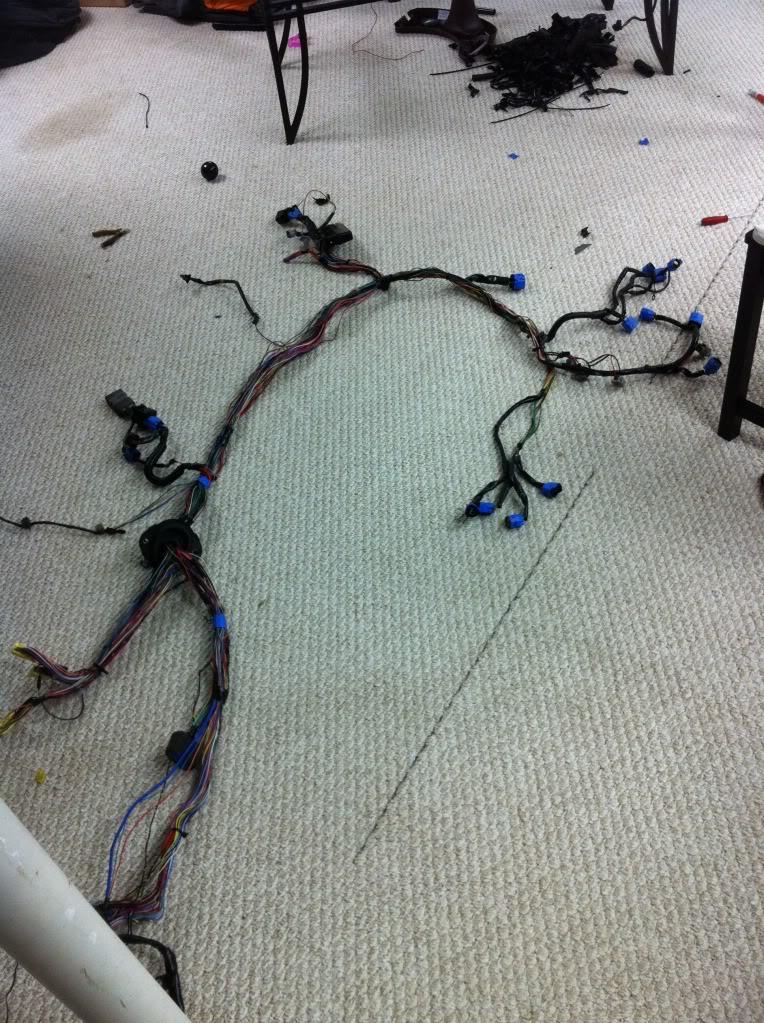
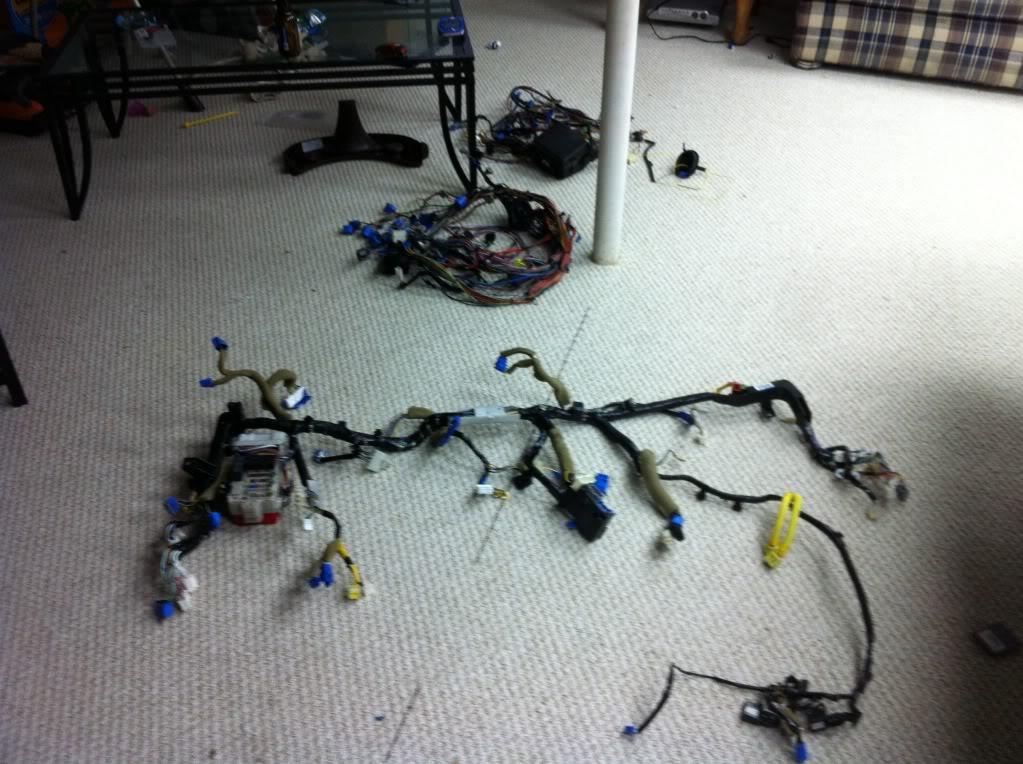
the mess
then in my infinite wisdom , I decided that I want all connectors, fuse boxes etc inside the car.. FML
For those who don't know evo wiring, the rubber part in the picture below represents the firewall, everything North of that is what is inside car.
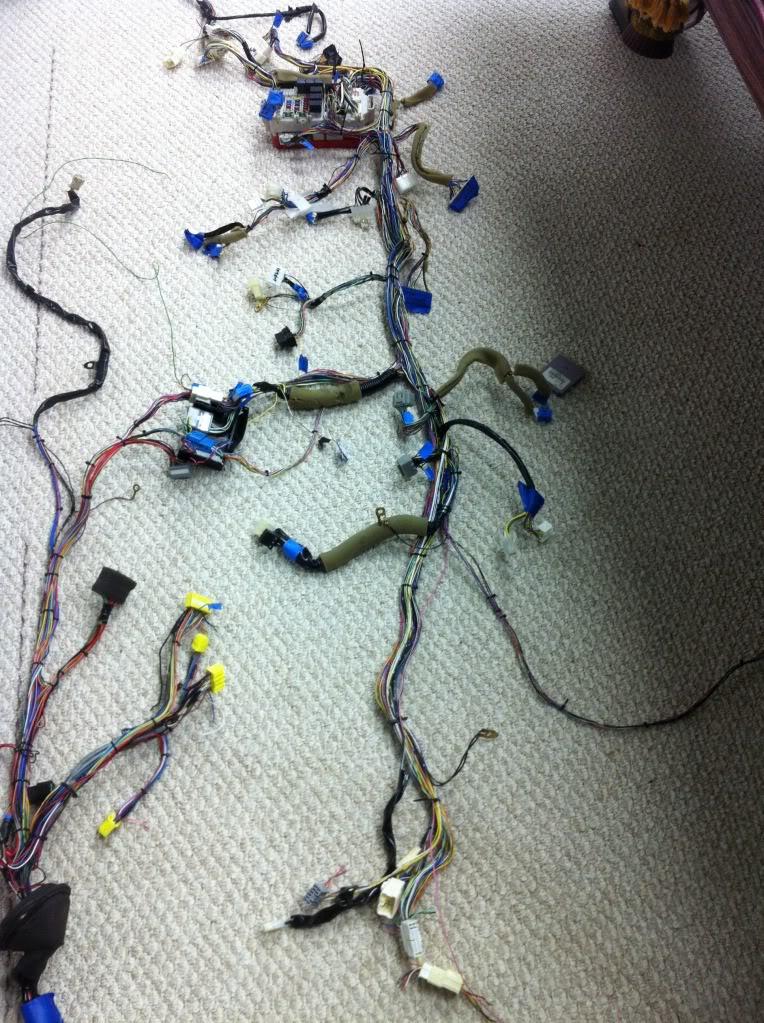
many hours later ......
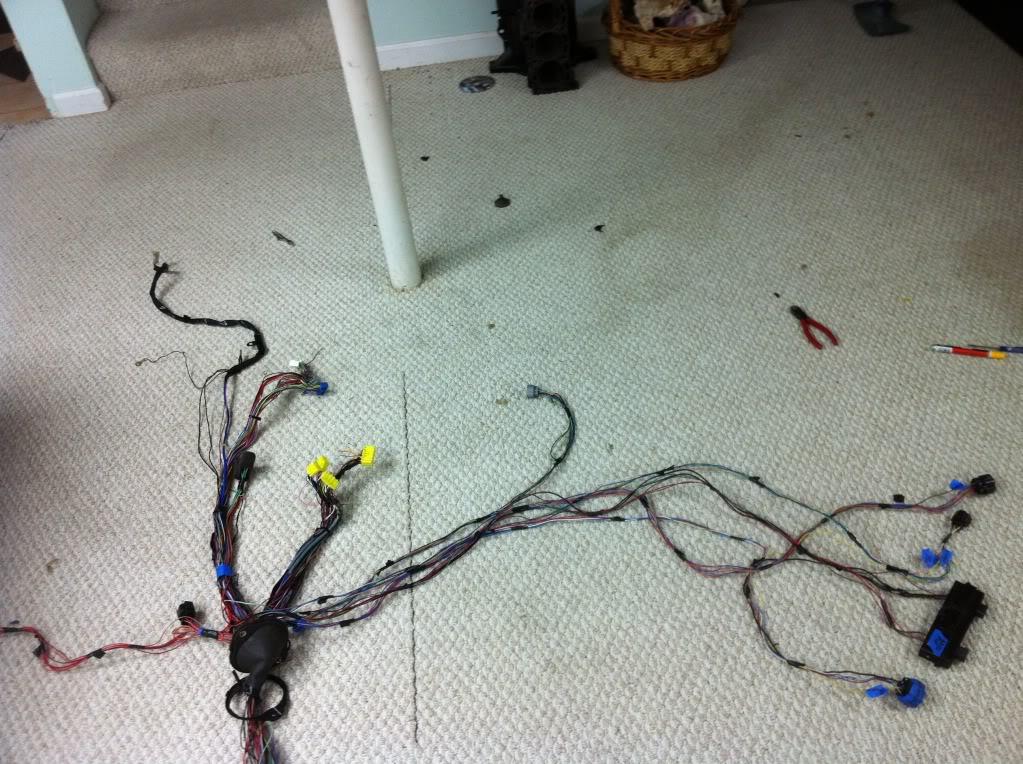
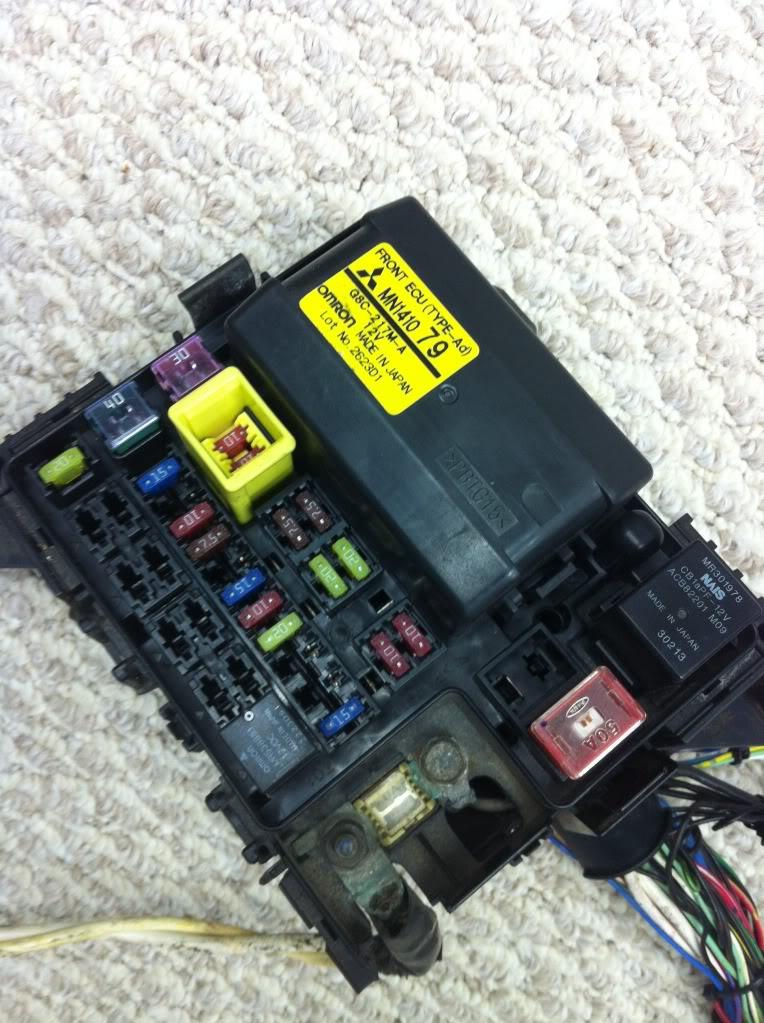
the full B Harness with all fuses boxes relocated
a better picture of everything that is relocated inside the car
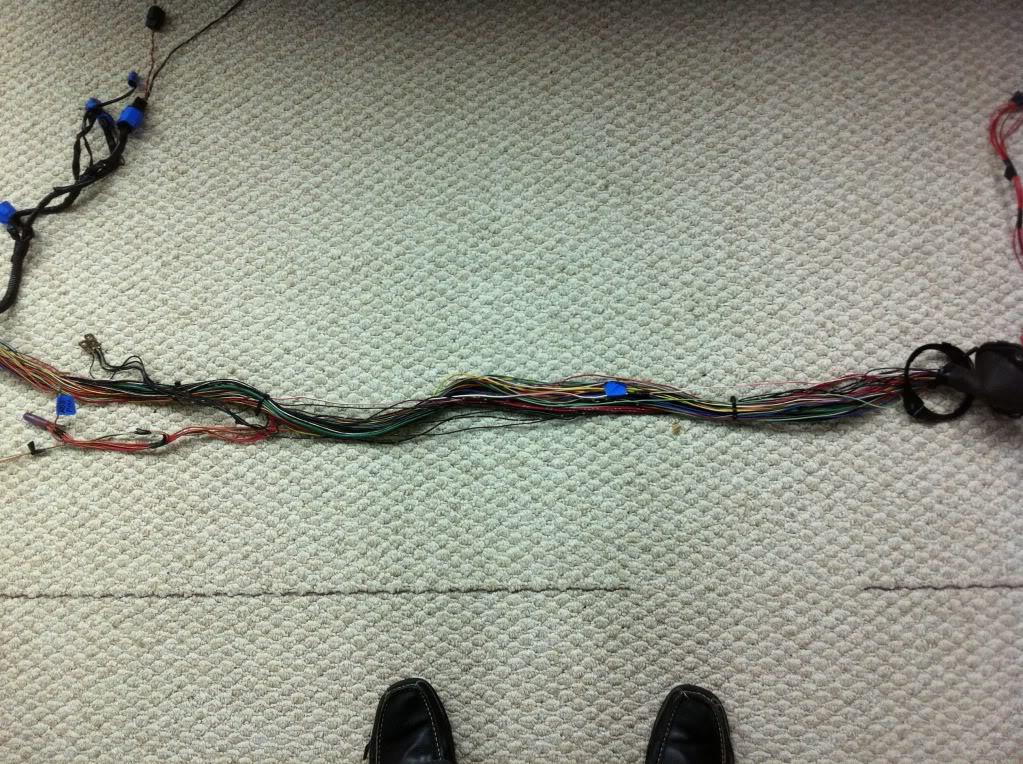
and this nice 4 to 5 foot section of engine harness will be cut off soon
Time to continue hunting for Amphenol connectors ...
Good night or I should say Good Morning and a happy Thanks giving to one and all.
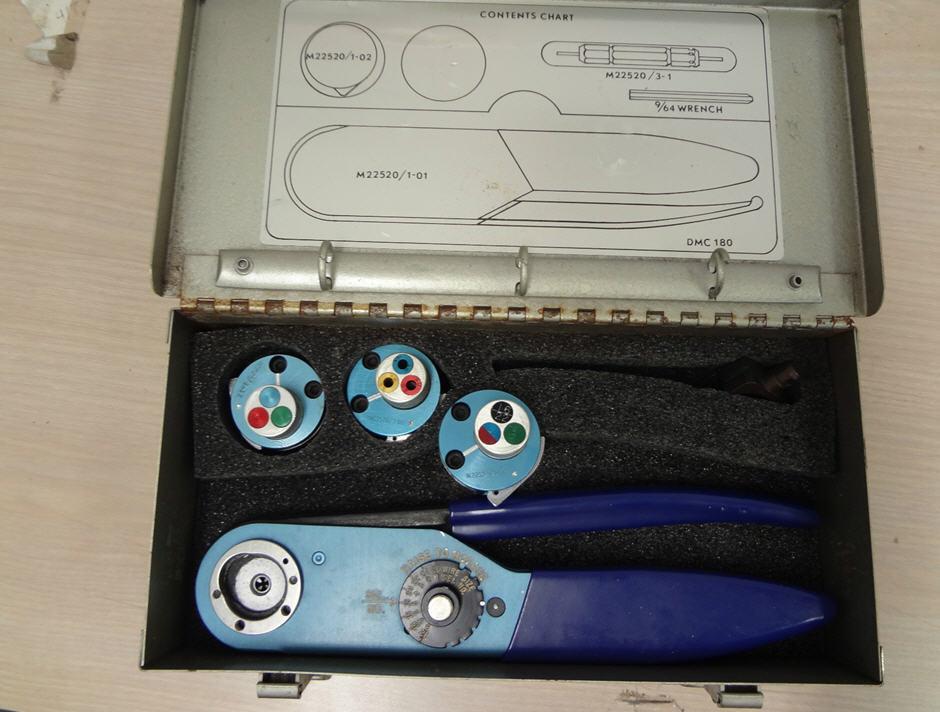
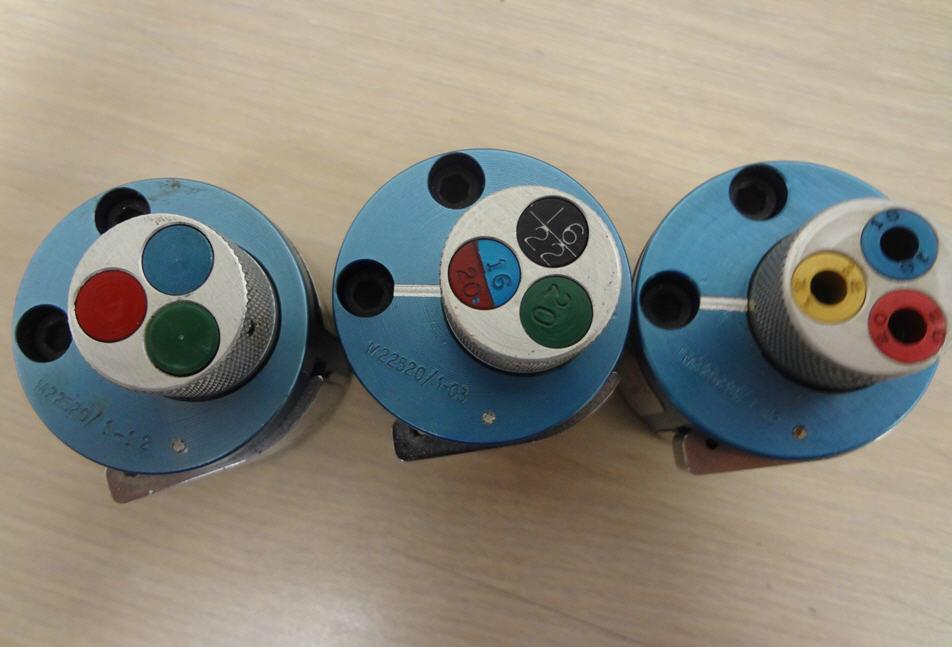
After searching , reading, educating myself on military grade connectors... the only way to use those types of connectors, is to buy a special tool.. After scouring the web I was able to get one of the dmc crimpers .. This thing is pretty trick and is used for servicing military aircrafts. So now that I have secured the appropriate tool for the job, Next is the hunt for a 55 pin Amphenol connector
a shot of the turrets
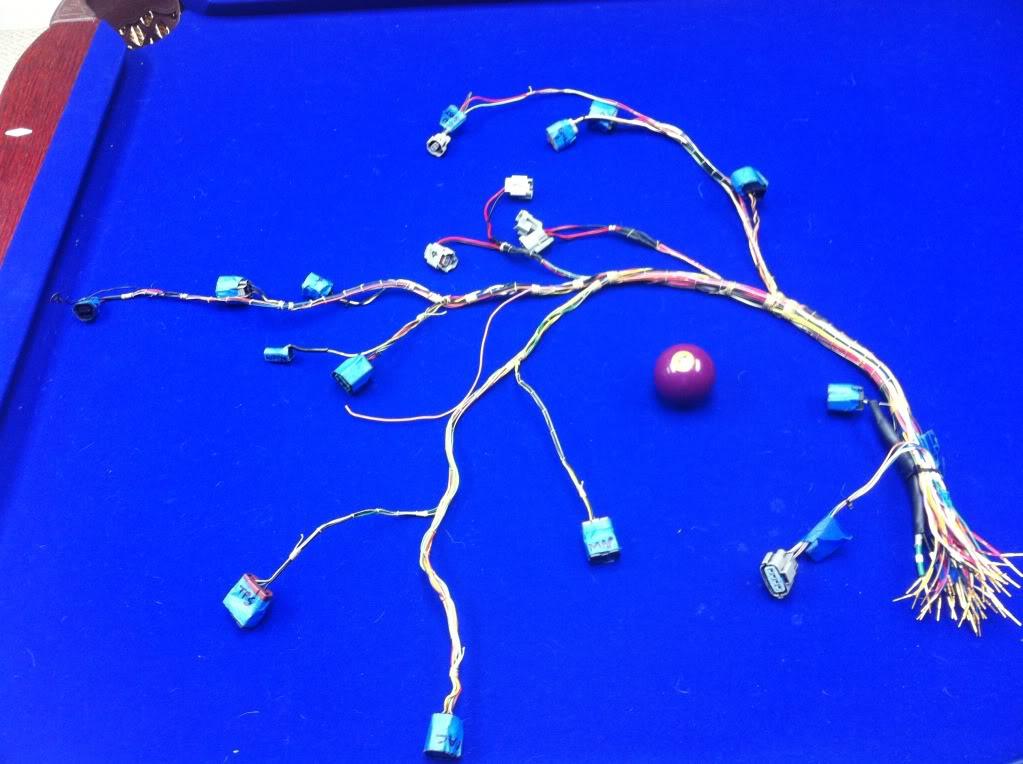
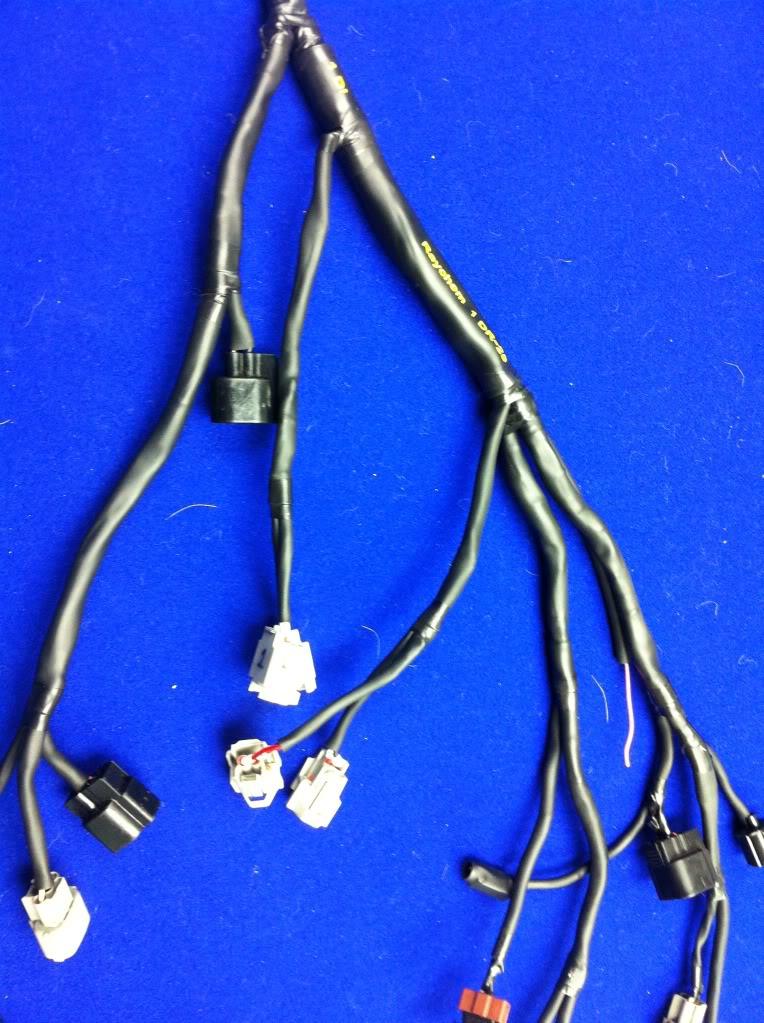
I am modifying all the harnesses from the car.. so A and B harness are finished for the most part.
stock
modded
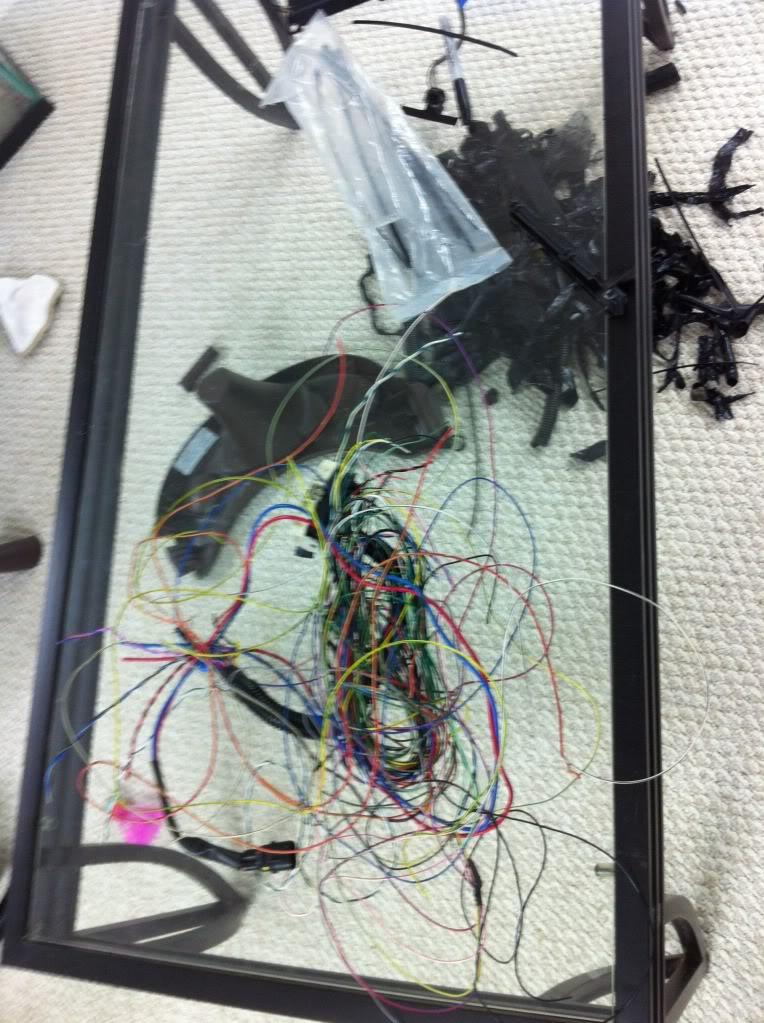
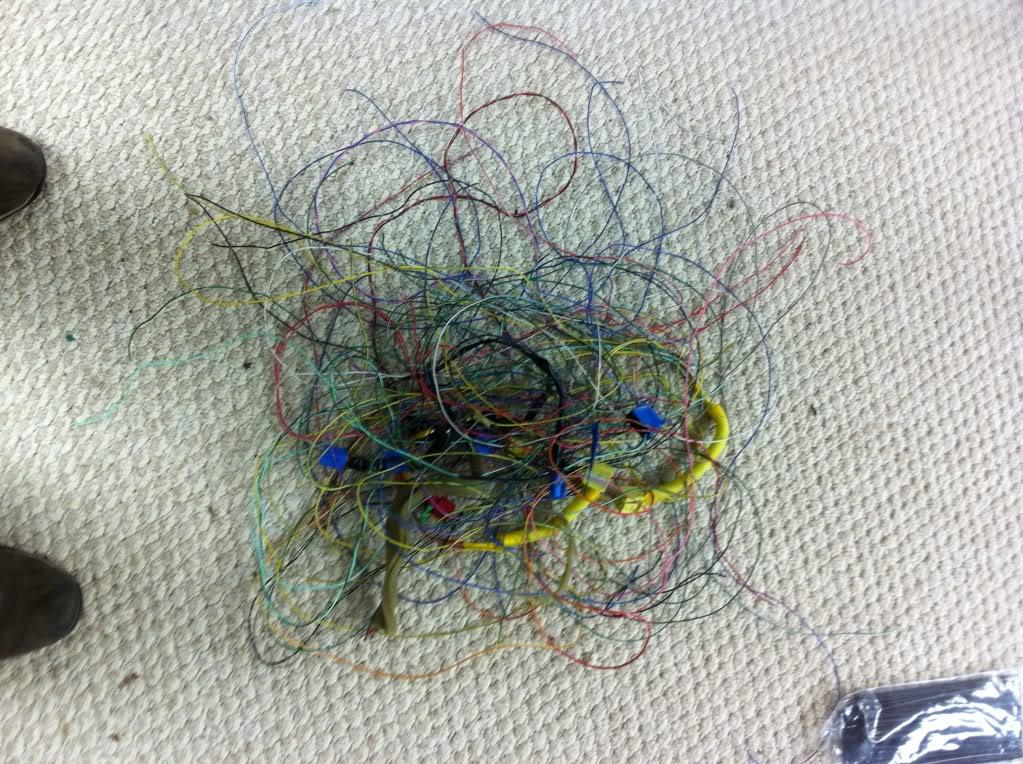
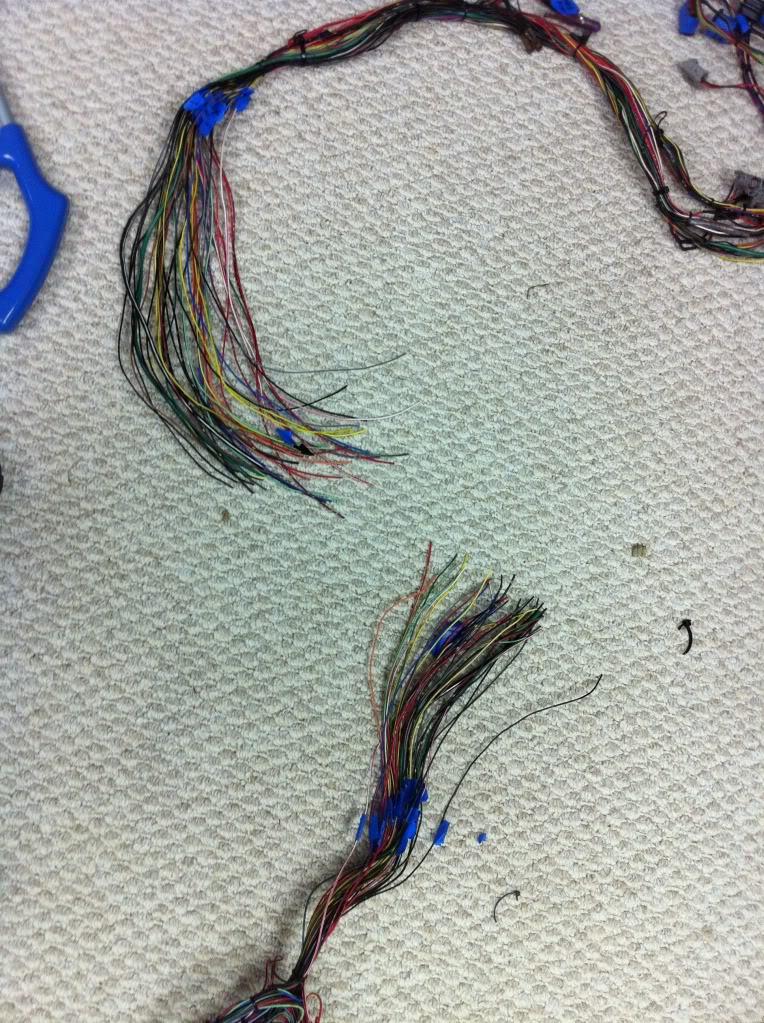
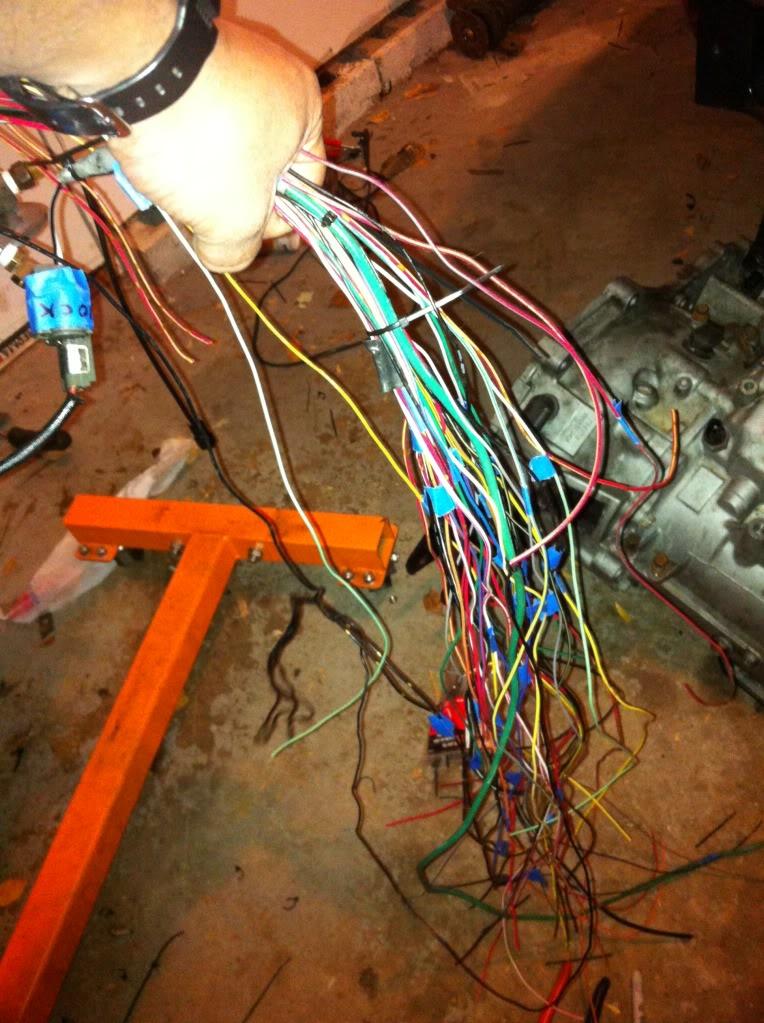
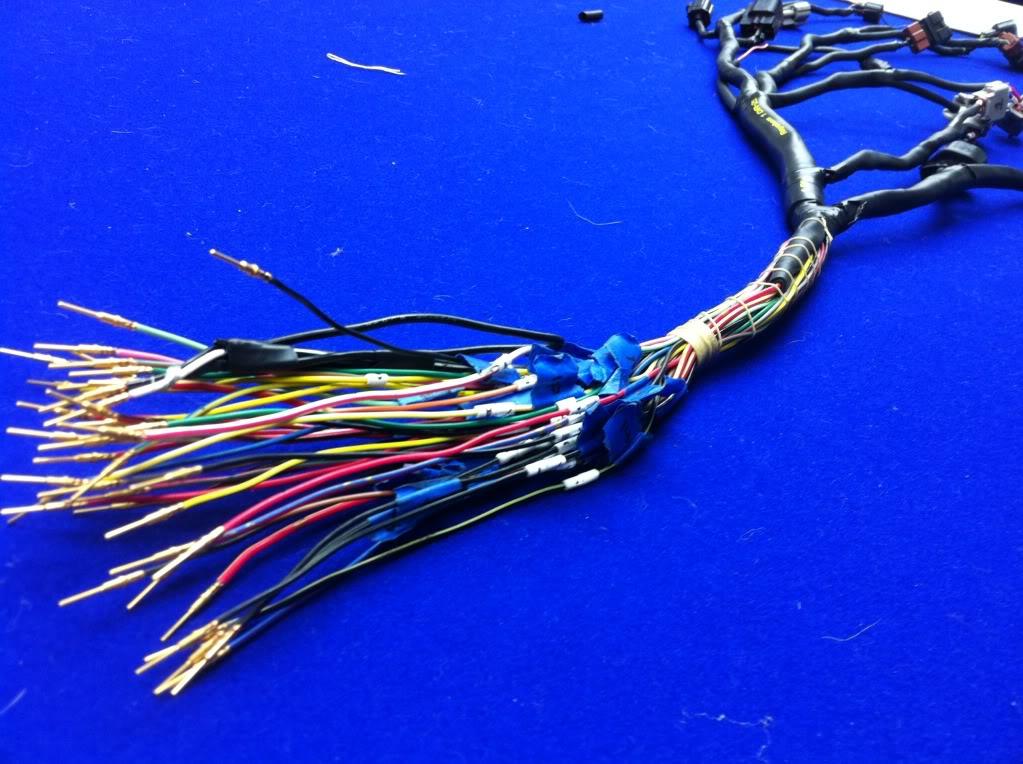
and the crap that came from that harness so far
and the entire front section of the car layed out together singing "KUMBI YA"
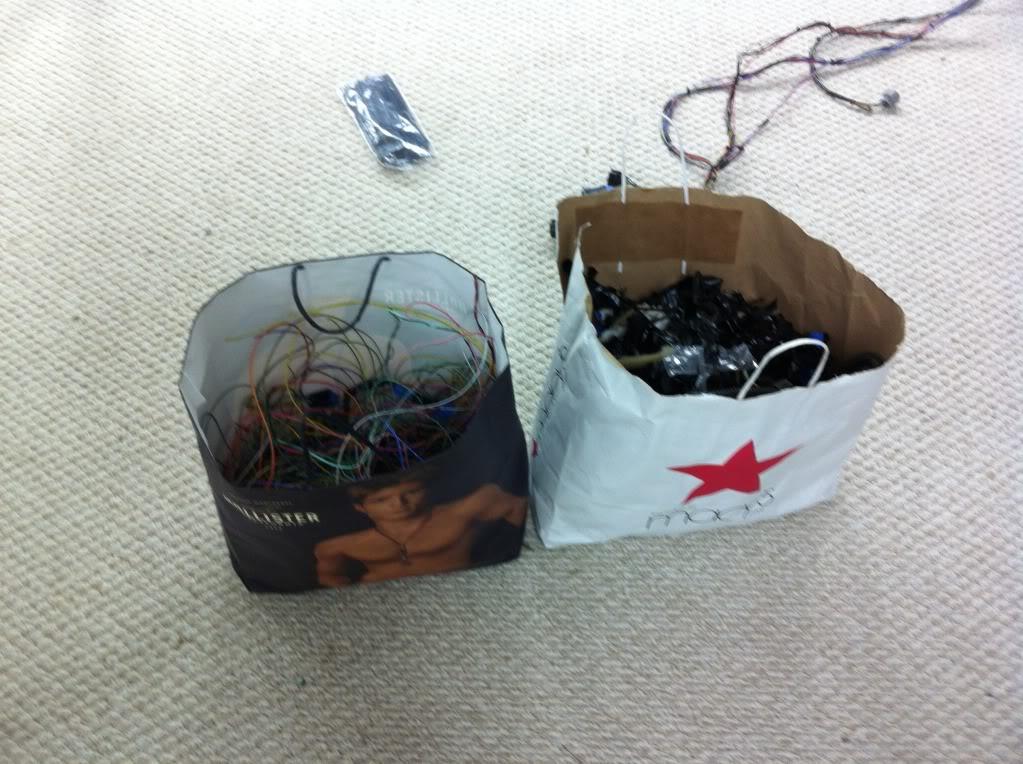
A couple of bags of junk that has been removed so far
I hope this car starts ... LATER
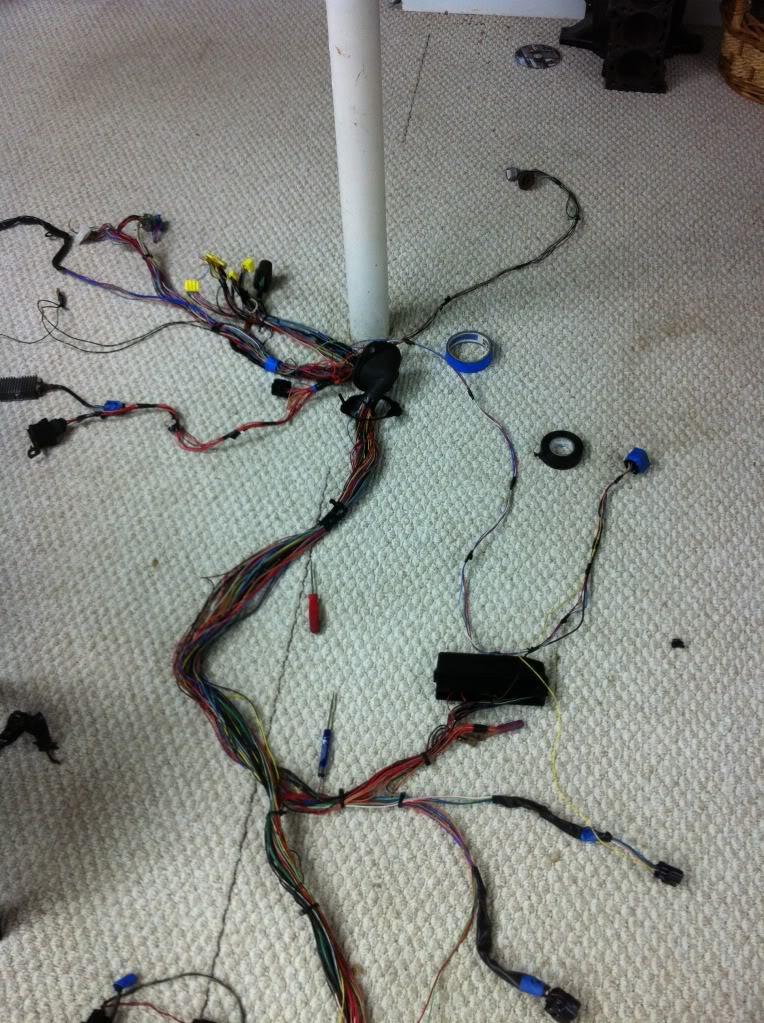
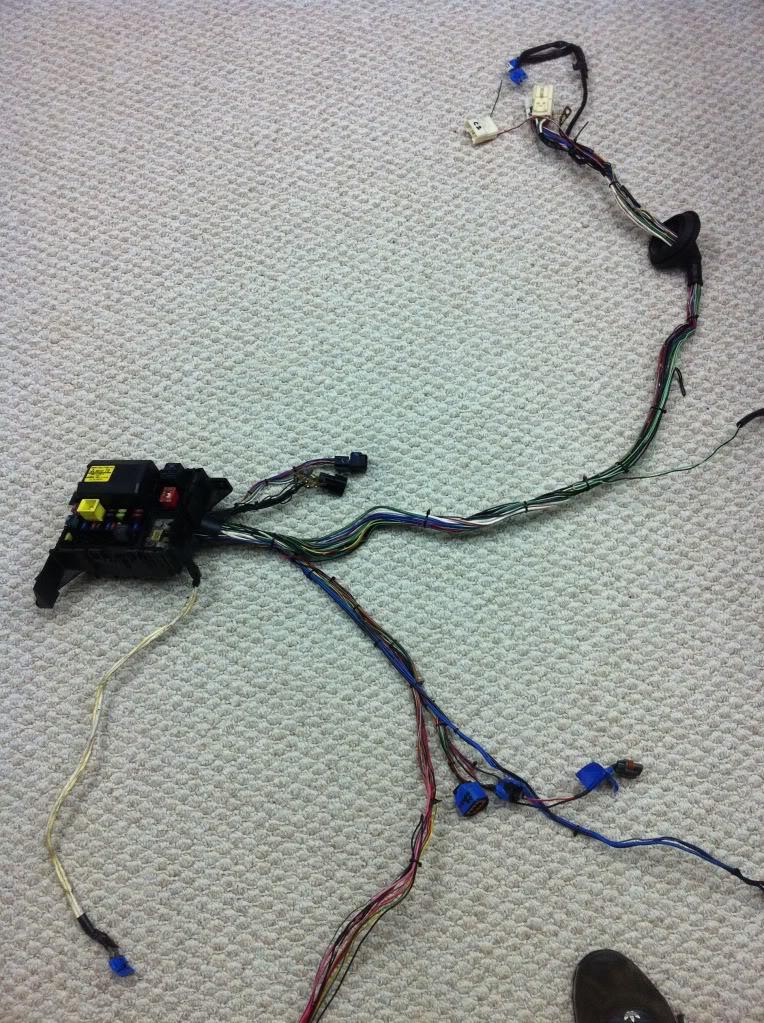
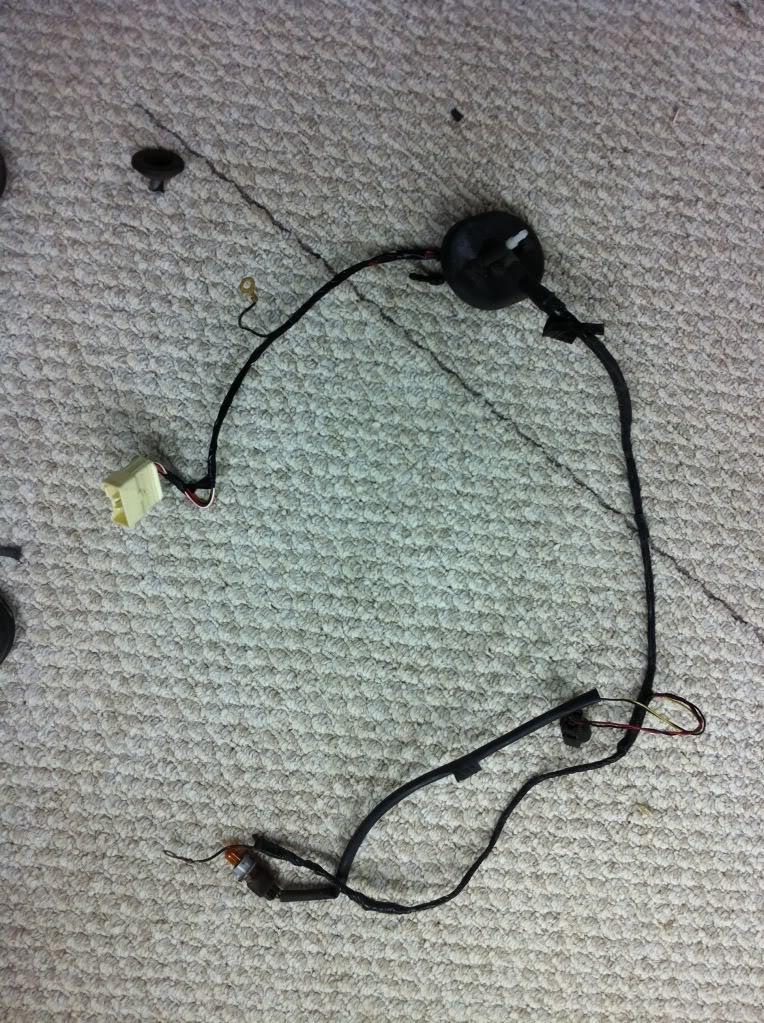
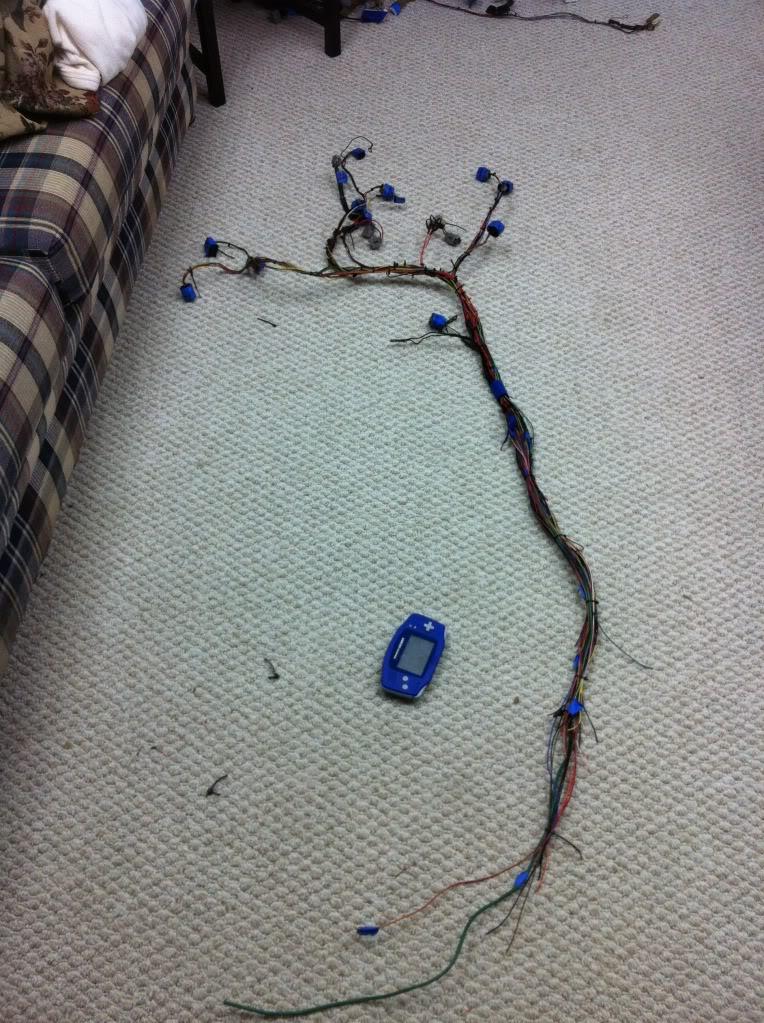
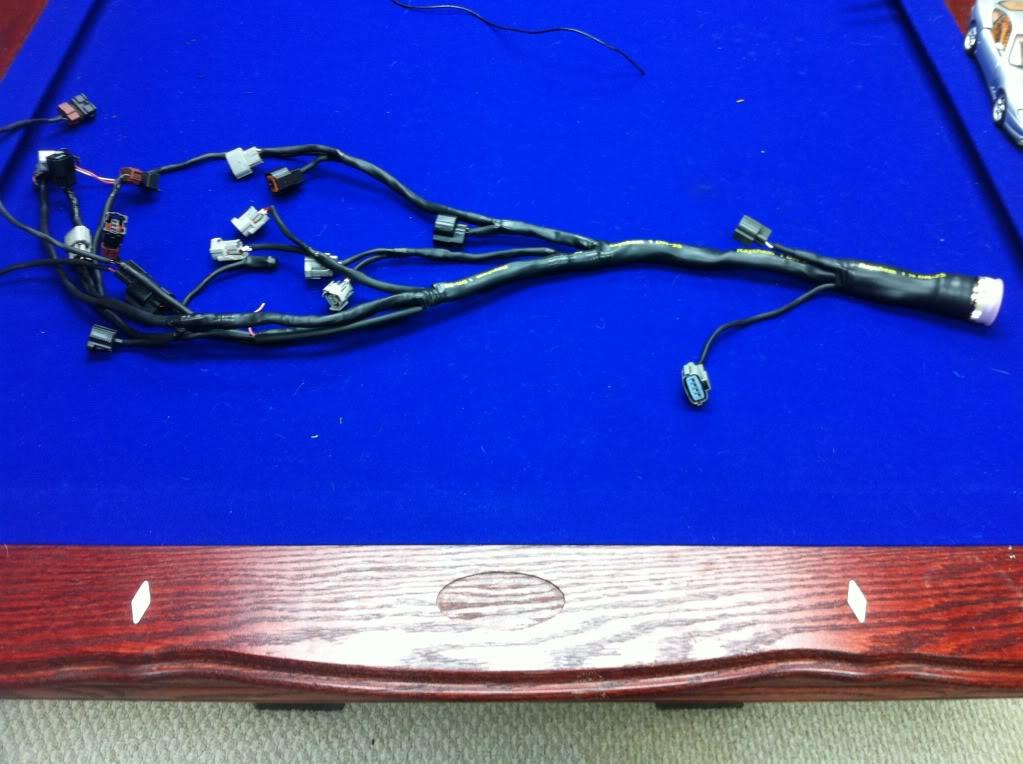
Forgot to post one of the harness sections so here it is
Many hours later... I Finished up harness A
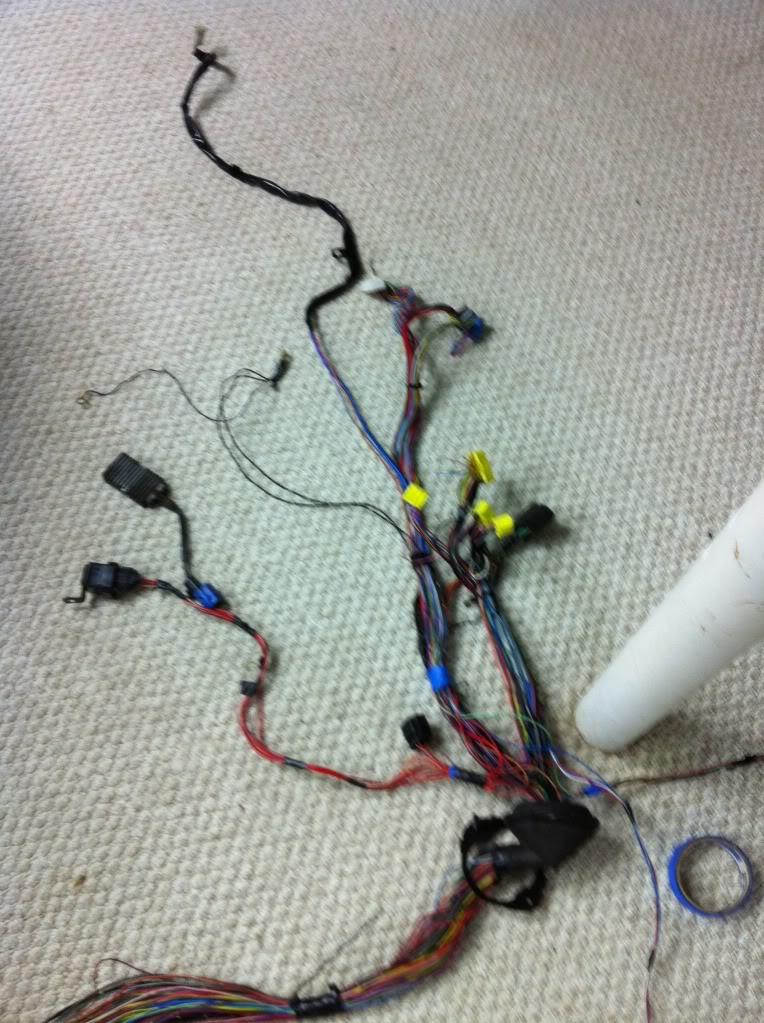
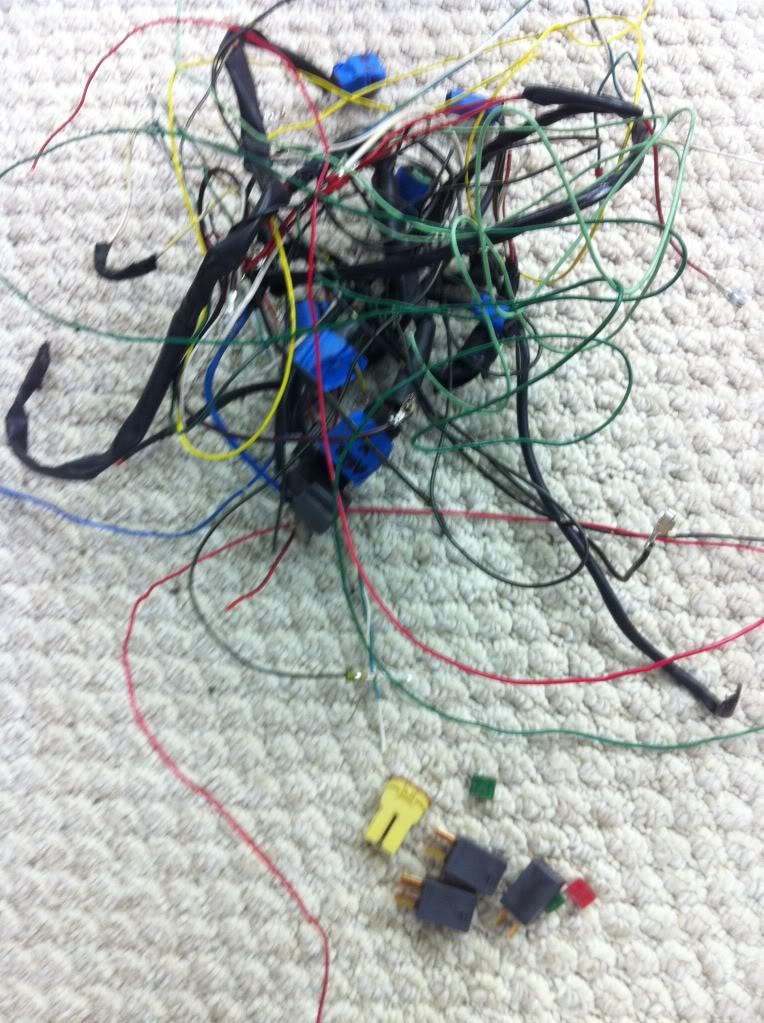
All the stuff that came from harness A
Even depinned all the relays fuses, etc that were not need any more
then it was Passenger side harness... Pretty funny with this one stock below
modded
lol only One wire left in that big ass connector
the pile of wires from that
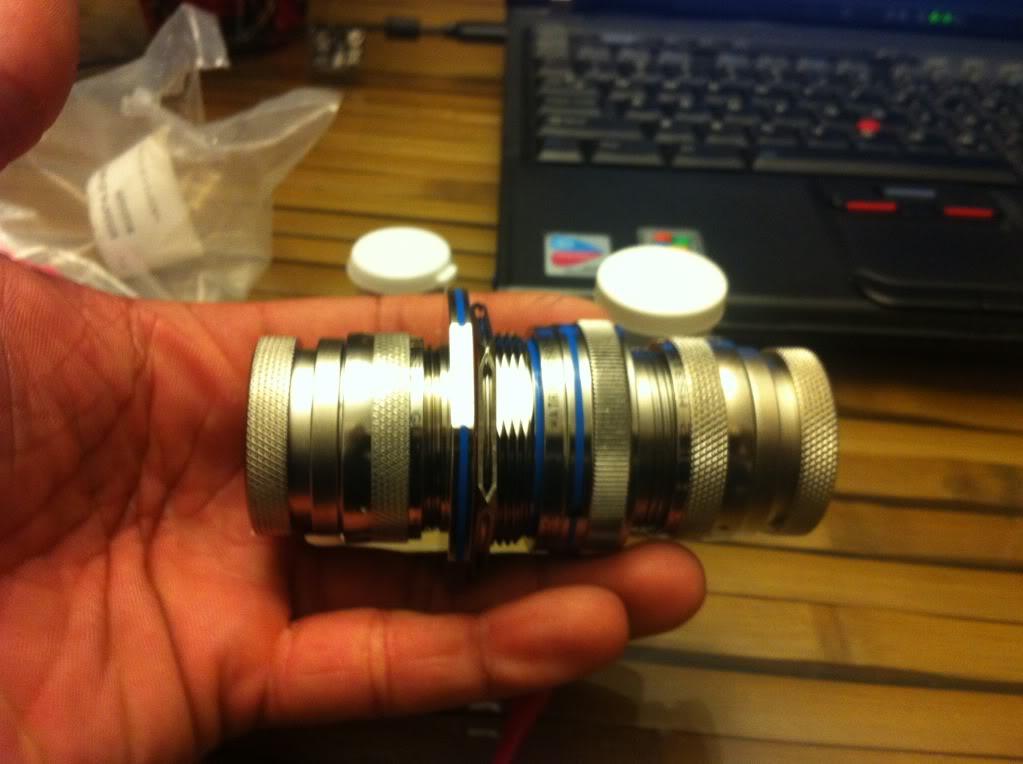
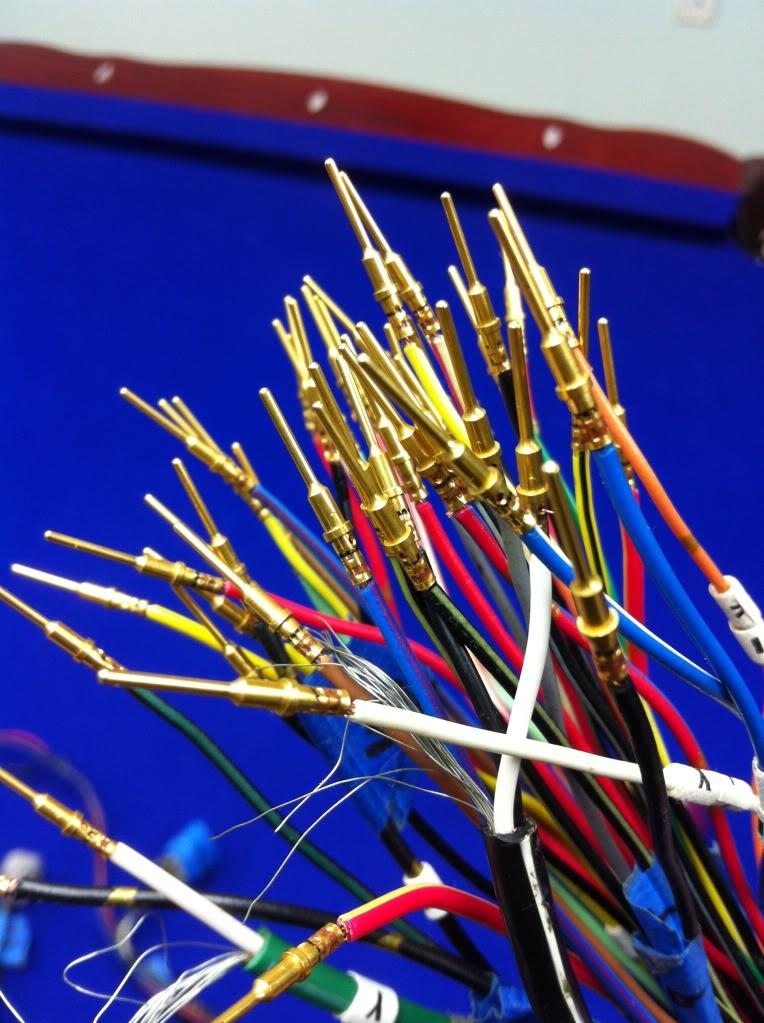
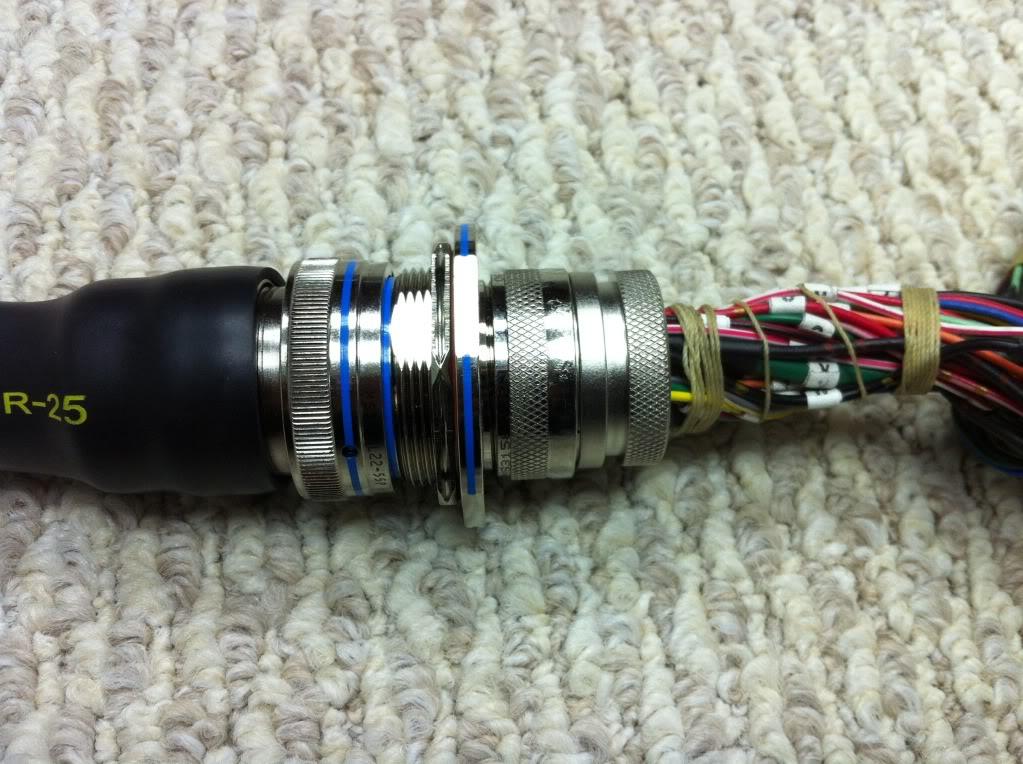
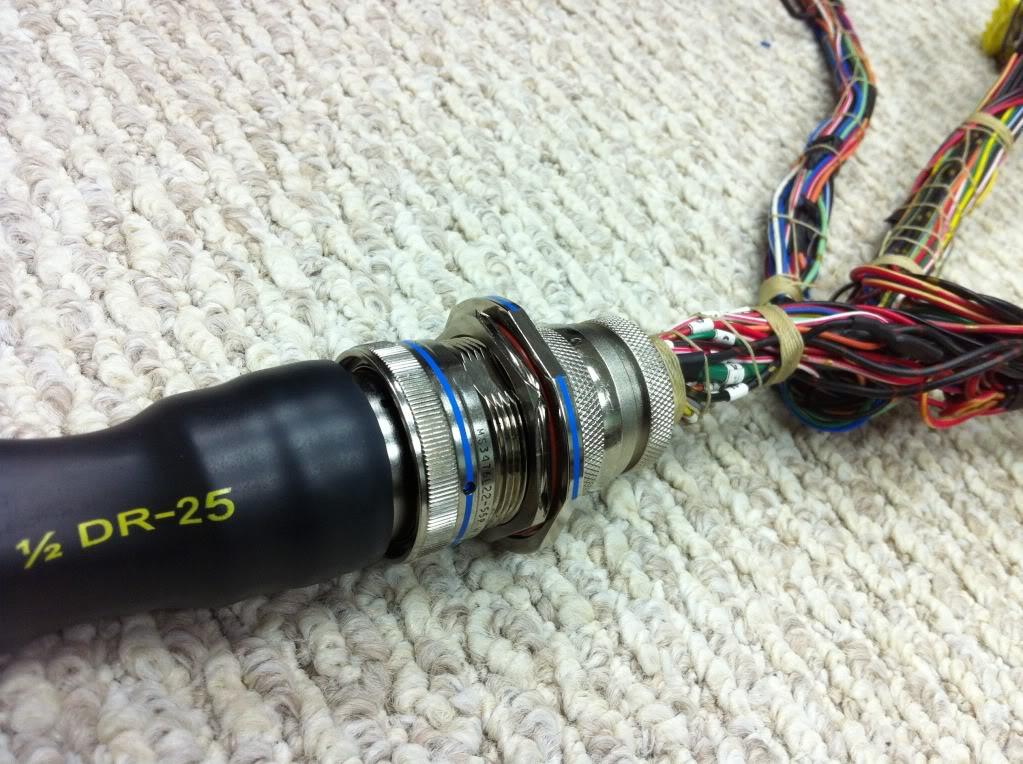
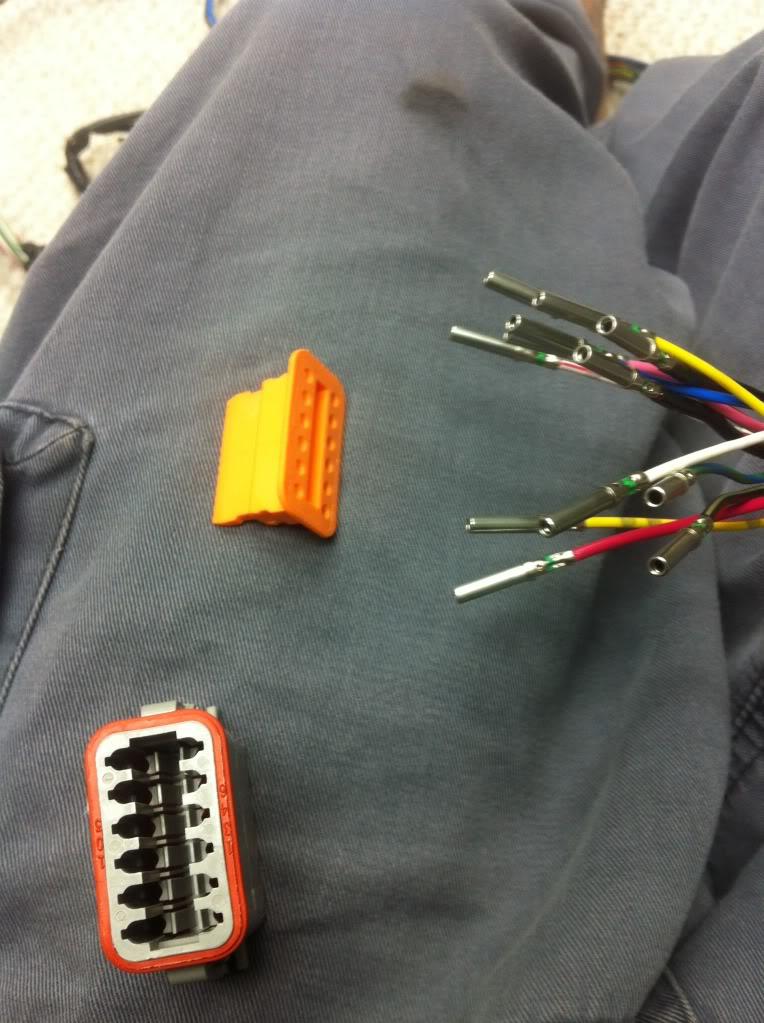
Amphenol connectors are in, for those that don't know what this stuff is, it is basically aviation/avionics type connectors that are high density arrangements in compact fittings
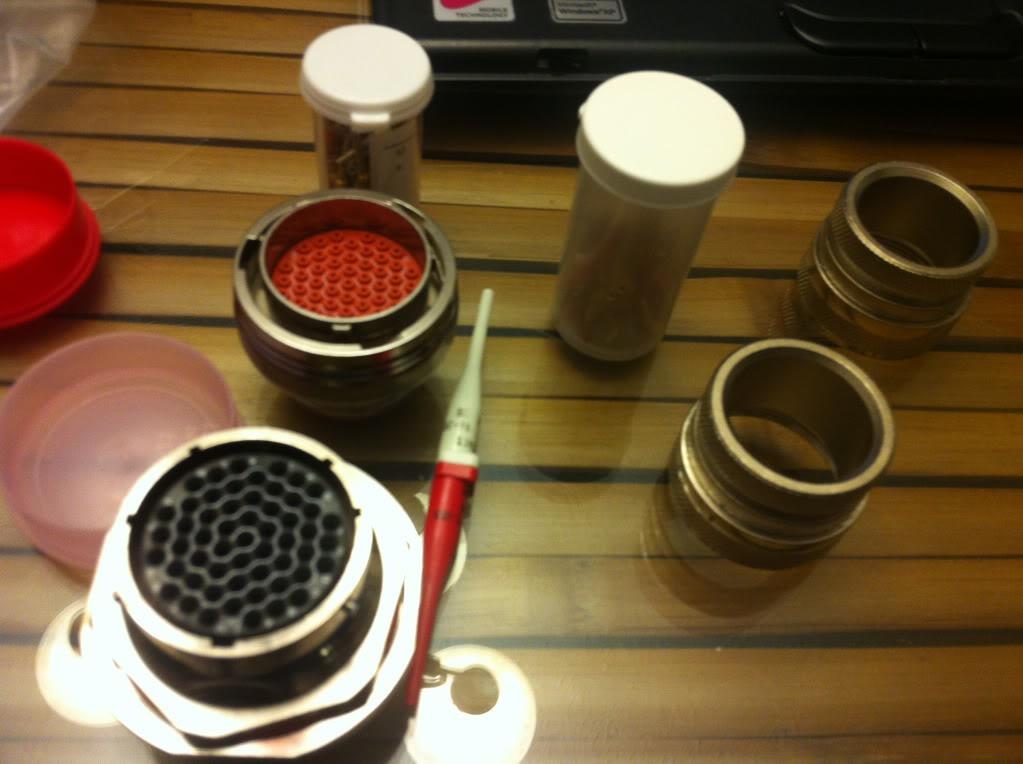
Here is the set up that I opted for after extensive reading and edamacation !!!!! male and female bayonet couplings, settings with crimp pins and anti strain shells
showing cavity A and cavity B
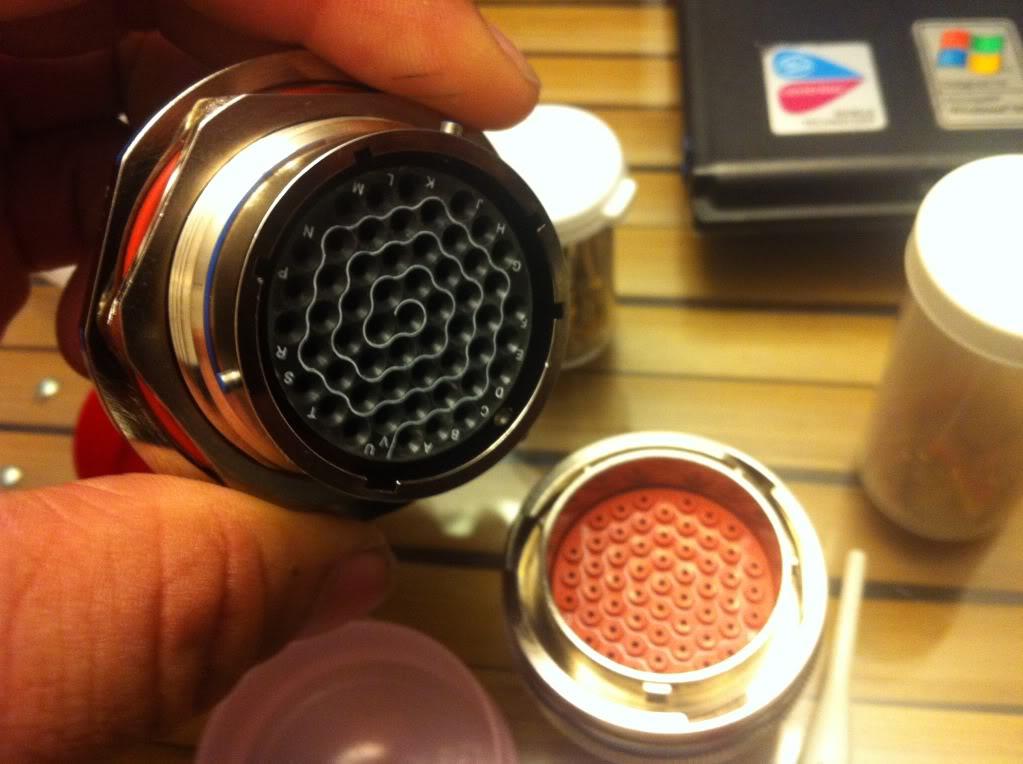
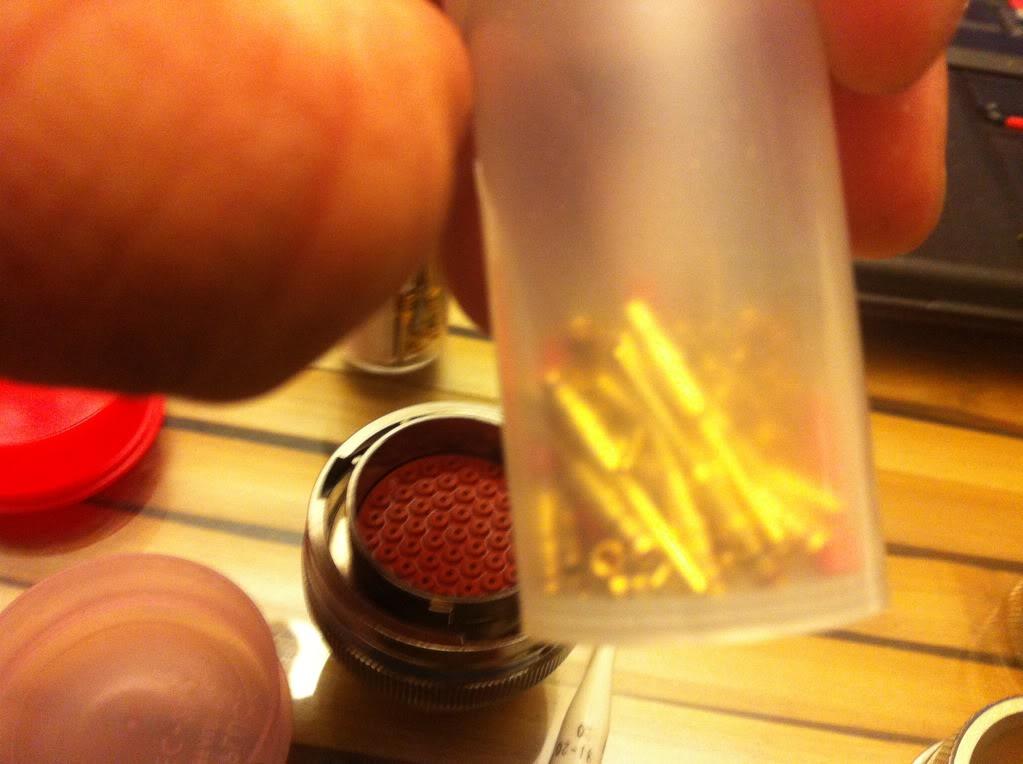
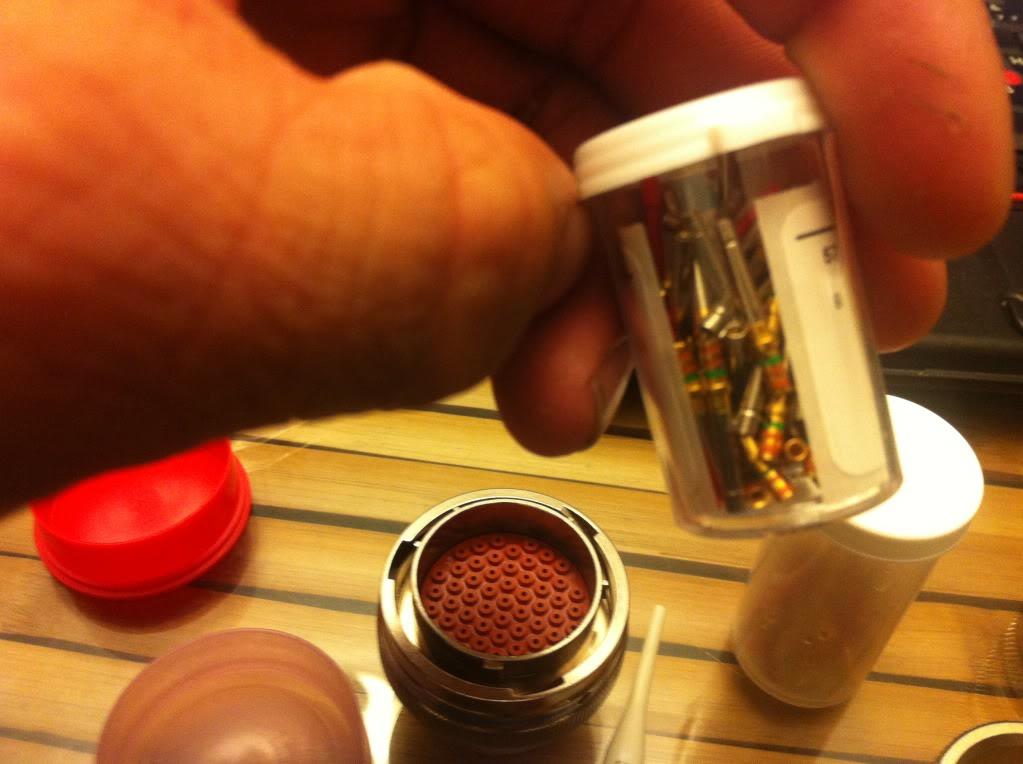
Your male and female , gold plated pins and sockets
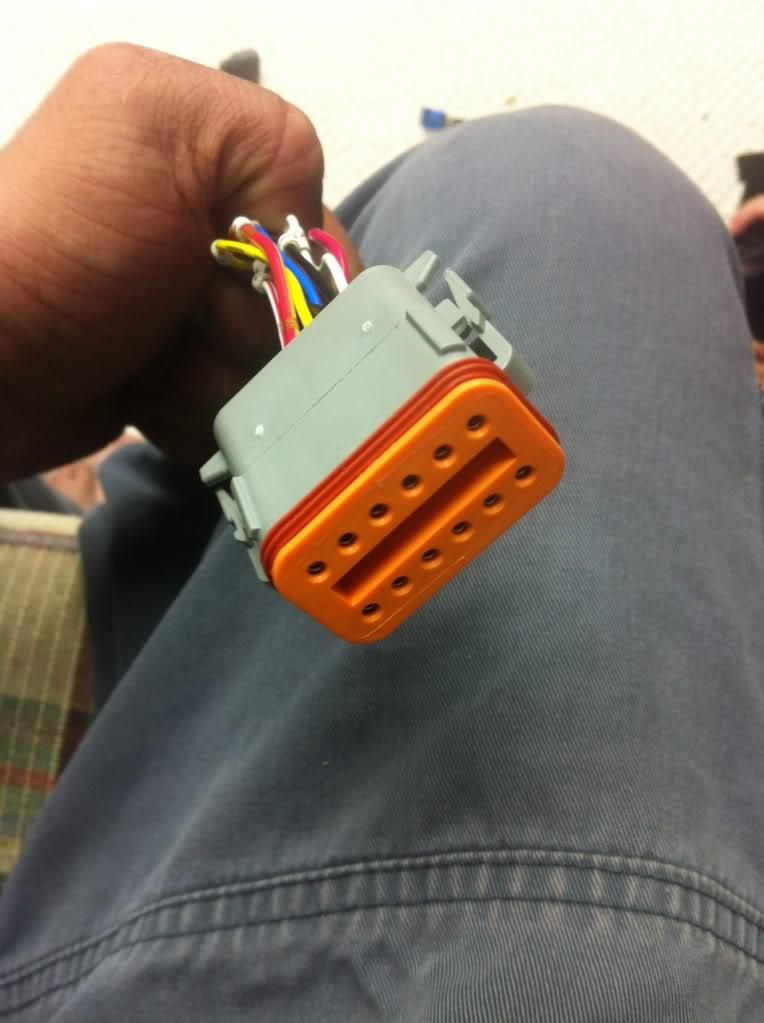
and the assembled unit which is very compact for the type of connection that it is
this will be the junction of the engine harness ![]() .. if it is good enough for NASA,... it is good enough for my japanese economy **** box
.. if it is good enough for NASA,... it is good enough for my japanese economy **** box
enjoy
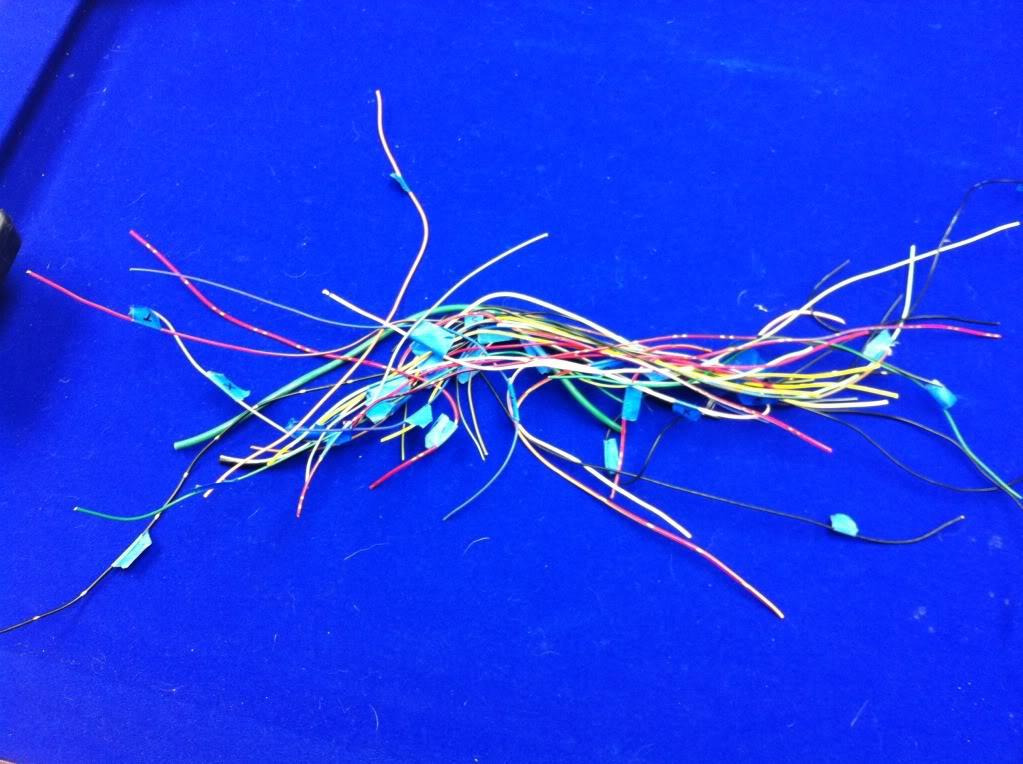
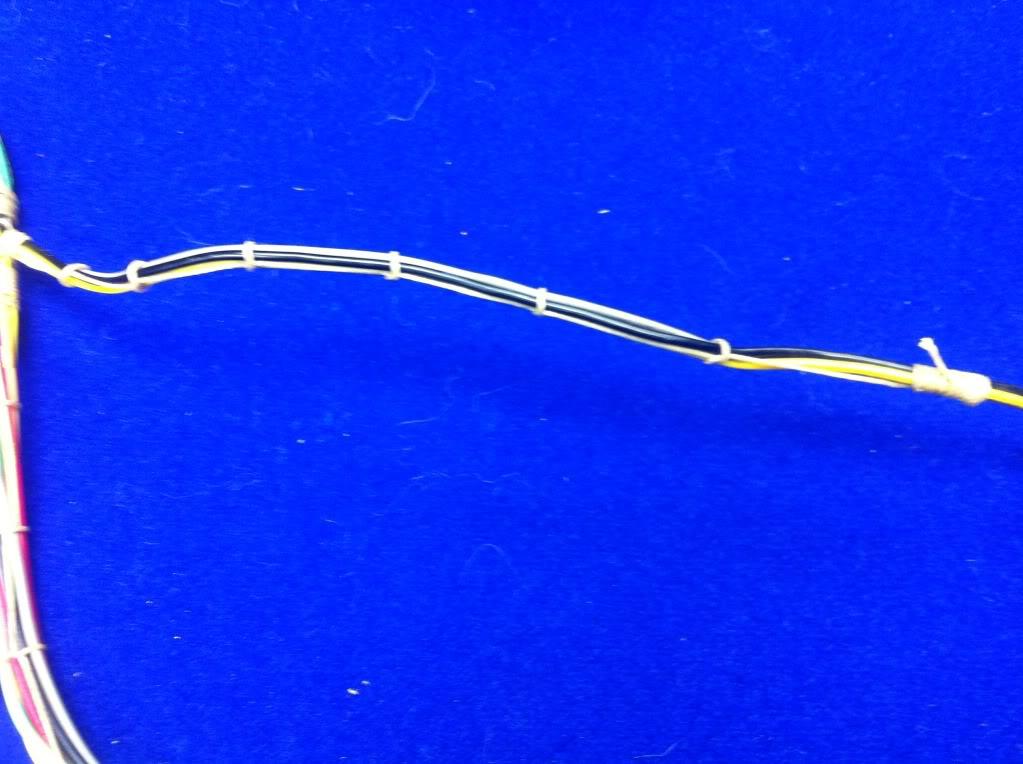
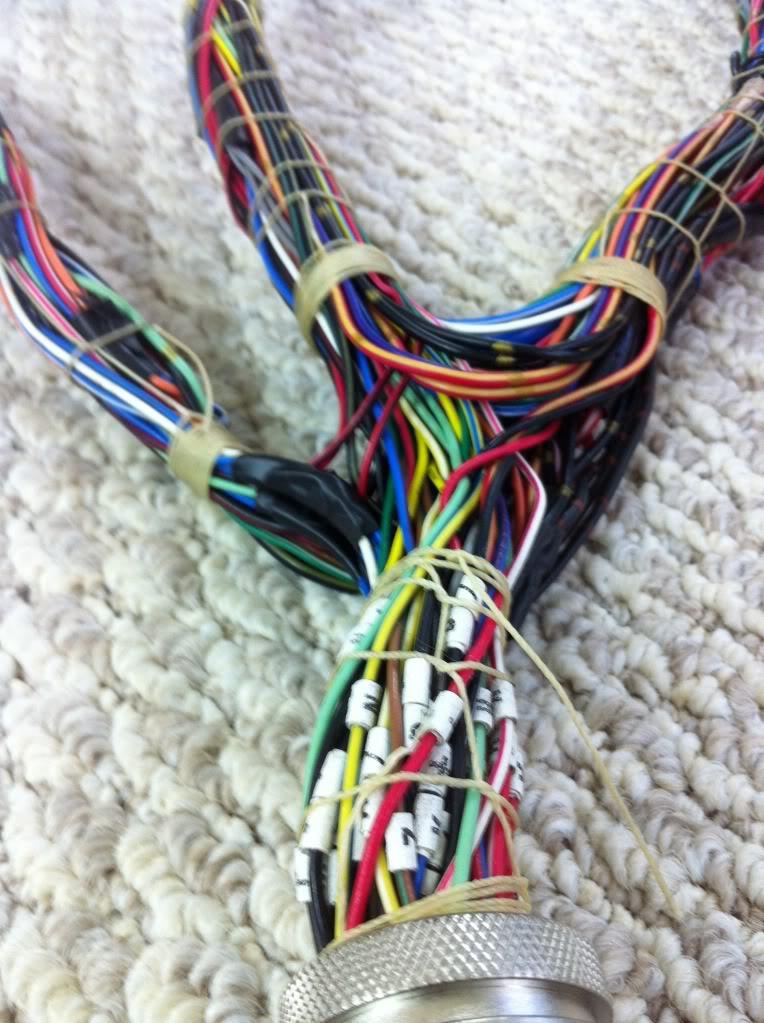
Can't sleep... woke up in a cold sweat at 3:50 am because I Had a horrible dream about shielded wires and dmc crimpers... an hour or so later, after some labelling.. I ended up with this
I can remove all the wire between the blues painters tape// about 3 feet
too late to turn back now......
3 hours later, damn this stuff takes forever to do
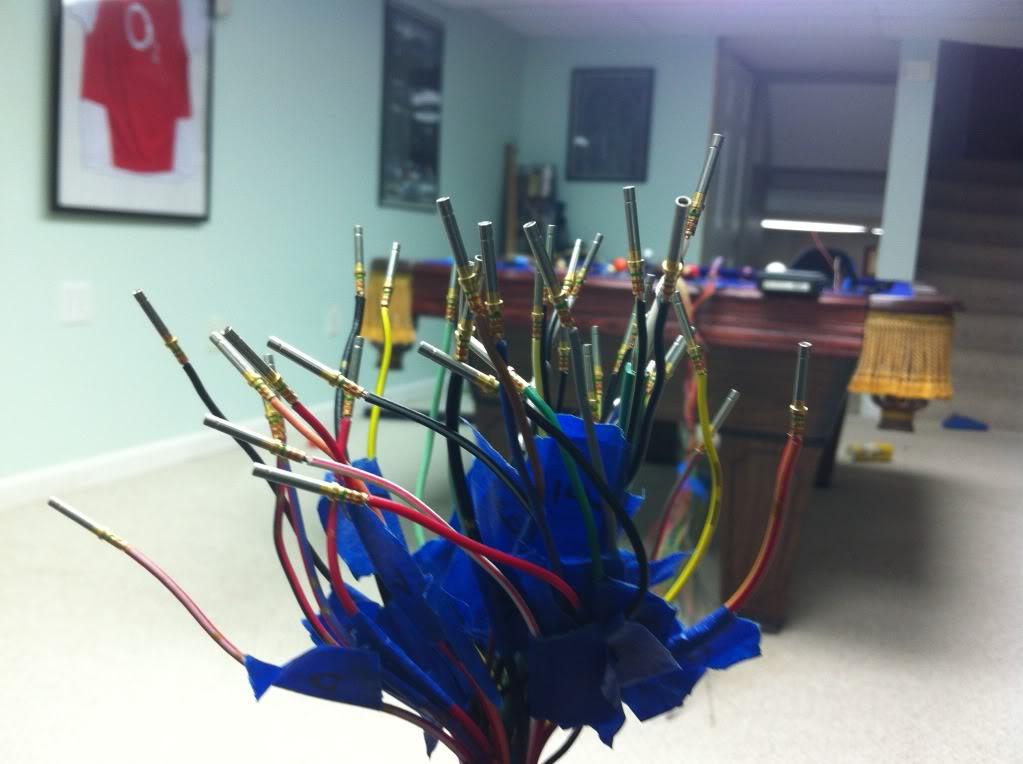
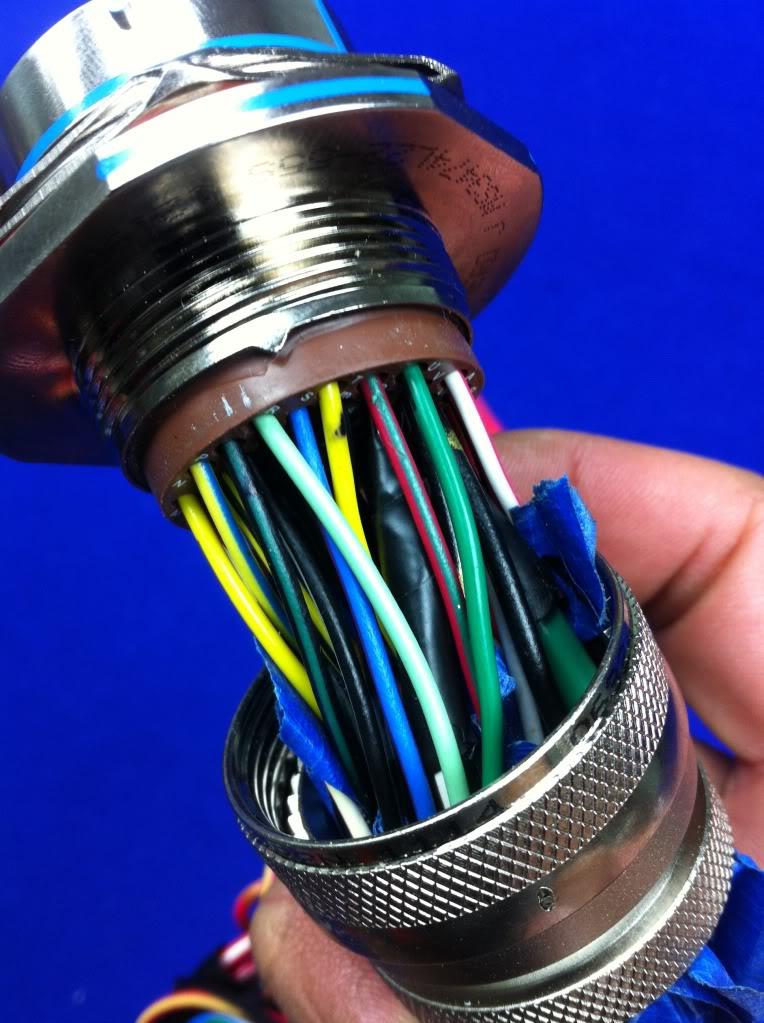
ecu side female pins are crimper on ...
13 inchs by 42 leads gone
Time for the connector.
My son had to show me the ropes with this one
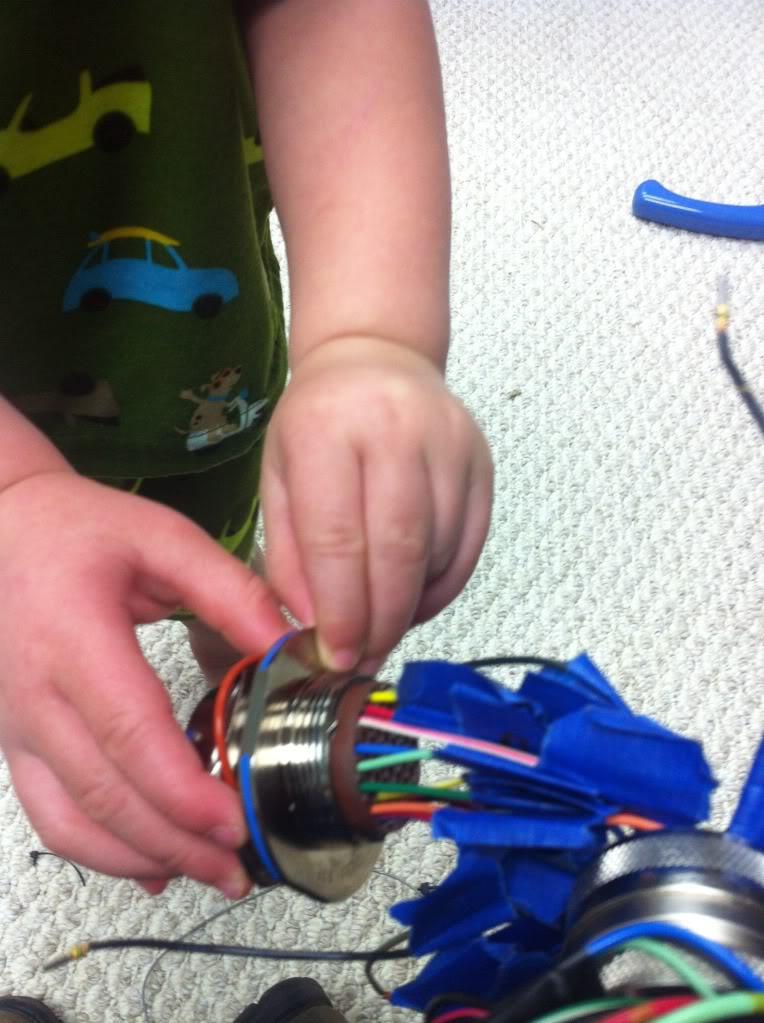
insertion tool ( I need to buy some metal ones )
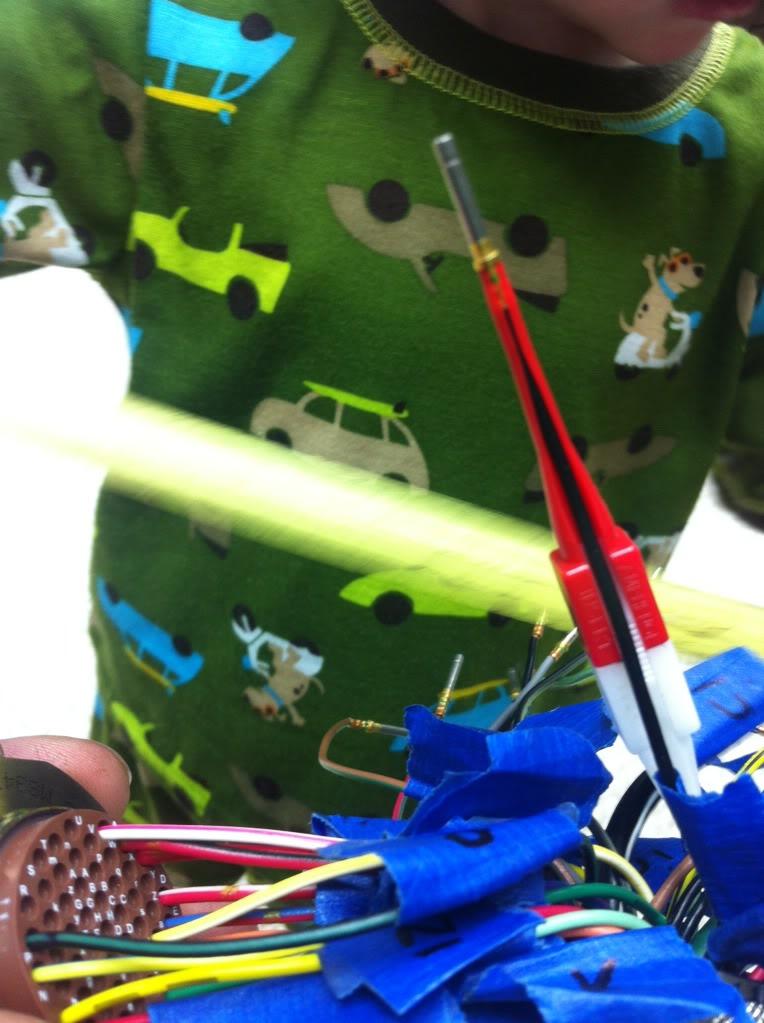
big bad ass connector and some cheap ass painters tape ... I need to find some better labels, If anyone can find some labellers that are the clip on kind , that would be appreciated.
more to come.
well... nothing to really say about this besides. " why the f#$k is that dirty car part on the counter"--- oh wait thats the wife talking.
The plate is a bunch lighter than the stock rubber and metal piece which used to hold the "stock" harness in place.
enjoy

I will replace bolts with titanium at a later date.( also might have to beef up the carbon)
The plate needs a little more clean up work, but turned out decent for a couple of hours worth of work
hammered away at the engine side yesterday.. what a mess.. placing wires where I want them etc
and what I can cut off, this is even more than I thought, in some leads, I can remove almost 6 feet worth of cabling.
Also received my military grade heat shrink... definitely worth the cash with 3:1 to ratios
I can't wait to see how my engine bay looks with minimal wires in view.
Worked on this for another couple of hours last night, finished up some labelling etc around 12:00 ish.
engine harness re run and tidy
everything north of my foot can go bye bye

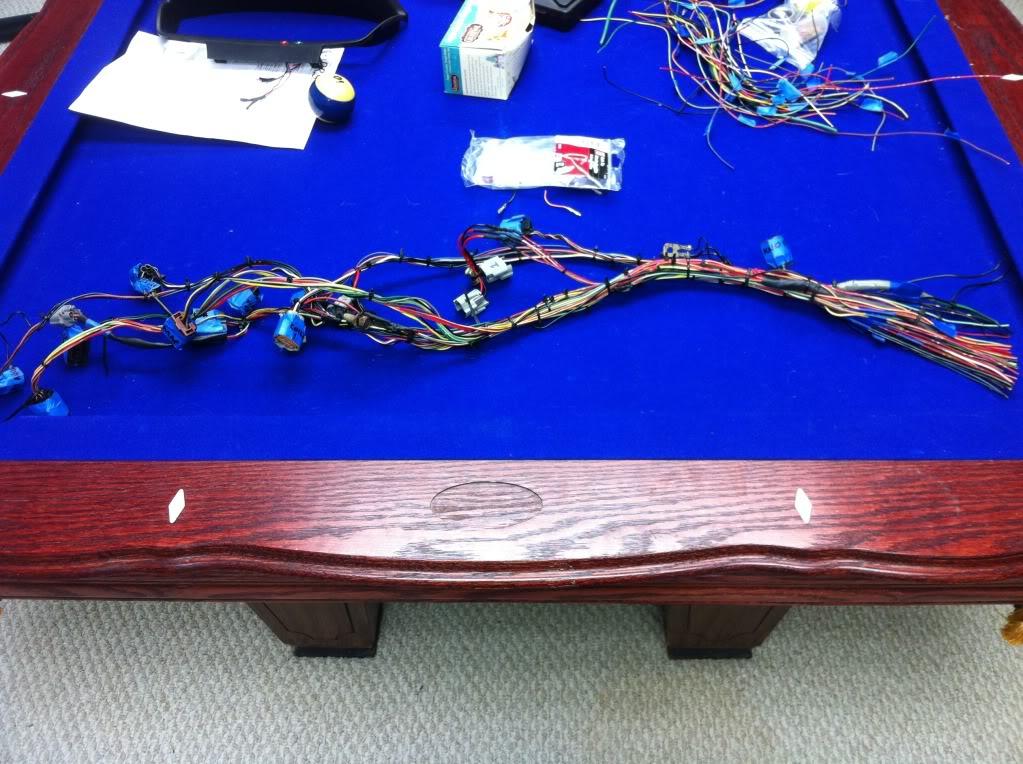
my kick ass shortened harness, approximately the width of a pool table ![]()
next I will be deleting all zip ties and lacing the harness with non conductive textile.![]() zip ties are heavy
zip ties are heavy
Worked on the engine side harness some more over the weekend.. Male side all pinned with gold
As soon as the big shrink wrap comes in.. I can call this part of the project complete.
Worked on this engine harness a little more tonight.. This is called Lacing, a technique that was used in World war II and in some cases still used today. Instead of using zip ties, which could cut you/nick a wire... I am using waxed threading to tie the harness together using the techniques used back in the 1930s and 40s ![]()
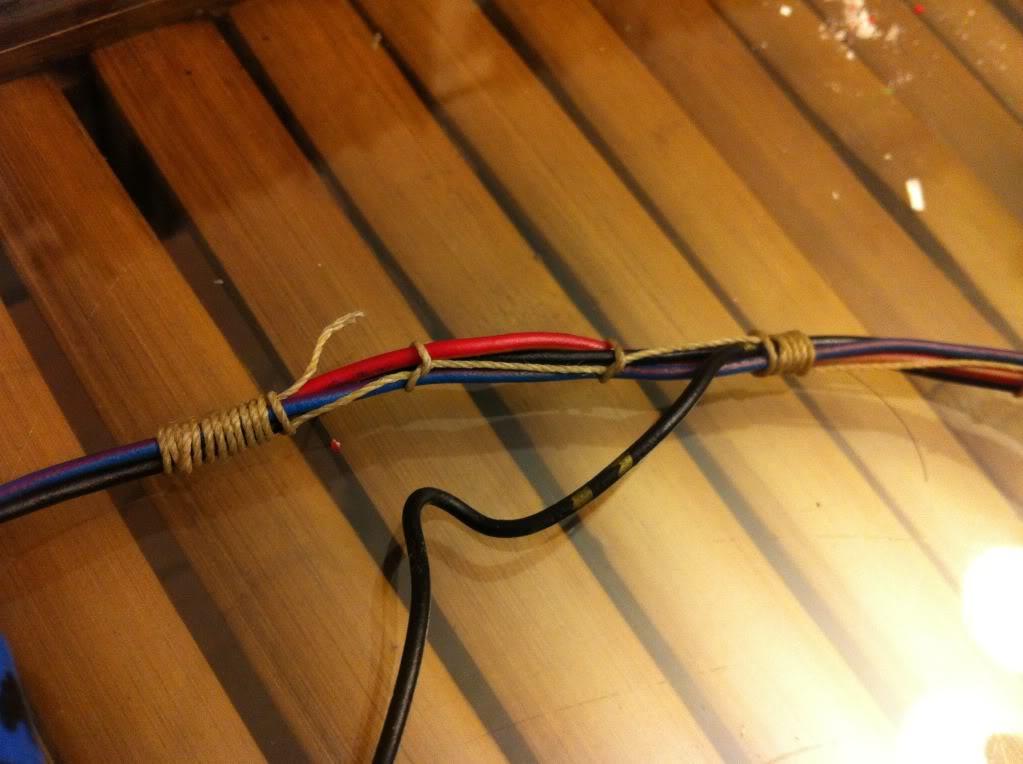
utilizing running stitches through the whole harness.. amazing what the ingenuity was back then..
showing a run
and the finished engine side harness ready for some dr25 raychem
and here are all those heavy zip ties that held the harness together
enjoy
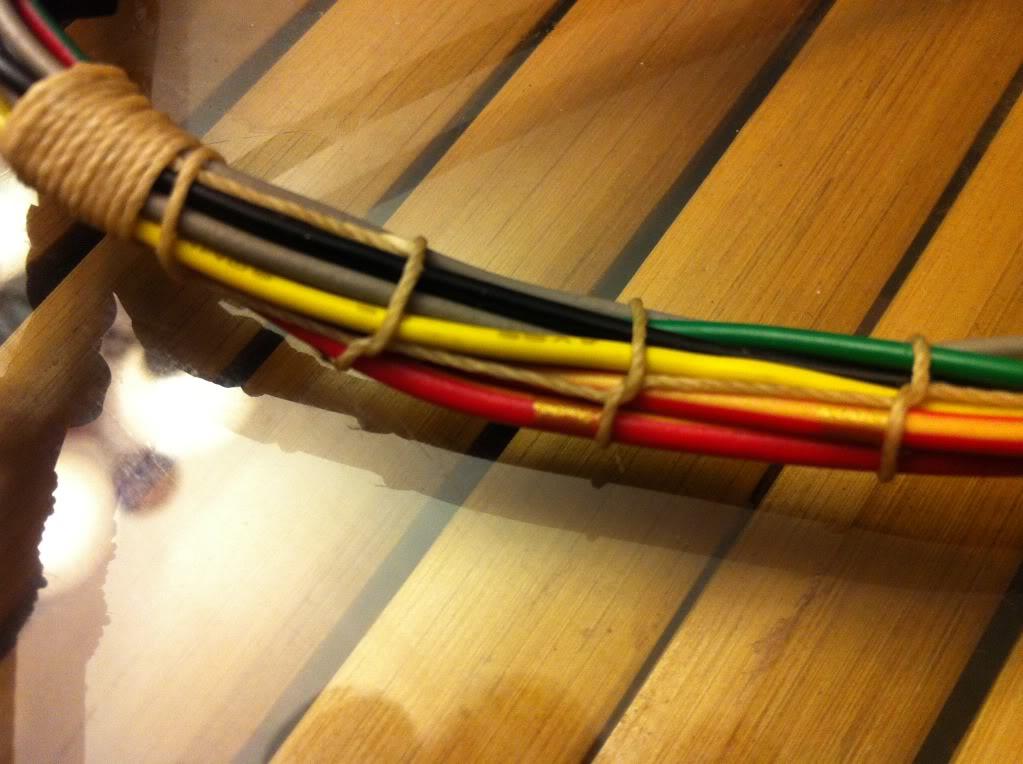
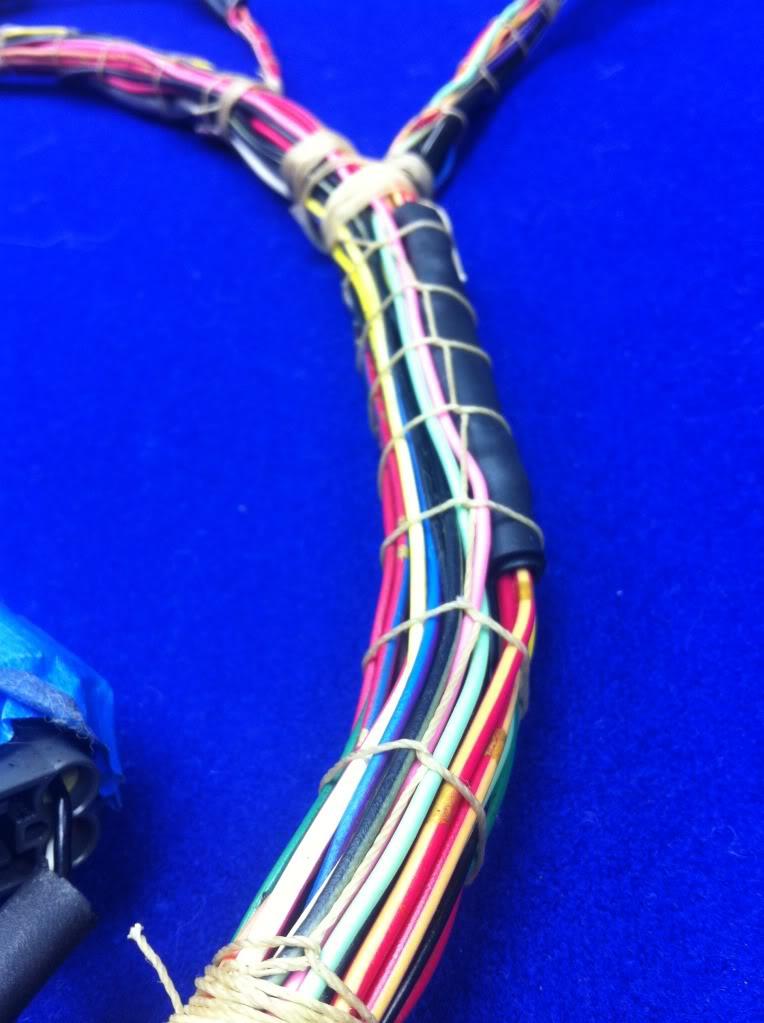
After doing the lacing on the other harness, I have developed a strong facination for rope and tieing things up
a better view of running lock stiches

the entire internal harness has been tied together this way.
Yesterday I spent a good 10 hours or so working on the engine side harness-- depinning and placing all the tubing on
Finished her up this morning for the 60 plus hours of work, I think it turned out great.. lets just hope it works ![]()

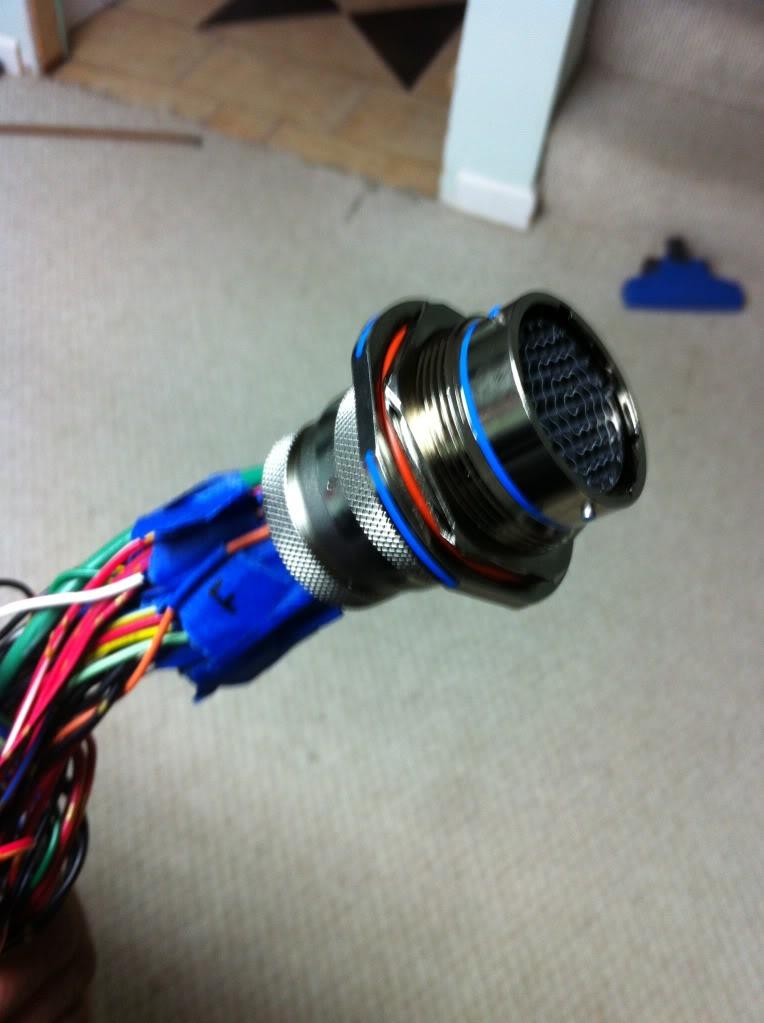
and showing the two male and females joined together
What is it about Latex Rubber and Rope ...
ENJOY ..
Tried the harness on my block, its a little tight for my comfort, but it will work once I support the main section under the manifold
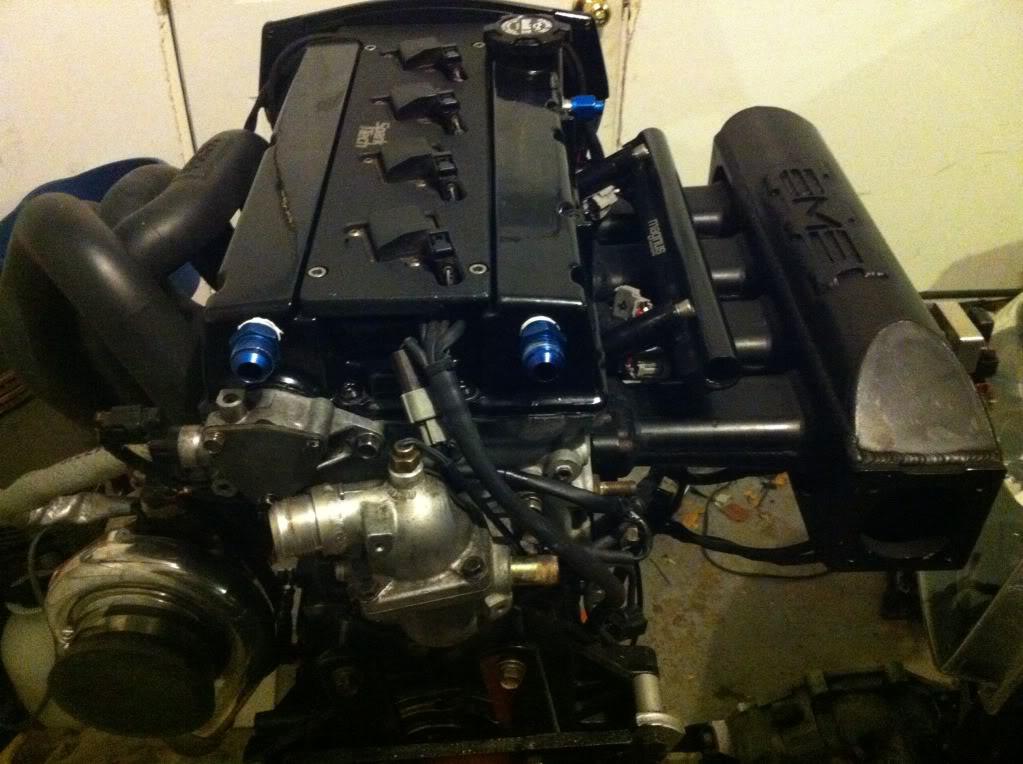
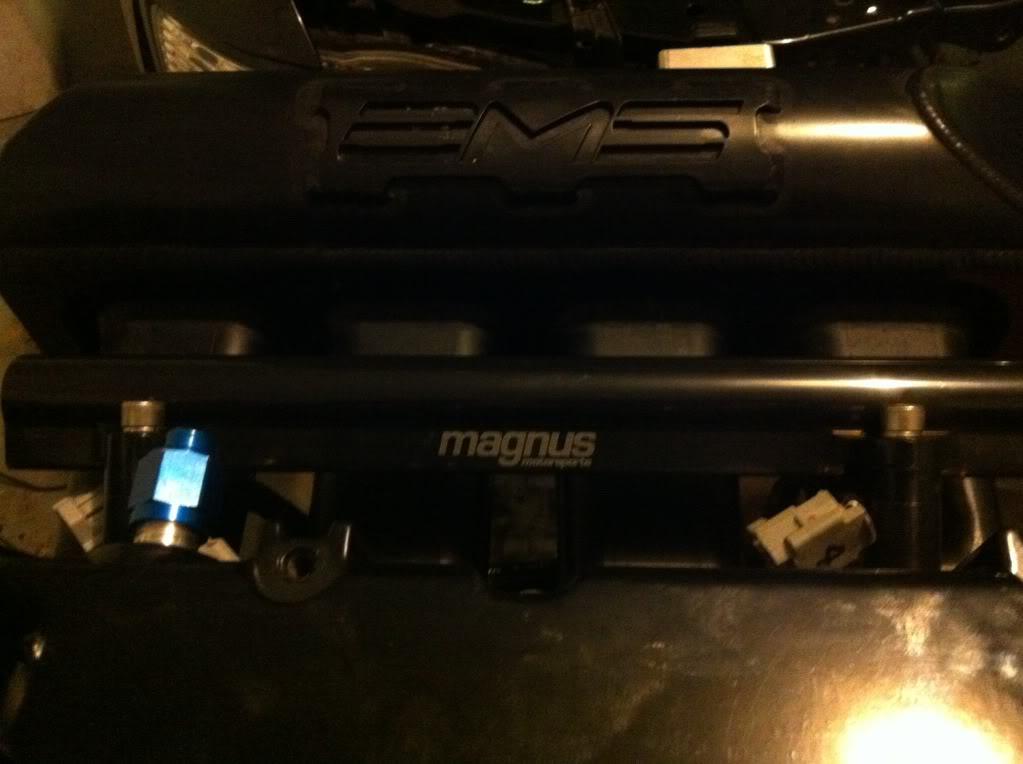
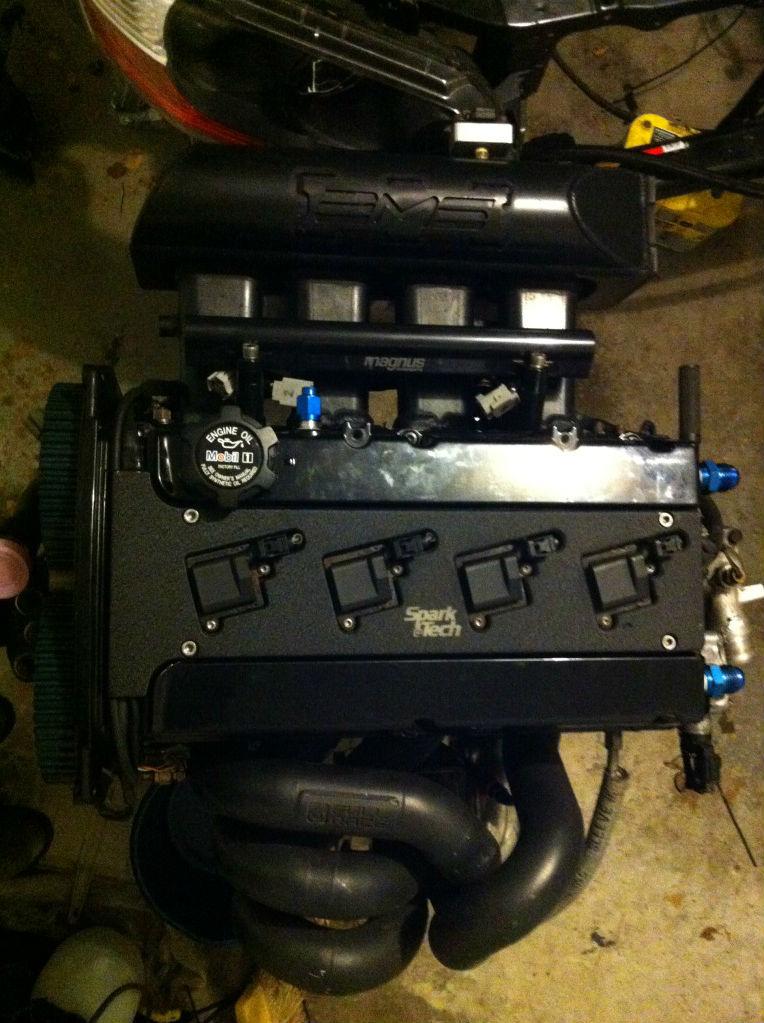
the large and in charge magnus rail looking pretty
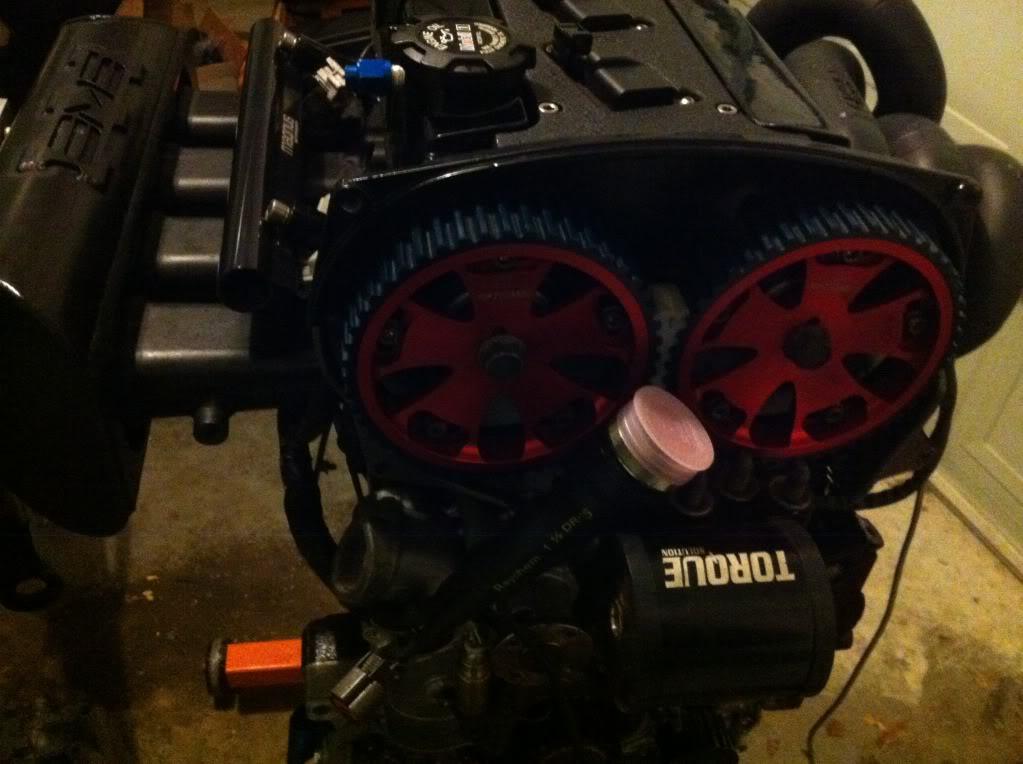
got some titanium bolts for christmas from my family
and a cool engine shot
Worked on the wiring a bunch over the weekend, created my driver side headlight harness using deutsch connectors, and installed the back side harness as well.
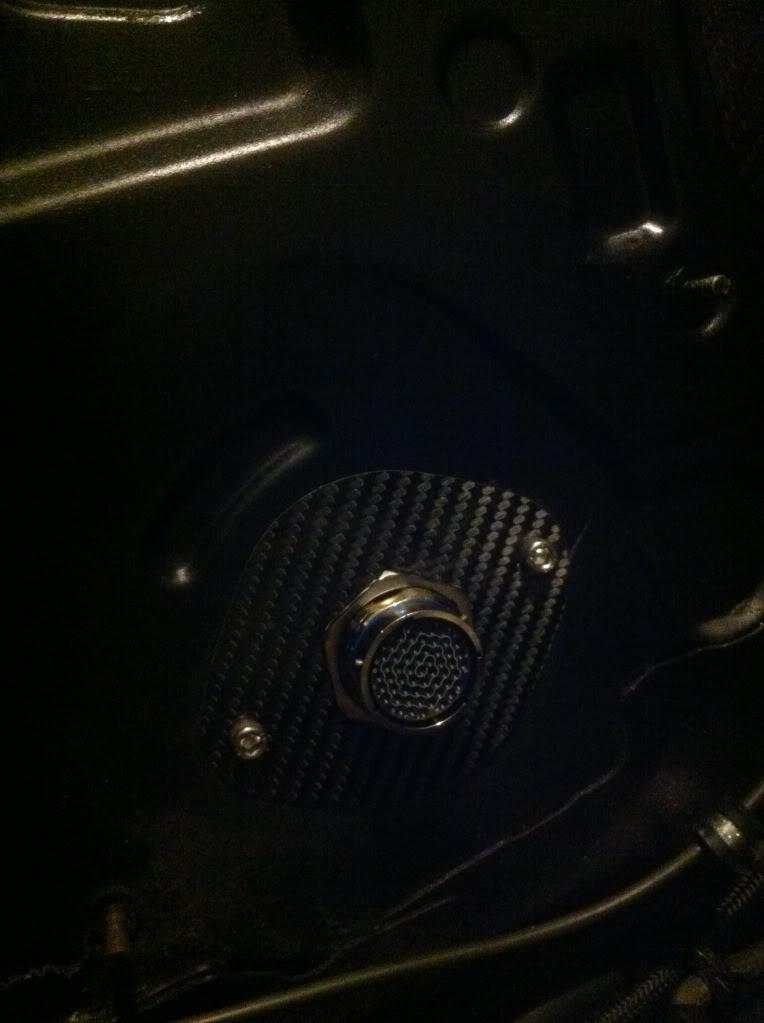
The milspec connector and plate installed , it turned out awesome and I just love the simplistic view of it
Next up is ordering a couple more connectors for the fan controller and this project should be complete and ready for the dash to be installed.
Adding to this little project . Once I am done , I can transfer it to Evom ,feel free to use/ask questions if you are confused.
Wanted to show you guys a picture of a deutsch connector, much like the mil spec cannon plug, the pins are radially crimped on the wire, so that you have maximum hold tension on the strands.
The picture shows the housing, crimped pins ( female) in this case, and the lock
The picture above shows the assembled piece. These are my jumper harness to the headlights, since I am tucking them
Only one more harness to build, which is for the radiator fan.
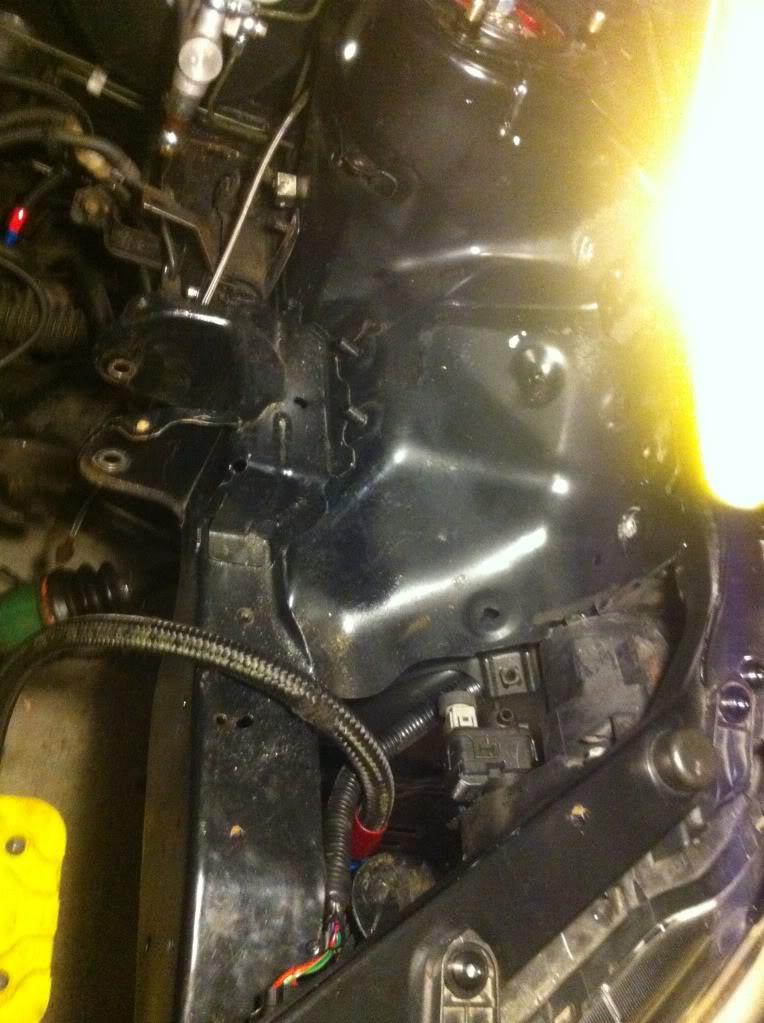
Another 8 hours or so on the implementation of the harness, At this point the harness is installed, everything is as tucked as I can get..
here is a poor picture of the area where the fuse boxes used to be, this will be bare for the most part. You will notice the harness being run along the frame rail in that section as well.
Converted the fan connection to deutsch pins

Rerun the headlight harness( I will need to lengthen this one by about 12 inches or so
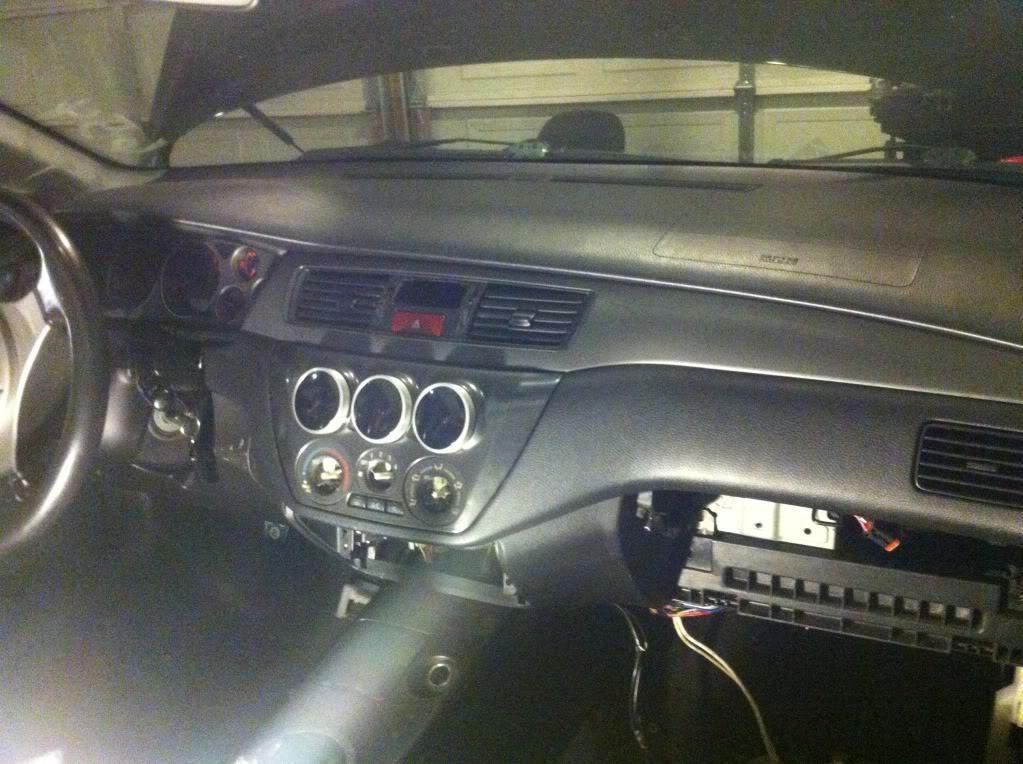
Dash and interior mostly back in
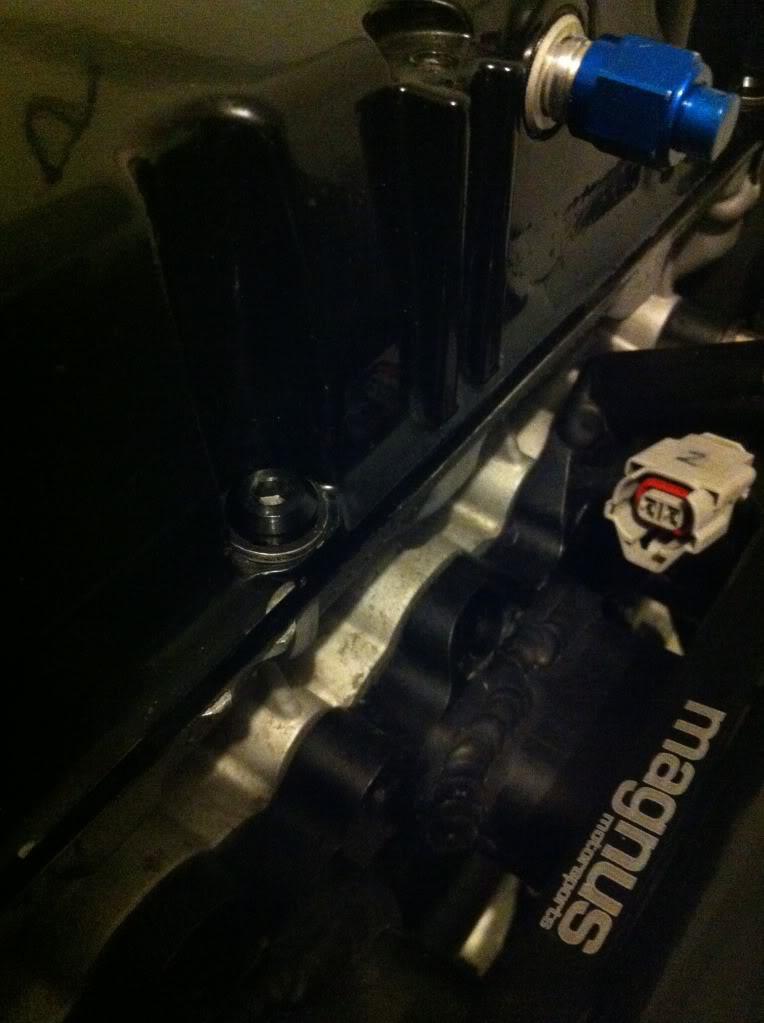
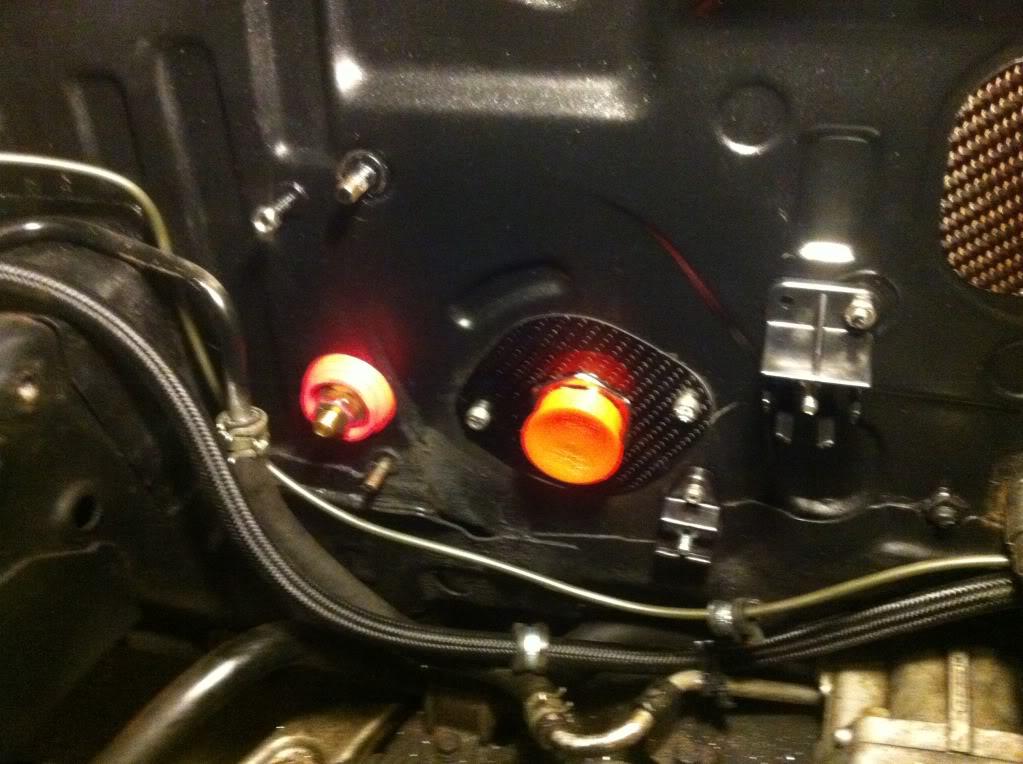
Engine firewall side, showing power connections and junction posts
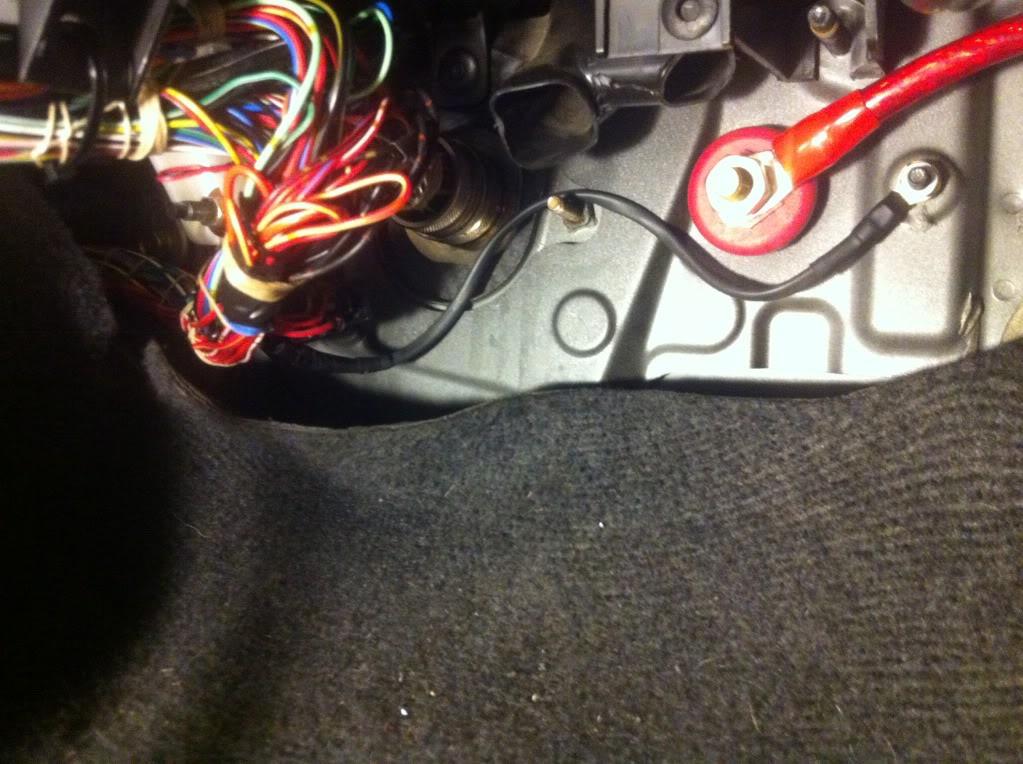
Cabin side, the power area is dressed up with the battery connection and grounding points
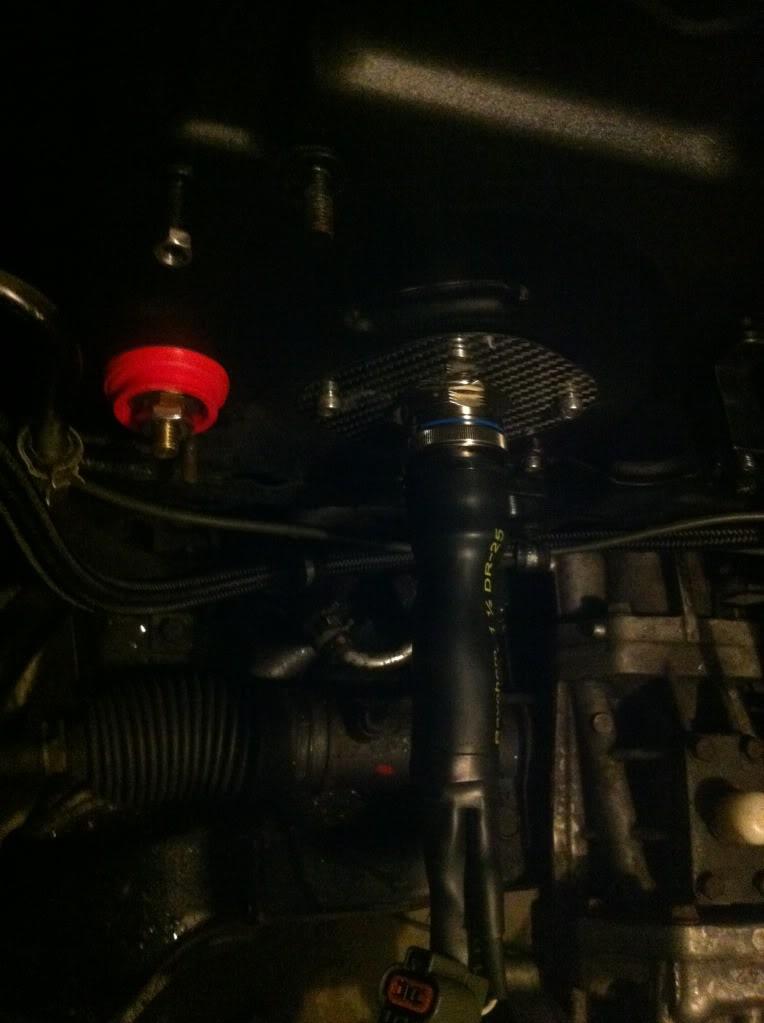
A poor shot of the engine harness attached.
Its getting closer

Comments

Amazing !
Posted by Diggymart on 1/3/20 @ 8:02:34 PM

Wow! Exceptional work!
Posted by diyauto on 4/24/17 @ 10:29:44 PM
Amazing job!
Posted by bdub on 1/21/21 @ 1:49:22 PM