You must be logged in to rate content!
3 minute read

EVO X SST/RalliArt Shift Boot installation
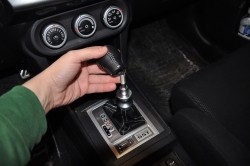
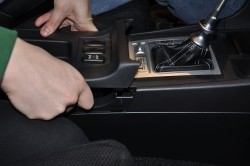
1. Unscrew the shift knob.
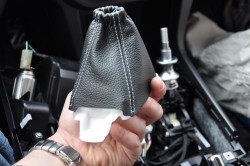
2. Unbutton the metal clasp on the upper part of the shiftboot.
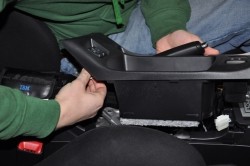
3. Open the arm rest and lift up the centre cup holder console from the rear, then slowly moving forward, pull upwards on the console near the shifter base. There are 4 clips here, ensure you don't loose the two white plastic ones near the shifter base.

4. Pull gently and evenly...
5. Unclip the AWC module wires by depressing the white tab.

6. Unclip the heated seat module wires by depressing the white tab, and set the console aside.
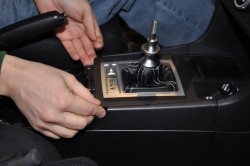
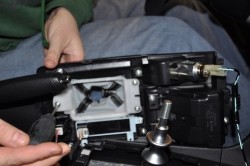
7. Unscrew the two screws holding the shifter base in place and set them aside.
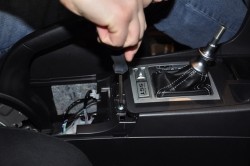
8. Lift up the shifter base and pull it towards you. There are two clips at the front of the base and two sets of wires, so be careful and do not pull too hard.
9. If you have enough slack in the wires unscrew the three screws holding the shifter boot base in place. If your wires are very short, simply unplug the SST control switch and the SST LED indicator module wires and set the console aside.
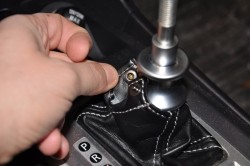
10. Remove the shift boot base from the console.
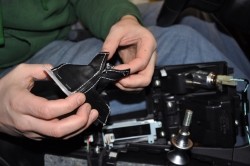
11. Remove the OEM shiftboot from the shift boot frame by pulling out the staples.
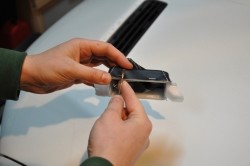
12. Place your new RedlineGoods shiftboot over the shifter boot frame ensuring the cutout goes to the bottom. Insert the shiftboot into the shift base console and re-tighten the three screws, then pull the shiftboot over the shifter stretching the elastic over the reverse lockout mechanism. Our shiftboot uses a durable elastic to strech over the reverse lockout instead of a button type clasp. This approach ensures a better fit and a cleaner looking end result.