You must be logged in to rate content!
3 minute(s) of a 251 minute read
1-19-2013
thanks for the compliment! you can see in the pic with the bigger sway bar - this was the widest I could make the skid plate without notching or cutting the kframe. So it has plenty of room if you running just a stock kframe with no plate.
sorry guys the posts have been slow - being a new dad and getting overrun at work, my progress has slowed down, but hasn't stopped - heres what I hae been up to so far:
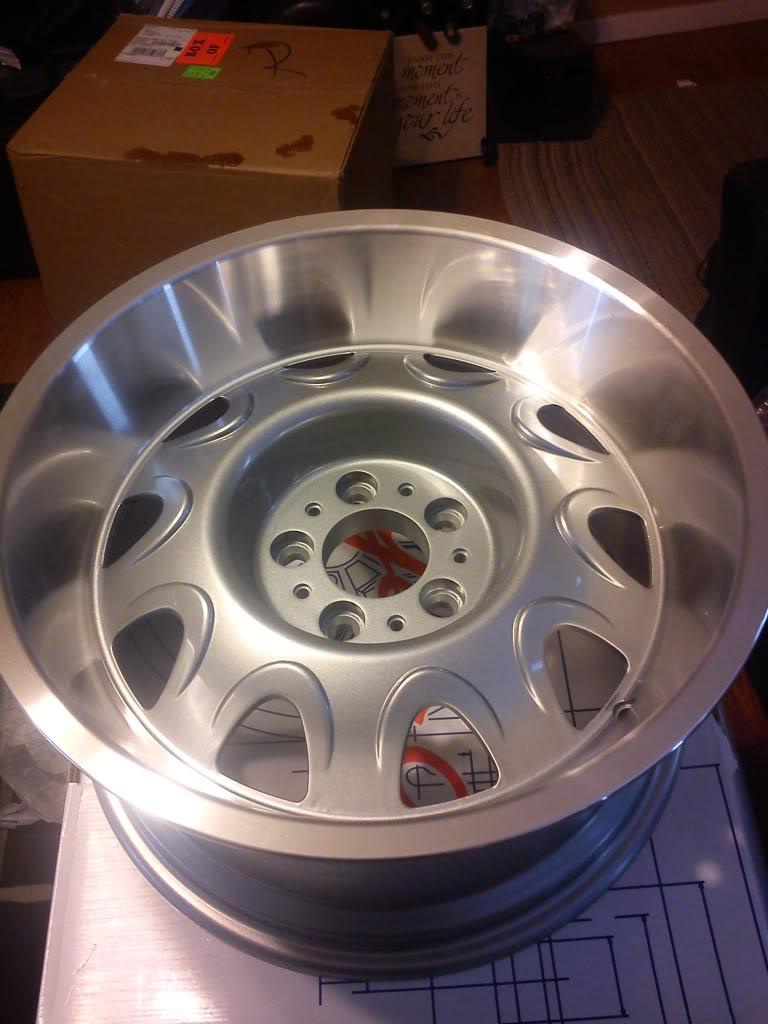
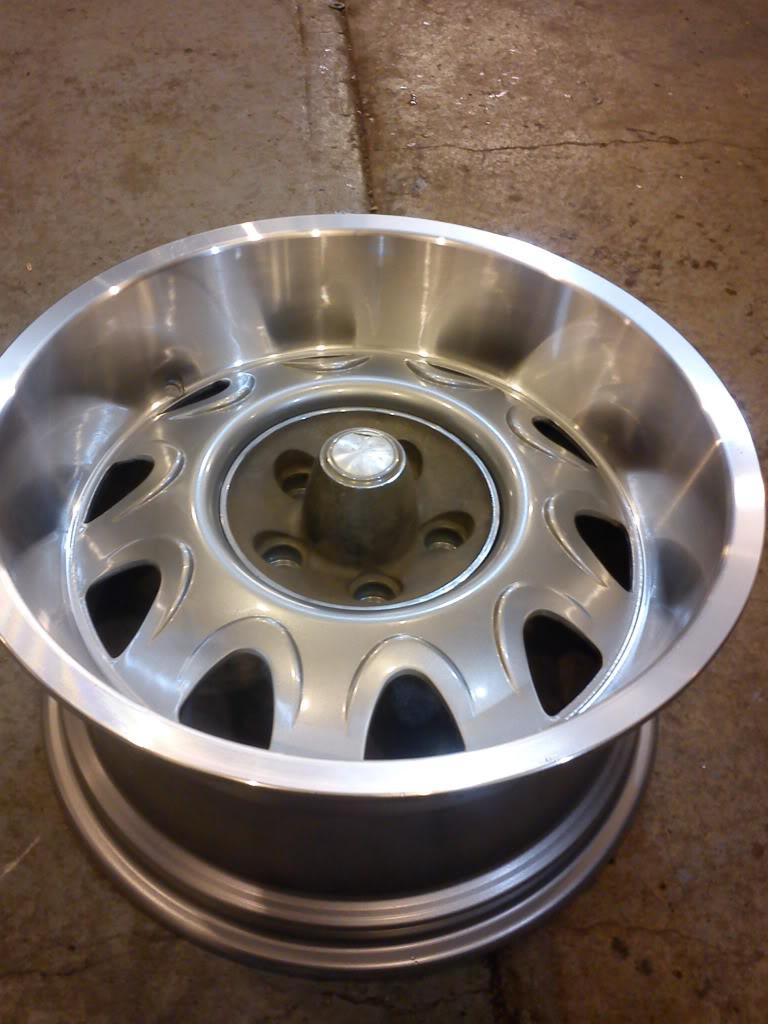
I got the new rallyes from year one :

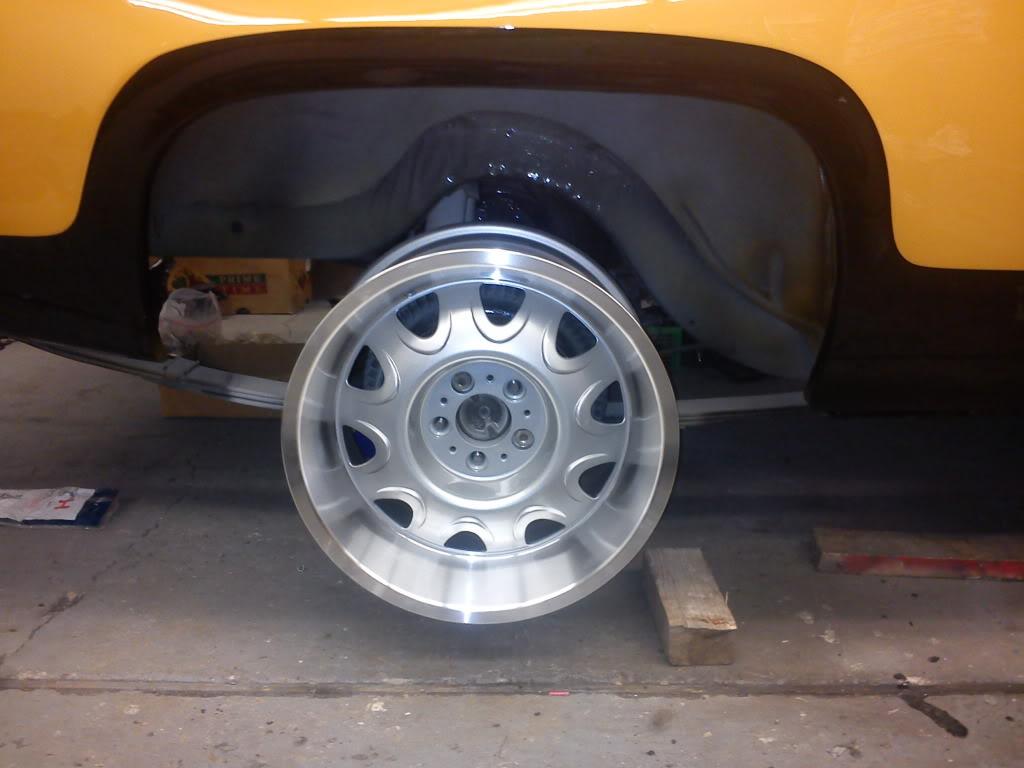
1 1/2" clearance to the rear springs
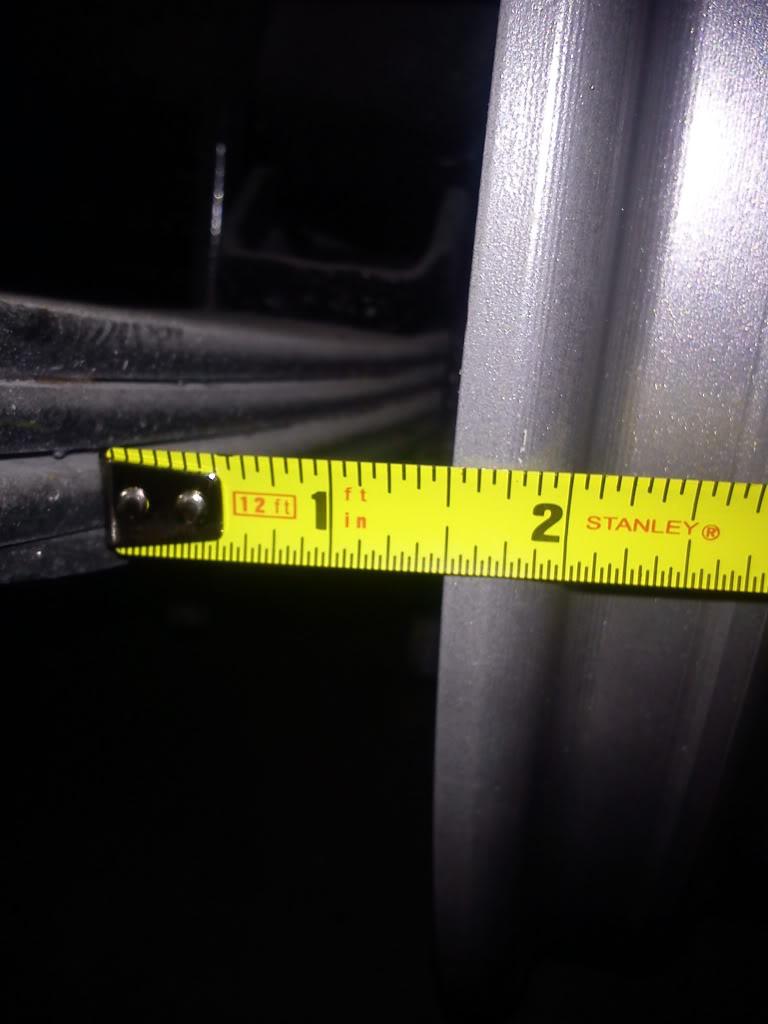
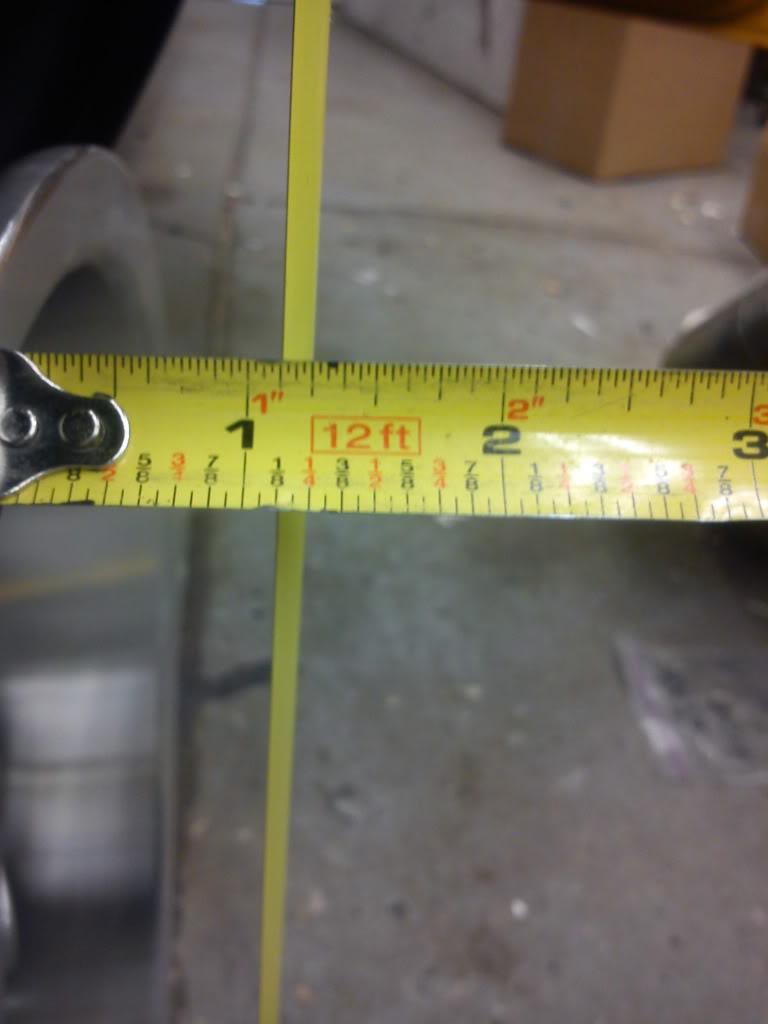
1/1/4" to inside front lip I ay get a 1" spacer down the road:
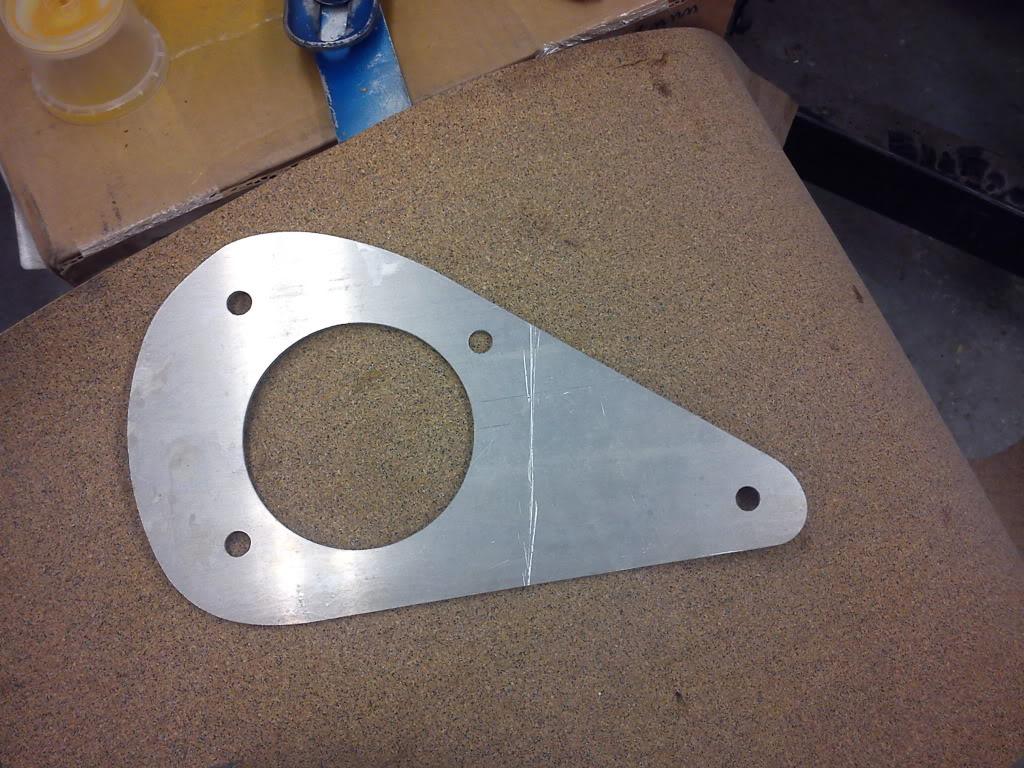
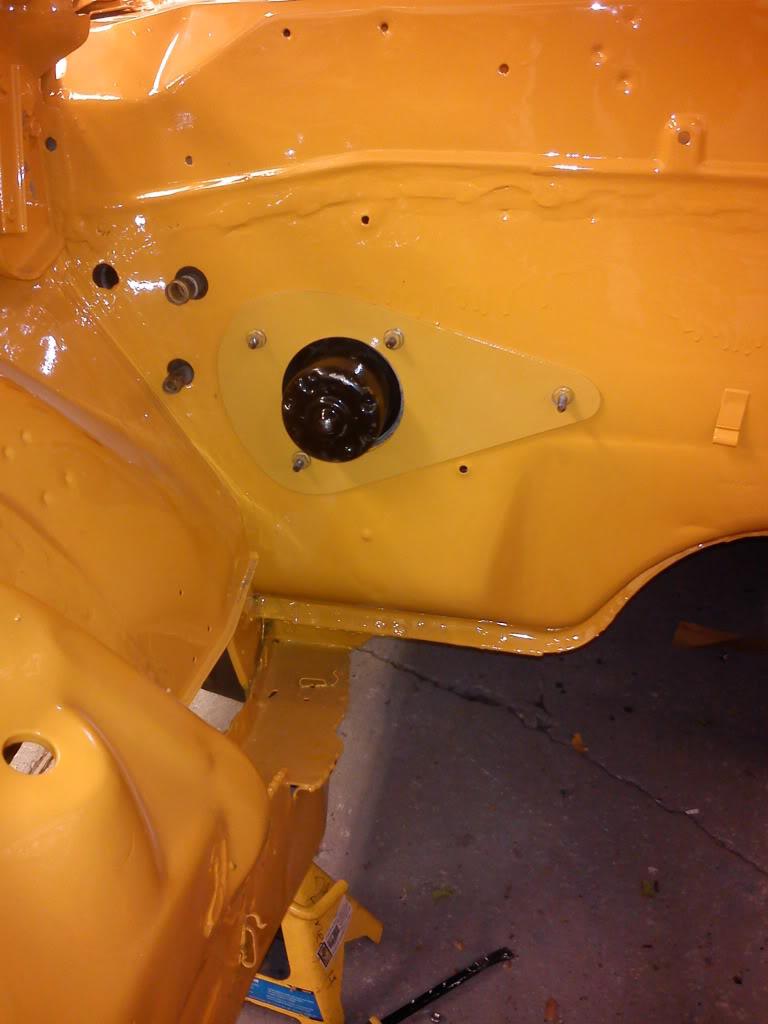
My firewall was cracked when I first bought the car I figured it was because of the heavy heater core being held on by 4 screw heads and nothing else, So i ade a pattern and took it to the metal fab shop here intown and made my own aluminum plate so all 4 points are on the same plane - its made from 1/4" aluminum!
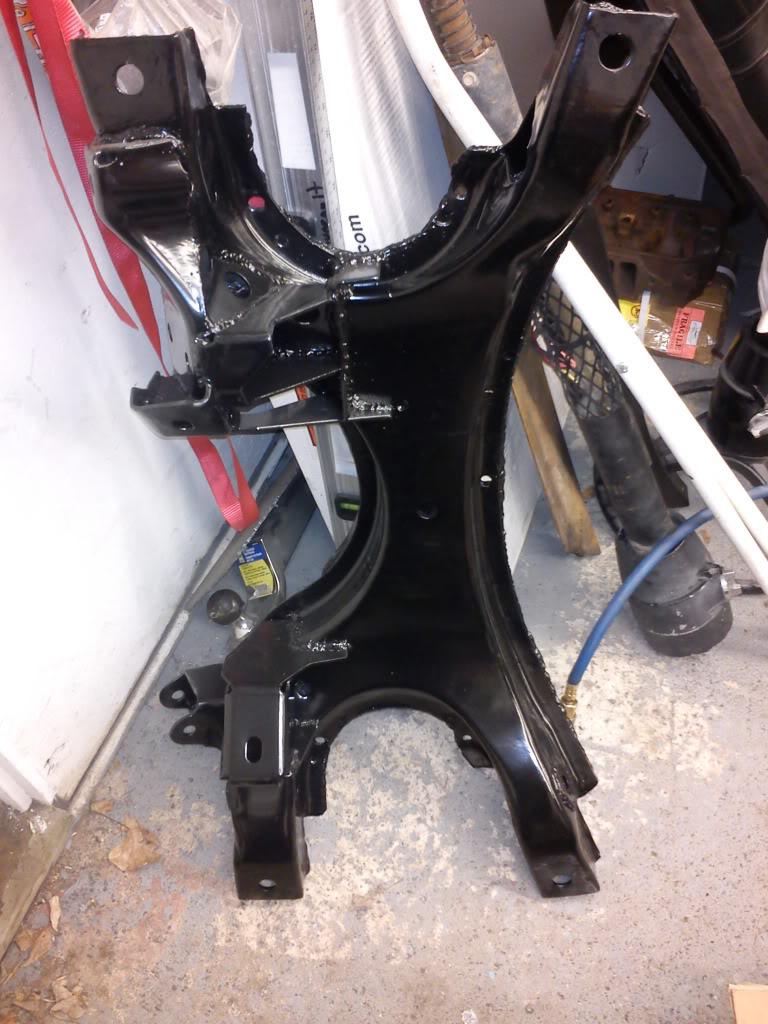
got the kframe back from the powdercoaters!
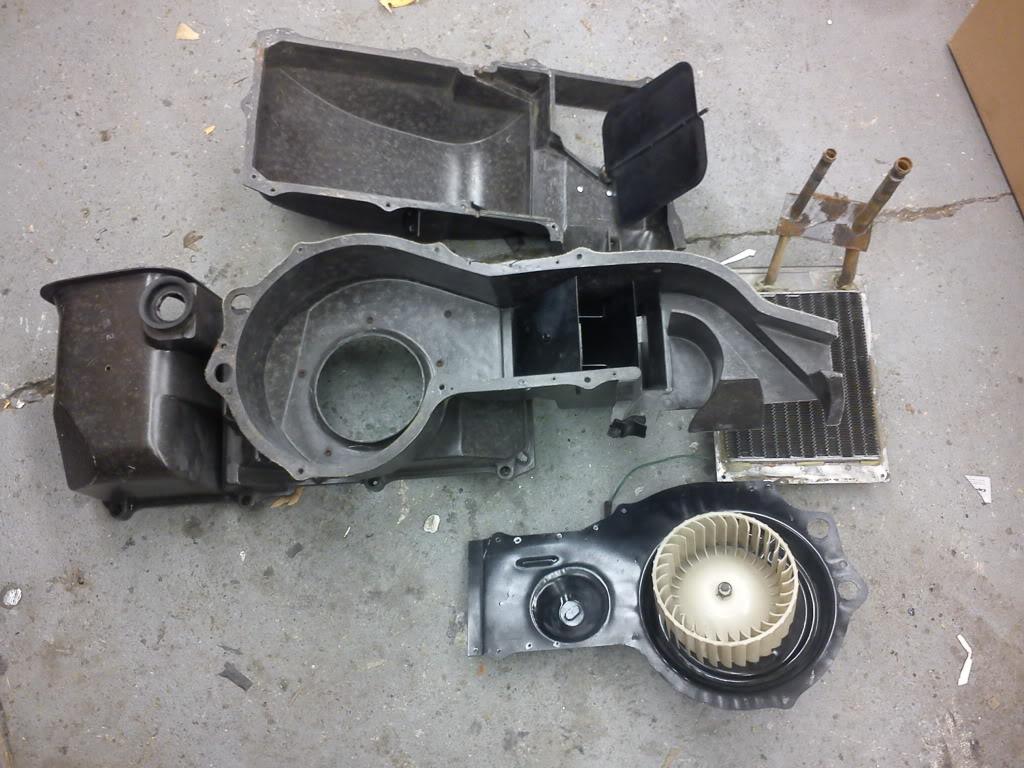
cleaned up my heater box, put it together, sealed it, new weatherstripping, good as new!
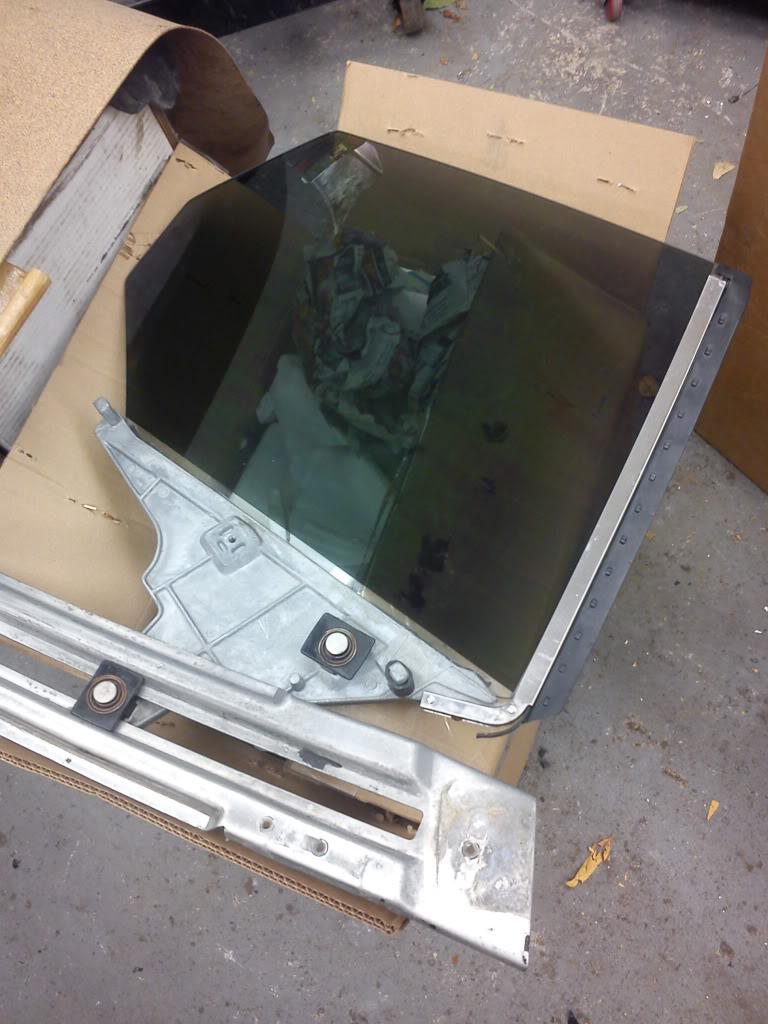
got my quarter windows tinted with factory tint:
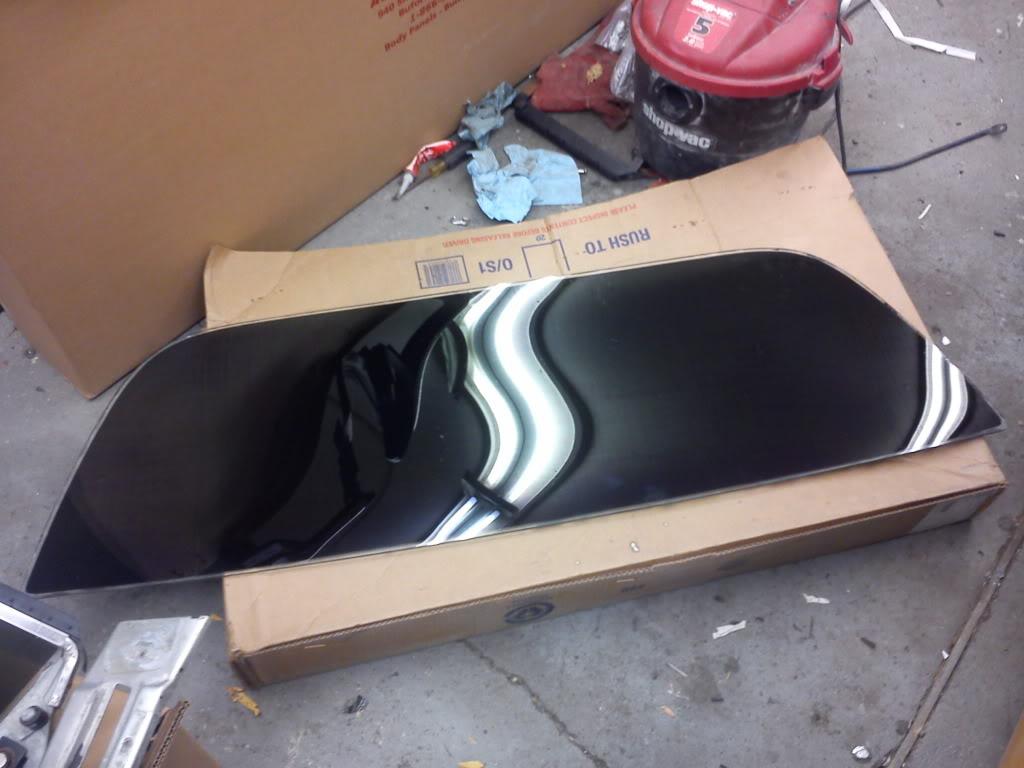
rear window with limo tint
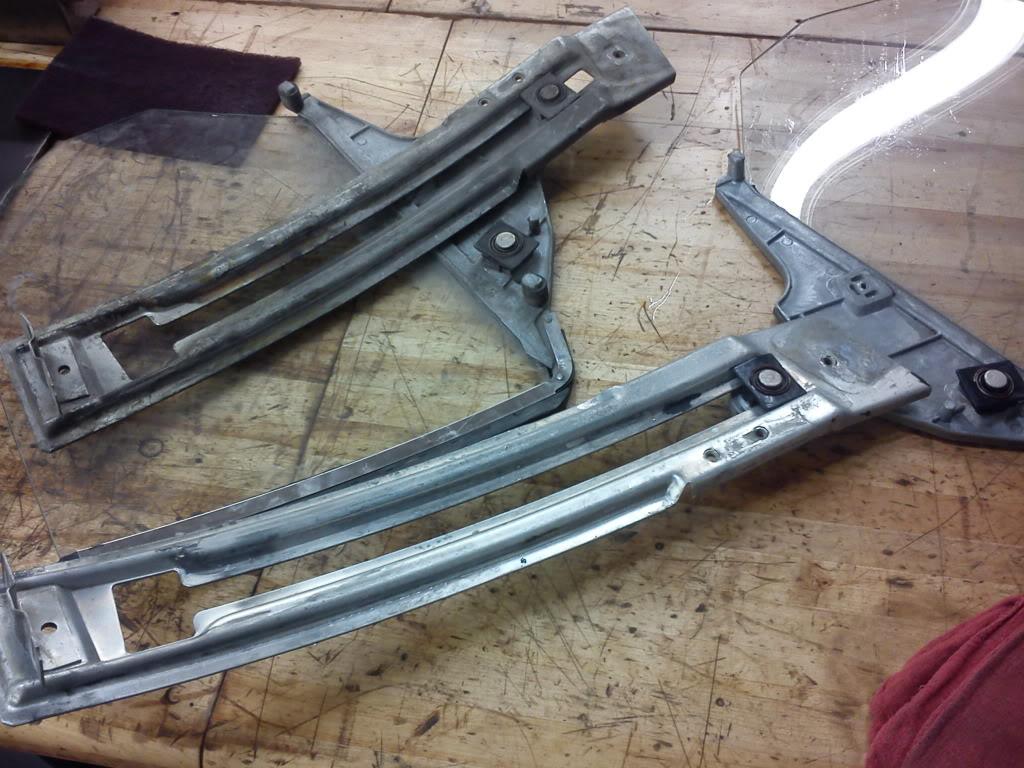
cleaned up my rear window regulators
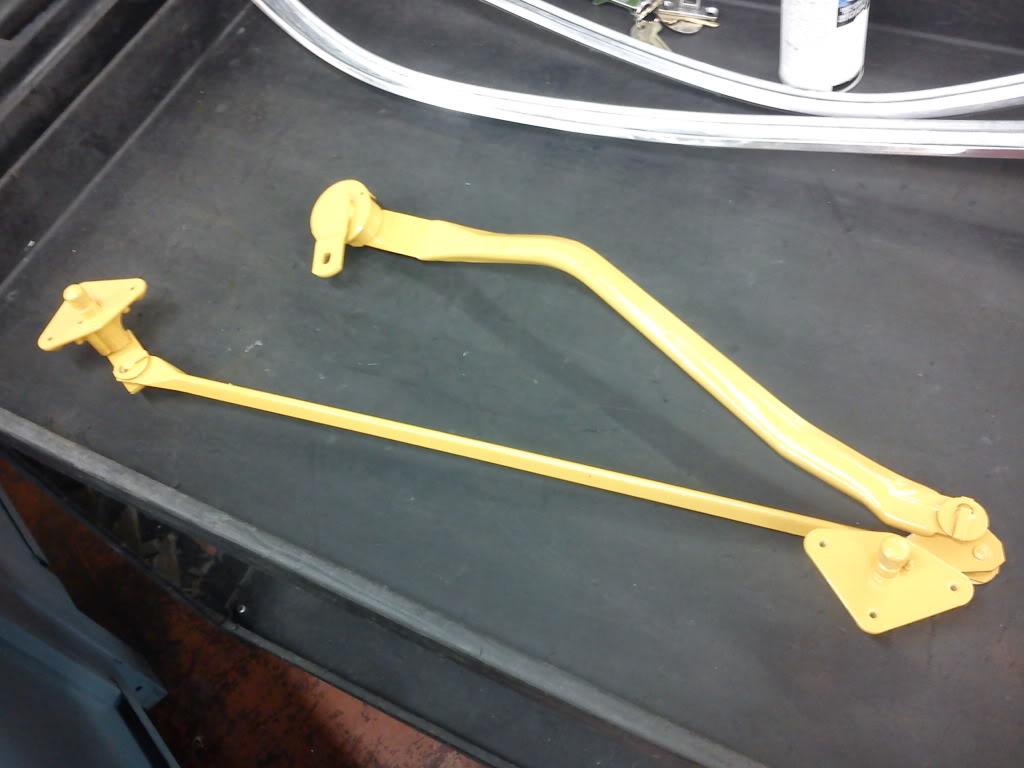
painted the window wiper assembly - looks darker in person:
I have the windows in, just wasting so much time aligning them up - I never wanna do this again when its over - i probably wasted at least 3 hours per window. will take a pic when finished. Also have the underside of the dash finished but I was gonna go with a stock clutch setup but now I'm thinking hydraulic. More posts to come...