You must be logged in to rate content!
6 minute(s) of a 251 minute read
1-20-2013
1-20-2013
gonna use if for a daily driver (spring/fall) and for the 10 autox events we have here If I could run it at 87 for daily driving and 91 for autox that would be awesome. I would like around 500 torque, anything more then I would have to upgrade exhaust, rear end, fuel pump, fuel lines ect ect
also down the road if I want more power I can change the pistons, upgrade the exhaust ect ect
1-23-2013
I think I'll stick with the muscle motors kit - Brads70 has had good luck with them, so have other members on moparts. I have seen/heard mixed reviews on the 440source kits-they're also more expensive than the muscle motor kits. I still have to take my block in to get it checked and see what pistons I will need. I'm also have a hard time trying to decide on what cam I want. I would love the 2000-6000 range - strong mid range with a good choppy/rough idle. Nothing is gets the juices going like the sound of a big block sitting idly by until it wakes up! I don't care about vaccum as I'm running manual brakes.
Great glad to see you made a choice. I seen you got a air grabber hood from AAR Fiberglass. I have been looking for one to put on my 74 Charger and no one makes it in glass.
true. But we had a hell of a time making it functional. By that I mean getting the proper studs to fit without breaking(which half of them did so we reinforced the bases with carbon fiber) also were still trying to reinforce the door so it can open and close(still not done, have to add carbon fiber to the cheap fiberglass) its like they used body filler to reinforce the areas like the stud mounts. Not what I was expecting. Also where the door rotates on the pins you have to cut it all out and reinforce it yourself (I don't understand why its not a replica of the original design, when I asked they said they never had a customer try to make it functional. Why bother if its not functional????) I should have went with no air grabber as I also found out about a month back that if you run any manifold other than the stock intake, you have to cut and modify the airgrabber base about 1-1 1/2" lower as the aftermarket intakes sit a little too high. I'll have to do that whenever I get the engine in. I'd suggest go with a nonAG or if you do - buy the fiberglass hood mount seperate like from P&G or ABE
4-13-2013
Been busy trying the past couple months, been trying to work on the car whenever the little guy is sleeping, I pulled apart the 400 and took it into the machine shop. Its a good virgin block and will work great for my 470" kit from muscle motors (which has been 2 months and still haven't recieved it yet)![]()

Installed the headliner from year one (which is from PUI) I would not reccomend getting it from them as they sowed 2 bows in the wrong spot and I realised this wasn't gonna work after we had already cut up the material. So with summer coming fast I drilled new holes, sowed on extra fabric on the front to make this work. Its ok but not great. I will replace it with one from legendary down the road when i have more time to do so, but for now it'll work.
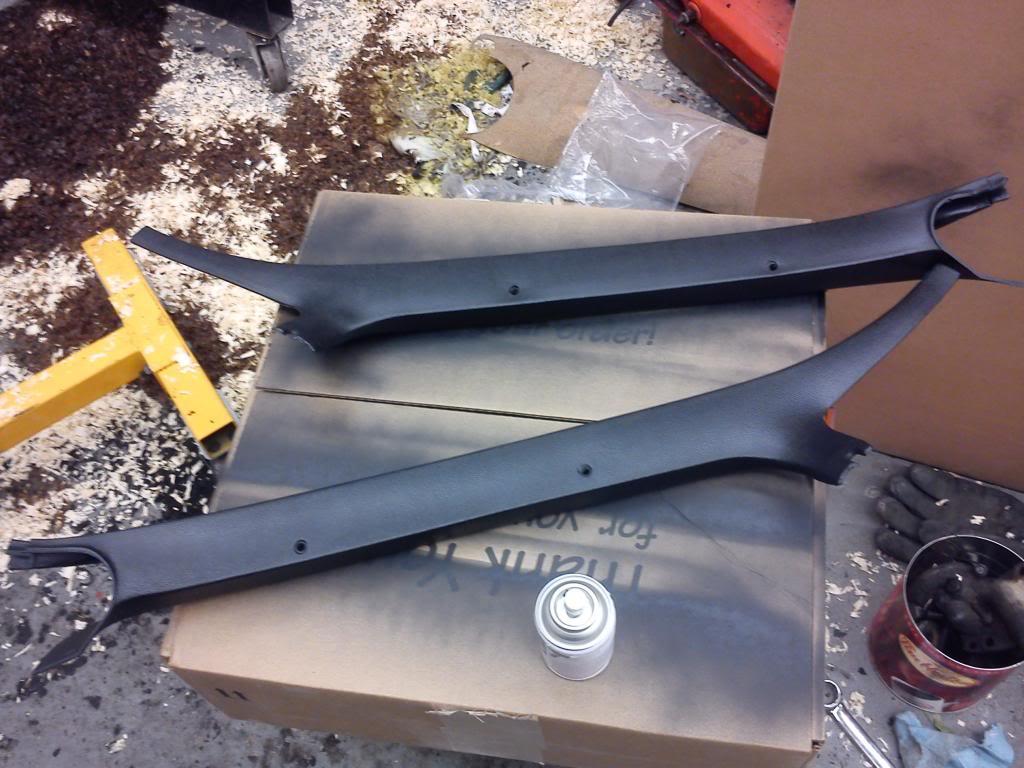
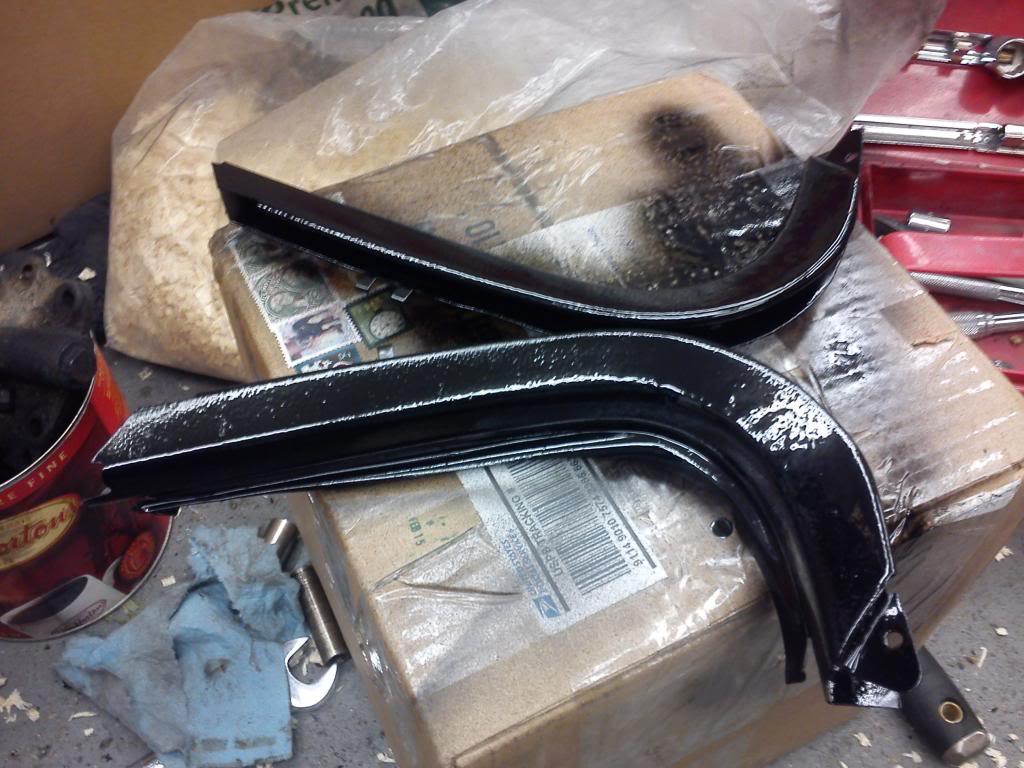
painting some forgotten interior parts
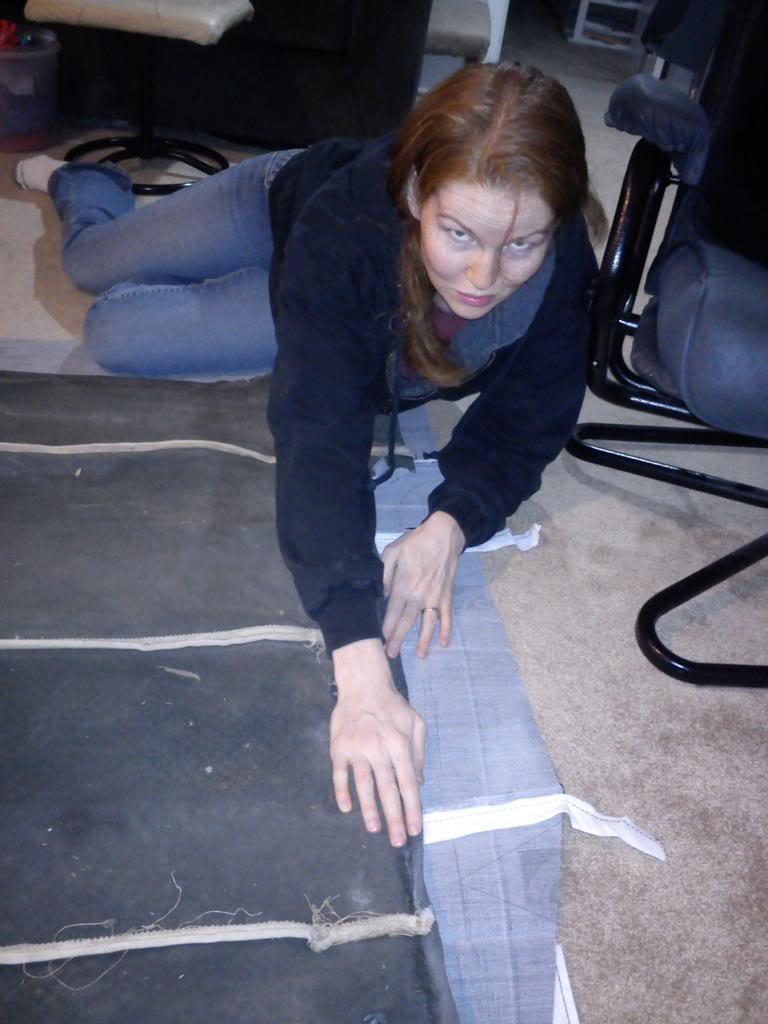
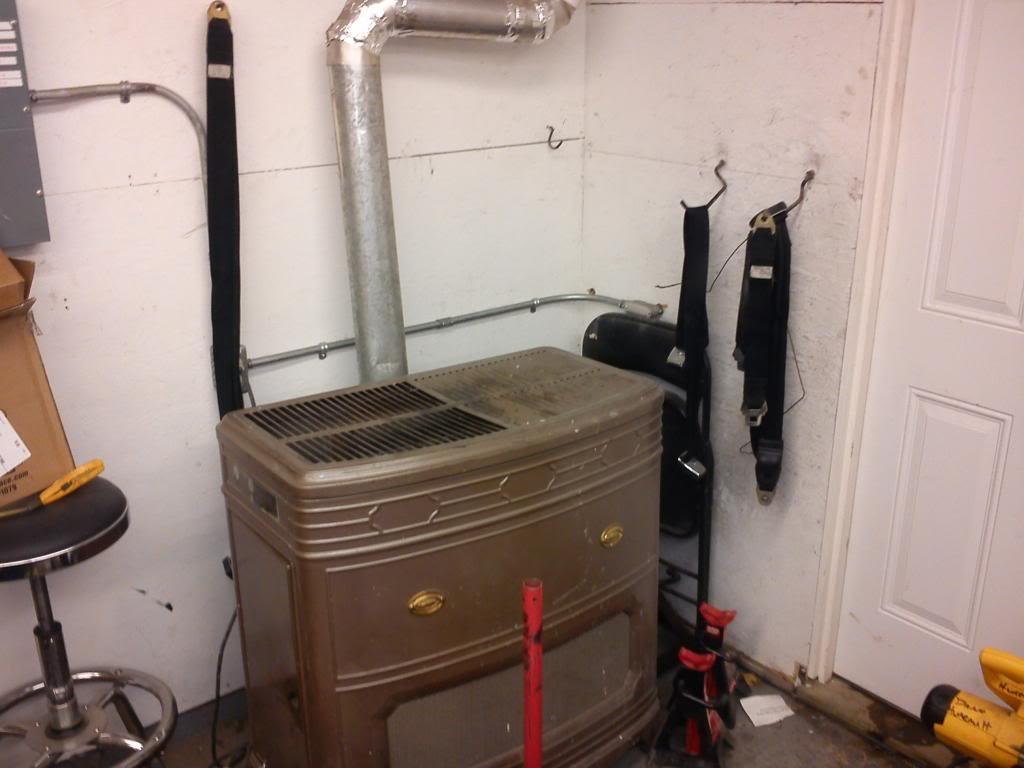
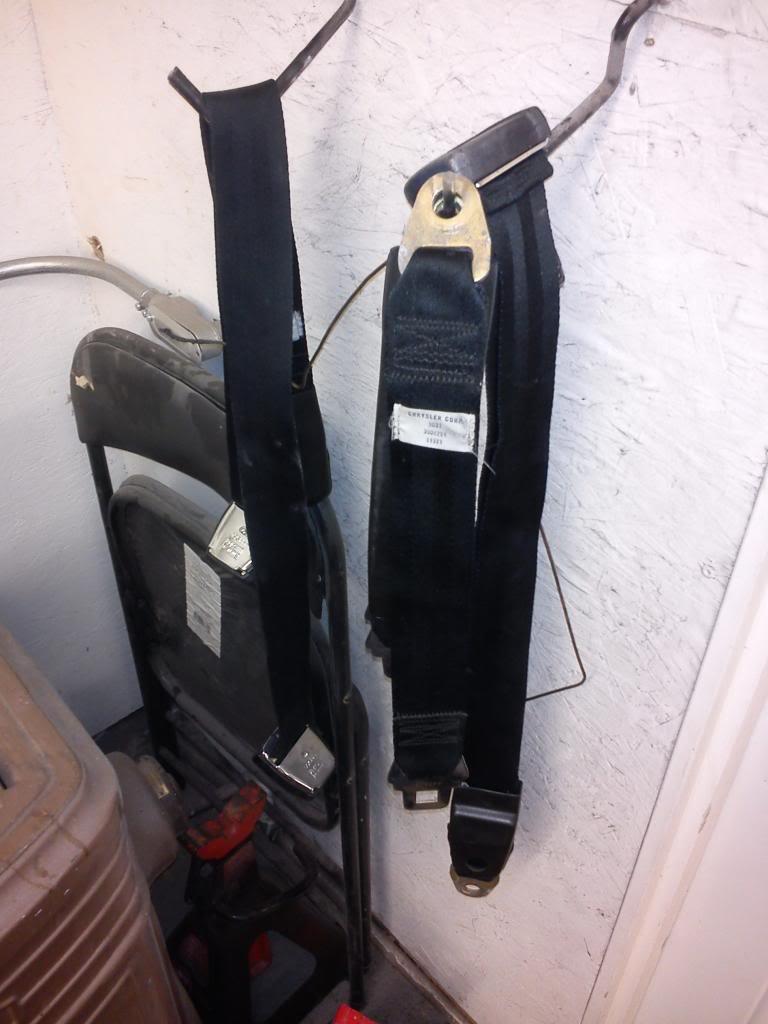
washed the seat belts with laundry soap in a tub, then washed them off and dried them with the air gun. They look like new!
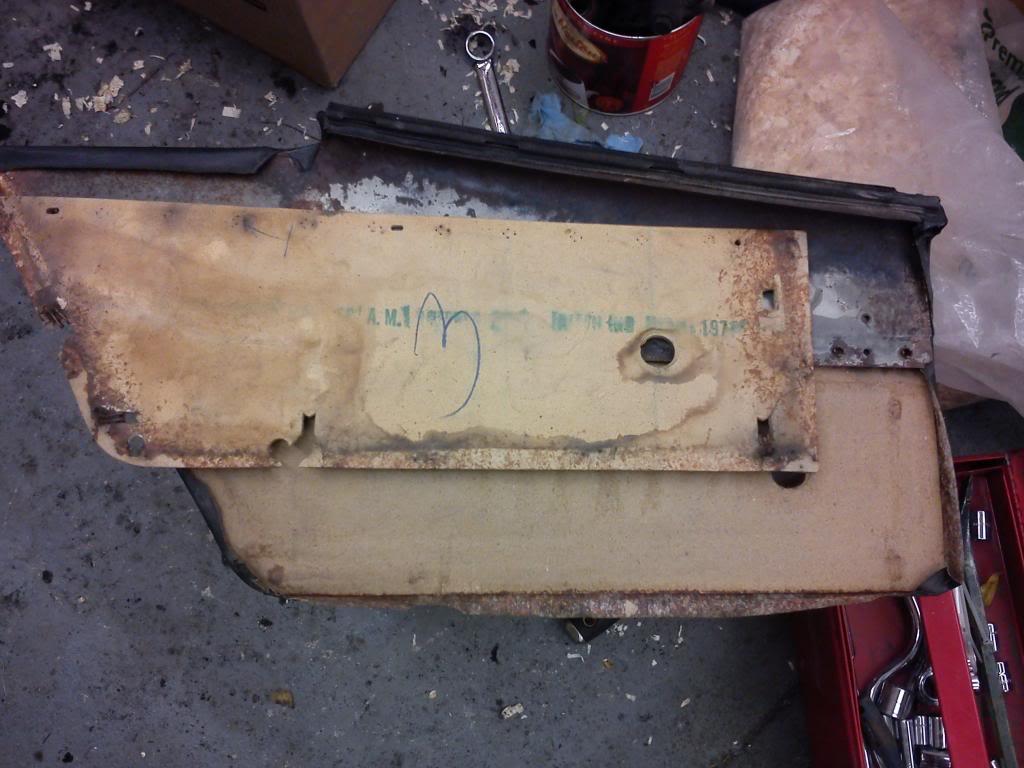
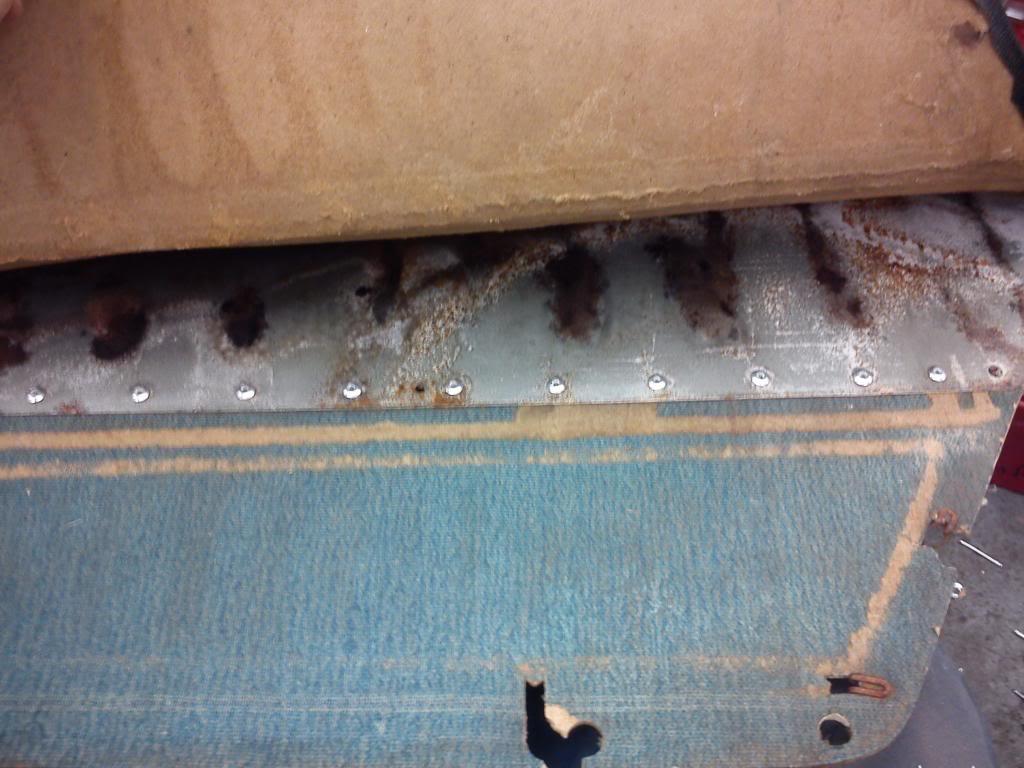
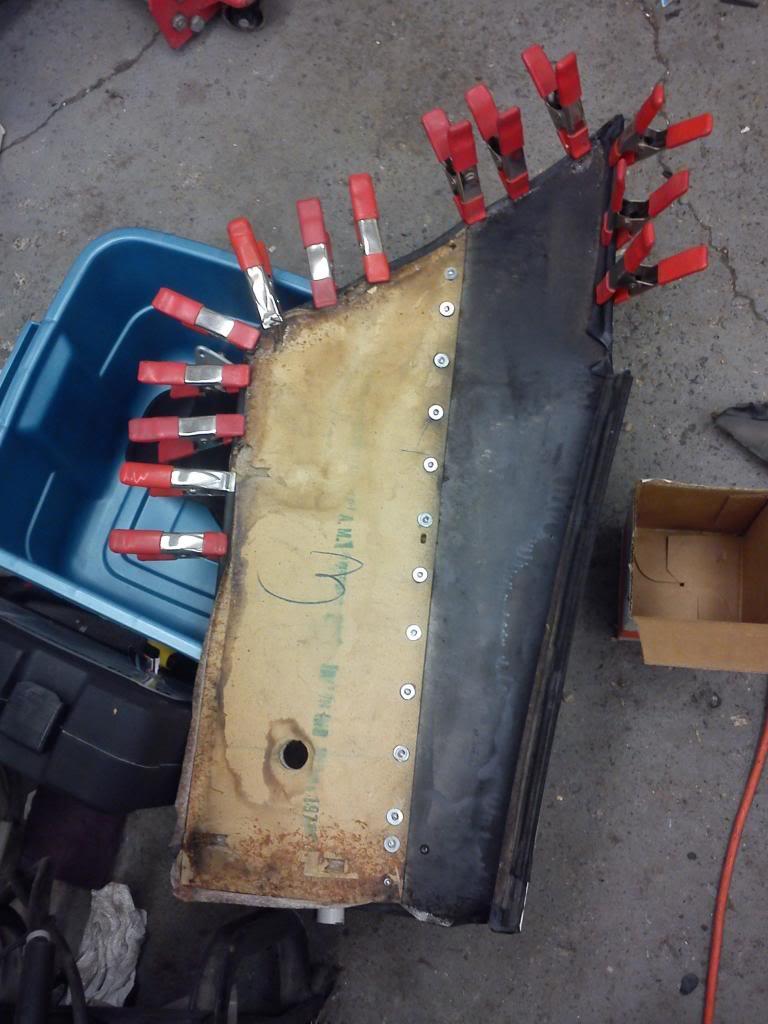
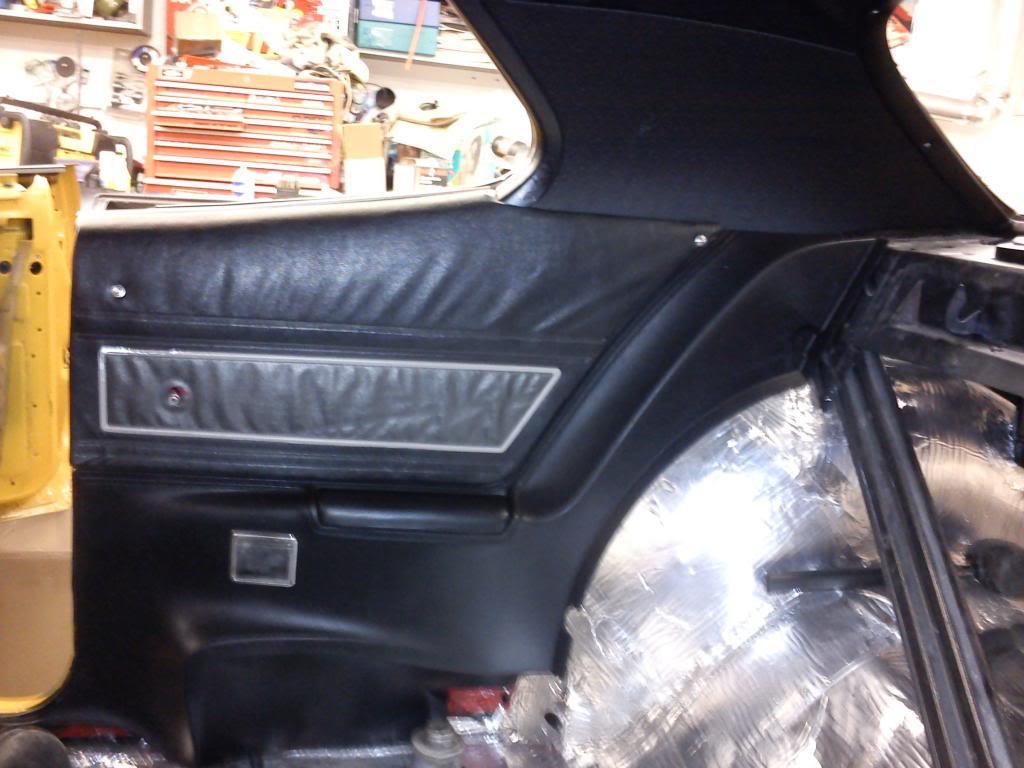
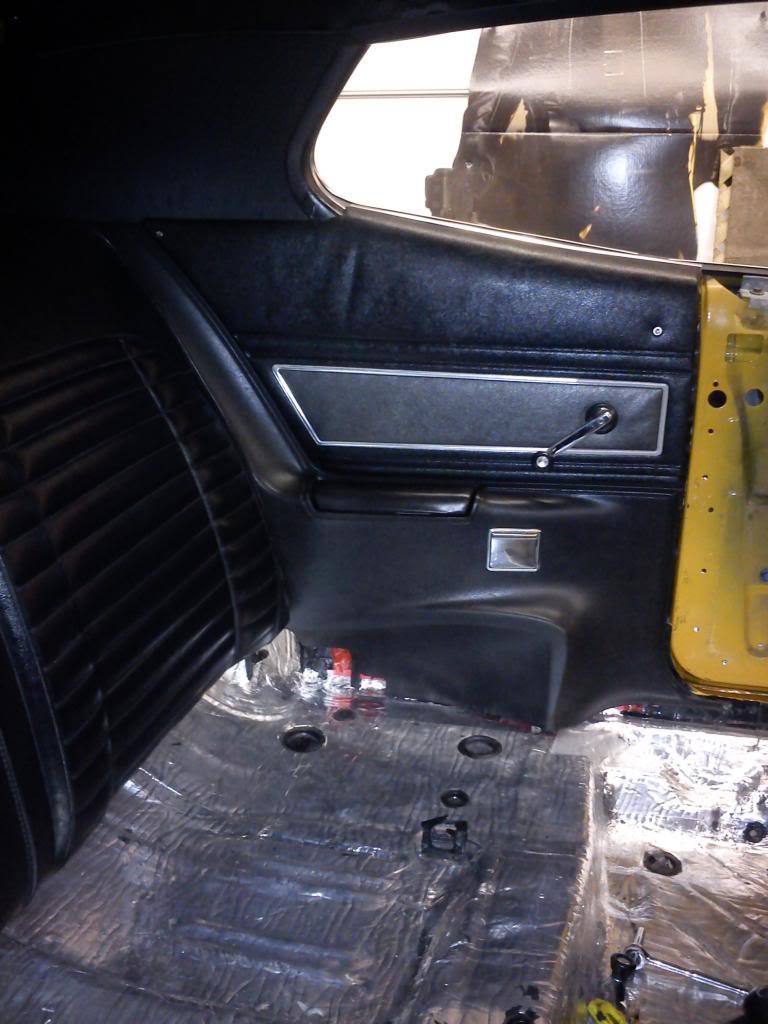
Installed the rear panels - had to repair one of them, turned out pretty good
installed front and rear speakers
so I built my own hydraulic clutch bracket from 1/8" plate for my wilwood compact 7/8" MC:
added spacers and welded on the nuts and drilled out the stock holes:
drilled out the angle for the MC, didn't like the angle of first try which is why you see unused holes:
cut off any extra unsed weight
paint!
the firewall wasn't perfectly straight so I had to cut somemore off, final look:
installed!
found a graet place to mount my wilwood bottle for the MC:
little guy dropped in to see what I was doing:
installed dash and for the insert It wasn't as bad as the instrument cluster for wear, so I tried the method of clear paint and painted the edges with the silver paint pen. Its too shiny and about two shades darker than my cluster now so I may change one or the other down the road but for now its going in:
rear seat mockup:
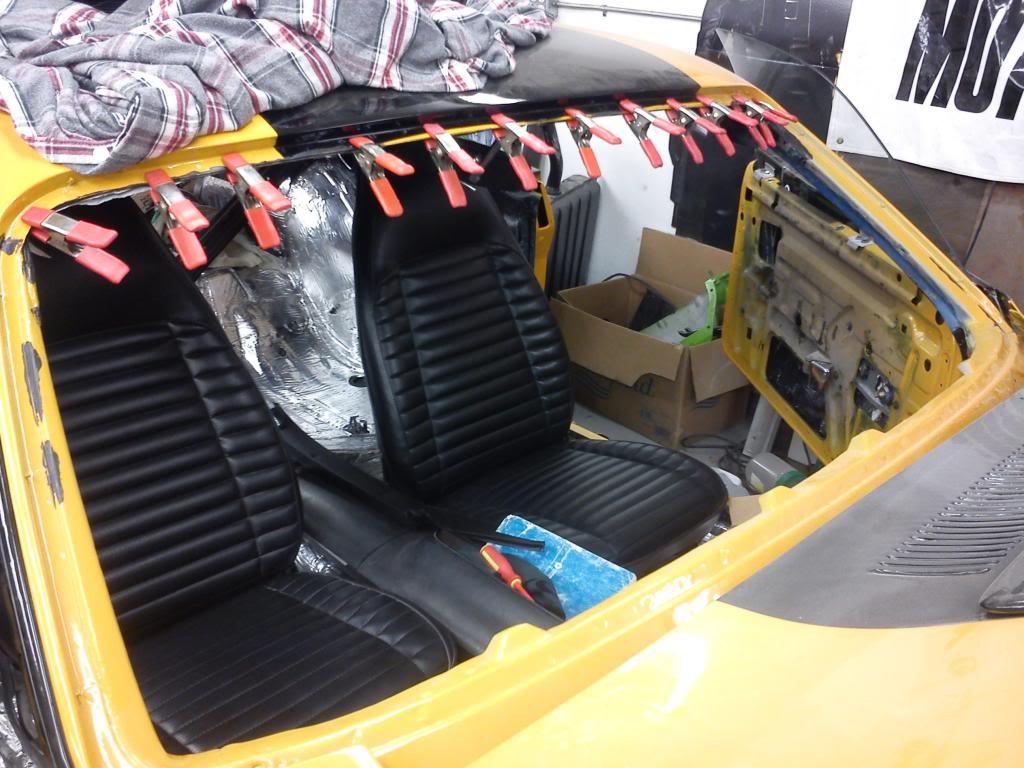
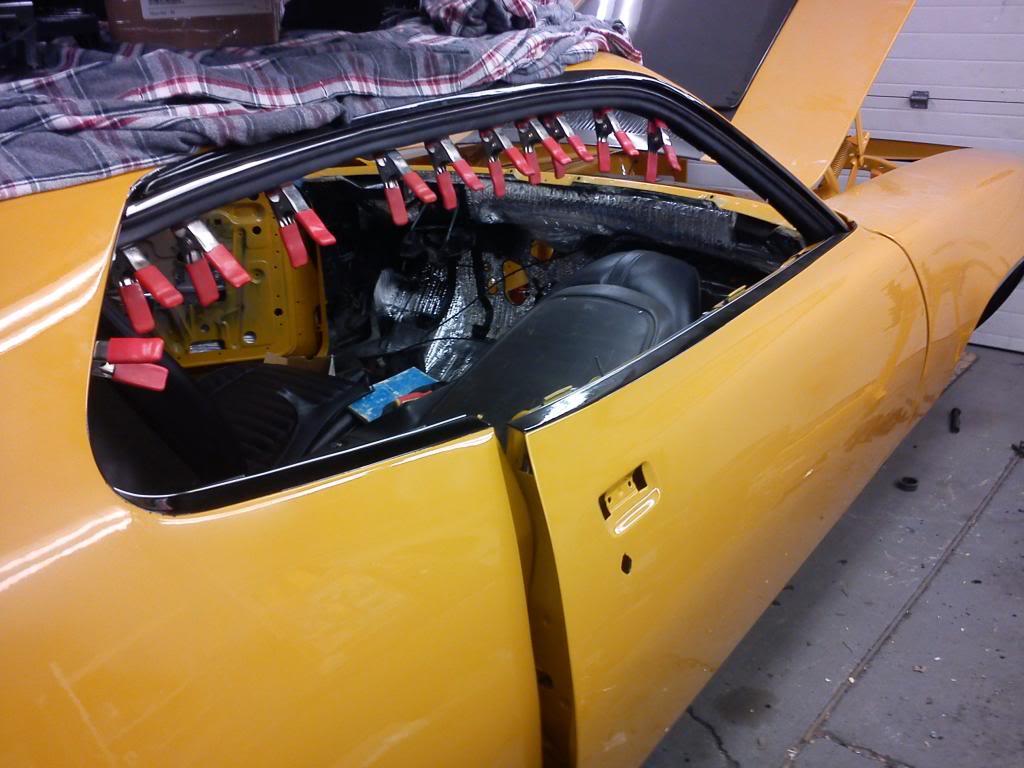
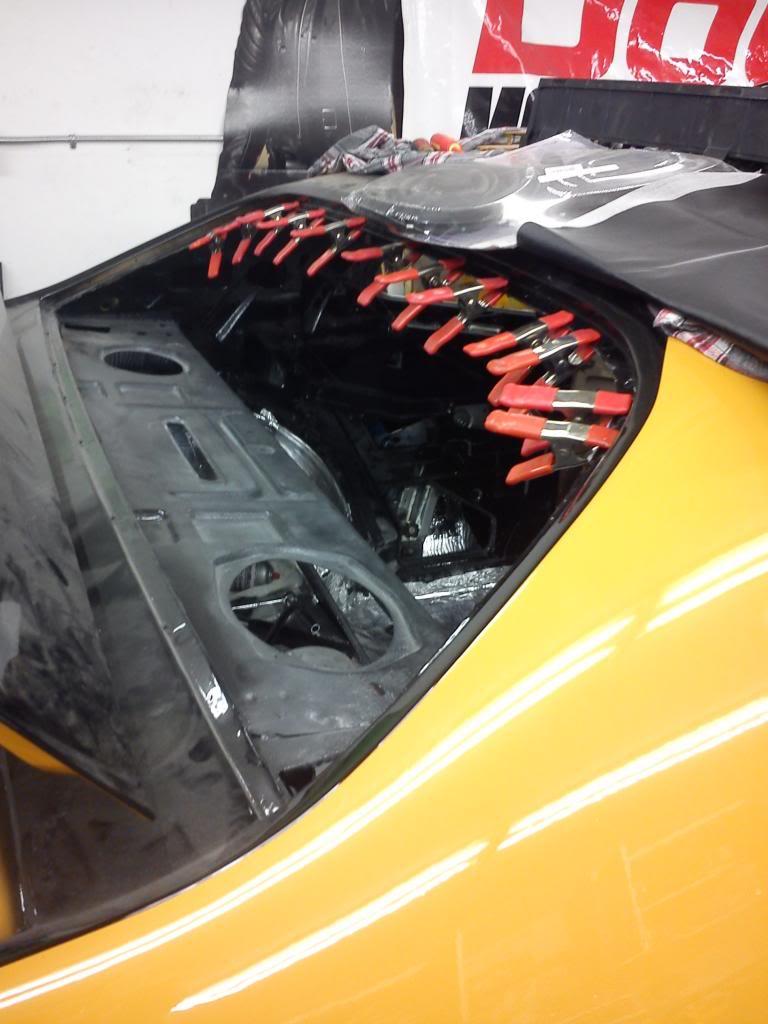
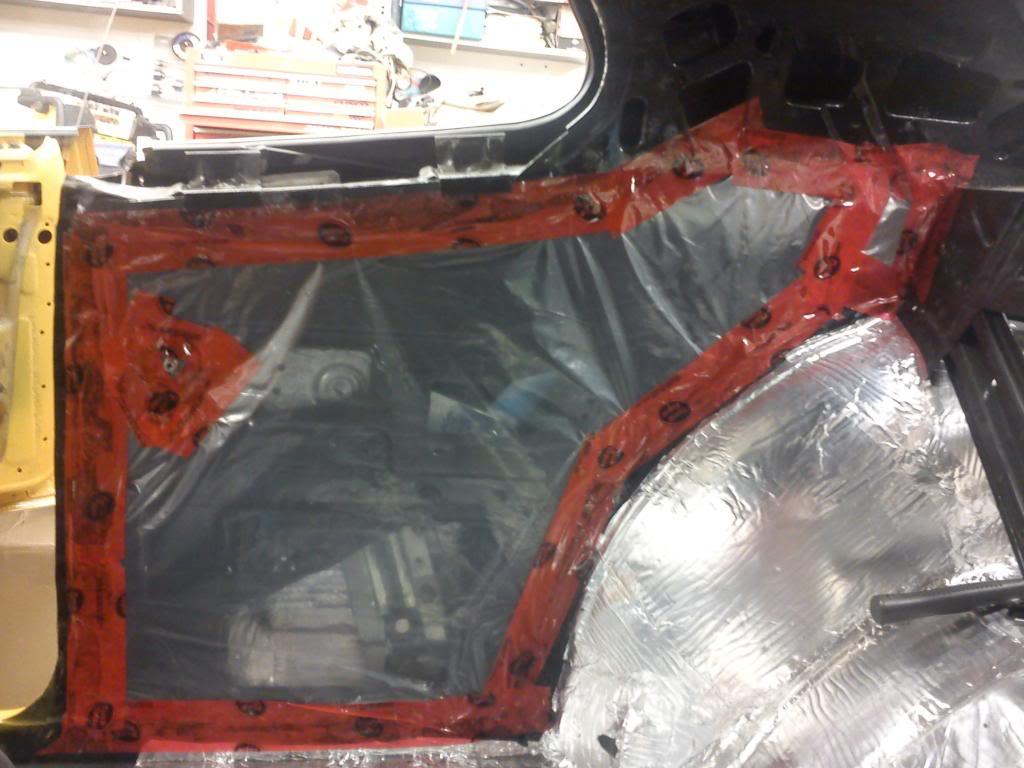
installed the front and rear windshield yesterday:
now time to pull out that rear!!!!!