You must be logged in to rate content!
4 minute(s) of a 214 minute read
11-30-2012
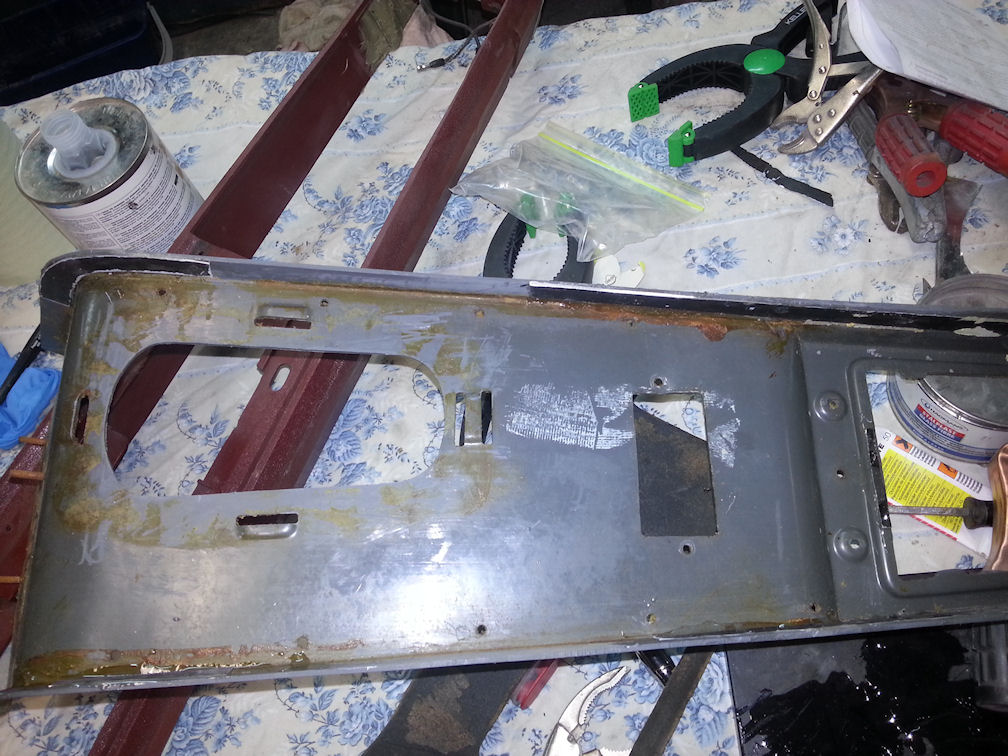
Thank you everyone for the nice words. This week has been kind of busy, but I managed to make some progress anyway by working late evenings. One of the things I needed to do was to restore the console. It looked fairly good when I bought the car, but like the rest of the interior it had been redone in incorrect red-brownish vinyl. Unfortunately the upholstery guy that did the upholstery work back then probably had a great deal on contact glue and used a lot of it, and it turned out to be next to impossible to separate the vinyl from the console padding. I had to cut it off with a sharp knife blade, and even if I did my best, the padding ended up getting damaged and in bad shape after I had the vinyl and the glue removed. 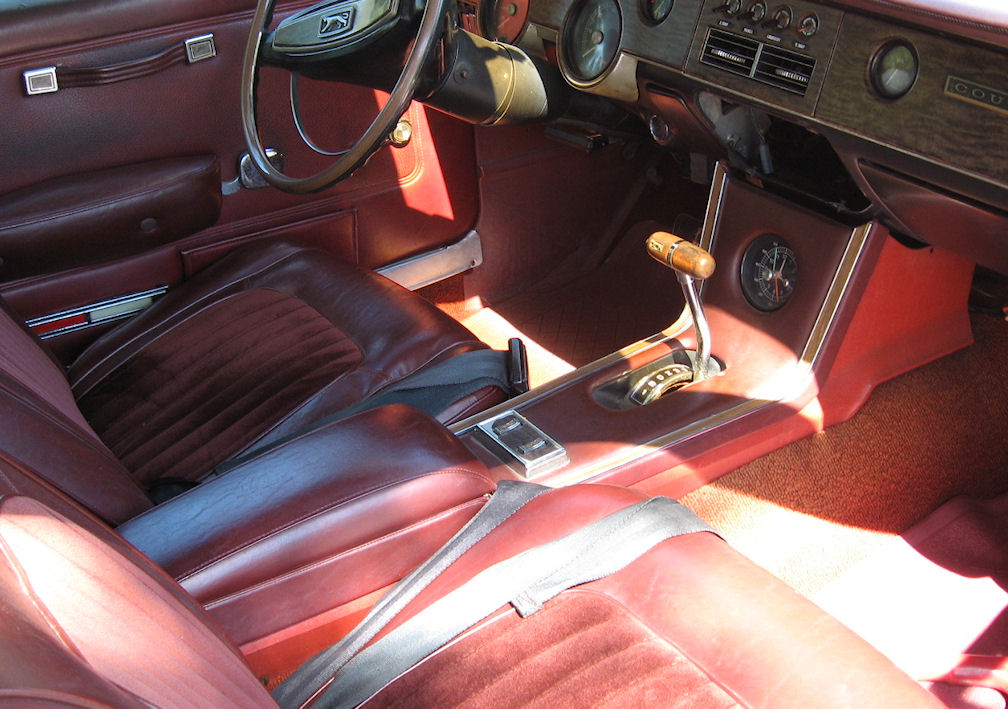
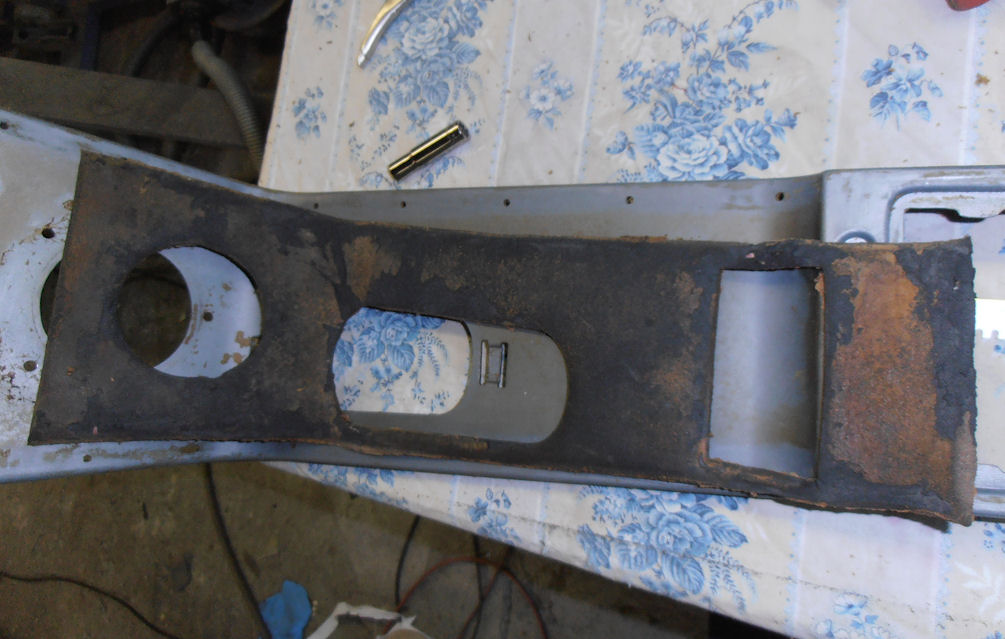
When I finally had everything apart I discovered that the upper console plastic part had lots of cracks and the only good way I know to fix this is to use epoxy glue and to put thin aluminum pieces to support the broken areas. 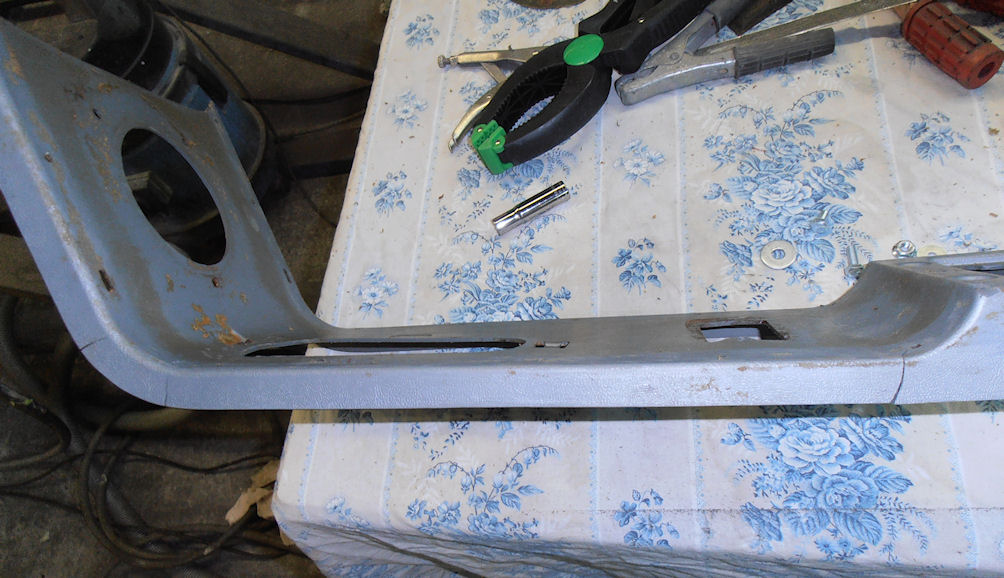
After a couple evenings the upper console plastic was solid again and I could go on withe the padding. The padding on the G console is very dense and I decided to try to fill some of the imperfections with sikaflex, whcih is a rubber like polyurethane sealant. Then on the top of the old padding I put a 3 mm foam to make the surface as even as possible. I knew this would not look exactly like the original when finished, but I just could not come up with a better way to do it. 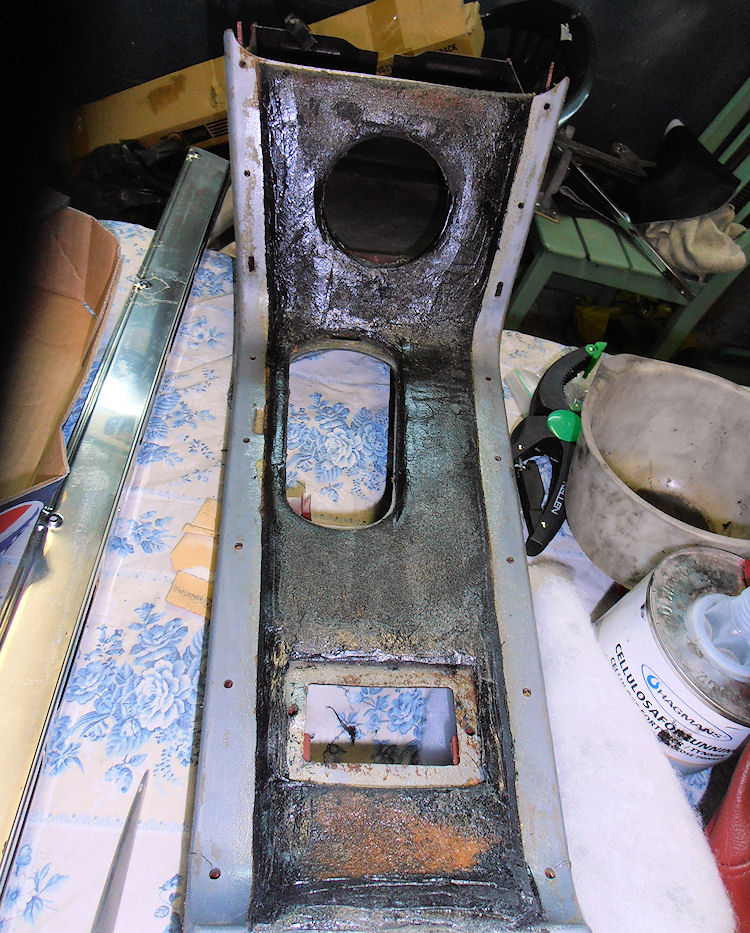
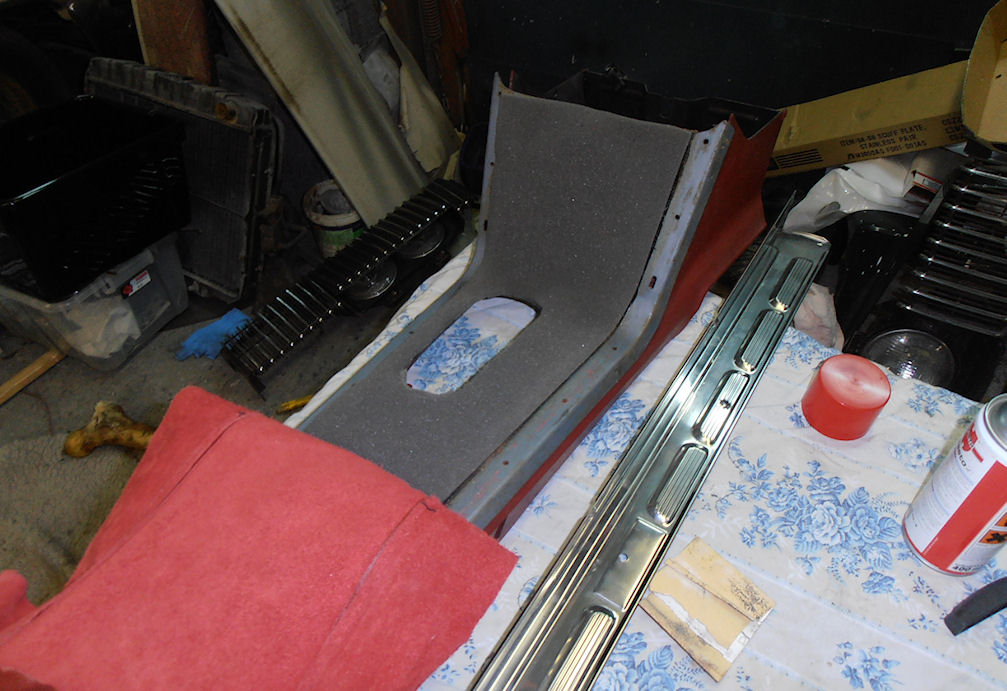
The upholstery shop that did the seats for my car also made the leather cover for the console, so now it was time to fit it and to scratch my head and find out how to proceed. 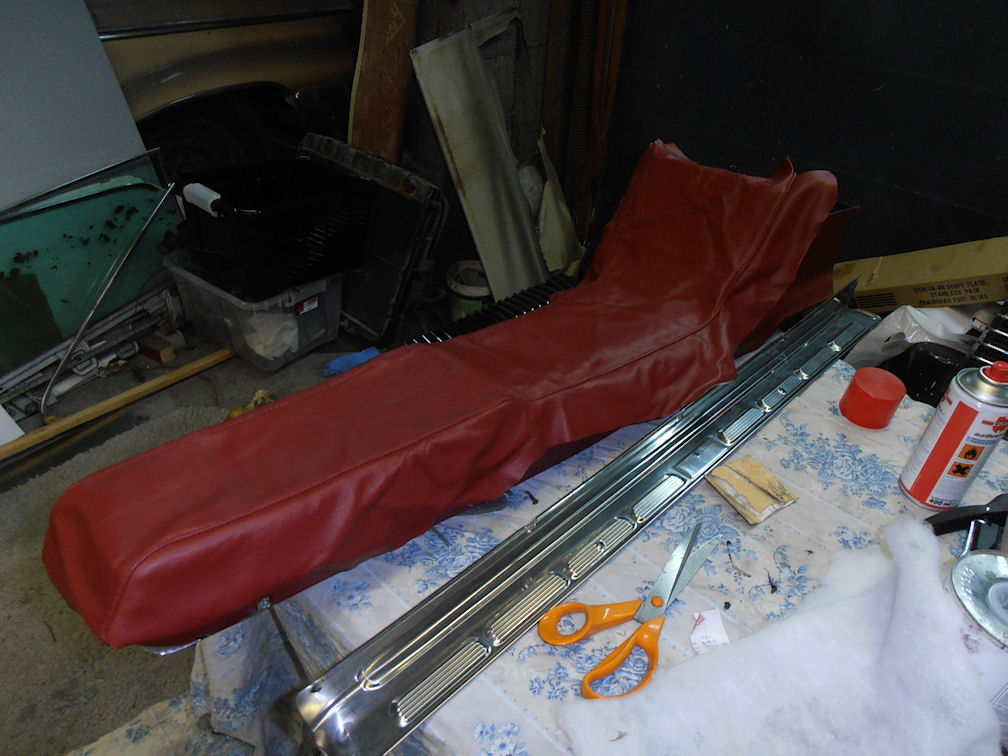
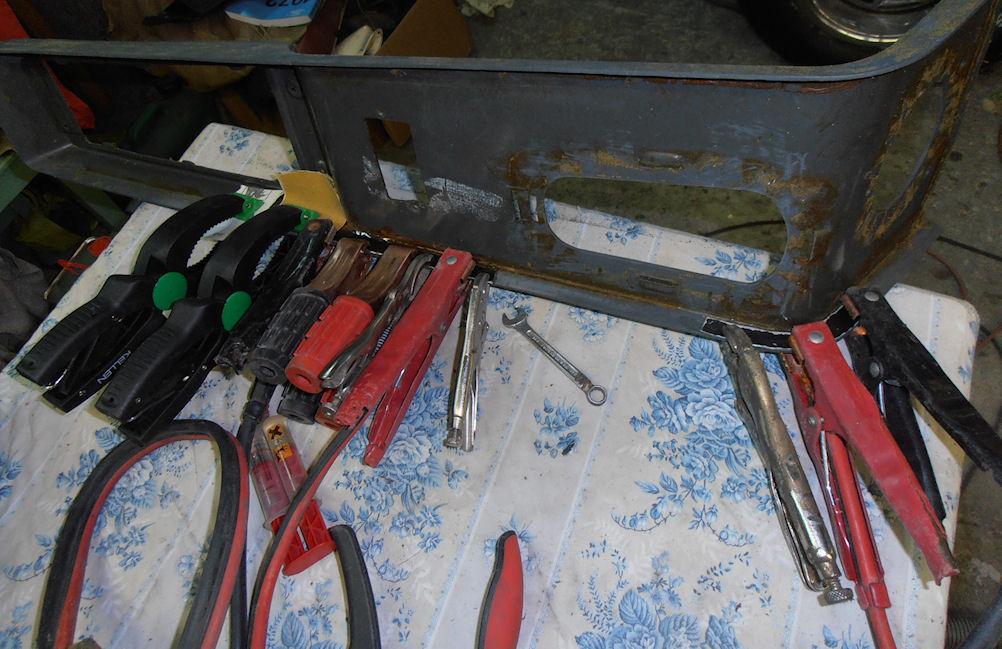
I ended up spraying the console and the leather with DAP Weldwood landau top and trim spray grade contact cement and waited for 5 minutes or so before I started to put the leather on. After stretching, cutting forming and pulling it looks like this. Not bad I think, but as I assumed, it has a little more stuffed look than the original. I also made some minor repair work on the console base and gave it a couple coats of new paint. The rear lens has been replaced, and as you can see I also redid the lid for the console compartment and the pull straps for the doors in the same nice leather. Oh, and I also put new burl wood decals into the trim and the switch on the console.
Now I have one problem left to solve. The console well liner or glove box insert is missing. I thought that would be a small problem as it looked like these were reproduced, http://www2.cougarpartscatalog.com/gwell.html Unfortunately the person that made these are old and ill, and from what I have heard it is not likely that he will make any more of these. So if you know where I can find one I would for sure appreciate your help. Even one that is damaged would be useful as a pattern to have one made. 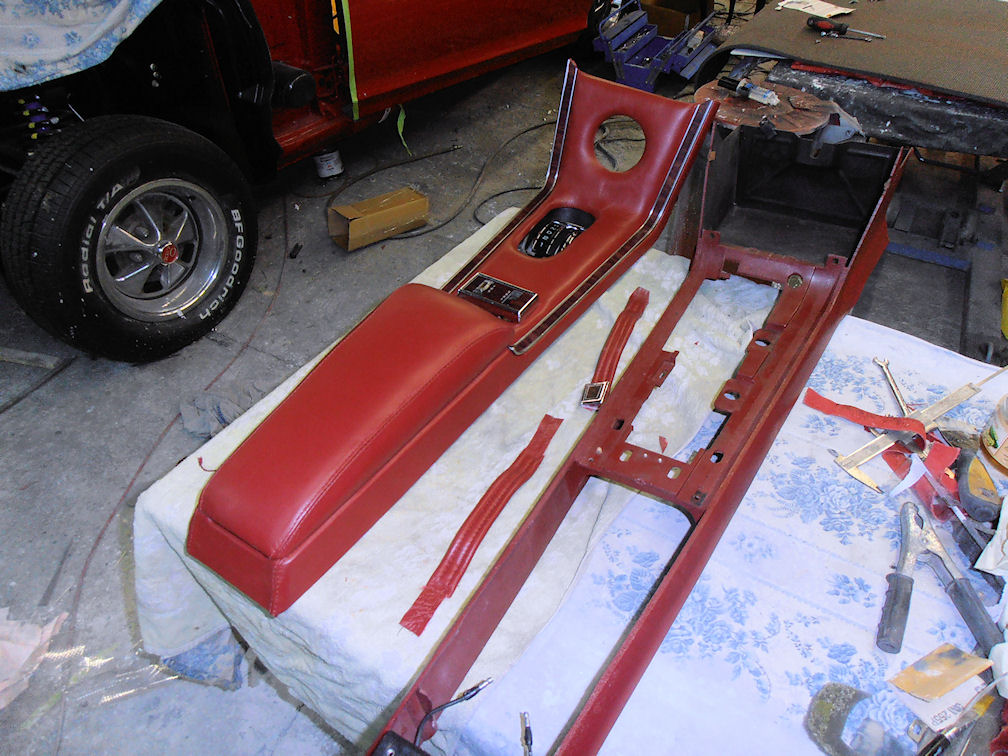
Nice build!
Posted by Diggymart on 10/11/20 @ 2:20:28 AM