You must be logged in to rate content!
2 minute(s) of a 56 minute read
11-30-2011
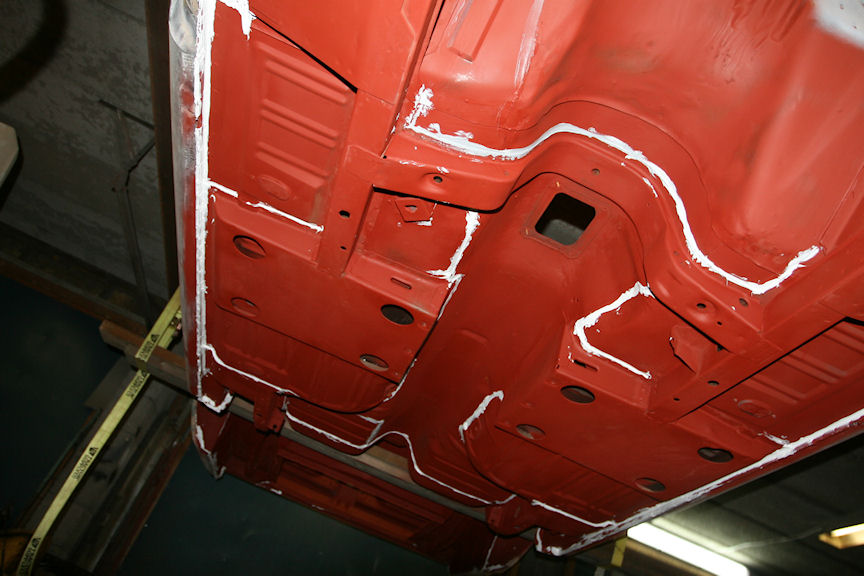
Someone got really dirty (not me) cleaning the underside of the Cougar making it ready for me to paint the primer and apply seam sealer. Originally this cat had an army green color on the underside, but since this is just a driver quality restoration we have decided to paint it with whatever leftover paint I have or to use black. Time will show ![]()
12-8-2011
Just an updated picture...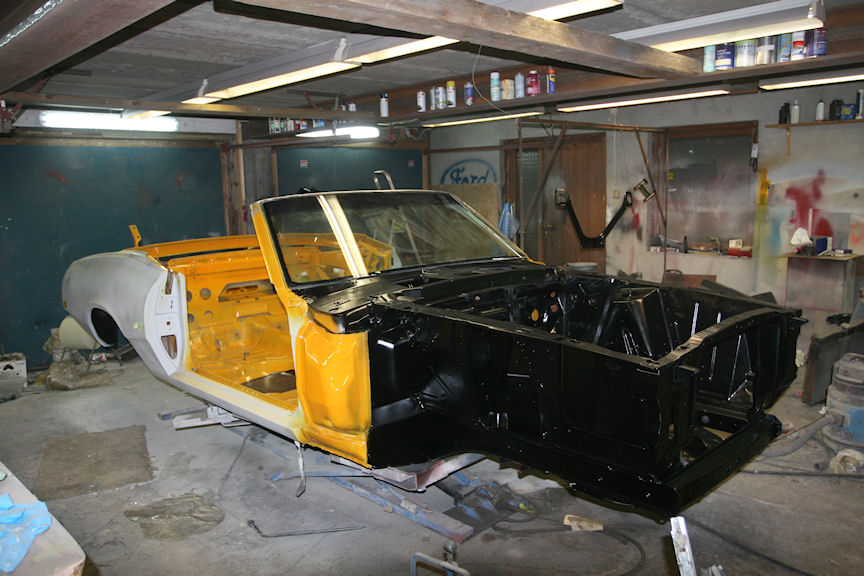
12-19-2011
The project has been slowing down a bit lately as I have had shoulder surgery and really should not do much. That's not easy, so I am sneaking into my garage now and then telling my "crew" what to do and how to do it ![]()
First of all, we had all the bolts and nuts and a little more at the plating shop to have them restored before we started to re assemble the front and rear suspension. it is a lot more fun to work on a car when these are looking like brand new. 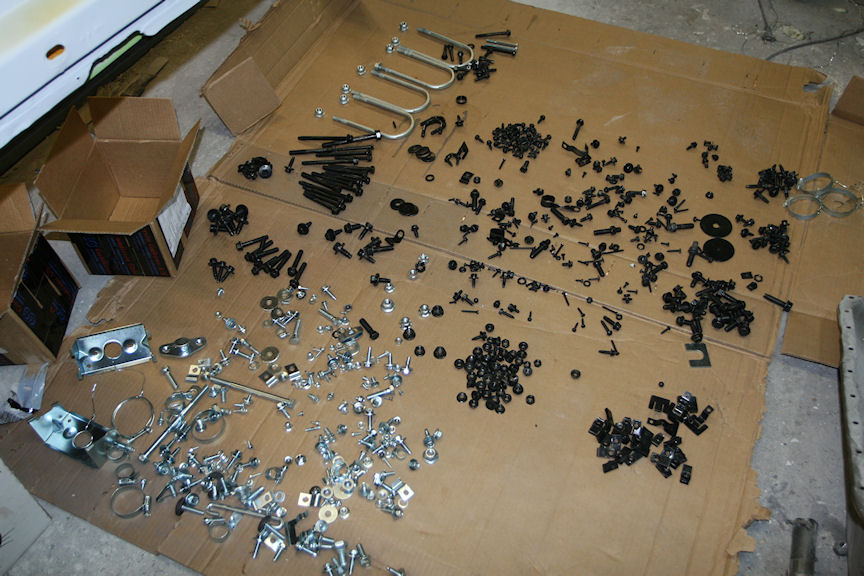
Here is the rear axle back in place. We decided to put on a set of new brake lines, otherwise everything is just cleaned and painted. 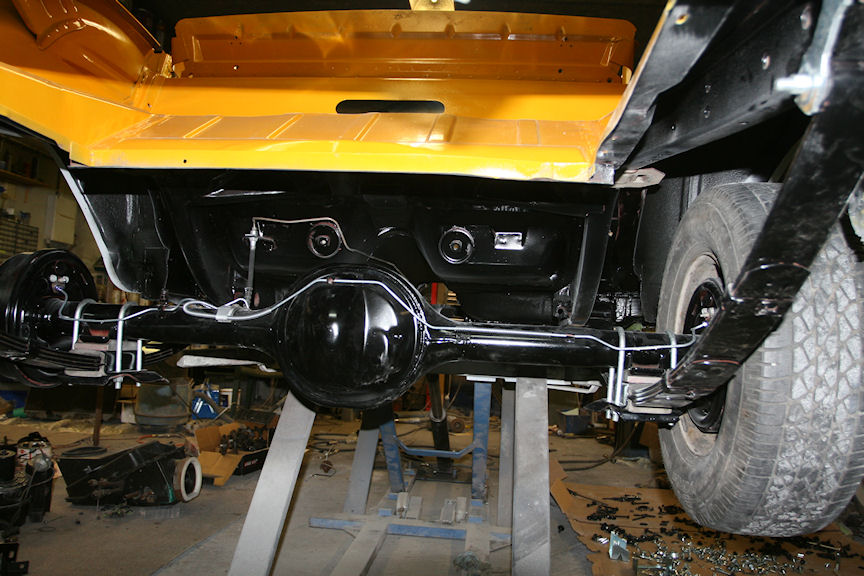
Most of the front suspension and steering is also back in place with new strut rod bushings, new stabilizer bushings and all four tie rods have been replaced. 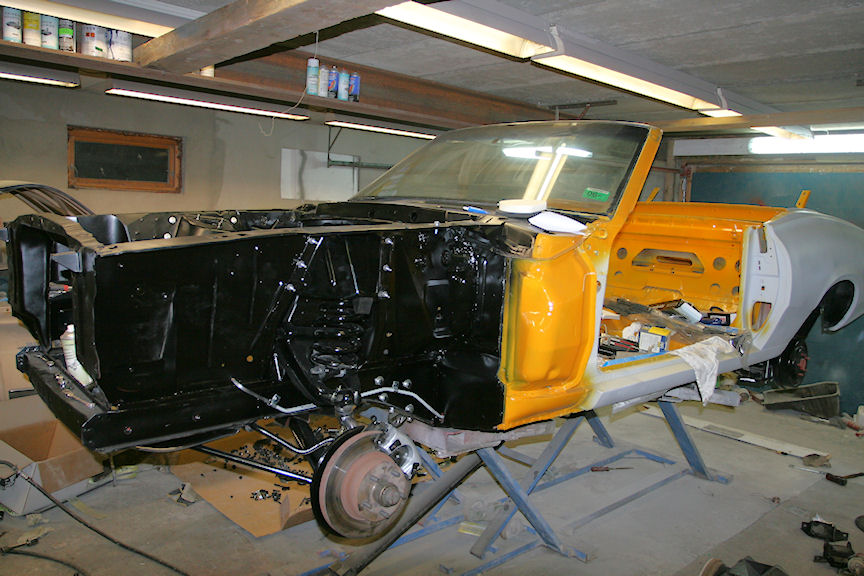
Great build!
Posted by Diggymart on 2/10/20 @ 2:41:37 AM