You must be logged in to rate content!
2 minute(s) of a 767 minute read
2-2-2018
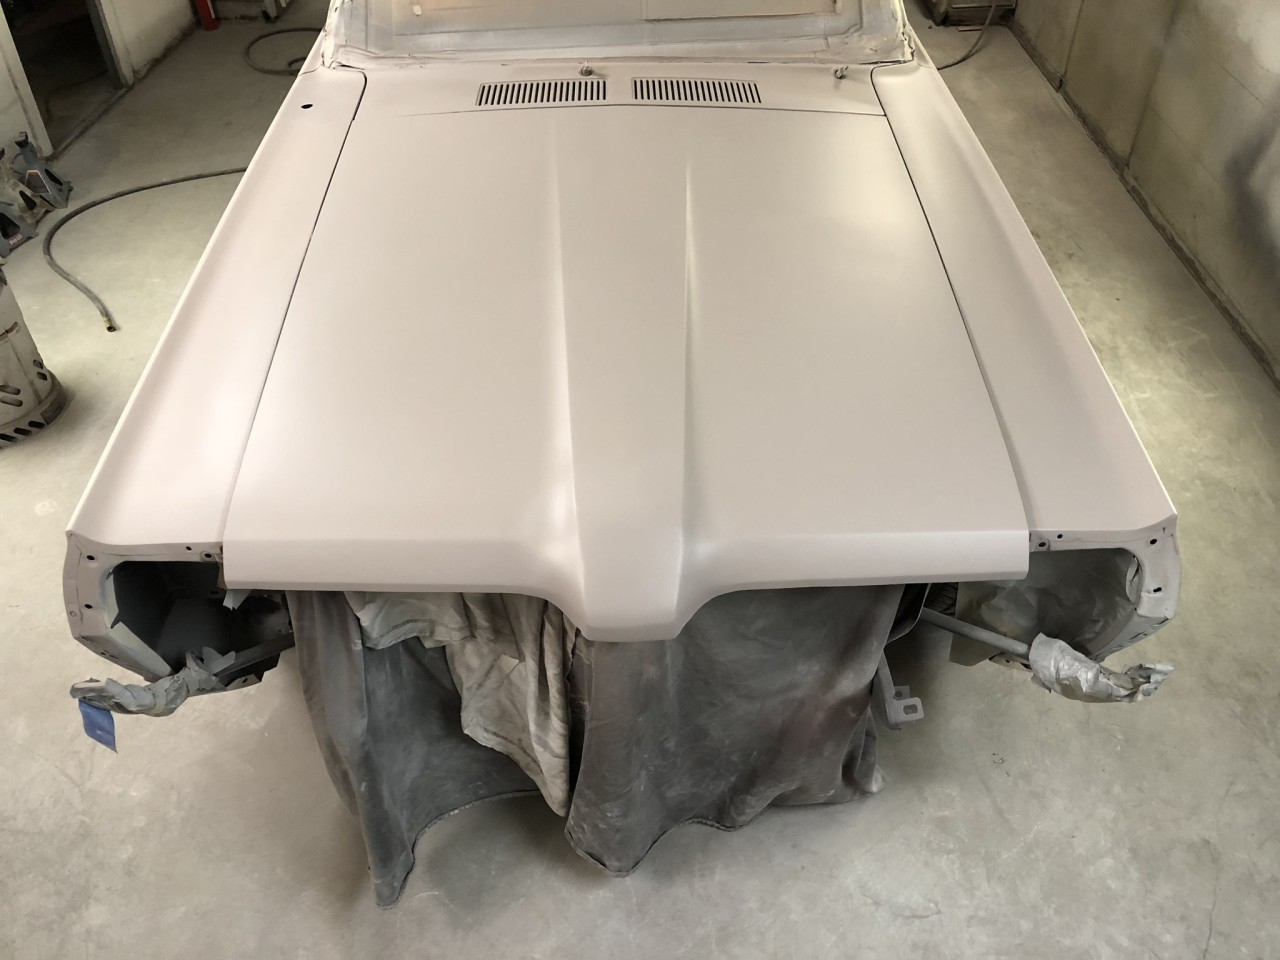
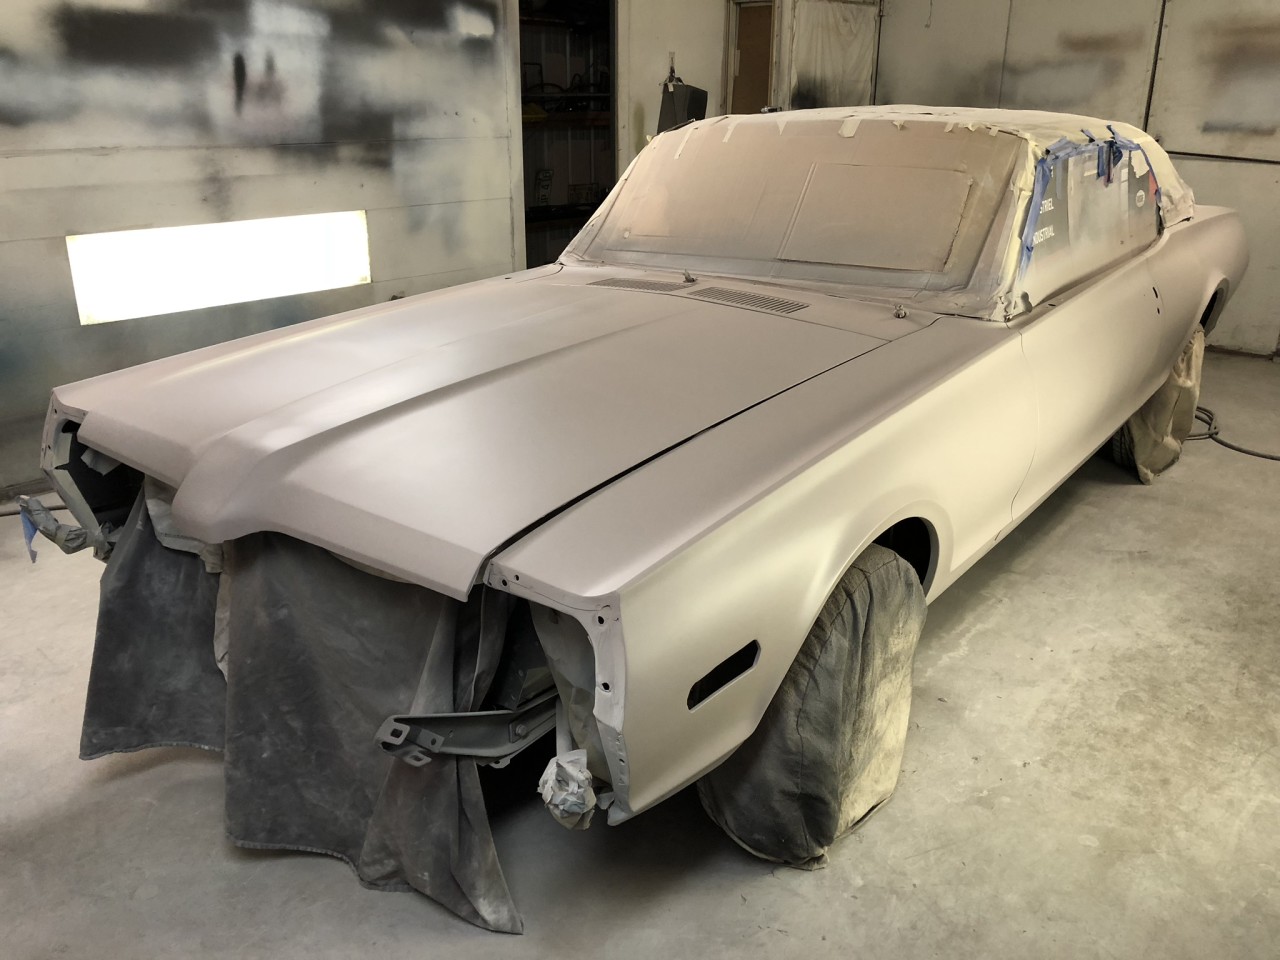
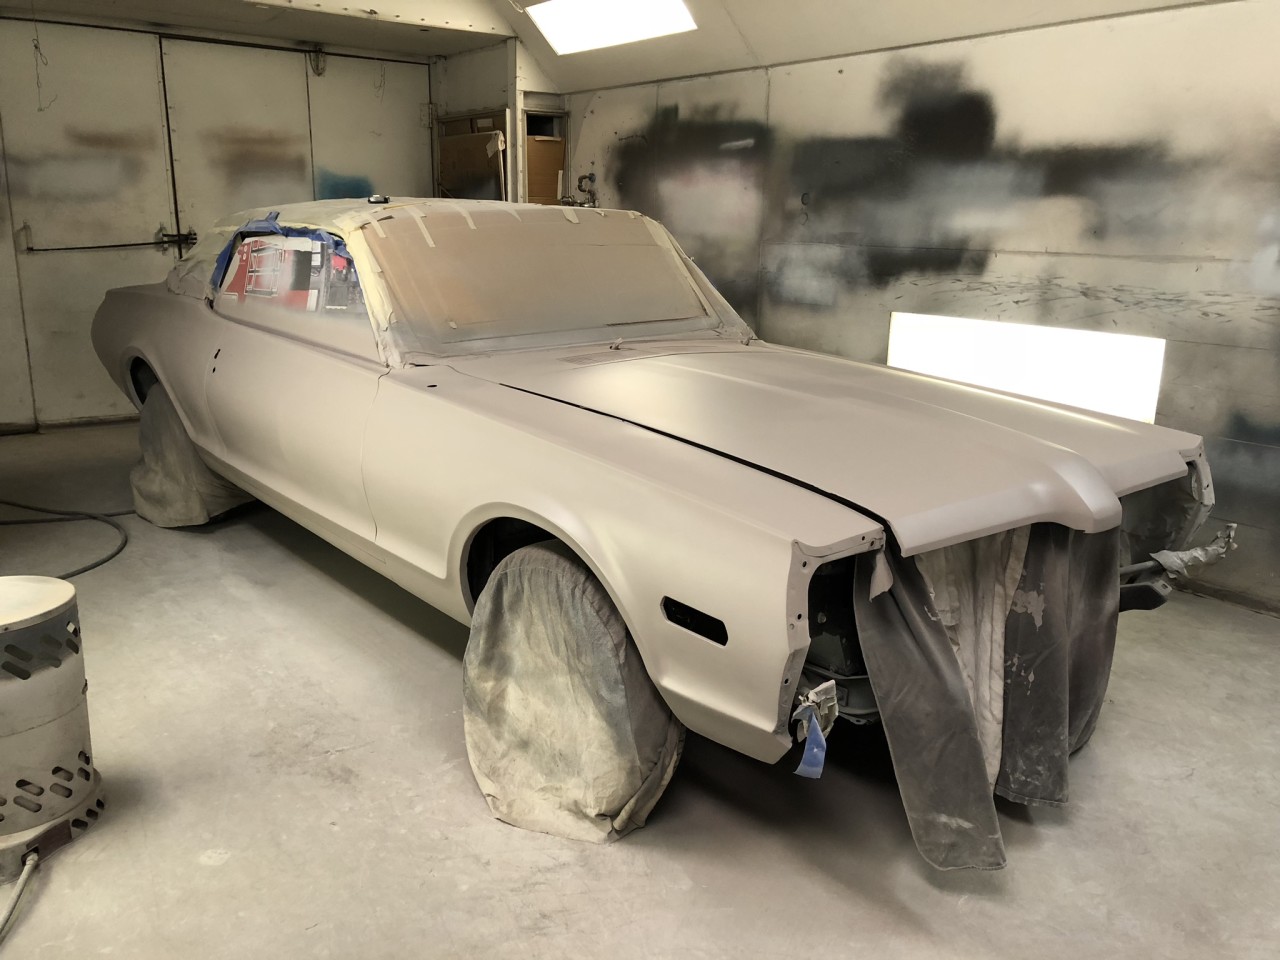
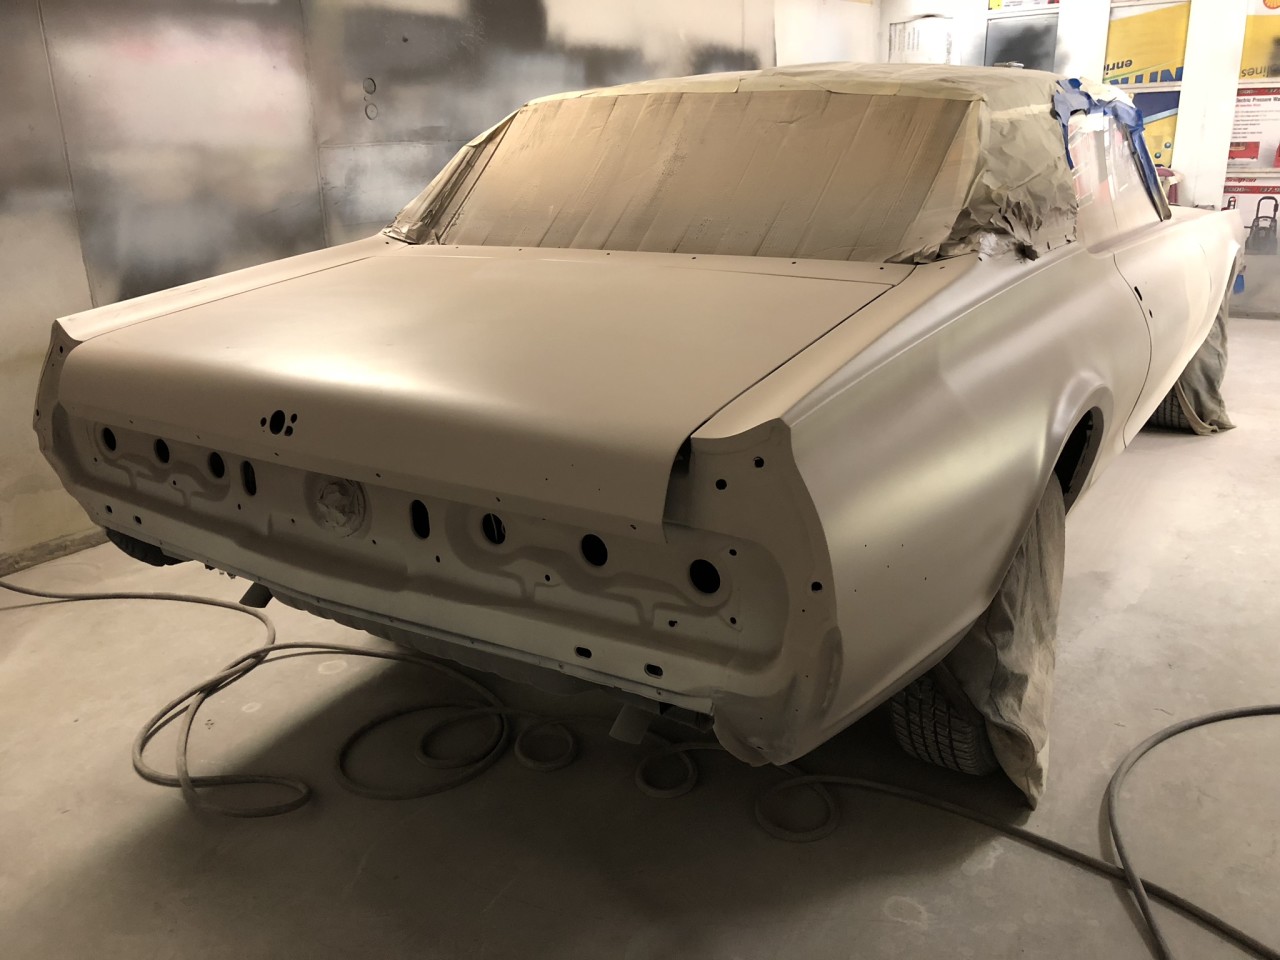
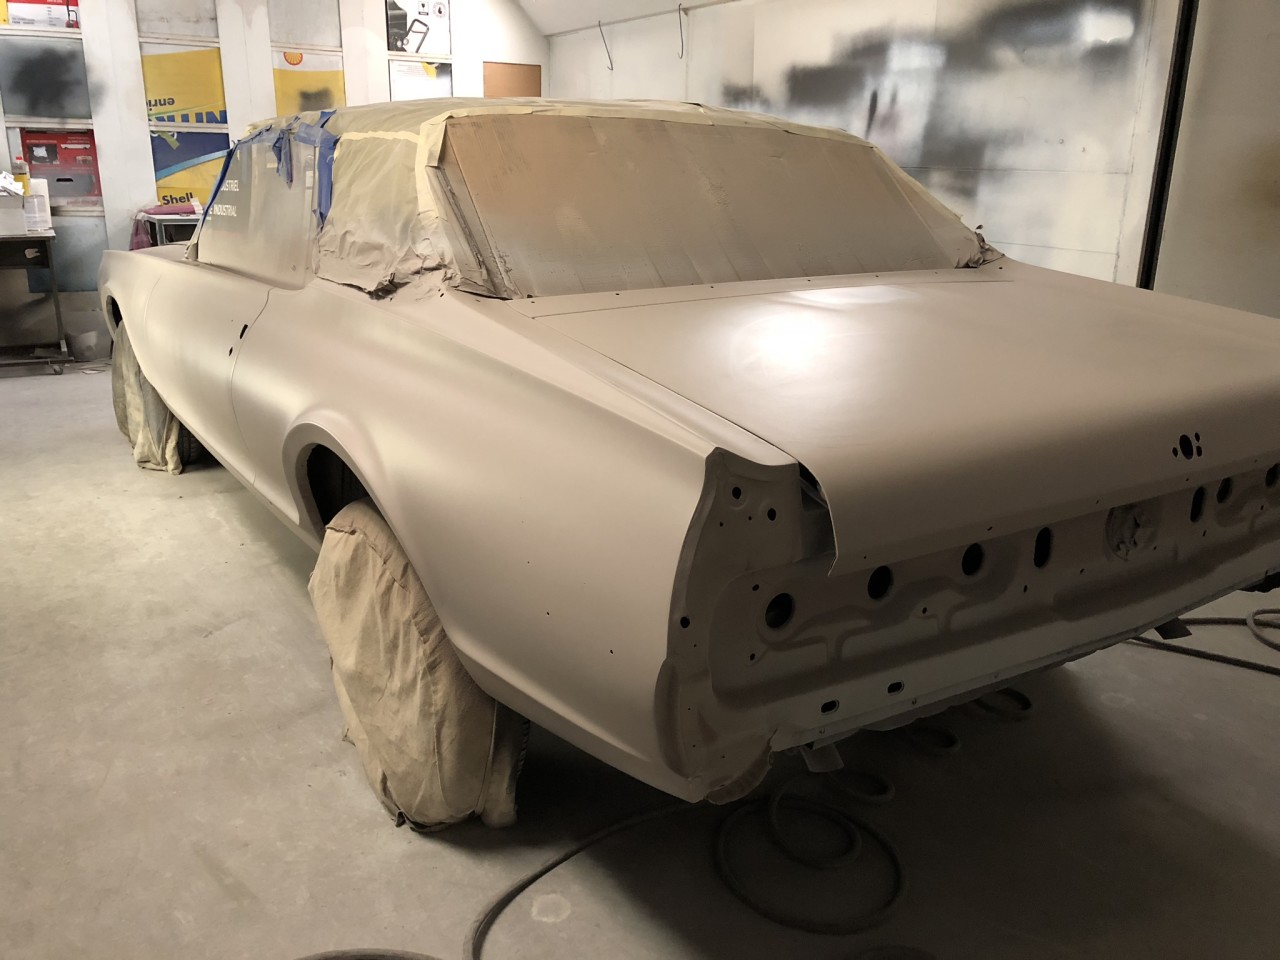
Wow, I haven't updated in a while. Almost a year! Not a whole heck of a lot to report, but progress has been made. The body guy working on it is just a hobbyist, and can only do a couple hours of work at a time, here and there. So definitely not a quick turnaround. But his attention to detail is good, and I'm optimistic that the results will be nice. Have been up there to visit it several times throughout the process. Neither of us anticipated how many issues there would be underneath the layers of old paint jobs and bondo. I don't envy all the work he's had to do. But I'm glad to report that we're nearly there. These pictures are from a couple weeks ago, the last time I went to check progress. This is the second to last coat of 2K primer, and he just needs to work a couple of the body lines that aren't quite right yet. Next time I go up there, we're going to go to the paint shop to buy the paint.
Speaking of paint, he uses PPG stuff. He normally uses the cheaper Omni line on his stuff and seems to think it's perfectly good. Or I can step up to the Deltron line, which costs more than 2X as much but it supposed to hold up better over time and maybe flow better. Anyone have experience with these? Leaning towards using the Deltron, but I don't want to waste money for no reason.
Anyway, the big goal is to finally finish this project in 2018. Would love to finish in time for the car's 50th birthday in June, but we'll see how things go!

So nice in honor of your grandparents.
Posted by Diggymart on 1/3/20 @ 8:04:16 PM