You must be logged in to rate content!
4 minute(s) of a 47 minute read
5-26-2011
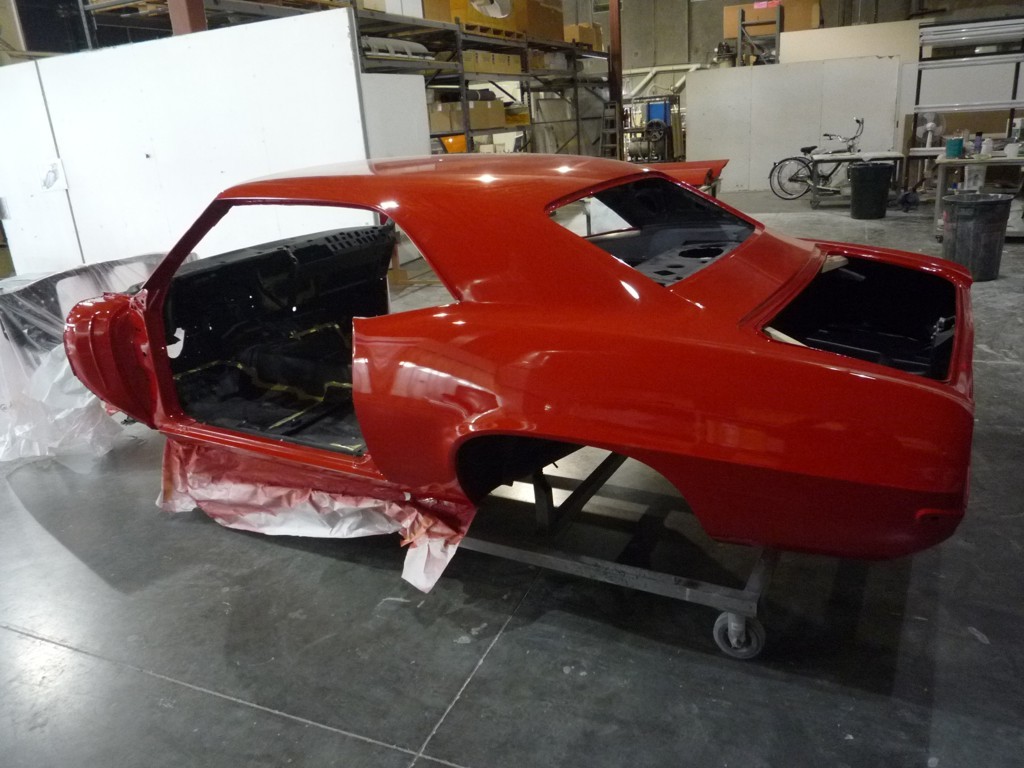
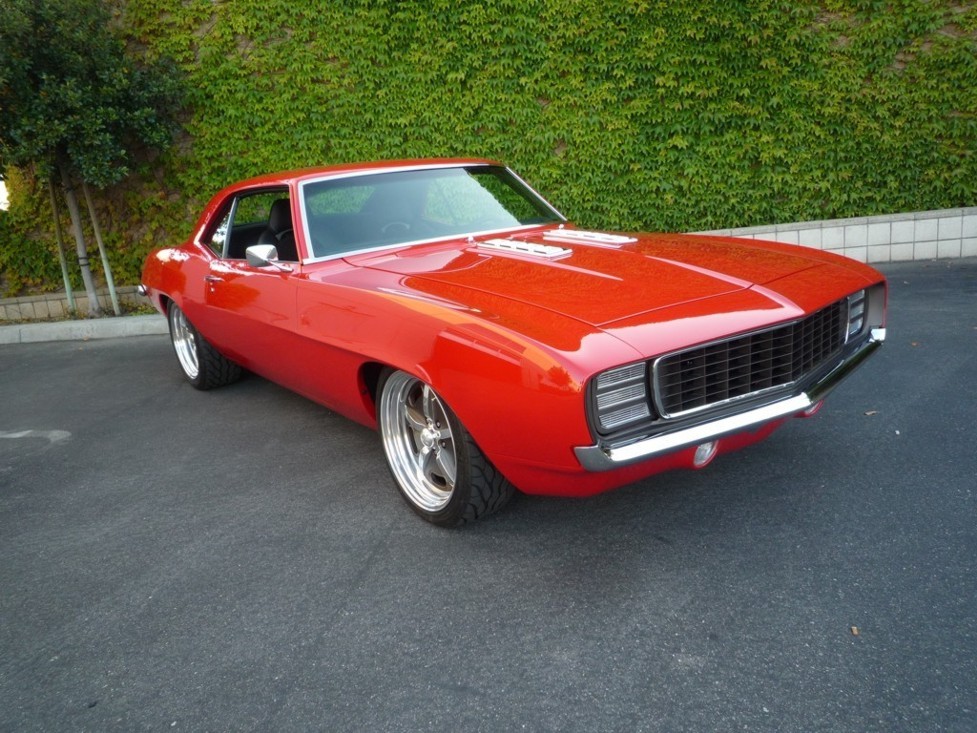
The grill portion is painted the color of the wheels and the back portion of the car. We did leave the chrome surround and the healamp covers also chrome. We also fitted the grill to the body opening they usally fit very bad around the sheet metal and it does not look that good if you do not fix this. I'll post some added images of the grill.
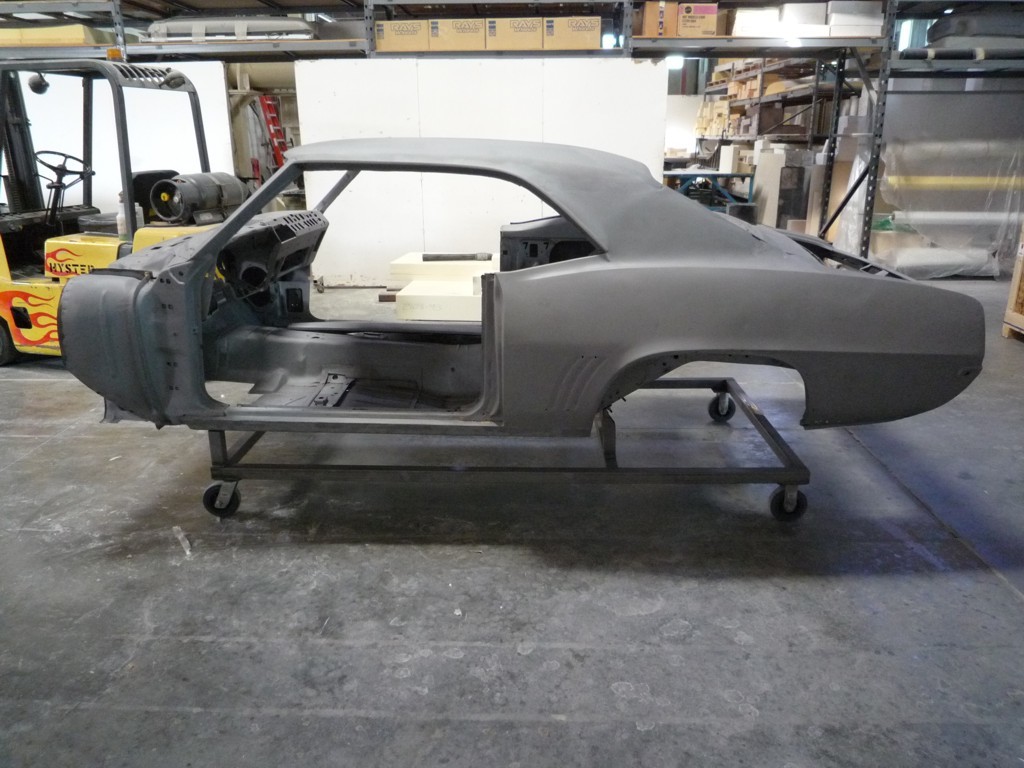
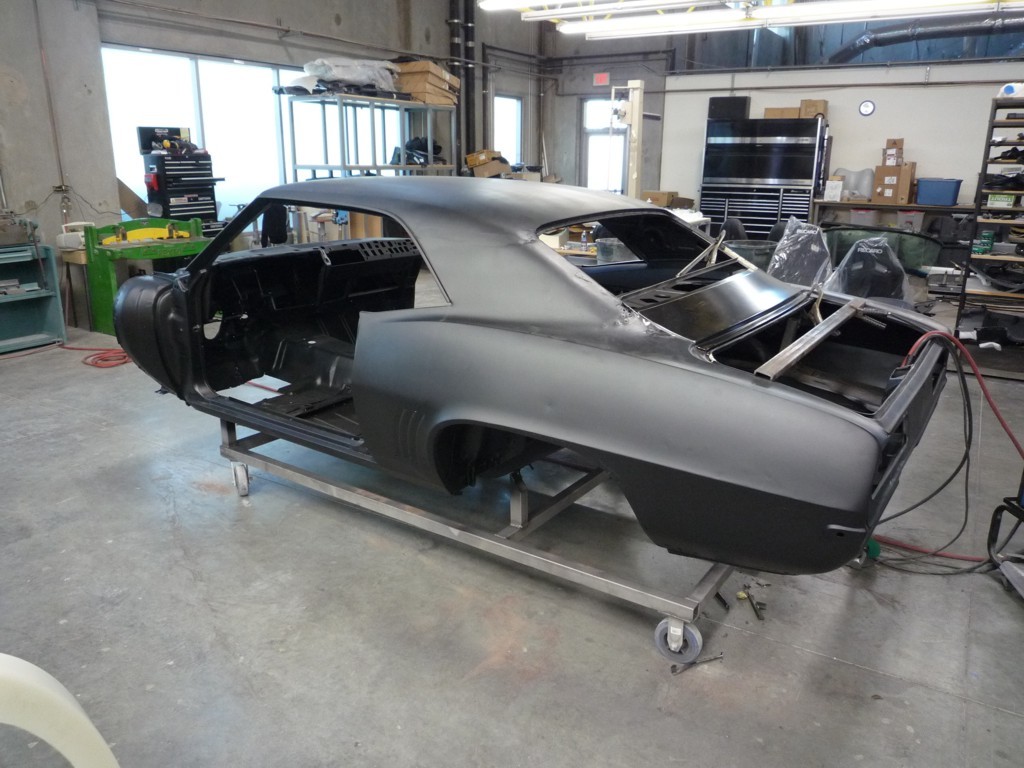
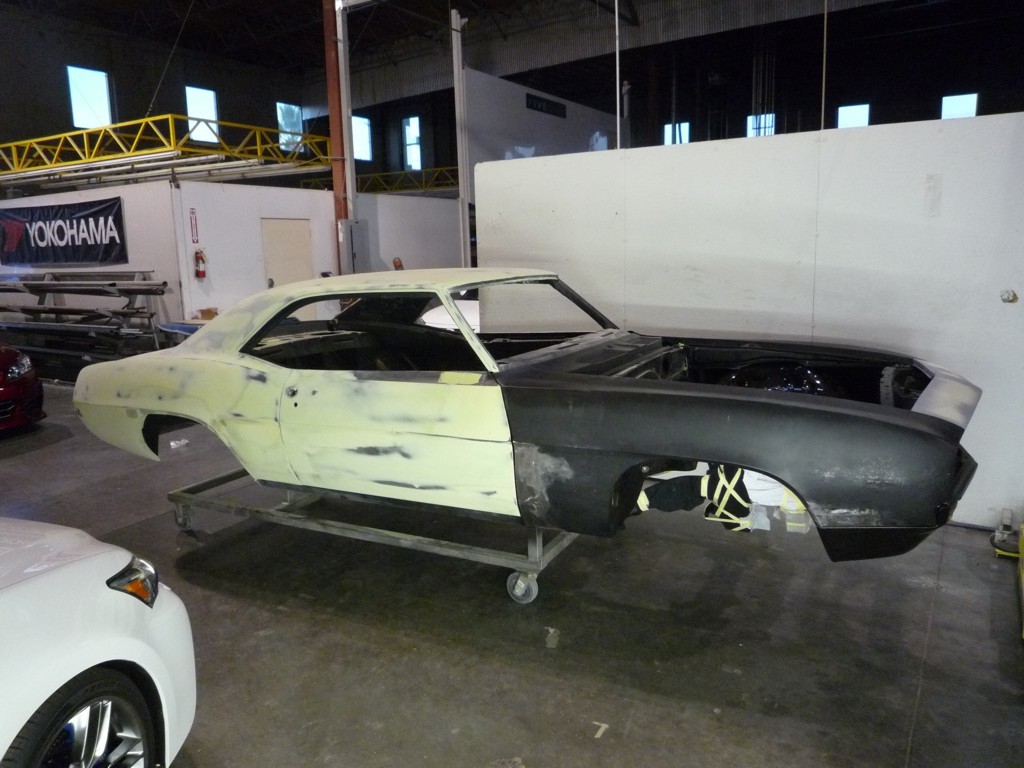
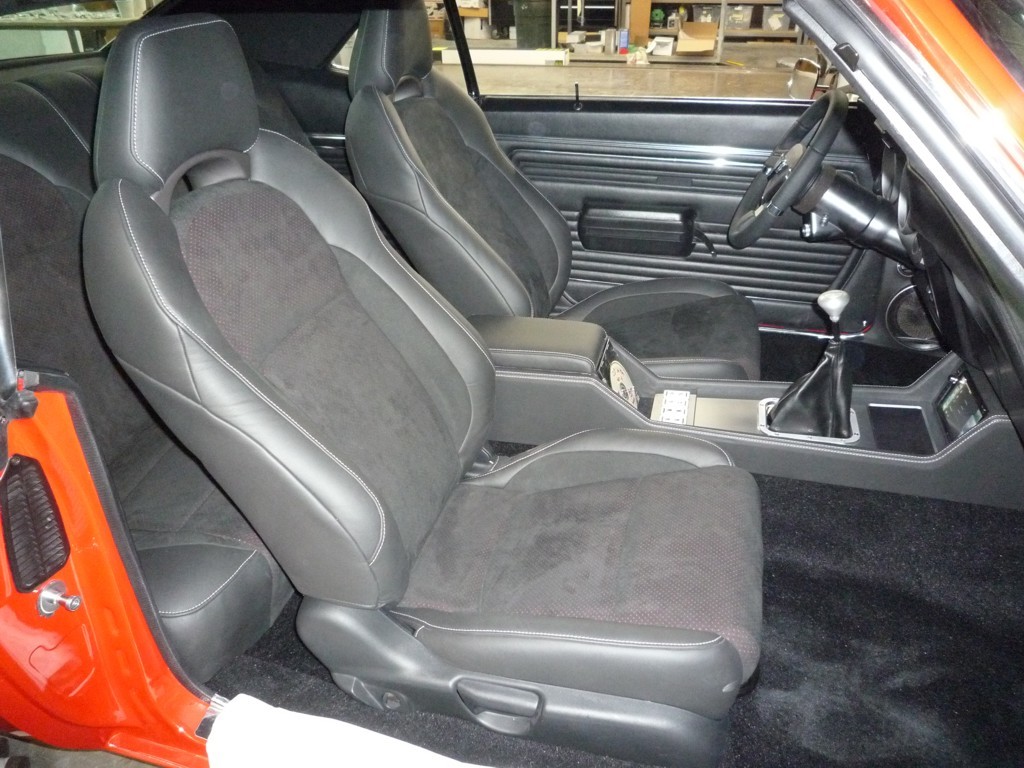
Here are some picture from the start of the project. I got the car from Redding Ca. and was an abandon garage project. The car was bought site unseen and when it arrived we were all kind of weary of what could be under the primer. So off to the blaster to see what was underneath. The body did have some issues but I have seen worse so cut out the old, weld in the new. Since there was rust in the seat pan area I got hold of a pair of seats from a Honda CRZ. I fit them to the removed floor pan sheet metal and fabricated new mounts for them. Then the seats were retrimmed with leather and suede and the perforated suede has red in the backing of the perforations. The dash panel uses a Detroit speed metal dash panel but I wanted to do some thing different to improve on the standard cut the holes out and stick the gauges in. I made an additional panel that surround the gauge openings and added the gauge hoods for the speedo and tach (similar to 60’s Mustangs) also created a unique turn light lens and unique vent openings. Another item I changed was the plain old ugly headlamp and wiper switch, I hate these so I used a light switch from a Dodge Dakota (it helps when you know some Chrysler dudes that can aid in making this work) and made a custom knob and switch assembly for the aftermarket switch for the variable wiper motor assembly that needed to be added because the stock unit hits the motor. One of my many discoveries on the build. Classic air provided an electrical switch panel to replace the mechanical levers and this was located on the other side of the lower panel. On to the center console, since Pioneer wanted to showcase a Nav unit I needed to make up a center console that would fit the bill. After a few patterns mocked up in place the design came together and I was able to make up the console. One thing we did on the console was to make it look like a production part. Most consoles I have seen, builders make a console and just cover the entire console, just does not look finished and do not have different levels of details. I worked on cars for the Sultan of Brunei for his private collection and we built many consoles with the same techniques I used on the Camaro. I wanted something clean and looked like it belongs there so no over the top just clean design and execution. Another item added is the finish panel above the glove box. If you look close the Camaro emblem is on the right side, not the left side that it usually is and it has a clean finish with no ribbed surfaces. One more item we did in the interior on the alum parts, we put a tinted matt clear coat on top to give the alum a darker appearance almost anodized looking, the effect is quiet good. That is all I am going to write for now.