You must be logged in to rate content!
4 minute(s) of a 47 minute read
12-29-2011
For those that want to turn their oh hum trunk into a finished compartment with added stereo components here is the set up that we did for the stage 2 car. A little more simple but easily made in ones garage with some wood working tools, table saw, router, jigsaw and a disc hand grinder. Also going to need some speaker carpet, super glue, mdf lite or regular board, spray glue or some sort of fabric adhesive, duraglass or polyester putty,and fiberglass which is optional. You have to source the materials your selves
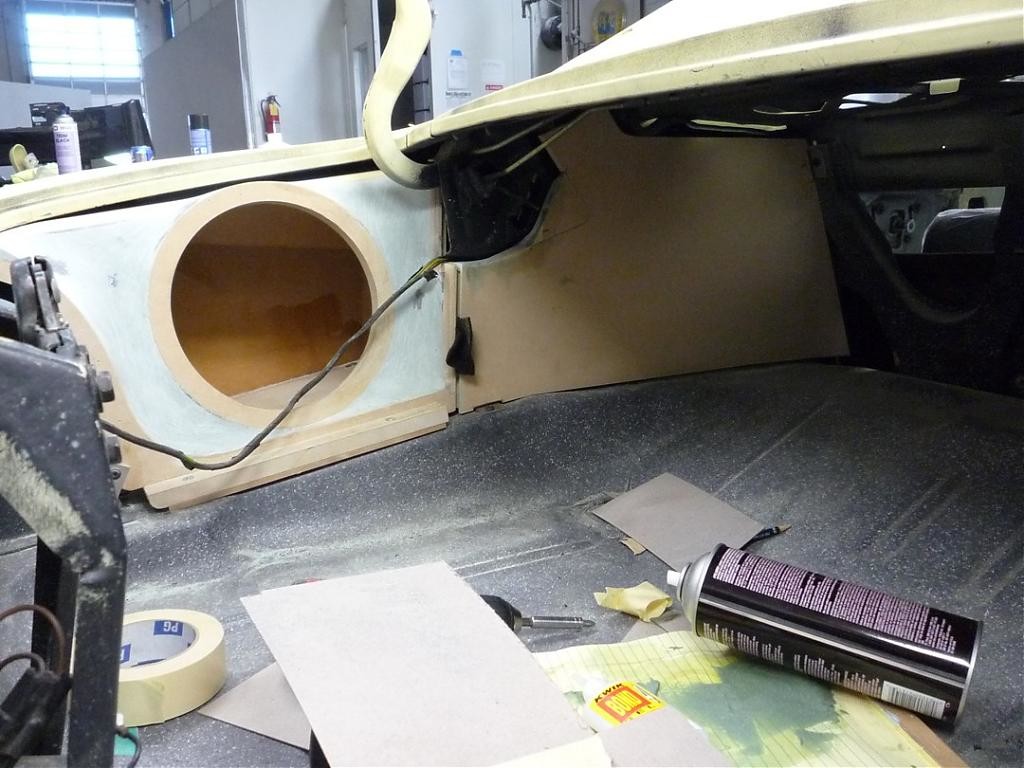
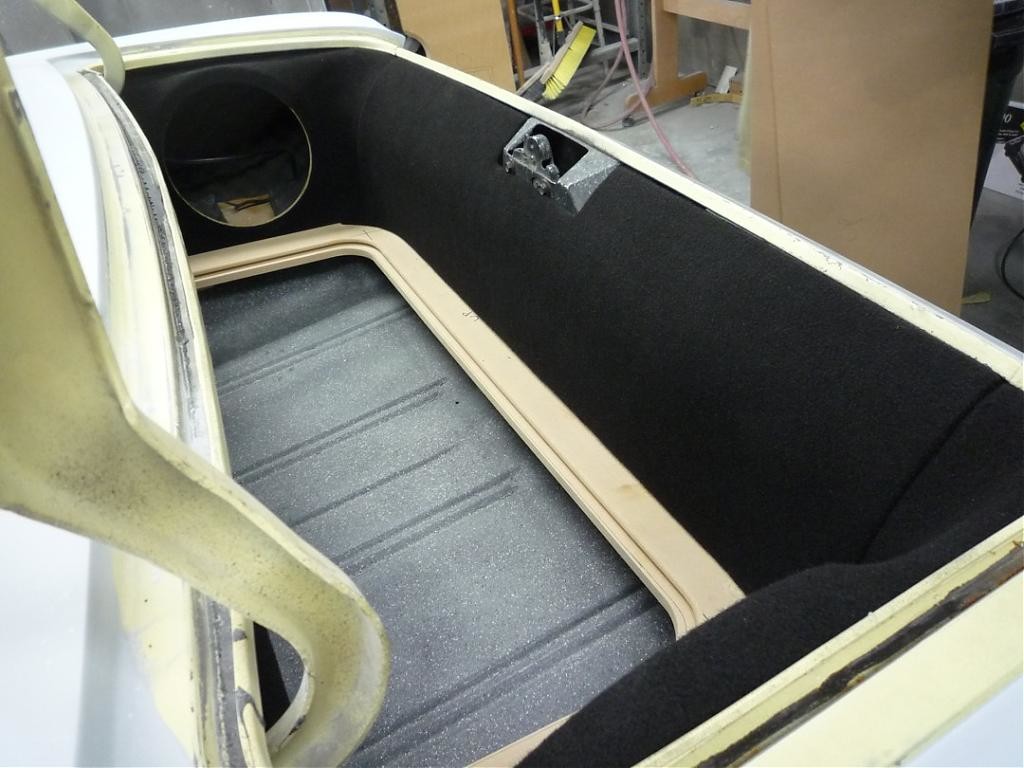
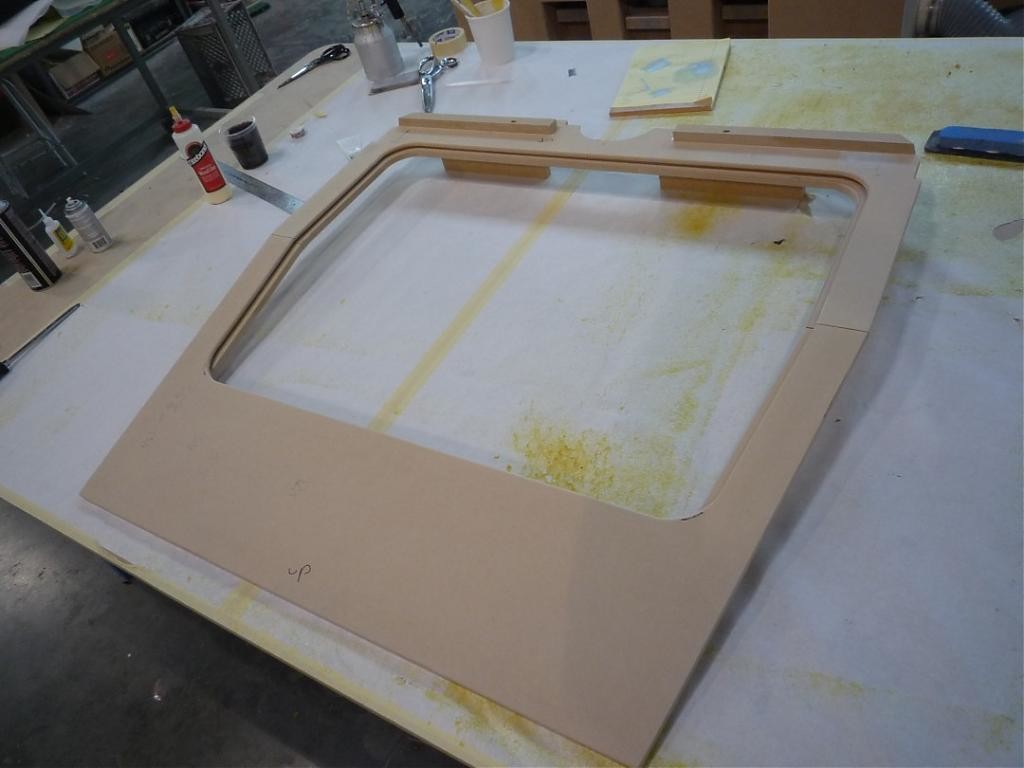
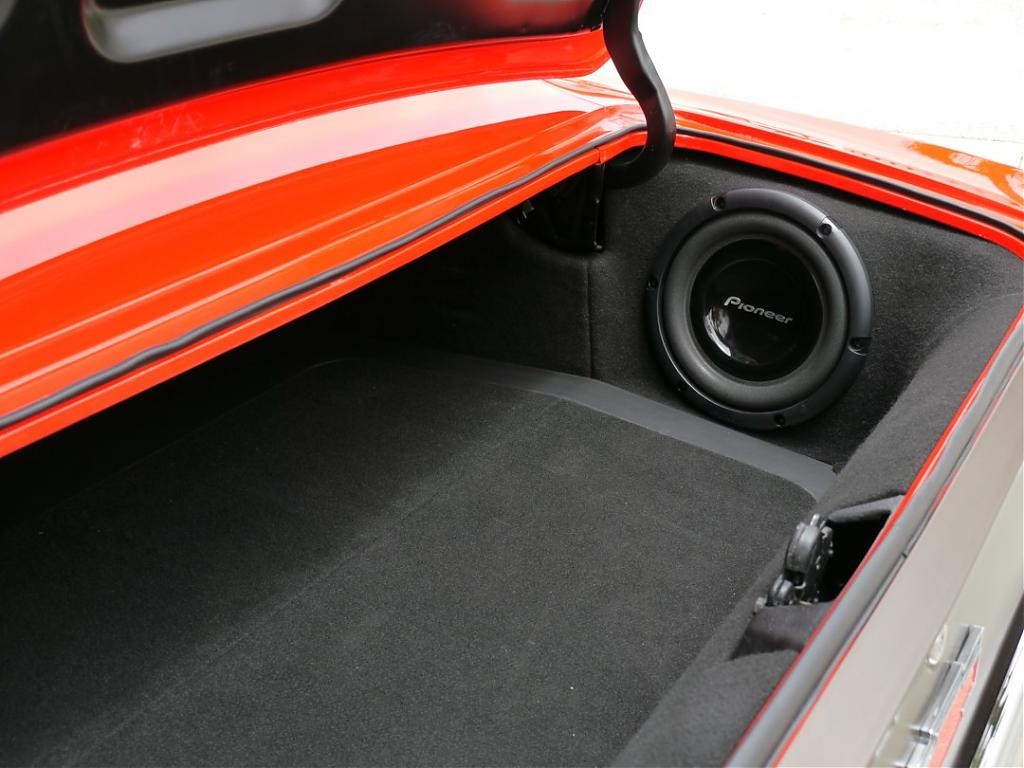
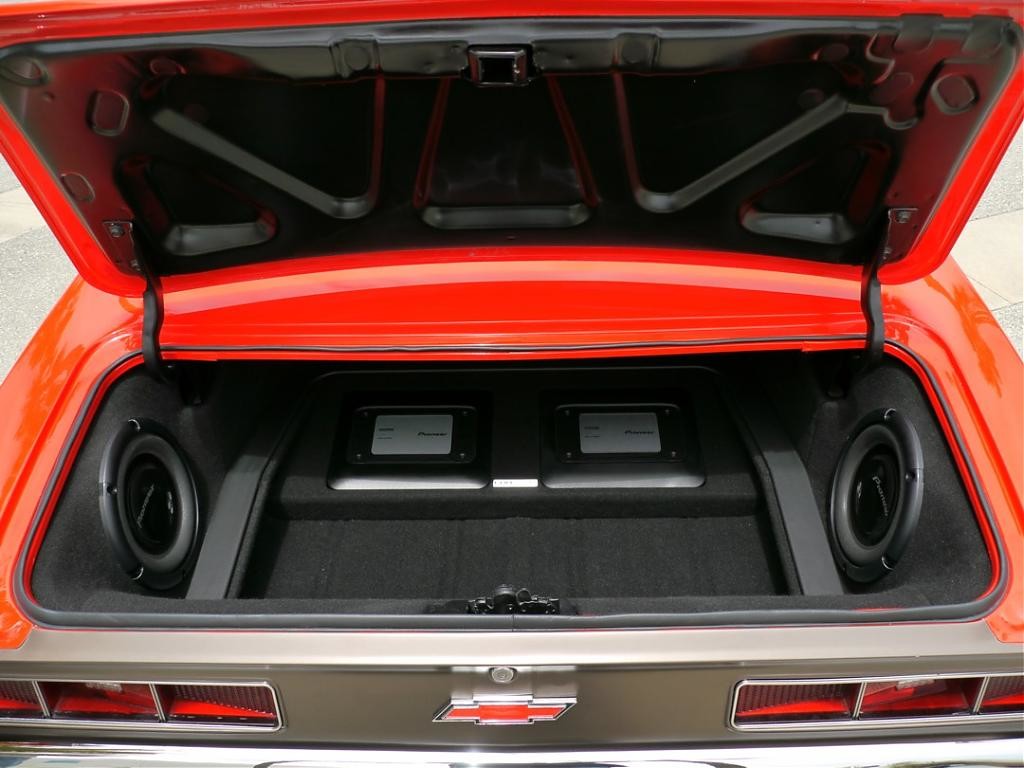
We start off making the side speaker housings, you are going to lose some truck space but this is the best way to orientate the speakers for the best sound. Some people will say to do it different and that is their opinion. We ended up using the 10 in dia, the 12 did not fit and required more volume. Make sure you build the recommended box size for the woofer. We first build the all sides minus the speaker location. Once the box has been fitted the speaker can be positioned. We first bond in a wood ring to hold the woofer and allows to put it at and angle. We close out the rest of the face of the box and then build the next panel that goes further into the trunk. We use the MDF for all the panels. Cut, fit and tweak the panel in place, this is where you use the polyester material to fill any voids or openings that need a tighter gap. Bracket panel in place.
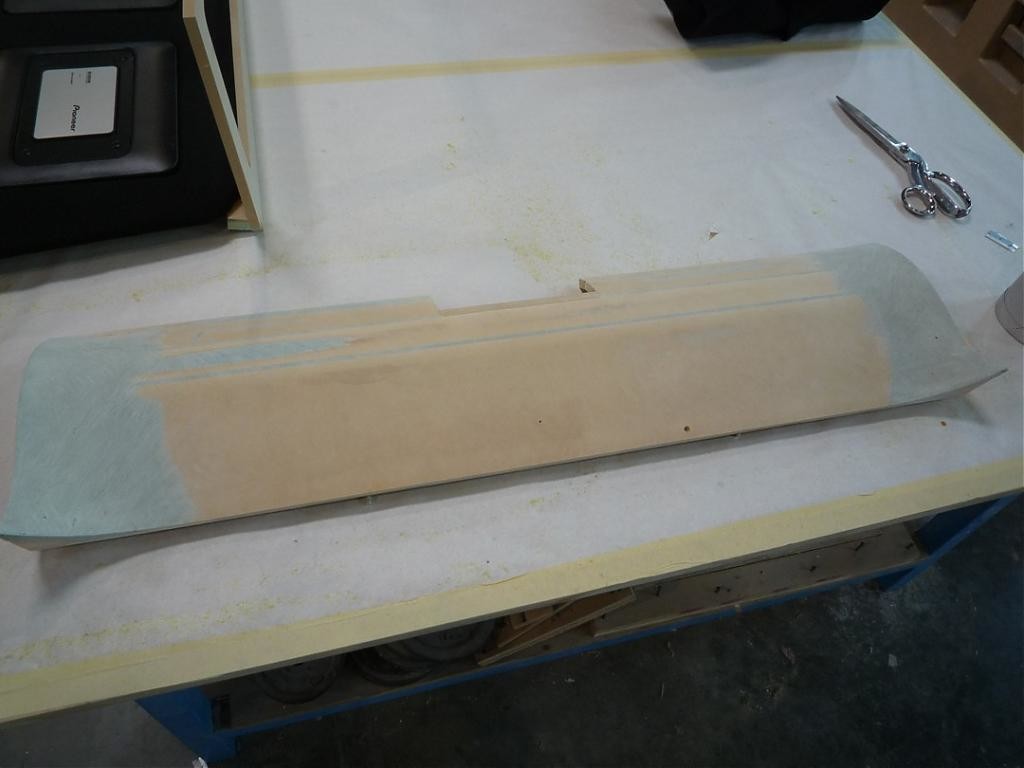
Next build the rear panel that will cover the latch area. We cut some boards with a slight angle on the edge, this allowed the panel to curve. Once we had the basic shape we fiberglass the back with one layer of 10 oz glass. On the outer surface we used the polyester putty to smooth out the panel.
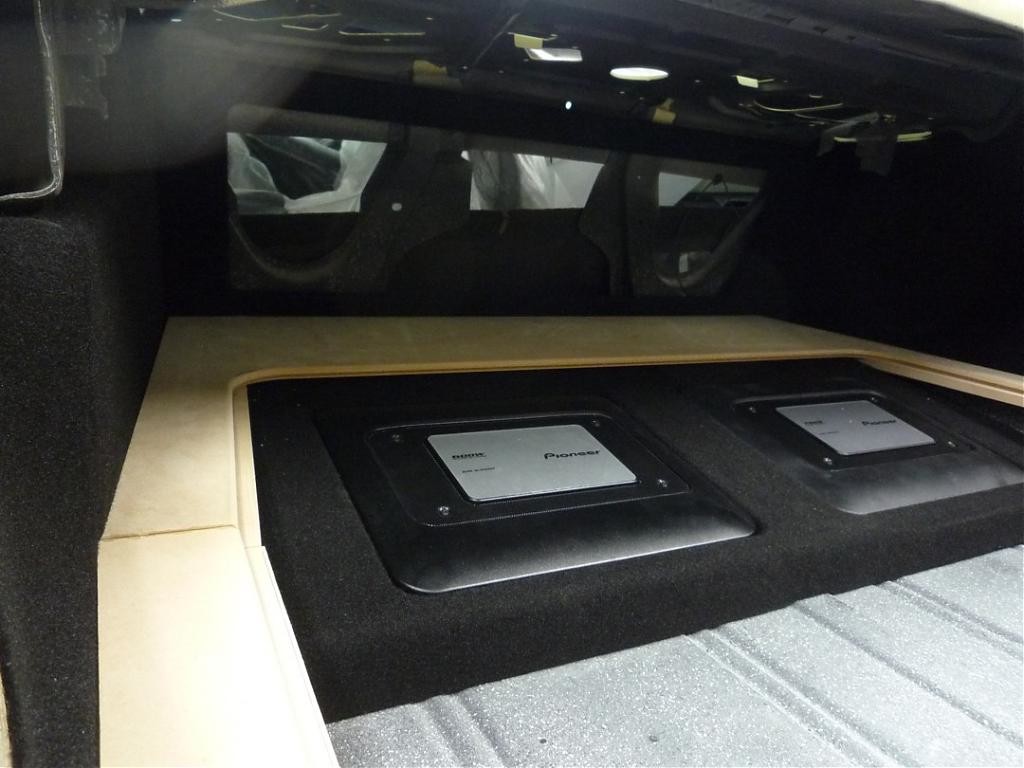
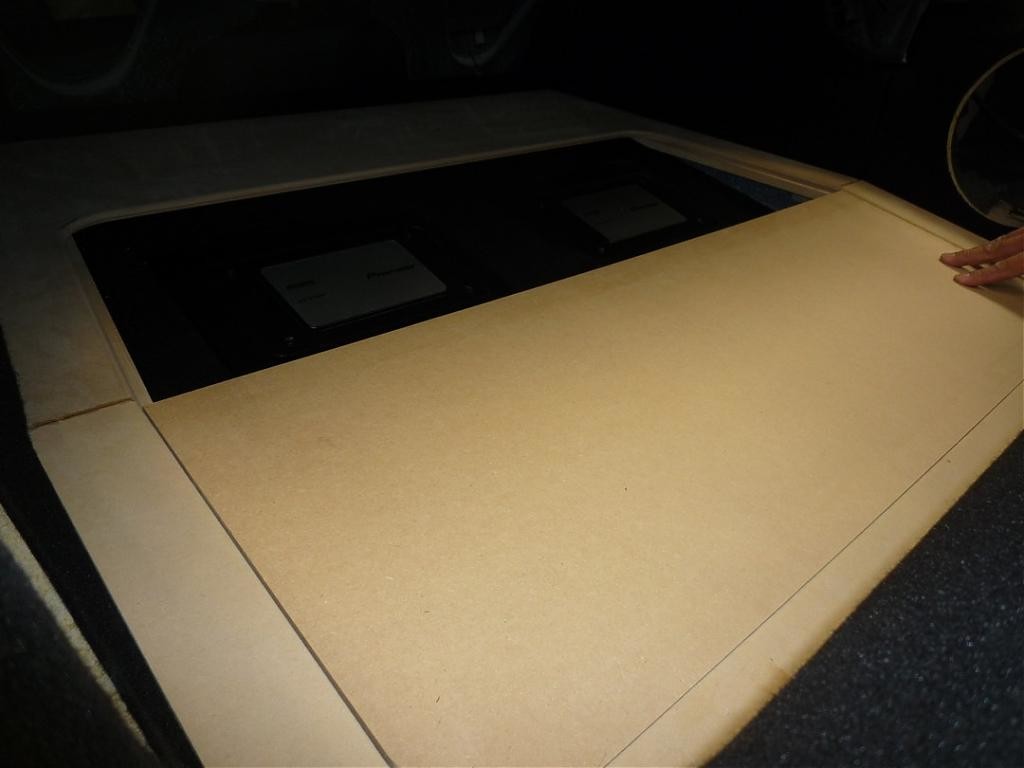
Fit into trunk and bracket in place. You can add to the woofer and to the back panel to create a smooth contoured transition between the panels, don’t glue them together, and also make sure you compensate for the speaker carpet thickness. If you have amps we hide these under the main panel , first mount amps in location then build new floor panel to fit on top as the images show. Once all the panel have been made we cover with good old speaker carpet. The final look is a finished trunk that still has room for baggage.
I know I overview the complete build but you have to have some skill level to take on a task such as this but it can be done by DIU. If you have any questions let me know and I will be glad to answer them.


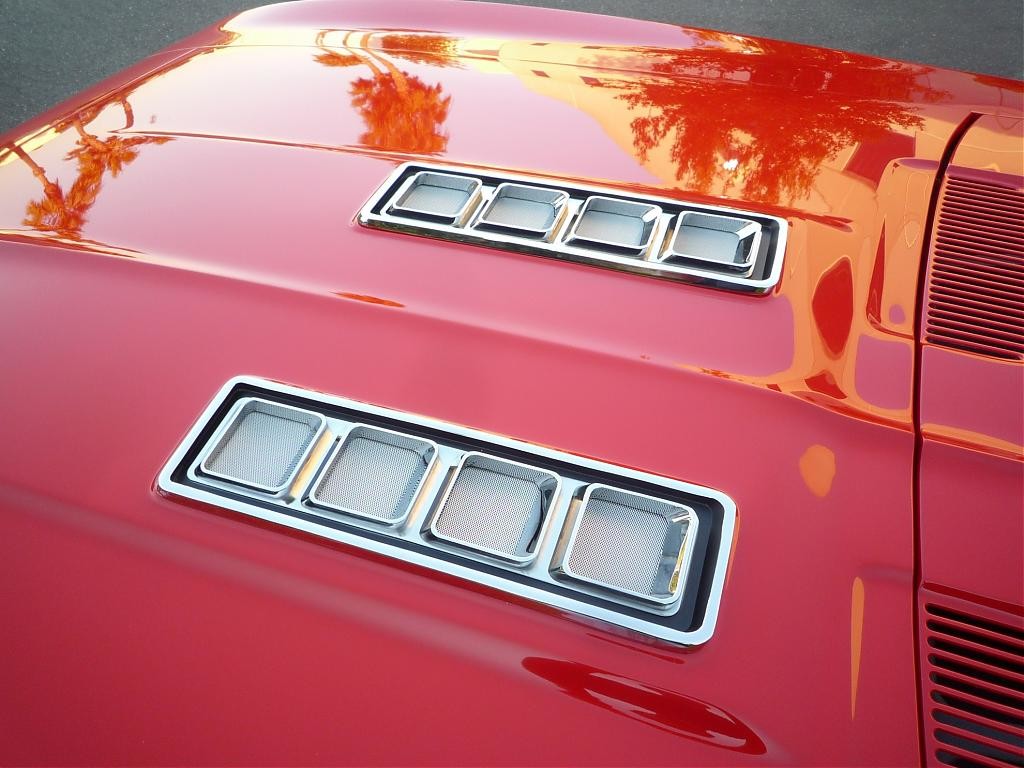
Here some added pitures of the SS hood. I took out the orginal grill material and added a speaker grill mesh.