You must be logged in to rate content!
4 minute(s) of a 97 minute read
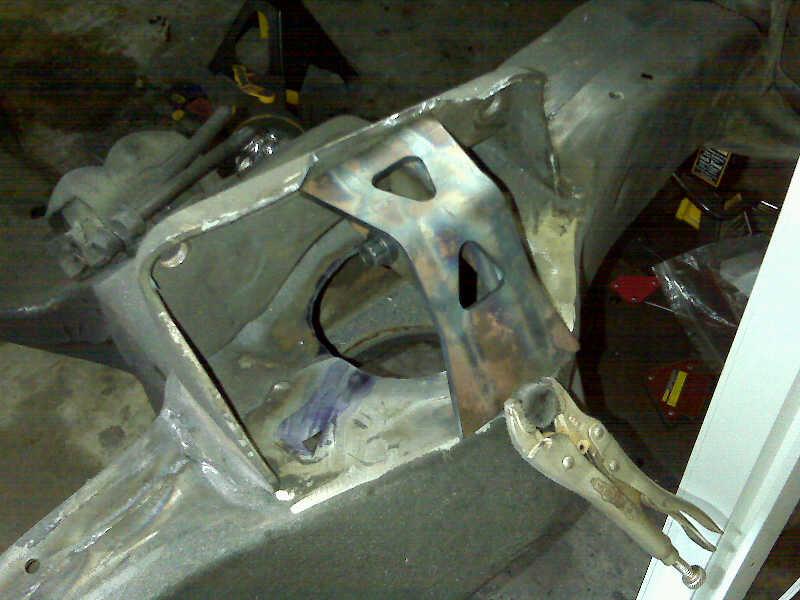
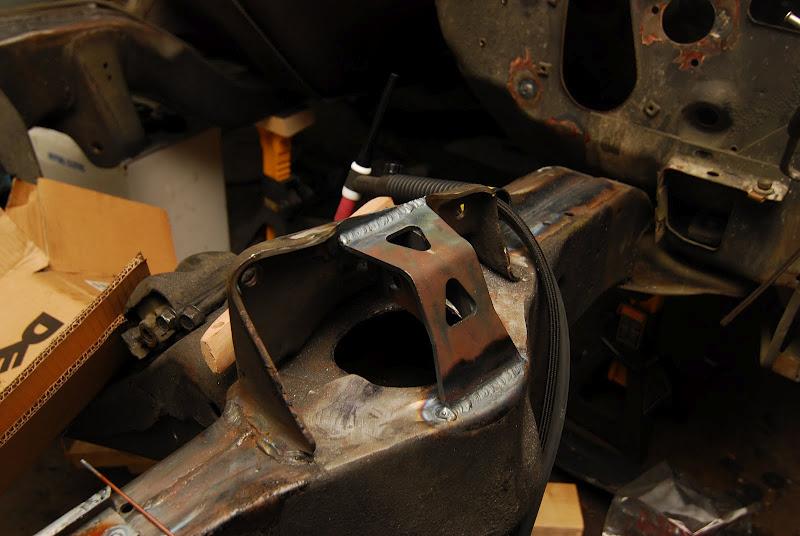
8-4-2010
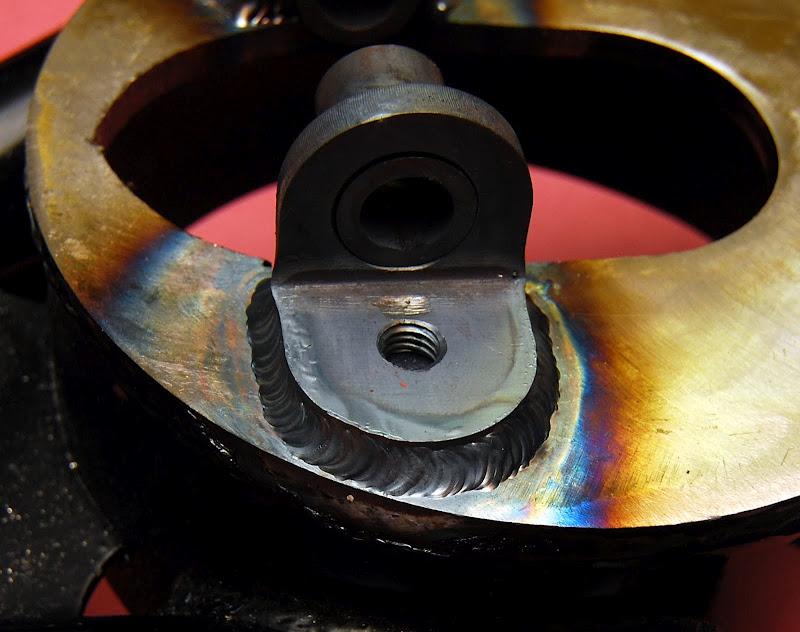
More test fitting and the first pic of the speedtech coilover brackets.
Crappy cell phone pics. I spent my lunch hour at the house and ran an angle grinder for most of it.
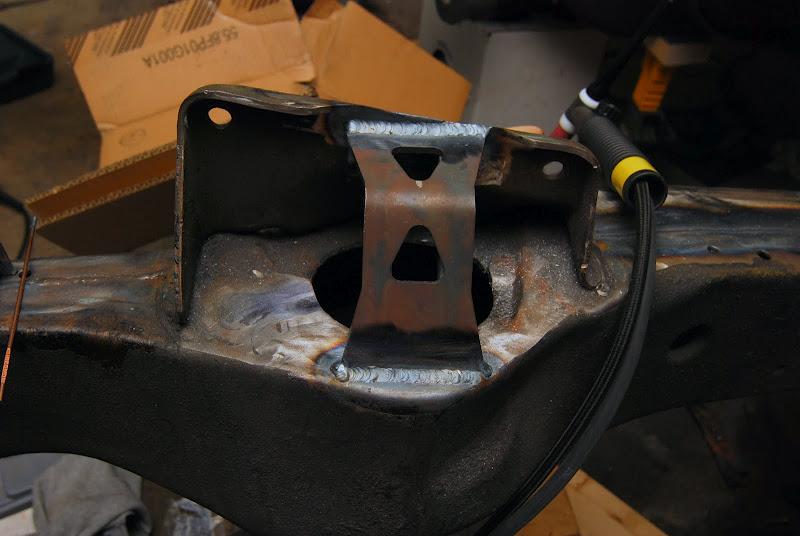
8/26/2010
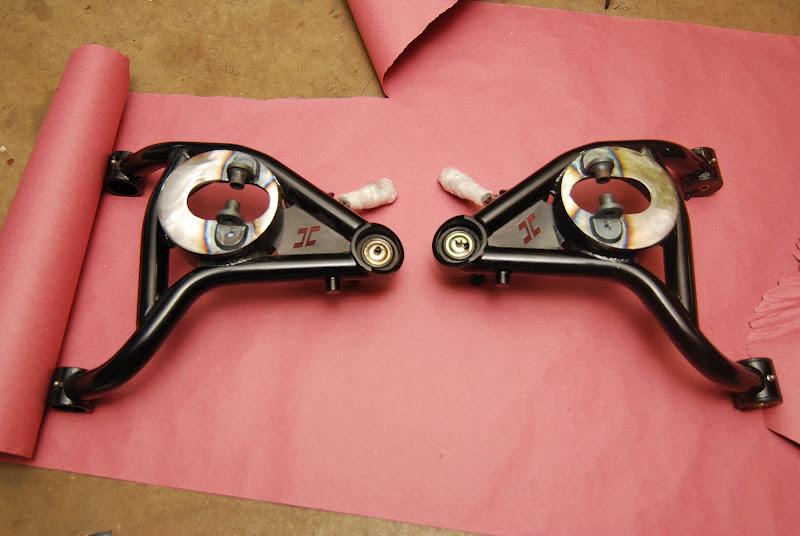
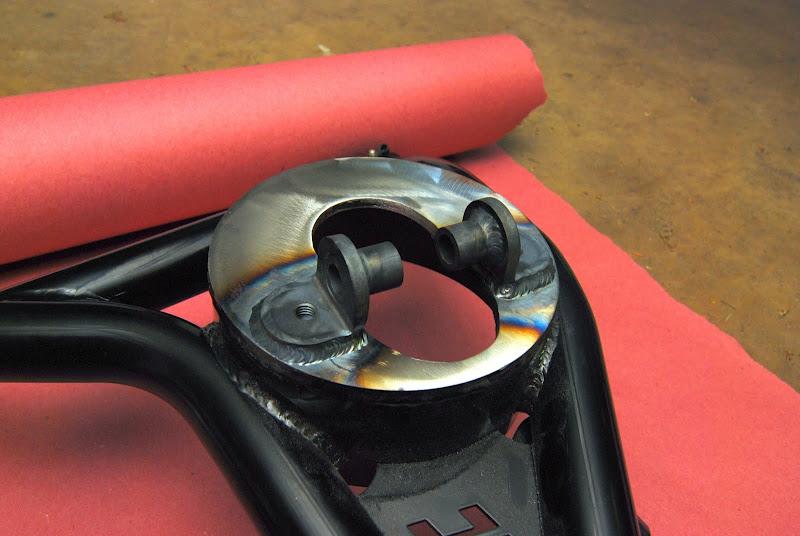
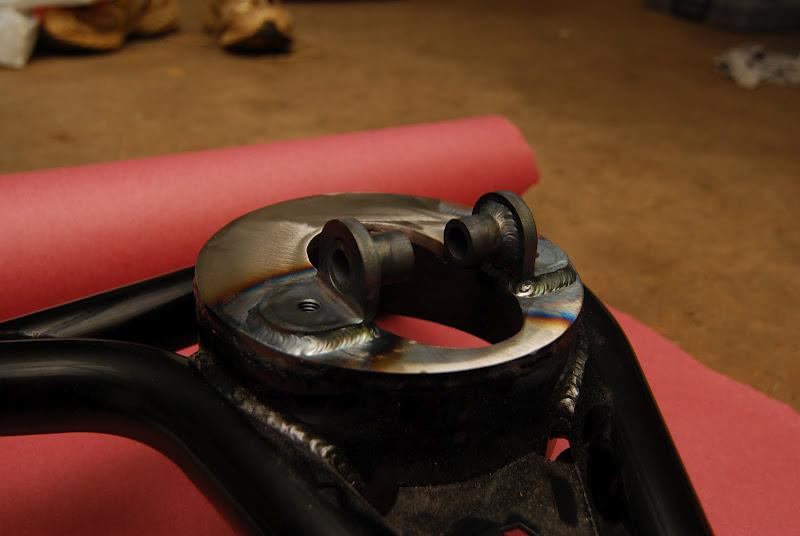
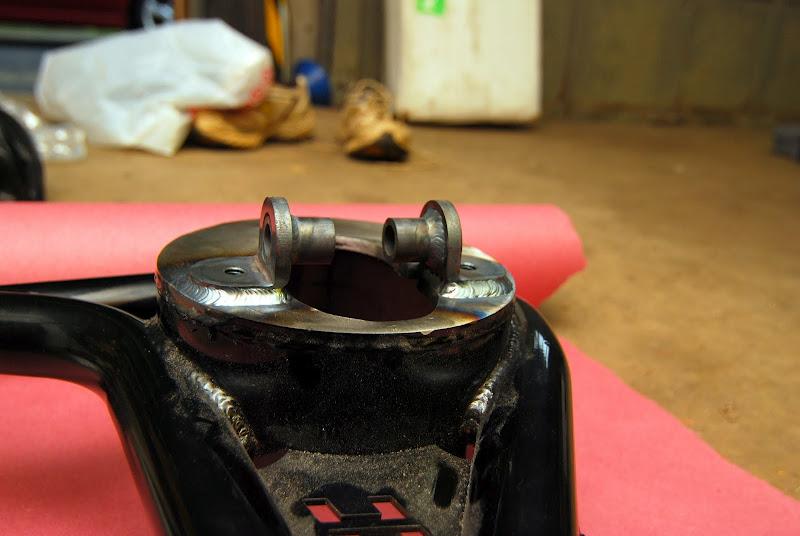
Man, I was away from home far too long. I have made some progress, but work keeps getting in the way. The control arms are all finished up.
As far as the EFI is concerned, the answer is yes. The route to EFI is yet to be determined. I would prefer to do an LS swap eventually. Mainly because the LS benefits from years of R&D over a Gen 1 SBC. Much more efficient combustion chambers, better flowing, etc... I haven't ruled out the idea of just installing EFI on my car. Look back a few pages, there should be pics of the Moon crossflow ITB setup I would run if I stay with the Gen 1 SBC. Main reason I think the LS swap will happen is the fact that my engine is tired. It needs a rebuild. I think my plan will be to start building an LS once I have the car back together and in one piece.
Also, any of the EFI systems worth an isht are several thousand dollars. Seems senseless when I could buy a low miileage LS motor for not much more.
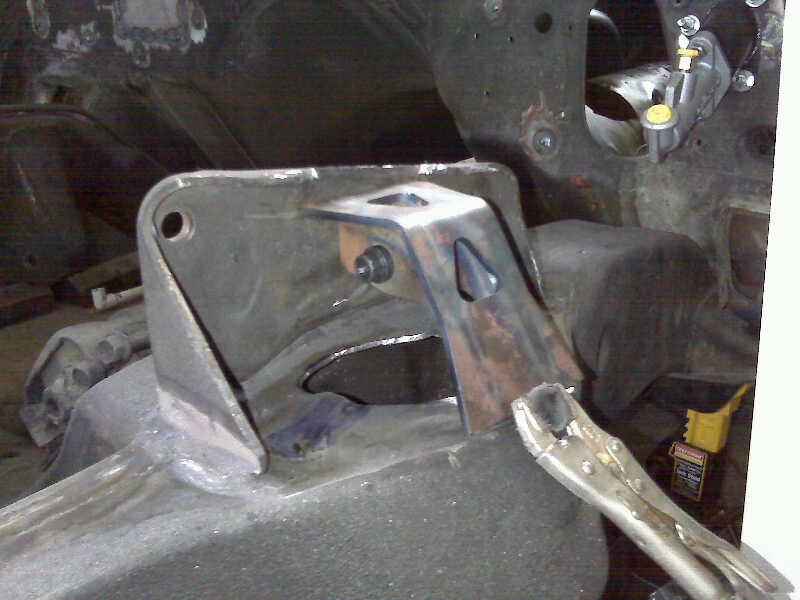
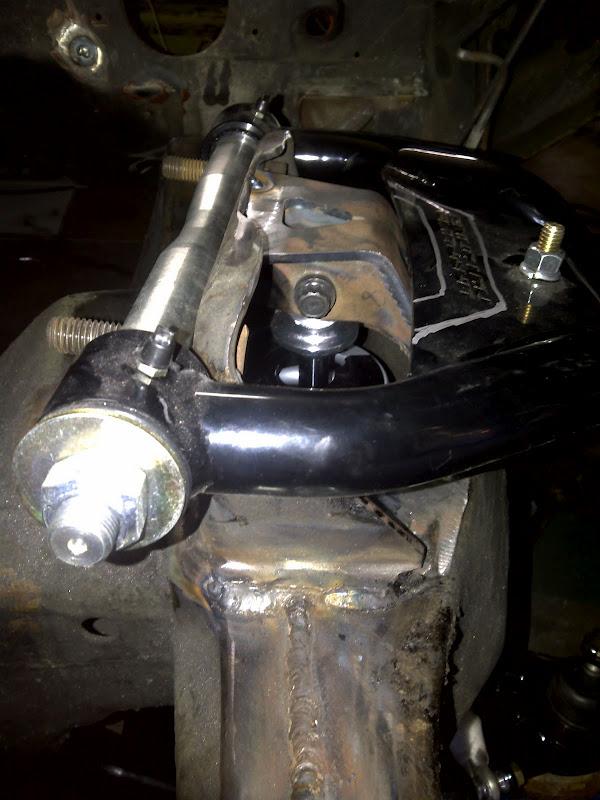
8/29/2010
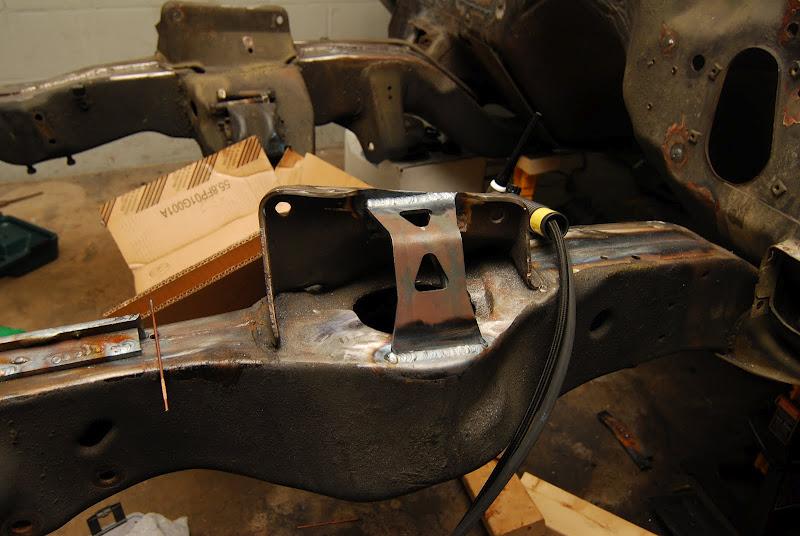
WOOT!!! One side done. I am in a rush this morning, otherwise I would post more. We also seam welded my framerails. Big thanks goes out to my buddy Chris, he can run a TIG torch far better than I.

One more... Crappy phone pic taken during test fitment. I was filthy, had no intentions of getting anywhere near my D-SLR.
3/22/2011
Back from the dead. Yeah, I have some updates. Just haven't been judicious in taking pics. I am in my busy season for my job and only get a minute here and a minute there to work on the car.
The frame mods are done. The area to be painted is stripped and primed. Now I just need to get my dad up to help do the paint work. I was going to post a huge update when I got to that step. Pops did professional paint work at one time in his life and knows a crap ton more than I about how to run a spray gun.
Love the 70’s Cameros!
Posted by Diggymart on 1/29/19 @ 2:44:21 PM