You must be logged in to rate content!
2 minute(s) of a 30 minute read
7-29-2010
Ugh busy week and too much rain! Heres what I have gotten in the past ten days:
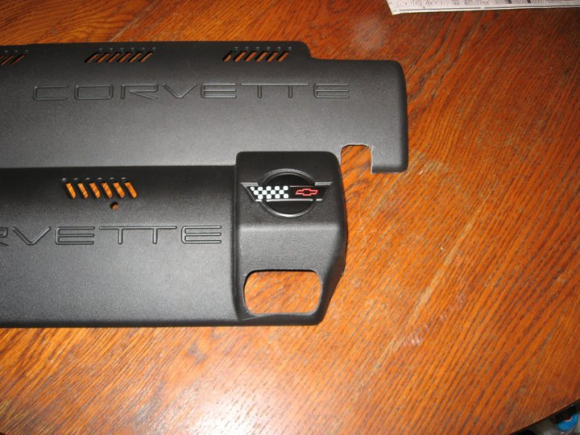
Busted out the dremel and modified my fuel rail covers to fit. Not sure its right, but some random internet guide said these were the spots to grind. I am not completely convinced I am even going to keep them on, but we will see what it looks like down the road.
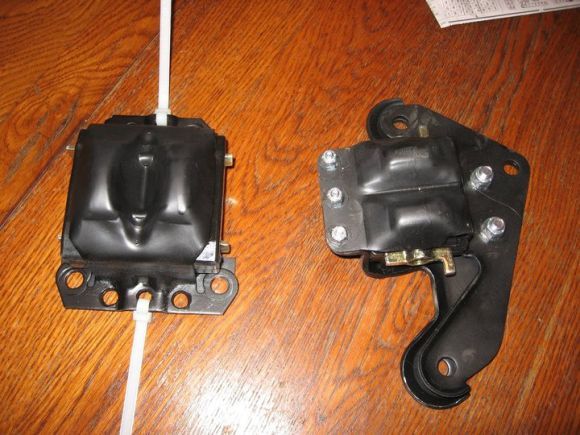
Repainted the motor mounts and put them back together with the new hardware installed:
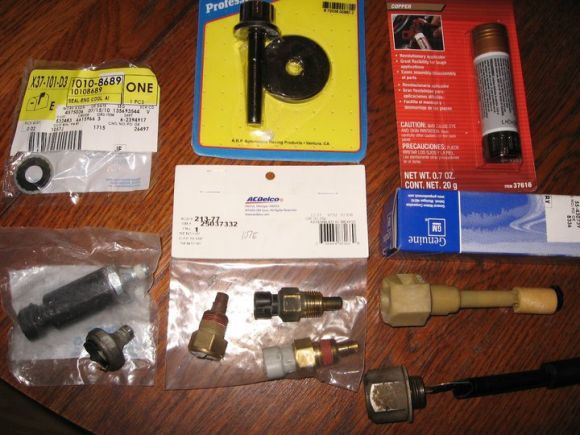
All the goodies I got in the mail alongside of the broken pieces they will be replacing. A little anti-seize for install. I am a bit concerned about my steam pipe seal, I think I need more than just the one they sent me. Anyone know if the old pieces can be re-used? Interestingly, the new oil level sensor is made completely out of plastic, as opposed to the original whose base was metal. Machinist lost my harmonic balancer bolt, so that was 25 bucks =(
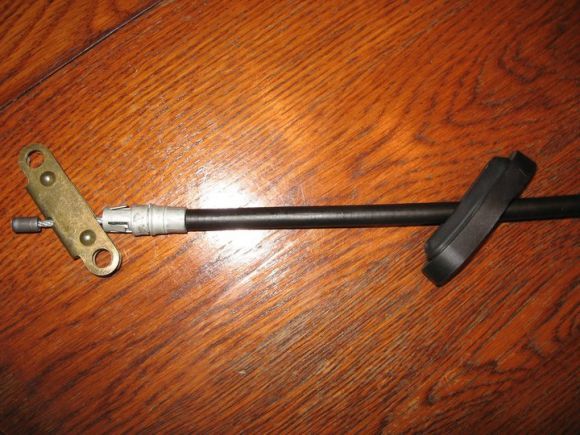
Finally, picked up a new front ebrake cable because my old one snapped long ago. When I was fiddling with the old one, I noticed the line was greased up. Should I grease this cord before I put it in? I also had a hell of a time trying to get the old one out. The little prongs are hard to manuever under the car.

Exactly what headers did you use while building this? How is your access to the spark plugs with the headers on? What ended up being the issue with motor mounts and steering linkage on the driver side around the headers? Thanks, and sweet build!
Posted by jcdvorsc on 7/11/16 @ 8:35:38 PM