- Flathead Screwdriver
- Philips Head Screwdriver
- Needle-nose pliers or panel plug removal tool
- Utility knife or sharp knife
- Contact cement
- Clamps
- Epoxy type adhesive
You must be logged in to rate content!
8 minute read

93-02 CAMARO DOOR INSERT INSTALLATION INSTRUCTIONS
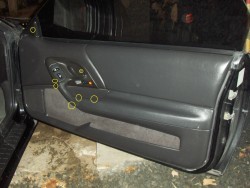
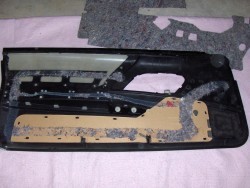
1. First, remove the door panel from the door. Start by removing the screws shown in the pictures below. (some are hard to see in the first picture).
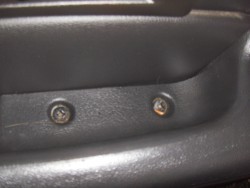
2. Locate this screw and remove.
3. Locate this screw and remove.
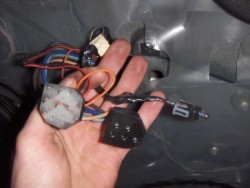
4. Locate this screw and remove.Remove the window switch panel and unplug all the related plugs. Don’t forget the little door light!
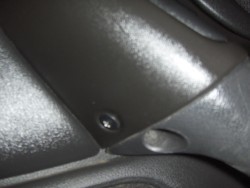
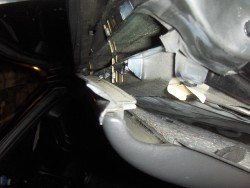
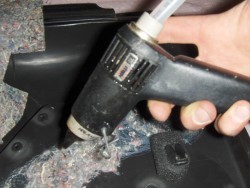
5. The final piece holding your door down is near the speaker cover. See the picture for an exact location. It is on the side of the door, closest to the front of the car, and very close to the bottom of the door. Again, the picture shows this. Use the pliers or panel plug tool to remove this plastic piece. Now the entire door panel will slide up and out, and off. Be careful and do not pull too hard in one way. Try to avoid getting the switches or anything else around caught while pulling this off. You are going to want to push up and pull out slightly at the same time, with two hands.
6. Once all the screws are removed, it is most effective to grab the door handle and give a good yank upwards. Carefully pop the tabs from the door outwards while pulling up on the handle. Use your judgement and the panel will eventually pull off.
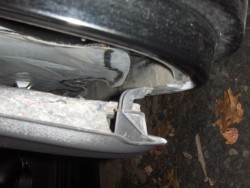
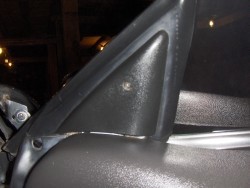
7. Another shot of the window ledge.
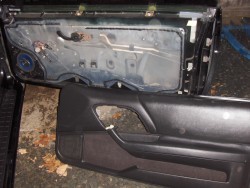
8. Here's what you want to happen:
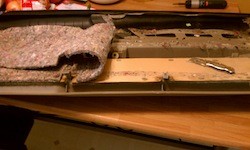
9. Once you have the door panel off, flip it over and get going on the back side. Tear back the insulation. Its just held on by some glue. You don’t have to tear it all the way off like I did, just enough to reach the cardboard insert. This is what you should see when done.
10. Now start carefully prying back these clip thingys. Sometimes a flathead screwdriver or knife will help.
11. Once you have the cardboard off, peel back the stock carpet. It is also held on by glue.
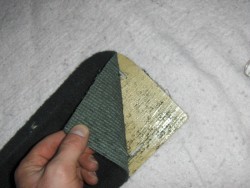
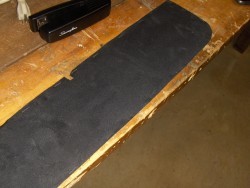
12. Now, grab your new material (In my case, faux-alcantera) and line it up on the cardboard.
13. Once its lined up good, start stapling it down close to the inside edge, being sure to pull everything tight as you go.
14. Once you have the material stapled to the cardboard, head back over to your door panel and start to press the cardboard back into the clip things on the door panel. Take your time.

15. Almost there. I used a hit glue gun to re-glue the insulation back down onto the door and it worked very well. Just drizzle it on and it should be fine.
Once the glue has dried, you can reinstall the newly leathered door panel onto the car! Just use reverse instructions from removal to reinstall. Enjoy your new door panels!!!
NOW THAT YOU'VE PRACTICED ON THE INSERTS, LET'S MOVE TO THE MAIN PANELS :)
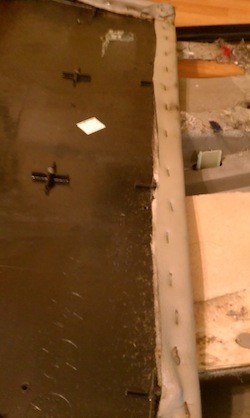
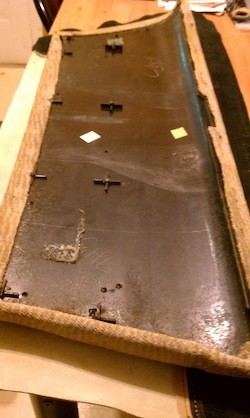
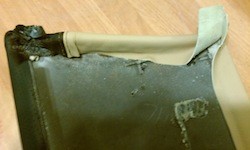
16. On reverse of door panel, peel back foam insulation. Use a razor knife so that the foam doesn't tear.
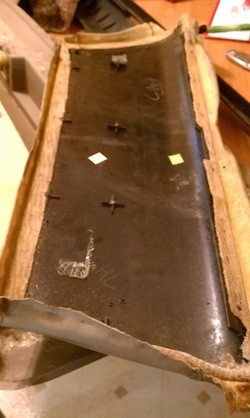
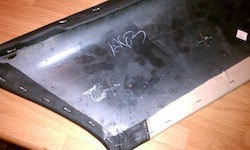
17. This is the reverse side of the panel to be removed. It's held in place by screws (along the dotted line).
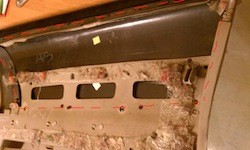
18. These are the screws to remove; upon install, they can be repositioned or added, as they are simply screwed into the plastic.

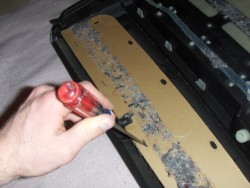
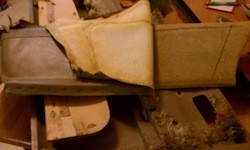
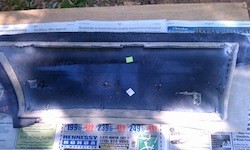
19. Upholstery is held on with staples and glue. Loosen/remove staples using a small screwdriver and pliers.
20. Carefully peel back upholstery from panel; take care not to remove the backing material, if you plan on re-using it (recommended). Installing new backing material is not covered in this write-up.
21. HINT: If you're new to upholstering, then remember how the material was formed over the corners. Pics help!
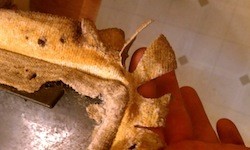
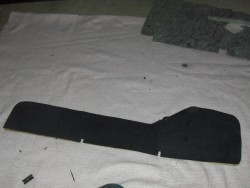
22. Gently peel the material off of the panel. Start at an edge and work it across the panel.
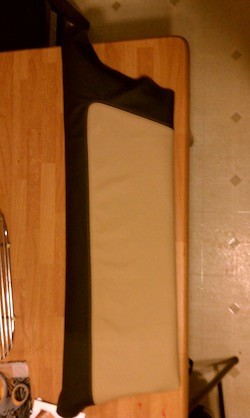
23. Carefully align new material on panel. Make sure you have it lined up where enough material will wrap around the edges. Then, if you have stitching, align that.
24. Fold back new material and spray one or both sides with glue (follow directions on glue!). Don't spray directly on edges so that material will stretch tight over edge.
25. With panel face-up, work way across panel applying gentle pressure with your hand to the material to get it to adhere.
26. Spray end edge of material and back side of plastic panel where the material will terminate.
27. Pull tension to smooth out panel; take time to form over corners, making cuts as necessary to prevent wrinkling. If glue gets too dry, you can just carefully spray again and let tack up; Just take your time!
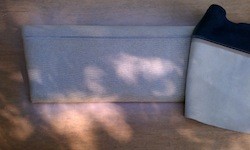
28. Re-staple edges. Reinstall the panel reversing the steps taken to remove it. Proceed to the other side of the car. :)
ENJOY YOUR NEW LEATHER BOOTS!
Useful tip
You have installed a product made out of genuine leather. As you know, to maintain a leather product in good condition, you should take care of it. We suggest occasionally (every 4-6 week for example) applying some leather conditioner/UV protector to keep your leather from drying up in the sun and cracking.
Redline Automotive Accessories Corp. will not be held liable for any labor, incidental or consequential damages of any kind. Proceed at your own risk.