You must be logged in to rate content!
3 minute read

INSTALLATION OF THE ARMREST COVER 97-02
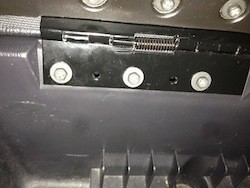
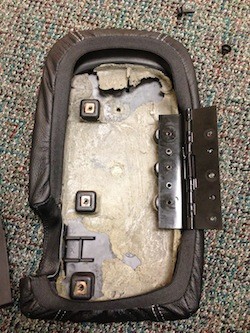
1. Remove armrest by opening the console, and removing the screws holding the hinge to the console.
2. Turn the console upside down and remove all 6 screws from the bottom.
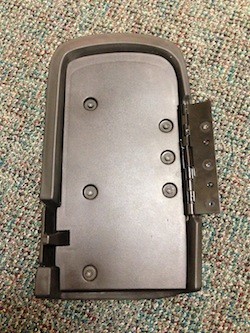
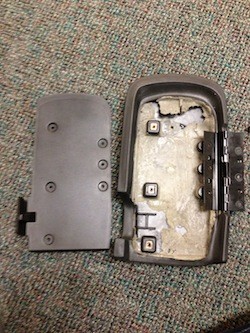
3. Remove the plastic piece, hinge, and latch.
4. Stretch your cover over the armrest, taking care to line it up at the corners.
5. Make sure everything fits.
6. Check and re-check the alignment for lack of wrinkles.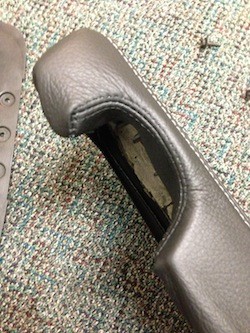
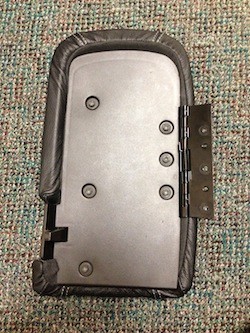
7. Once you have the cover aligned to your satisfaction, flip it upside down again, and replace the hinge.
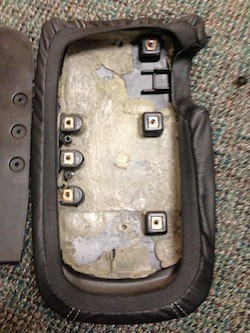
8. Replace the plastic piece (take care to make sure the latch is on its tracks). Use the plastic piece to hold the edges of the cover down tight, to prevent wrinkles. If you want to use another method to secure your cover, this is the time to use it. You could glue the cover onto the top of the lid, or you could staple/tack down the bottom edges.
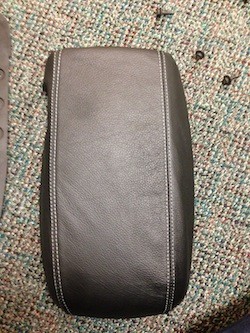
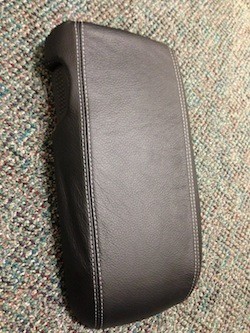
9. HereÕs the finished product before itÕs reinstalled on the car.
10. Reinstall the recovered lid on the car by screwing the hinge back to the center console.

11. And hereÕs the finished product re-installed on the car.

ENJOY YOUR NEW LEATHER BOOTS!
Useful tip
You have installed a product made out of genuine leather. As you know, to maintain a leather product in good condition, you should take care of it. We suggest occasionally (every 4-6 week for example) applying some leather conditioner/UV protector to keep your leather from drying up in the sun and cracking.
Redline Automotive Accessories Corp. will not be held liable for any labor, incidental or consequential damages of any kind. Proceed at your own risk.