You must be logged in to rate content!
7 minute read

CAMARO 2010+ CENTER CONSOLE INSTALLATION INSTRUCTIONS
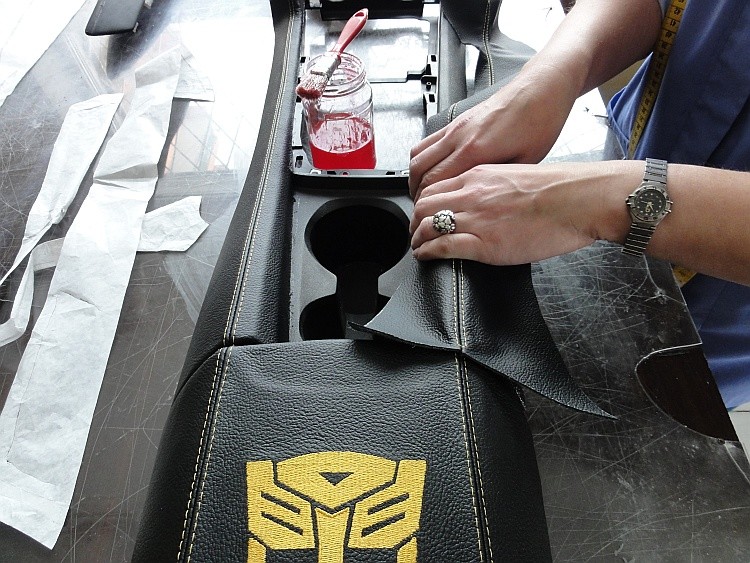
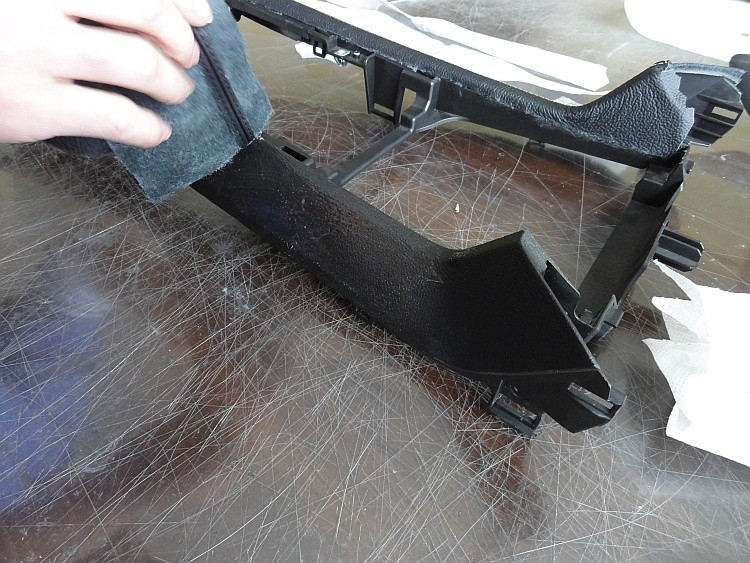
1) Pre-align and test-fit the cover in order to align and the seams properly to the top edges of tunnel sides before you start gluing. This is especially important if you have leather covered armrest lid. The seams on the center tunnel cover are designed to follow the seams on armrest lid cover (regardless whether factory or RedlineGoods one) so aligning them together is a vital part of the process. If you install both covers (center tunnel and armrest lid) at the same time it will be easier because you wcan play with both parts to make the process easier for you.
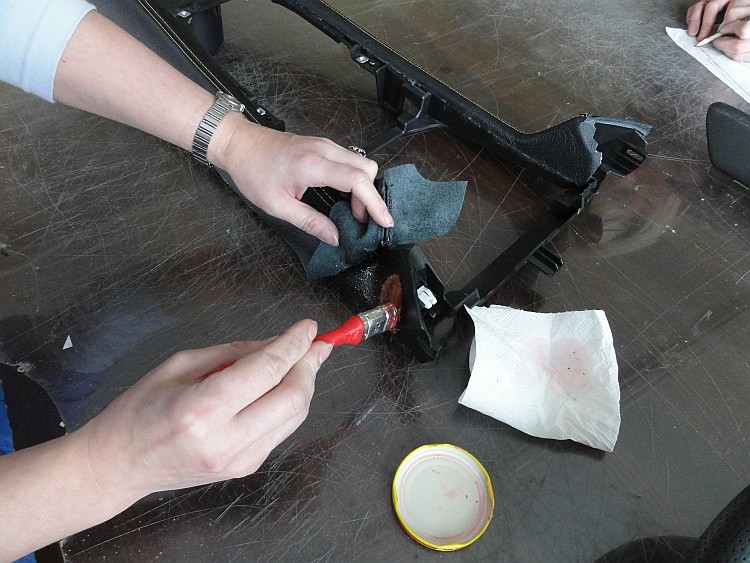
2) Apply glue, first to approx. 1/3 length of the tunnel, starting from the rear part, let it cure a bit and place leather on the tunnel starting from the rear end leaving around 3/4" leather excess towards the back. Align the seam along the narrow flat top part and proceed with pressing the leather against the tunnel towards the front.
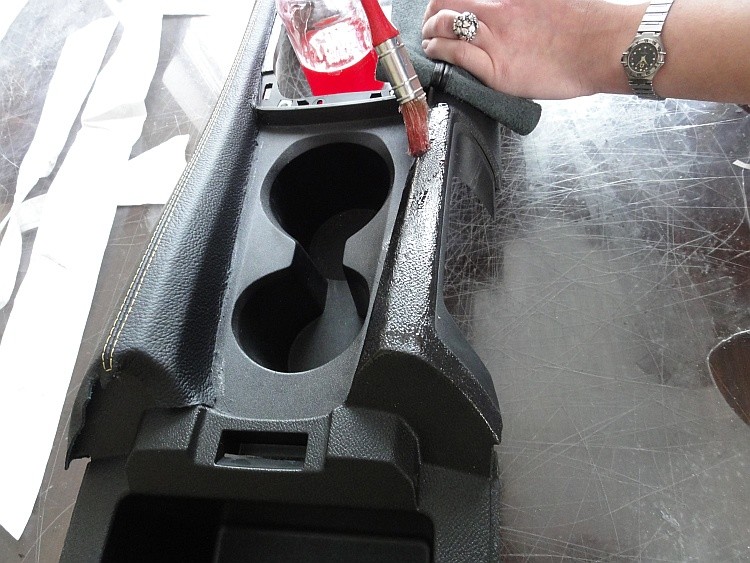
3) Let the glue cure for a few minutes and proceed the same way all the way to the front - you can divide the work in to 3 stages - 1/3 length each stage or once you glue the first 1/3 and you feel confident, you can do the rest at once - all the way to the front end.
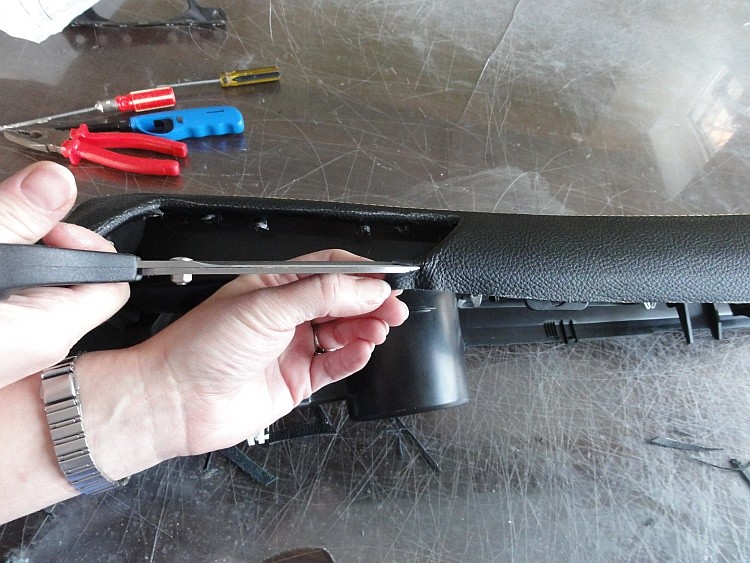
4) At the front end, cut the excess of leather, make a few V-shaped cuts to avoid wrinkles and glue the end of leather to the top front part of the tunnel. You can also not cut the whole excess of leather but only make V-cuts, then fold the leather to the underside of the tunnel and glue it there. This way it will hold better bit as it is not visible after you install the tunnel back in the car you may want to save some time and effort here :-)
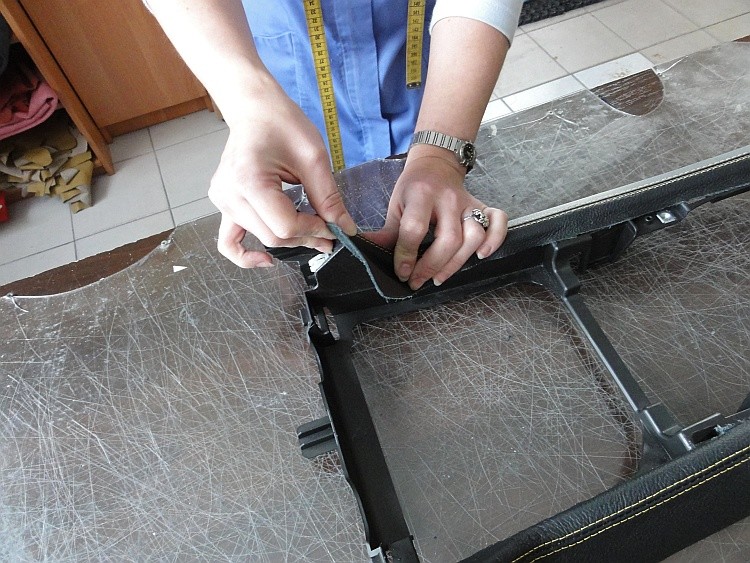
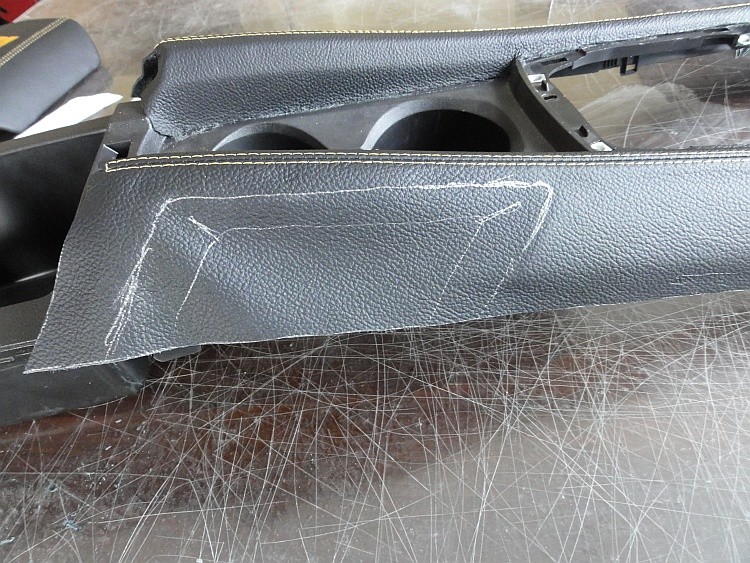
5) Now the tricky part - the ebrake void. It is not pre-cut on our leather cover. For two reasons: firstly - because it is very easy for you to do yourself. And secondly - because leather is a "living" material that has some flexibility and stretch to it. And this flexibility differs between each hide of leather and even in between different areas in the same hide. Therefore even if it come pre-cut, this would only be roughly and you would have to do fine -tuning in this area. So mark the shape of the void and then cut the leather leaving approx. 1/2" excess.
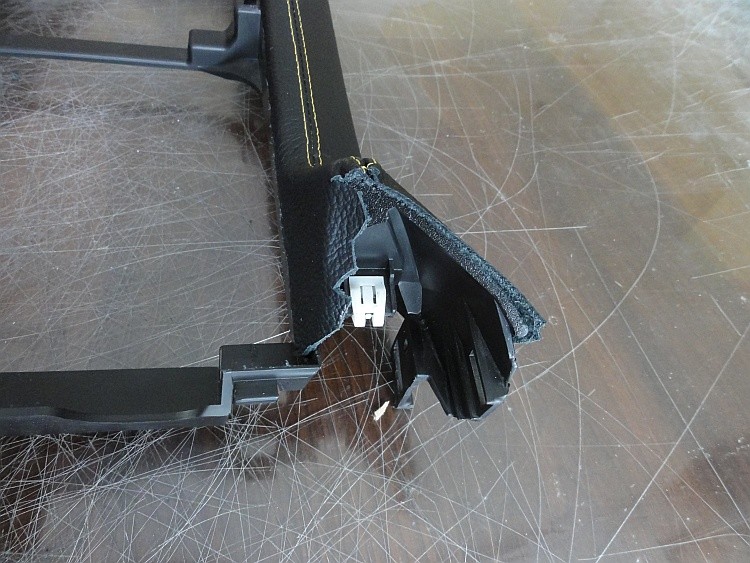
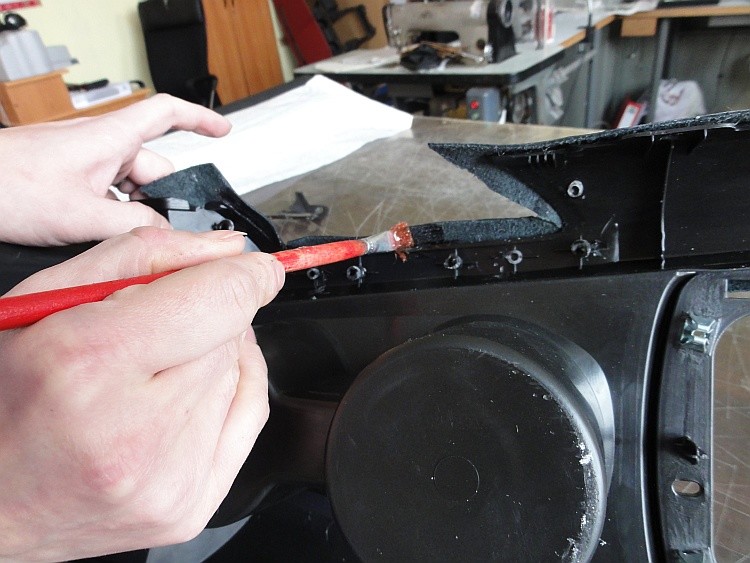
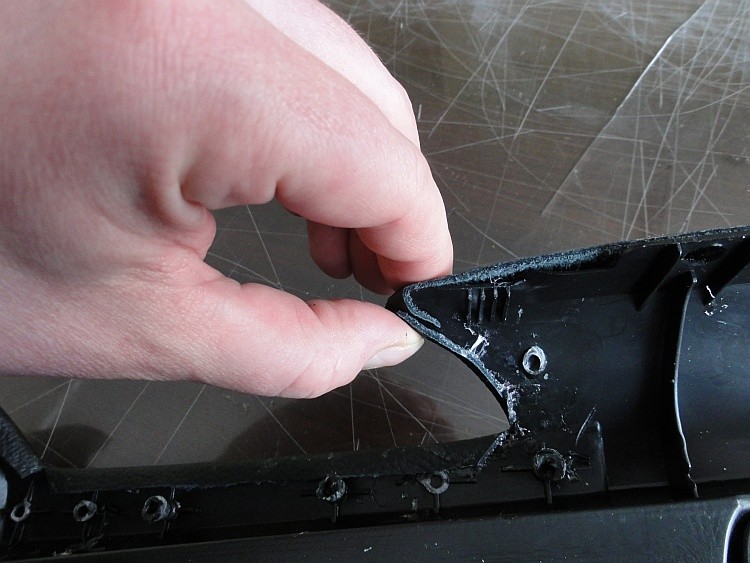
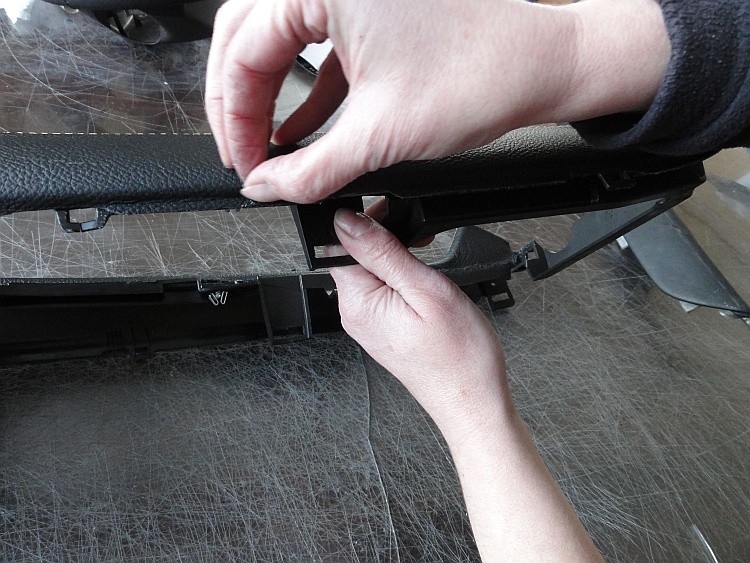
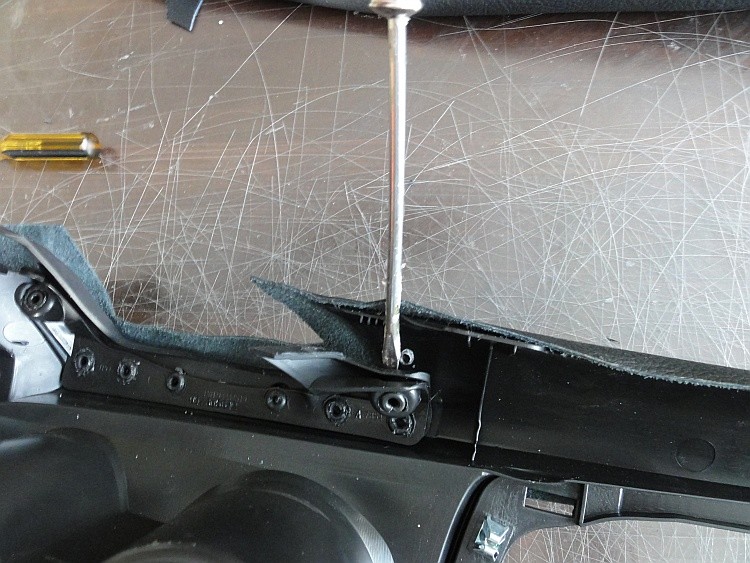
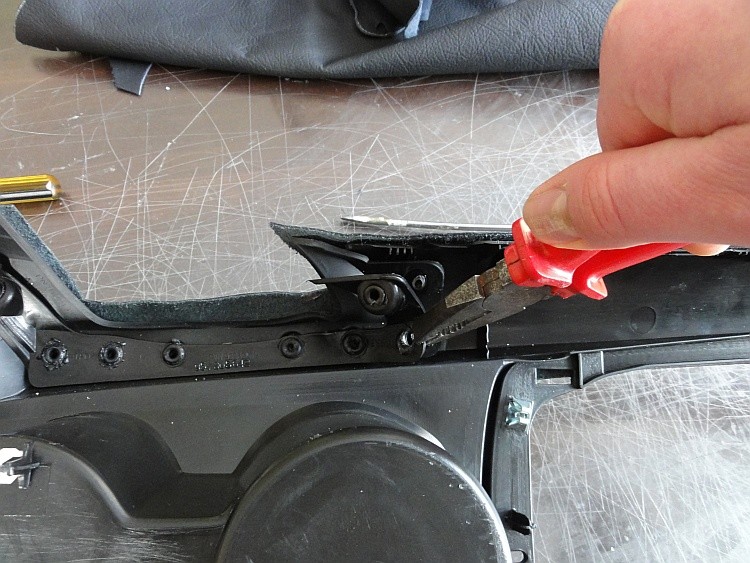
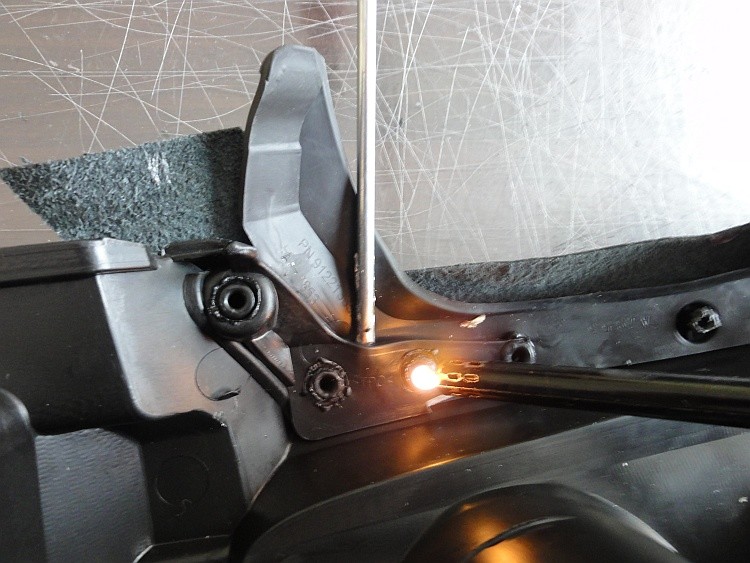
6) Now you need to remove the rubber insert. You can of course do int before you start everything or you can do it now, as you wish. To do it - pry it with the screwdriver around all heat weld spots to break them. It may be difficult so you may find it useful to melt the weld spots to make the process easier.
IMPORTANT: we decided to remove this rubber and do not install it back as we test-fitted ebrake boot as well. You may also decide not to remove it at all - you can glue the leather only to the visible part of tunnel - to the edge where the rubber meets the plastic and trim the leather with X-acto knife along the edge. This way you can save time and effort installing the rubber insert back (you will either have to glue it back or mount with small screws where the weld spots are)


7) Make slanted cuts in both corners of the ebrake void - do not cut too much in order not to make the cuts visible - better cot too little and then extend the cut. Then apply the glue and fold the leather to glue the edges to the underside of the tunnel. Then make cuts at the bottom corners of the void, fold and glue the leather around the corners.
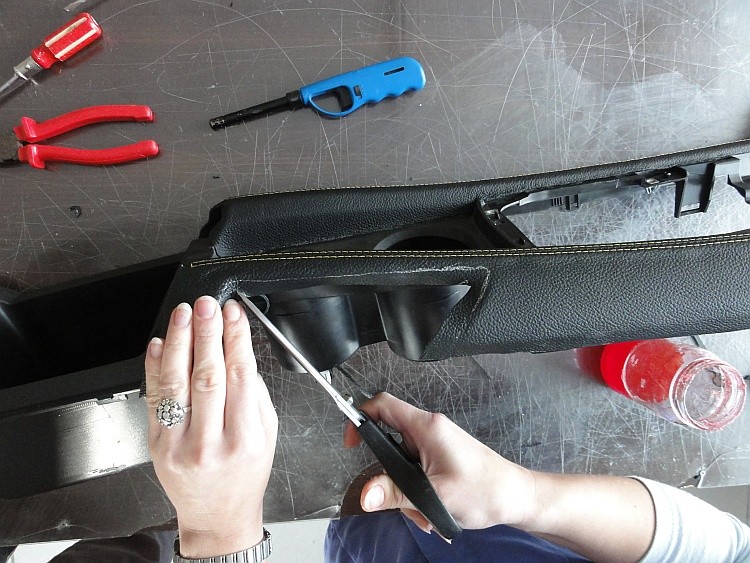
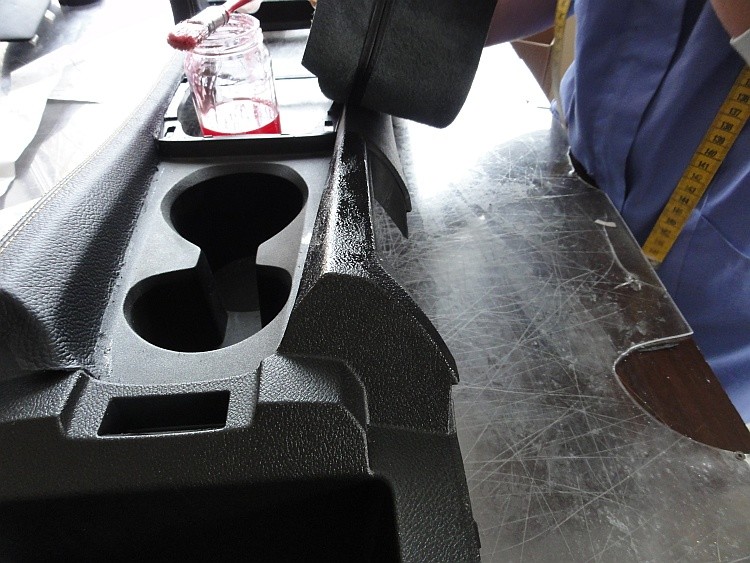
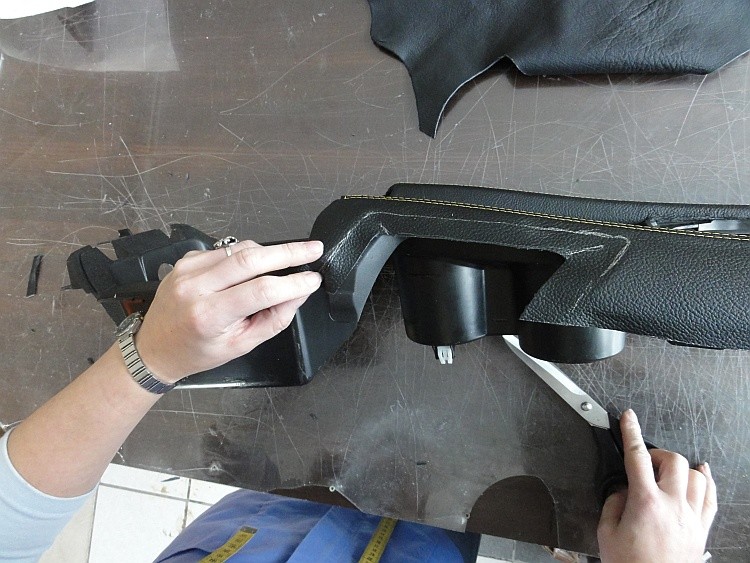
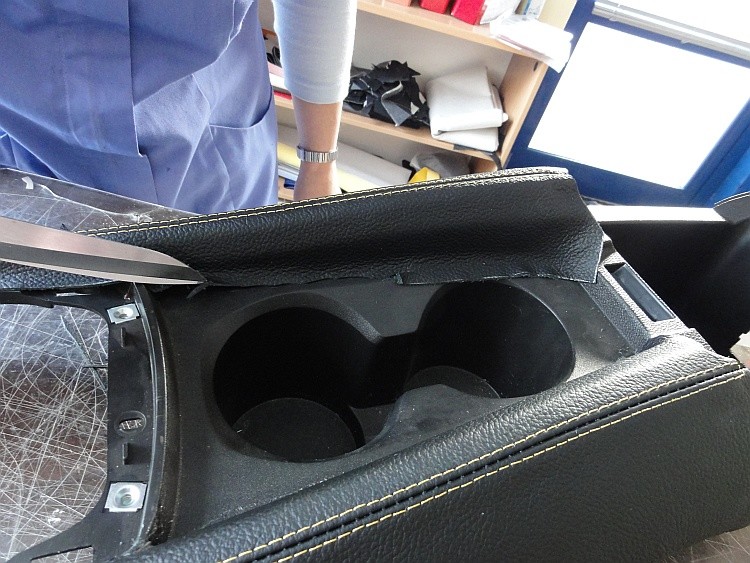
8) Trim the excess of leather along the edges of the cupholder area. You may need to apply some glue when you finish as the edges of leather may come off a bit during cutting.
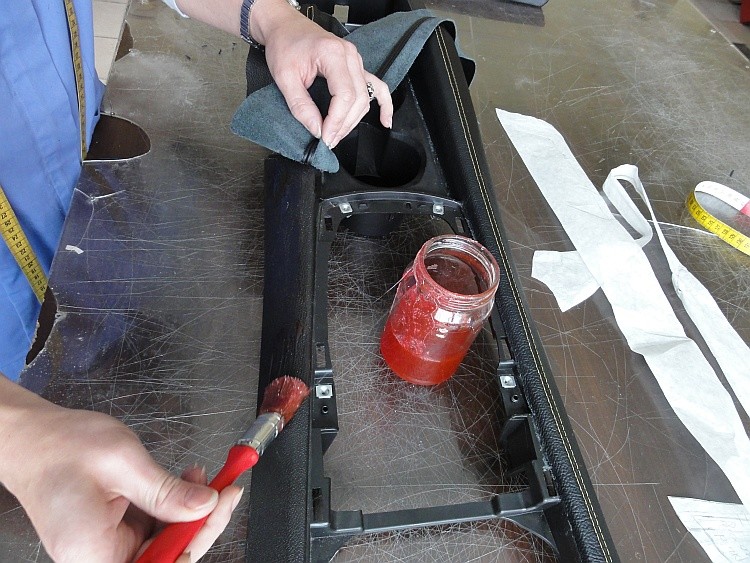
9) And last thing - trim the excess of leather along the bottom edges of the console, put the glue under the leather, let it cure a bit and then press tle leather hard against the inner bottom edge.
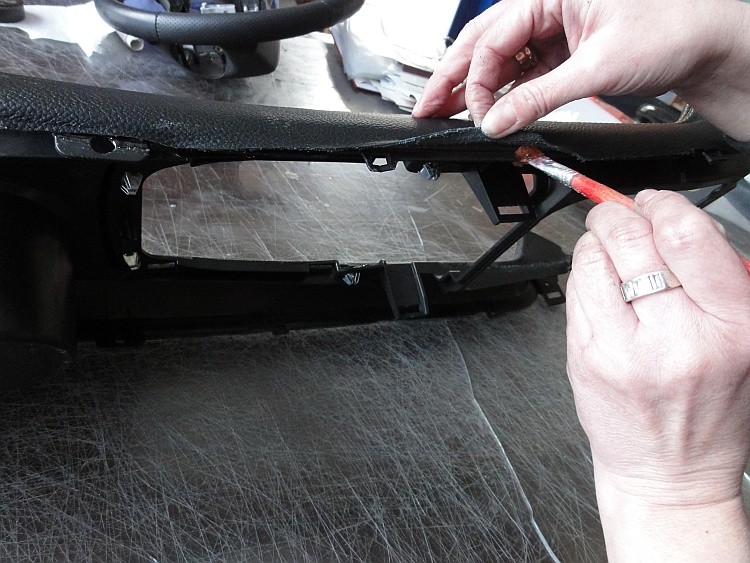
10) Trim the excess of leather along the bottom edge, install the tunnel back in the car
AND ENJOY YOUR NEW LEATHER COVER :-)
Useful tip
You have installed a product made out of genuine leather. As you know, to maintain a leather product in good condition, you should take care of it. We suggest occasionally (every 4-6 week for example) applying some leather conditioner/UV protector to keep your leather from drying up in the sun and cracking.
Redline Automotive Accessories Corp. will not be held liable for any labor, incidental or consequential damages of any kind. Proceed at your own risk.