You must be logged in to rate content!
4 minute read

CAMARO 2010+ DOOR ARMREST AND DOOR INSERT INSTALLATION INSTRUCTIONS
Door armrest installation manual:
1) Remove the armrest from the door panel by unscrewing 4 Torx screws and pulling the armrest upwards
2) Trim the factory vinyl lining along the edge to prepare the space for gluing and make sure that the armrest will not be too big after covering with additional thickness of leather.
DO NOT remove factory lining - it will provide additional comfort for your elbows :-)
3) Glue the cover to the factory vinyl lining - apply the glue to the whole outer surface of factory armrest and put the leather cover onto the armrest applying dome stretch to make the leather lay smoothly and align the seam along the outer edge of armrest.
4) When the glue bonds there, apply the glue to the edges of leather, fold them and glue them to the backside of the armrest. Make some V-shaped cuts around the corners of the armrest to prevent the leather from wrinkling there and make it easier to align the leather there.
5) Install the armrest back into the door panel.
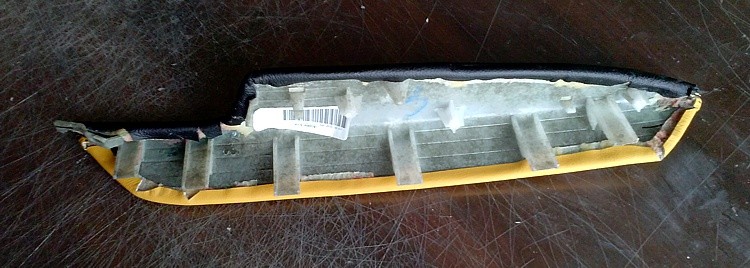
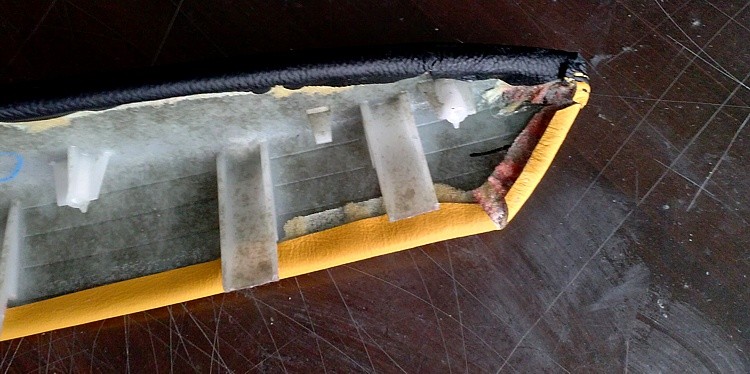
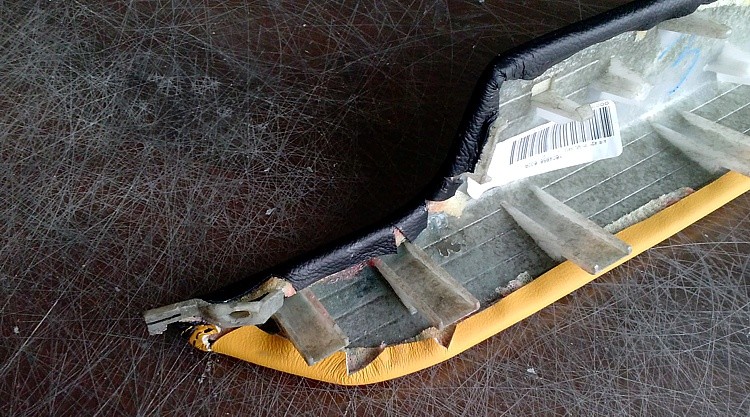
Door insert installation manual:
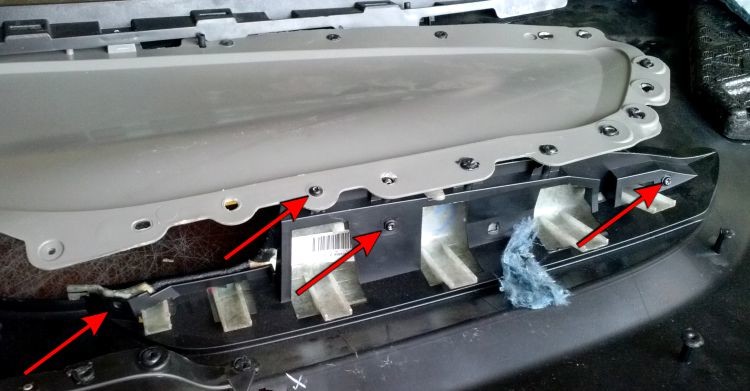
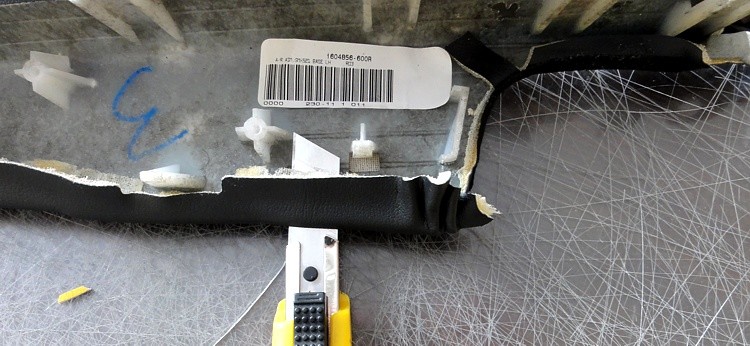
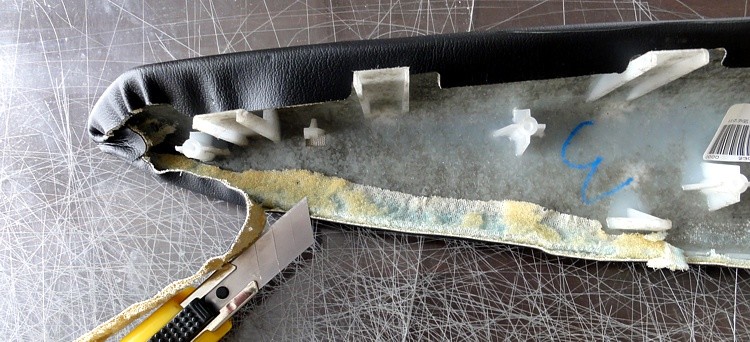
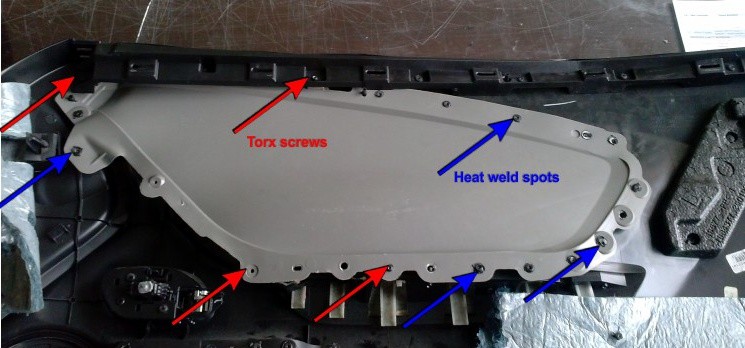
1) Remove the insert from the door panel. You will need to cut all the heat weld spots - X-acto knife works well for this purpose. You will also have to unscrew 4 Torx screws.
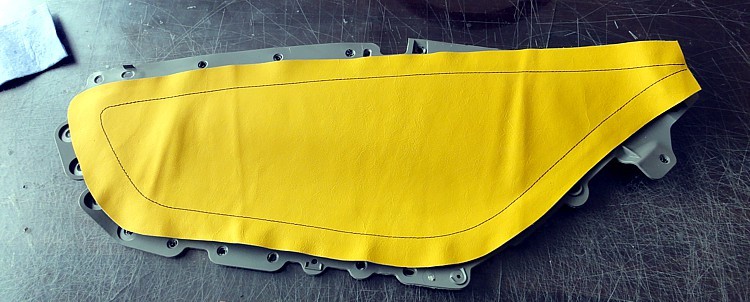
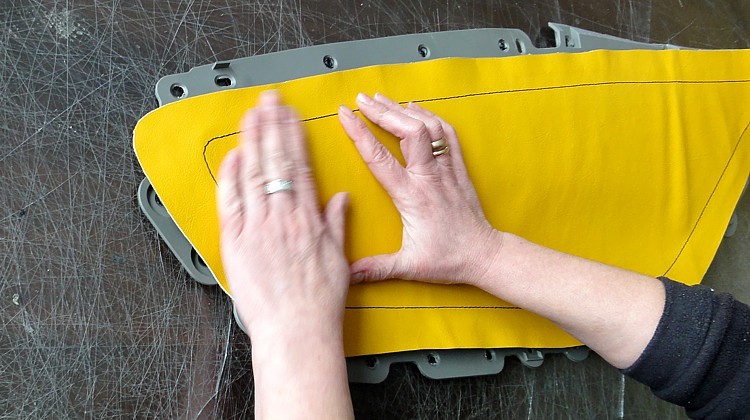
2) With the insert free, test-fit the cover to get the idea how to align it - lay the cover on the insert to make sure the stitching is symmetrically aligned along the outer shape of the insert.
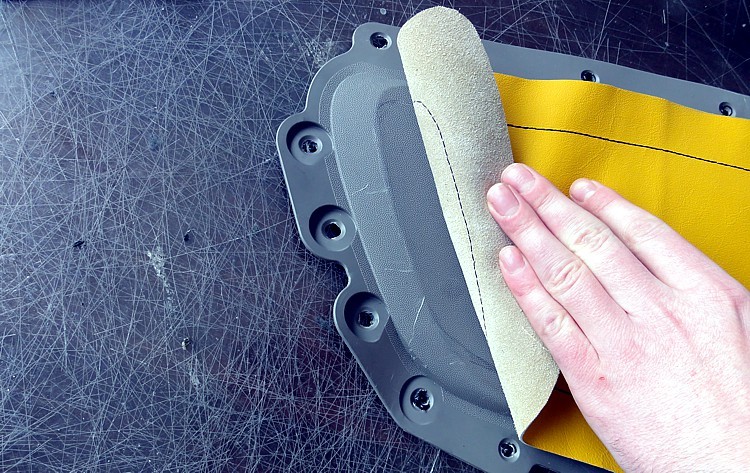
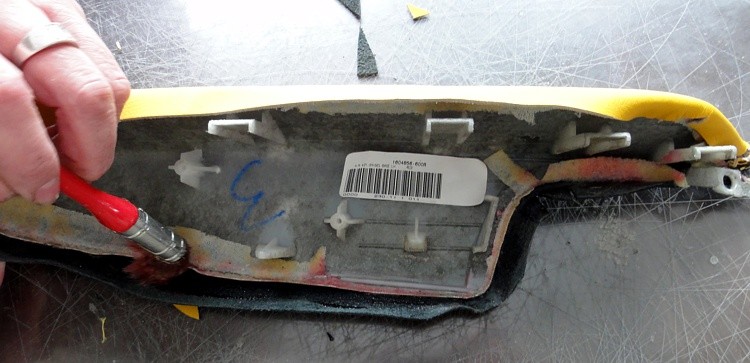
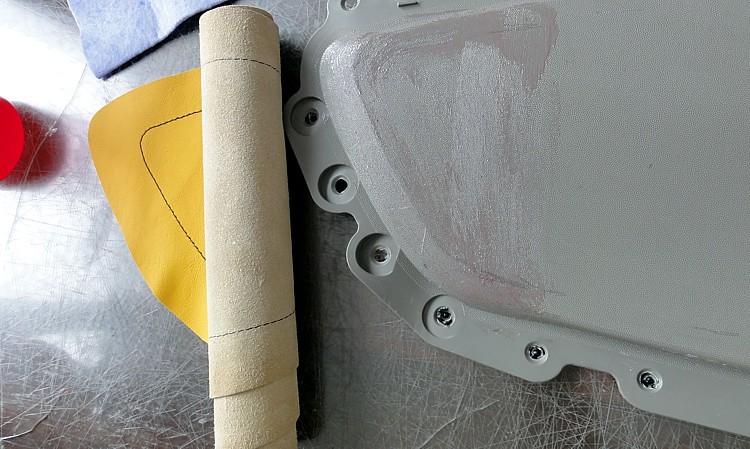
3) Apply the glue gradually to the insert surface - it is best to start with 1/4 of the surface so that it is easier for you to align the cover properly when gluing. Proceed with gluing the leather to the insert towards the front making sure you press the leather strongly against the insert and align the seams.
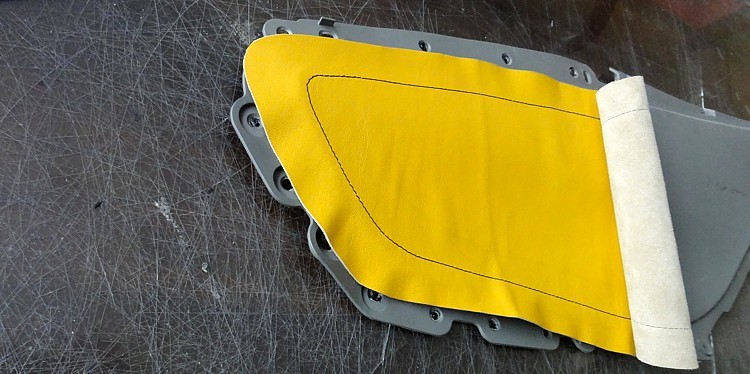
4) When you finish gluing, trim the leather excess along the outer edge leaving approx. 1/8 inch oversize.
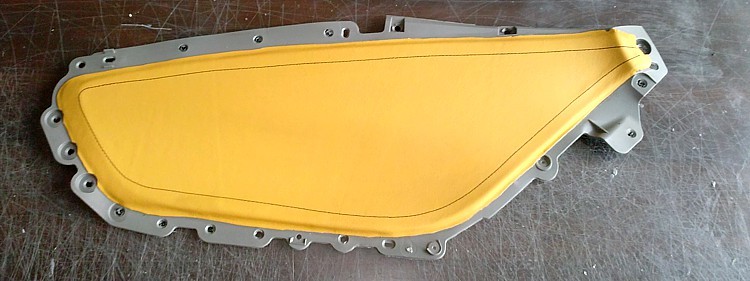
5) Install the cover back into the door panel - use some glue where there are no Torx screws. It would also be a good idea to use a few 3/8" long screws for plastic fastening where the weld spots were - these will ensure that the insert will not come loose in te future.
ENJOY YOUR NEW LEATHER INTERIOR UPGRADE :-)
Useful tip
You have installed a product made out of genuine leather. As you know, to maintain a leather product in good condition, you should take care of it. We suggest occasionally (every 4-6 week for example) applying some leather conditioner/UV protector to keep your leather from drying up in the sun and cracking.
Redline Automotive Accessories Corp. will not be held liable for any labor, incidental or consequential damages of any kind. Proceed at your own risk.