You must be logged in to rate content!
3 minute read

Center armrest cover installation Camaro 10-15
1. Open the arm rest compartment and locate the 8 retaining screws.
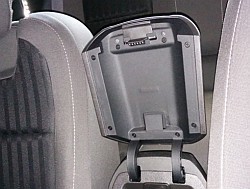
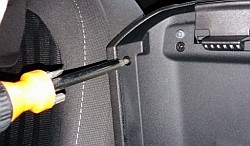
2. Remove the 8 retaining screws from the arm rest.
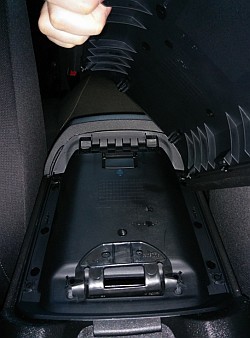
3. Remove the top section of the arm rest cover from the console. If all the screws have been removed, the piece should come right off without having to apply any force.
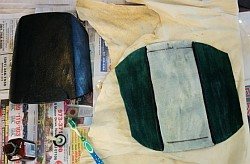
4. Thoroughly clean the surface of your arm rest before applying any adhesive. If your original cover already has a leather wrap, it will have to be removed before any other step is taken.
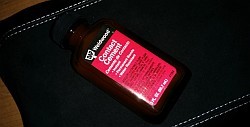
5. Once all the measurements have been confirmed, apply adhesive to both the arm rest and the leather. I used Weldwood contact cement to attain a strong bond.
6. Adhere the leather to the arm rest, starting from the center and working your way outward towards the sides of the arm rest.
7. Once the leather has been completely wrapped around the arm rest and the adhesive has fully dried, install the arm rest back on vehicle by repeating steps 3 through 1.
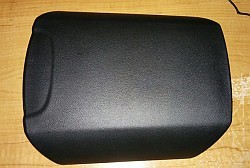
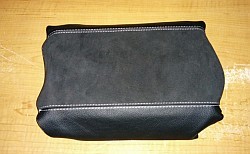
The final result should look something like this.
ENJOY YOUR NEW LEATHERS!
Useful tip
You have installed a product made out of genuine leather. As you know, to maintain a leather product in good condition, you should take care of it. We suggest occasionally (every 4-6 week for example) applying some leather conditioner/UV protector to keep your leather from drying up in the sun and cracking.
Redline Automotive Accessories Corp. will not be held liable for any labor, incidental or consequential damages of any kind. Proceed at your own risk.