You must be logged in to rate content!
5 minute read

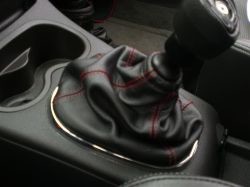
CHEVROLET COBALT/PONTIAC 5 05-07 SHIFT BOOT INSTALLATION INSTRUCTIONS
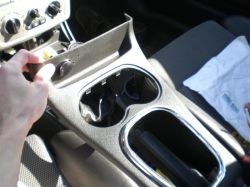
1. Remove plastic bezel that surrounds e-brake by pulling up on the sides gently.
2. Then lift up on the bezel that surrounds the shifter but do not remove. (It was easier for me to also remove the cupholder to help get under it.

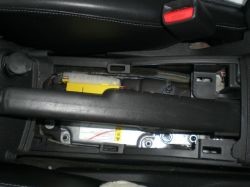
3. Once the bezel is loose, you must disconnect the electrical connectors to the accessory input by the e-brake and the cigarette lighter by pushing down on the clips and pulling out at the same time.

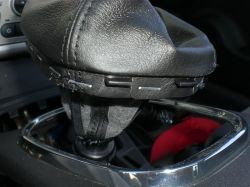
4. Now disconnect the shift boot from the surrounding bezel by reaching under and pushing inward on the clips on the dash-end of the boot and upward to release. Then lightly pull toward the dash and work the boot loose but do not attempt to remove the boot entirely.
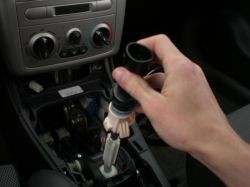
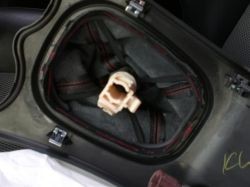
5. Now remove the bezel surrounding the shift boot. You may need to maneuver the shift boot to slip through the hole in the bezel.
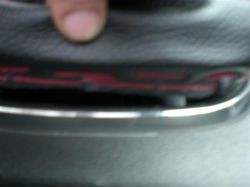
6. Now place the shifter in 4th gear and remove the silver shift knob plastic to reveal a T20 Torx screw. Be careful not to break the plastic tabs that hold down the plastic piece or you will have to find another way to reapply the plastic to the shift knob. Remove the screw.
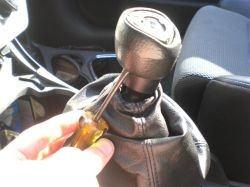
7. To remove the shift knob, insert two flat head screwdrivers of medium size into opposite ends in the bottom of the shift knob and pry it upwards and off. A good amount of force must be used, and any grinding/cracking sound is most likely the screwdrivers slipping against the grooves on the metal of shifter. Alternate positions if its giving you trouble.
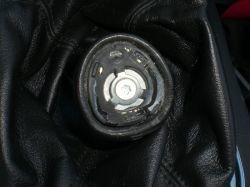
8. Once the shift knob is off, remove the spring/spring foam & the old shift boot. The plastic piece on the shifter will come off as well.
9. Notice the staples on the base of the old shift boot that secure it to the plastic boot bracket. Remove the staples by prying them out with a flathead screwdriver.
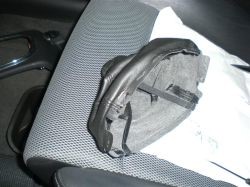
10. Once they are all off and the old boot removed from the bracket, place the new boot over the bracket and align the boot correctly with the clips. You may need to trim the boot a little to make it fit perfectly. If you chose leather for your boot, you might need to skive the bottom of the leather so it has a better change of fitting between the boot bracket and the bezel. It is easiest dane with coarse sandpaper. Make sure to file down from the inside of leather.
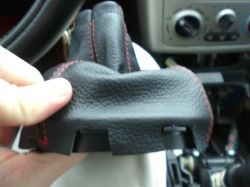
11. To secure the boot to the boot bracket, you can staple or replace factory staples, or glue.
If you decide to staple, when stapling the leather to the plastic ring, it must be stapled as close to bottom of ring as possible, or the ring will not push down all the way due to the leather blocking it from doing so. Stapling it further down allows leather to form around the upper lip of the ring properly.
12. Now install the boot/boot bracket into the bezel and slide the plastic through the boot. Be sure to align the boot neck into the groove on the plastic piece.
You might find that due to thickness of leather this will prove difficult. Here is a tip to consider, albeit at your own risk. The little tabs on the front of trim that will ultimately hold the plastic bracket need to be cut off or the tabs on the ring will not be able to clip onto the trim. Cutting them off allows the tabs to clip onto the edge of the trim.
13. Put the bezel back into place and reconnect the two electrical connectors and push the bezel in to secure it.
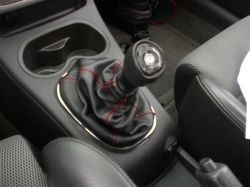
14. Mount the spring/foam back on the shifter and reseat the knob. It may take a little force but you’ll get it done. Tighten the torx screw, and reapply the silver cap. Done!