You must be logged in to rate content!
5 minute read

2008+ HHR SHIFT BOOT INSTALLATION INSTRUCTIONS
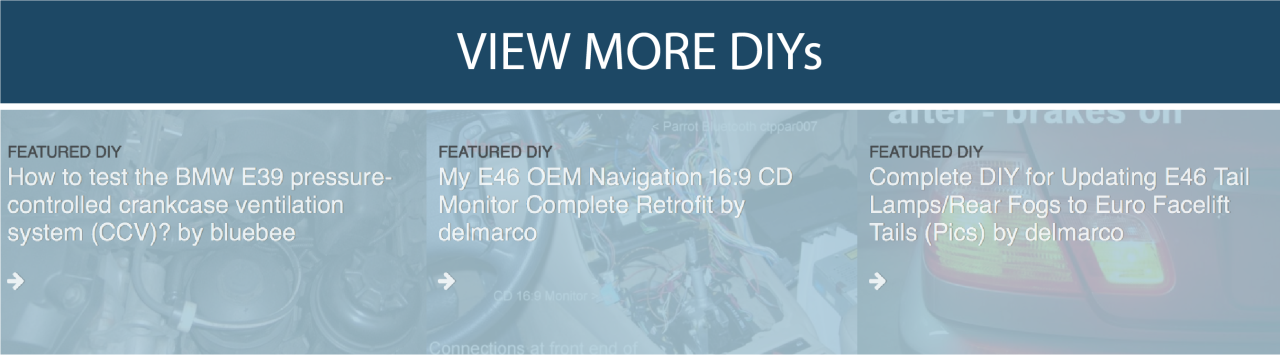
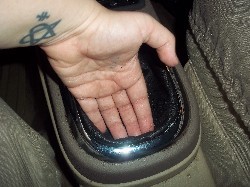
1. To remove stock shifter boot, grab the top of the boot, just below the shift knob and twist 1/2 to 1/4 to the left or towards the drivers seat while gently pulling down.
2. This should release the boot from the clip that attaches it to the shifter knob unit.
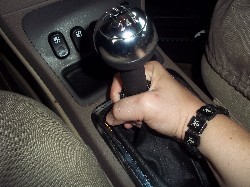
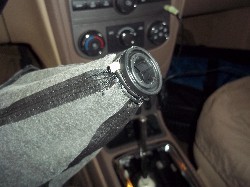
3. Using a flathead screwdriver, gently pry the plastic clips from their groove. What you want to try and do is get them to separate just enough to pull the knob off. Grab the knob and pull it up with a bit of force. It should come straight off.
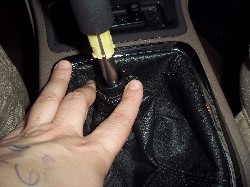
4. Place your fingers on the rear lip of the boot and pull up to loosen. Then, pull back to release it from the base.
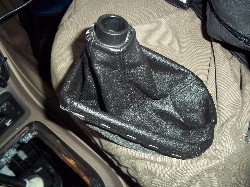
5. Pull the boot up and off the gear shift. What you should have then is the exposed gear shift box. And a separate shift boot assembly. :)
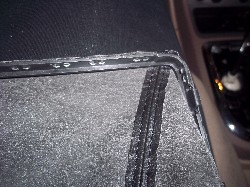
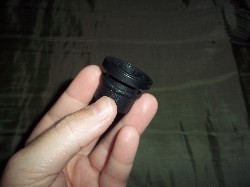
6. Put the boot inside out to expose the plastic O-Ring device on the top. Using a knife or a scissor carefully cut off the tiewrap that secures the boot to the ring. WARNING: Do not discard, you will need this for installation of new boot!!
7. Take the boot and carefully remove the staples on the base with the use of a small flathead screwdriver and pliers. (Note: If you are fond of keeping OEM parts, patience is key as this material can damage pretty easily.) WARNING: Do not discard, you will need this for installation of new boot!!
8. Observe the orientation of the collar.
9. Time to put on the new boot. :)

10. Take the O ring and feed it through the bottom of the boot pushing it up until it falls into the groove at the top of the O-Ring. It should fit snuggly.
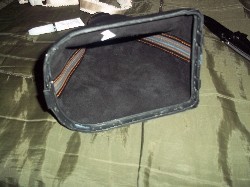
11. Grab the base and the boot. For this step you can use varying methods to attach the boot. I used an adhesive or glue that would not damage the leather nor the base.

12. Others have sewn the boot into place using the holes that were left from the original staples. Some others will try to use the original stapes or re-staple the boot. Note: The way that the boot attaches to the base is how it will look in the vehicle. The front of the base is the part with the two tabs. If ordering a boot with stripes, make sure you attach it to the base accordingly.
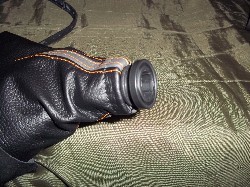
13.Slip the boot and base over the shift stick, feeding the stick through the ORing. (It is easier if you put you put your car in neutral.) Lift the boot up slightly from behind and, using your other hand, guide the two tabs of the base into their grooves that face the front of the vehicle.
14. Then snap the rear part of the base into place. It should give you a nice and snug fit.
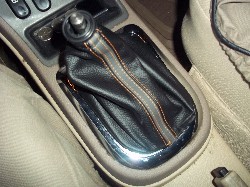
15. Slide on your shifter knob and then, while holding the top part of the boot, work the O-ring onto the grooves of the shifter knob attachment and twist 1/2 to 1/4 to the right or towards the passenger’s seat.
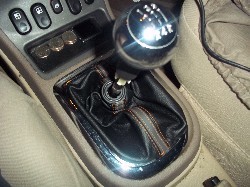
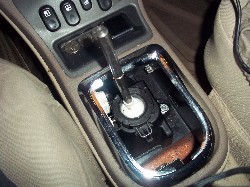
CONGRATULATIONS - YOU HAVE SUCCESSFULLY INSTALLED YOUR NEW LEATHER BOOTS!
Useful tip
You have installed a product made out of genuine leather. As you know, to maintain a leather product in good condition, you should take care of it. We suggest occasionally (every 4-6 week for example) applying some leather conditioner/UV protector to keep your leather from drying up in the sun and cracking.
Redline Automotive Accessories Corp. will not be held liable for any labor, incidental or consequential damages of any kind. Proceed at your own risk.