You must be logged in to rate content!
17 minute read

97-04 CORVETTE (C5) DOOR PANEL INSTALLATION INSTRUCTIONS
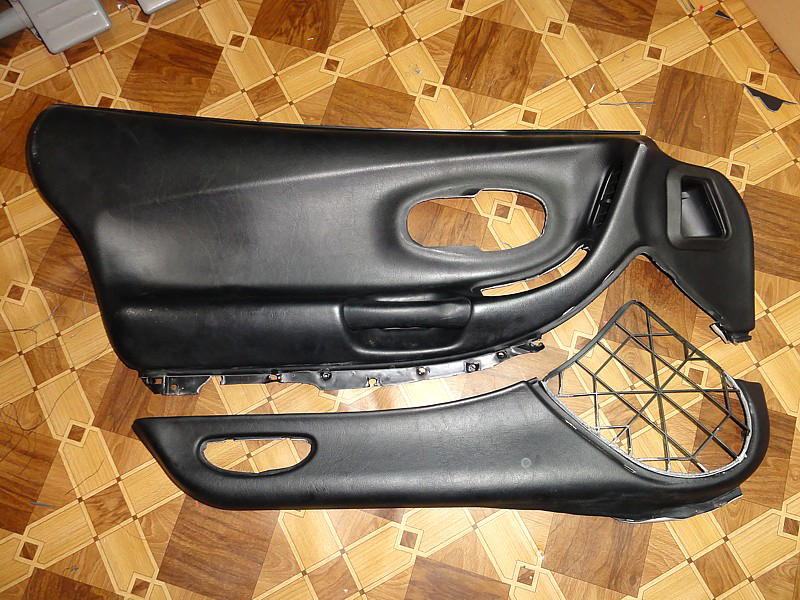
1) Remove door panel from the car.
In order to do so, unscrew two Torx 30 screws underneath door pull. They are hidden under a small plastic piece you need to pry with a small flat head screwdriver.
Then, pull door opening handle to 'open' position and you'll see a small void in the bottom part of the bezel surrounding the handle. Insert a flat screwdriver there and push the bezel towards the inside of the car.
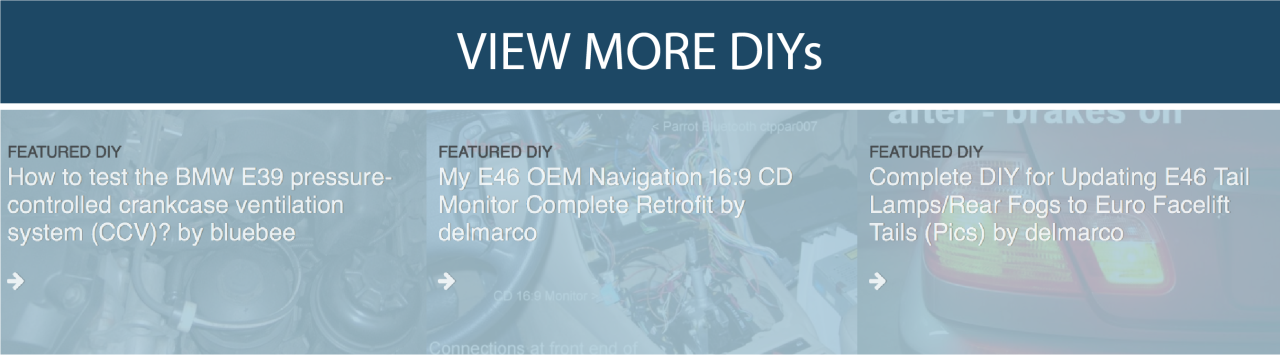
Then, release the door panel from 6 pins holding it to the door - there are 4 of them along the bottom edge of the panel , one in the top part of the front edge and one about the middle of the rear edge of the door. Wrap flat head screwdriver in a some thick cloth to prevent from scratching the door or the panel and pry the panel around all those areas.
Once you have all the pins released, grab the door pull and lift the door panel upwards to release it from the ledge that goes along the top of the door. Once you do it, there's only one thing you need to do - unplug the window switch. And you have the panel fully separated from the door and can take it to a more comfortable workplace.
2) Separate the panel into two parts
Depending of your plans, skills and expectations, you may consider separating the panel into two parts - main (upper) and lower. This is not necessary but makes the wrapping process easier (even though it will be quite difficult to put the panel back together after you finish wrapping) and the final result better.
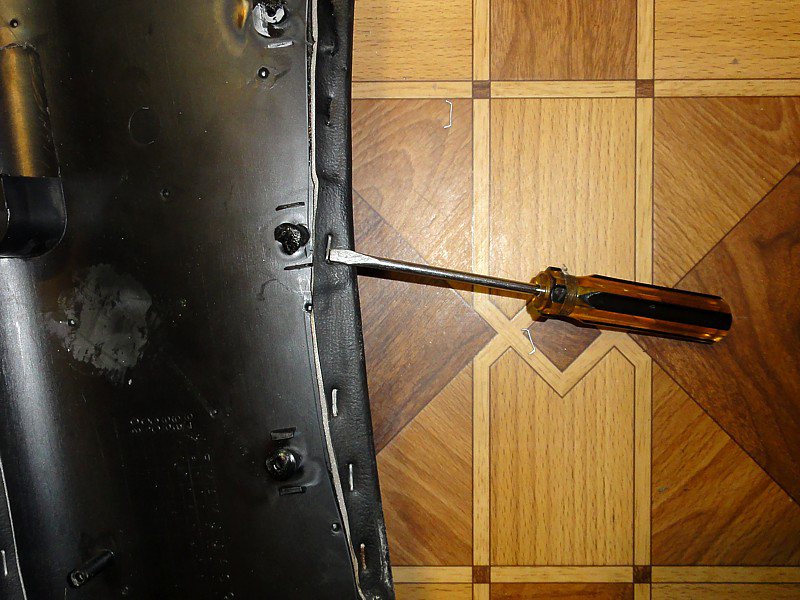
Before you start, remove the speaker cover. It's mounted by 8 metal tabs bent in the inside of the panel. Just straighten them with a screwdriver or pliers and pull the cover out.
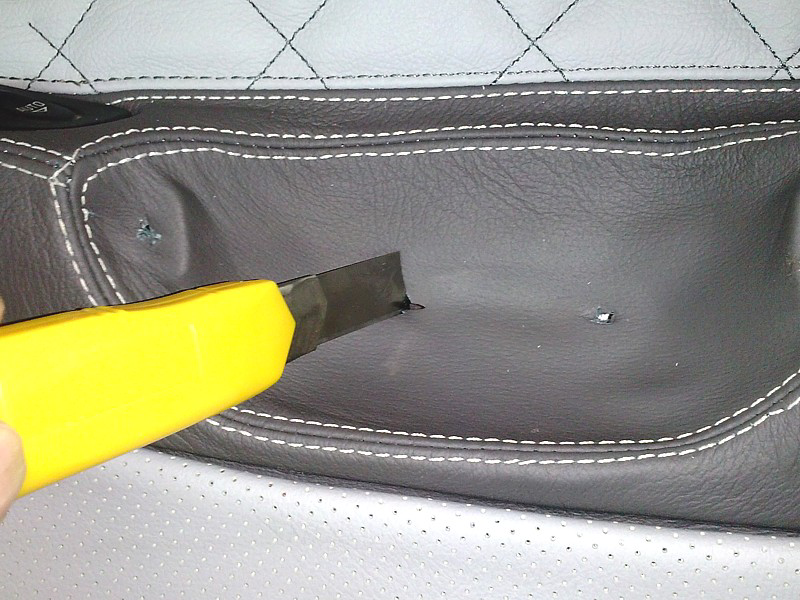
In order to do it, you need to remove hundreds of staples all around the panel. Pry them with a medium size flat head screwdriver and pull with some pliers.
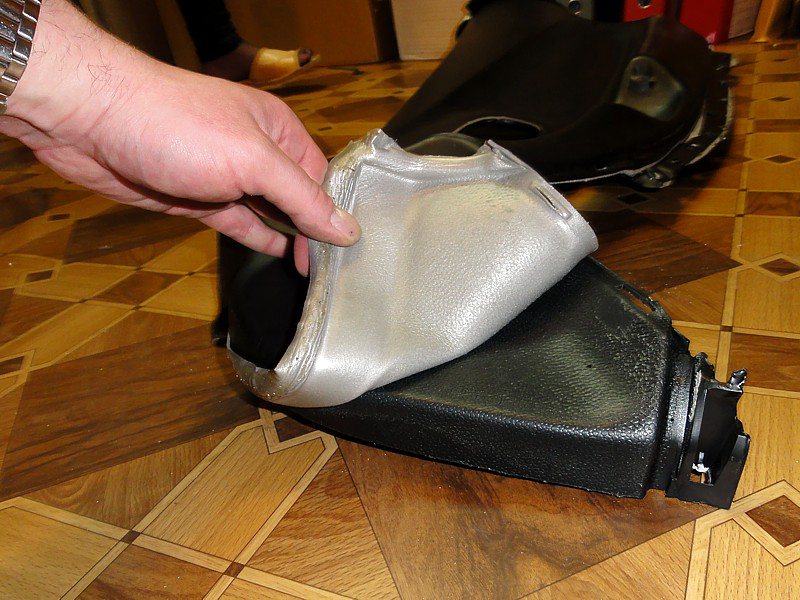
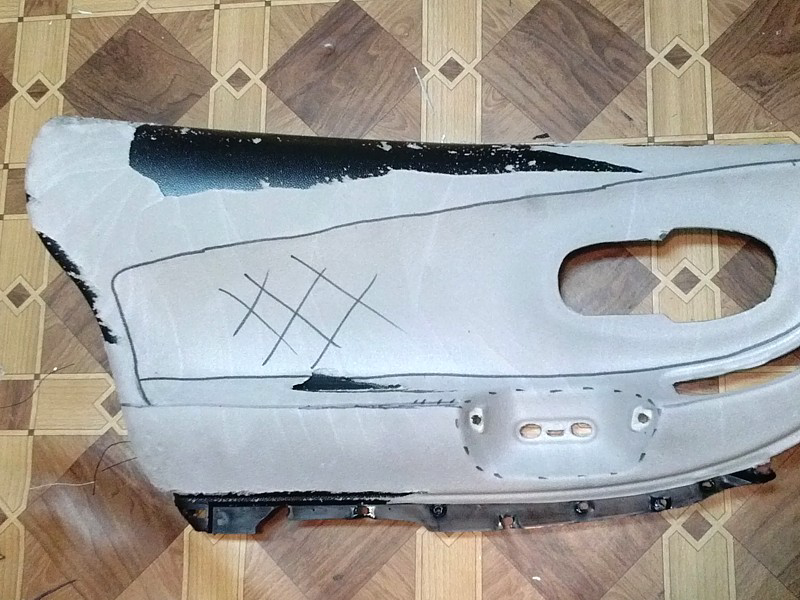
After you have all of the staples removed remove the vinyl. Starting from one of the edges lift it slowly and gradually trying to avoid separating the vinyl from backing foam. If you see that the foam is separating from the vinyl and sticks to the panel, try to undercut it with an X-acto knife so that you remove the foam together with the vinyl. You can try to heat the foam with hot air gun but be careful not to heat the panel too much as it may get deformed. Once you get a firm grip of the vinyl with the foam, slowly and gradually pull it off the panel.
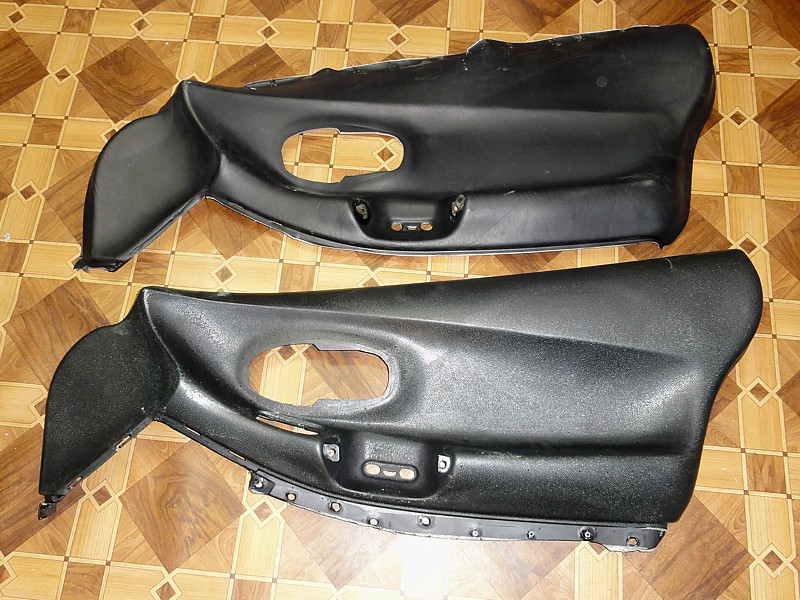
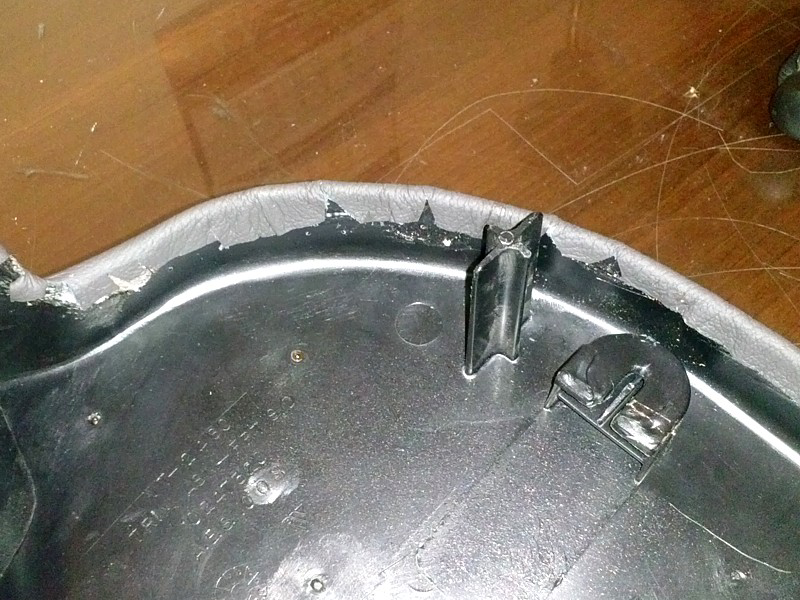
After removing factory vinyl your door panel should look like this:
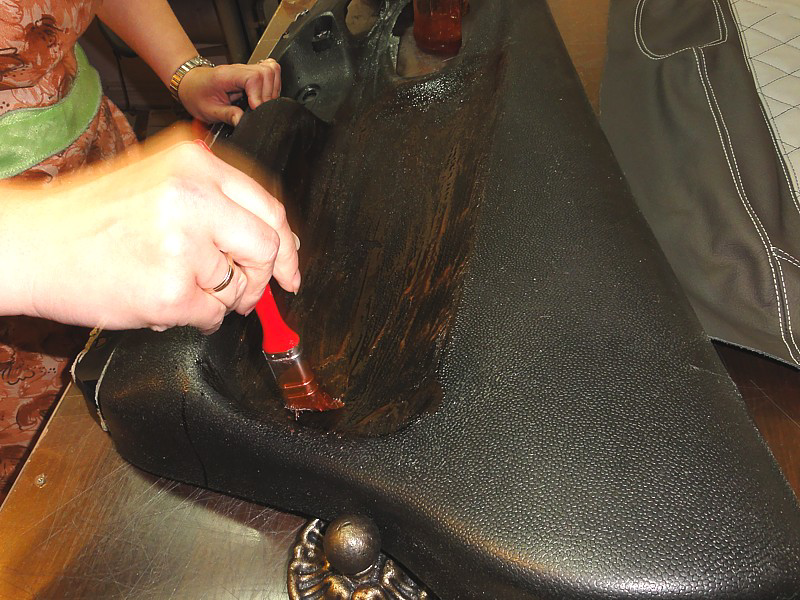
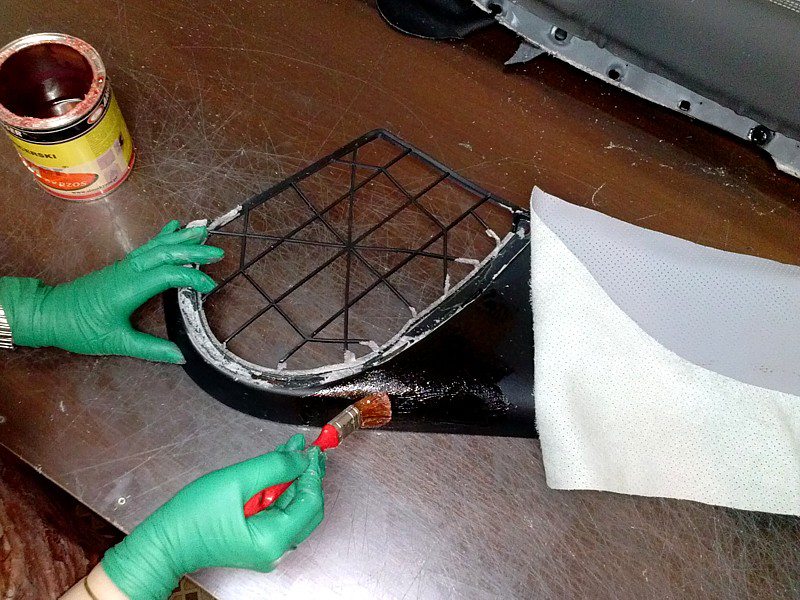
4) Glue the cover to the door panel
At this stage it would be wise to have an extra pair of hands. You'll have to apply the glue to quite big areas of door panel and his extra pair of hands will be necessary to prevent the cover from uncontrolled falling onto the glued areas forcing you to make numerous corrections that may spoil the final effect.
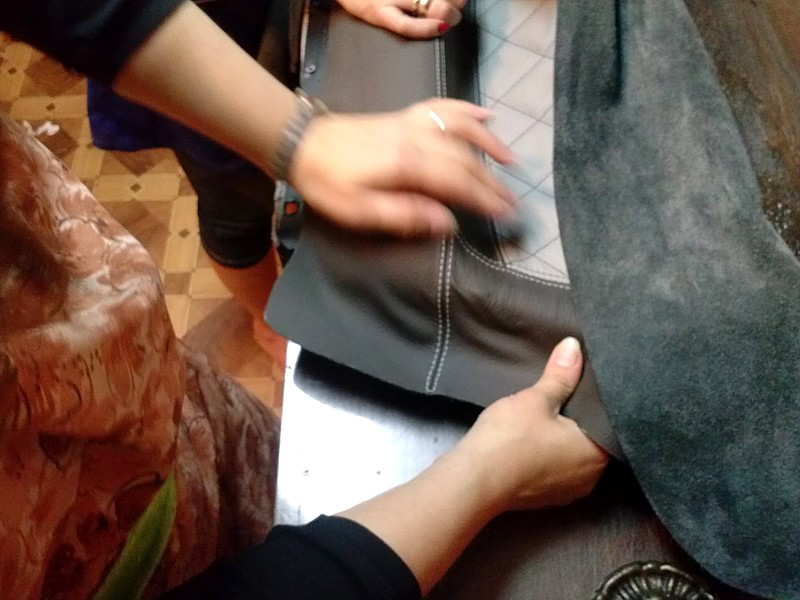
First of all do a dry-fitting to find the areas where you will see you will have to pay a bit more attention to fitting and alignment of the cover. Once you do that, apply the glue to the first part of the door panel you will be working with. We suggest it should be rear half of the armrest and the area above it (where the pleated part goes). In the photo you will see that the glue is applied to bigger area - including the area above pleated part - but this turned out not best way to go.
So now - apply the glue to the area described above, allow it to dry a bit (2 minutes is more than enough) and lay the leather cover onto armrest area first.
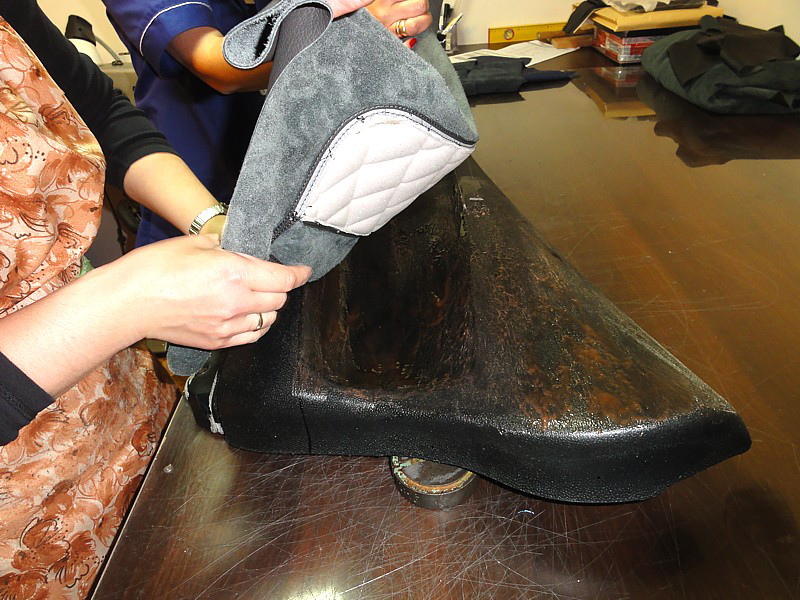
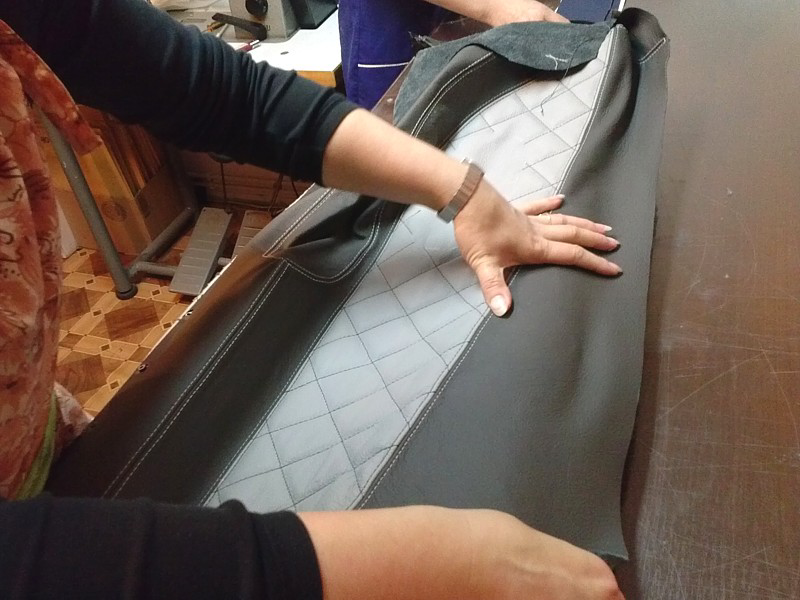
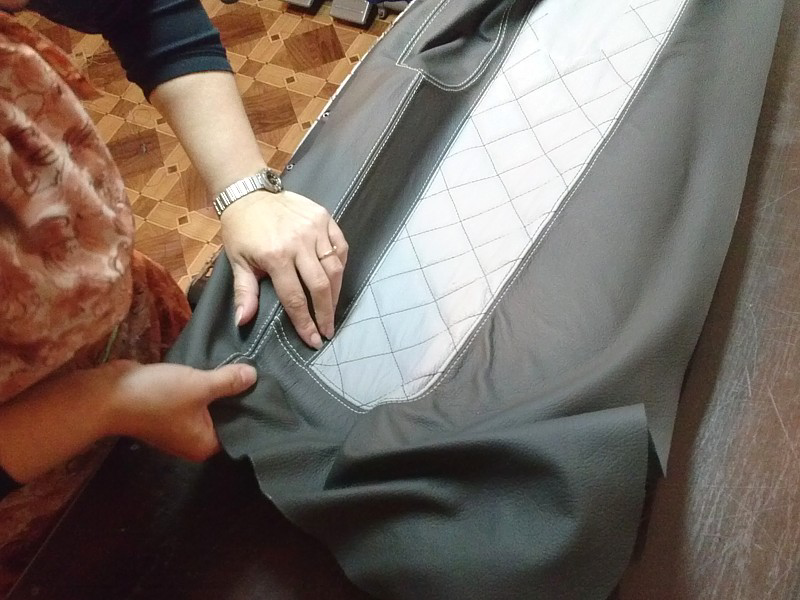
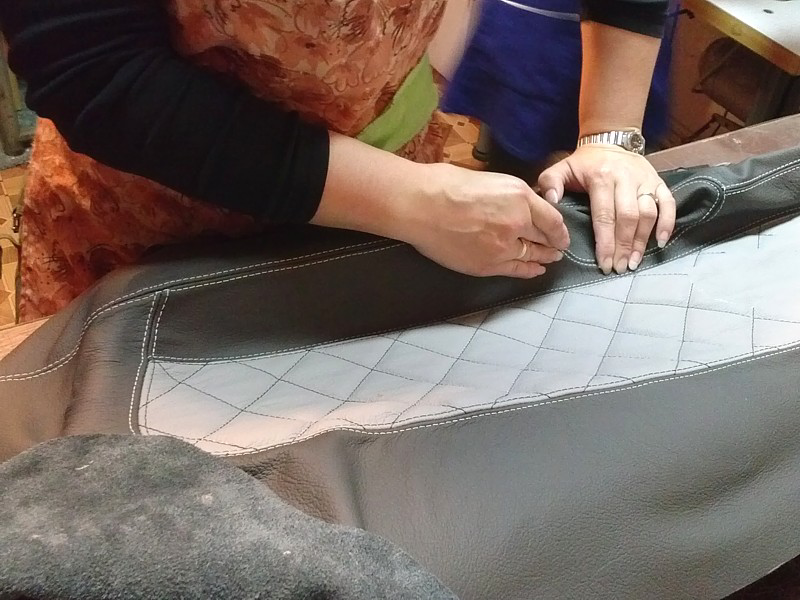
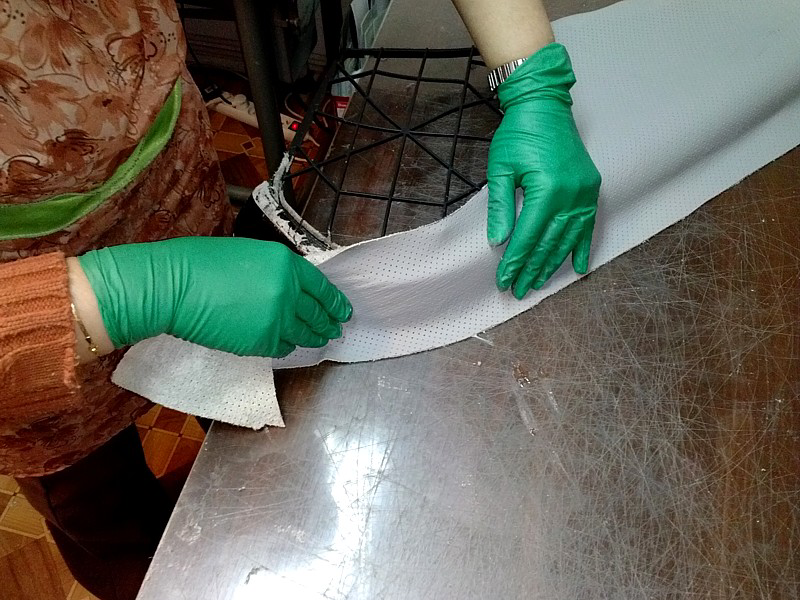
Now you can proceed to the front half of the panel, starting from the pleated part and armrest part as before. And then, just like before, align the cover to the edges of the armrest part and the top edge of the pleated part.

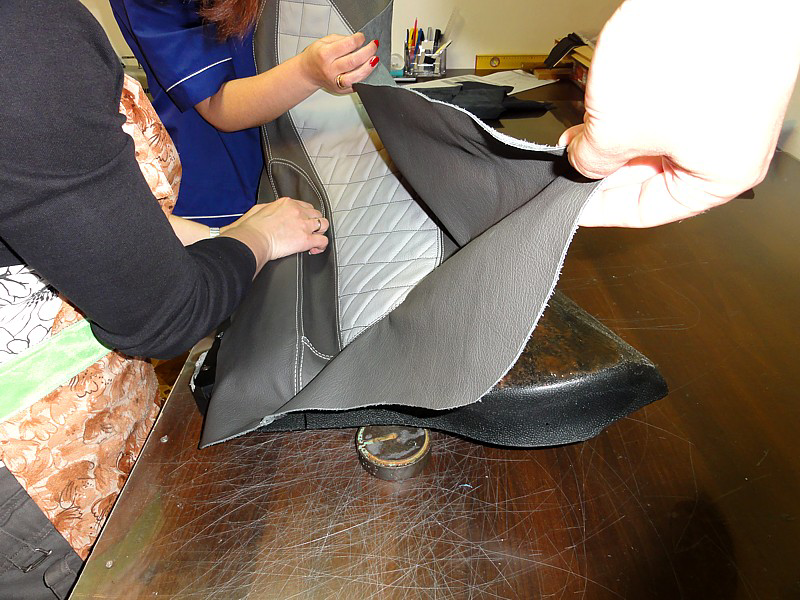
On this stage, as thee leather is stretched a bit you may want to apply the glue to the lower part of the panel to make the leather cover lay properly - this way you'll be able to align the outer seam properly - just align the seam after you glue the part where the window switches go and press the leather starting from the seam downwards. At the same align the stitching of the front part of the door pull hollow and glue firmly the inner seam of the hollow.


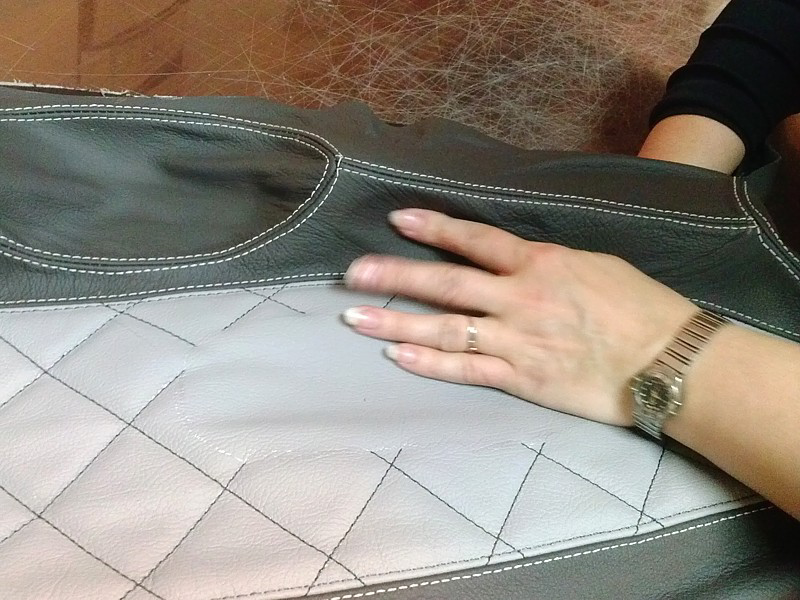
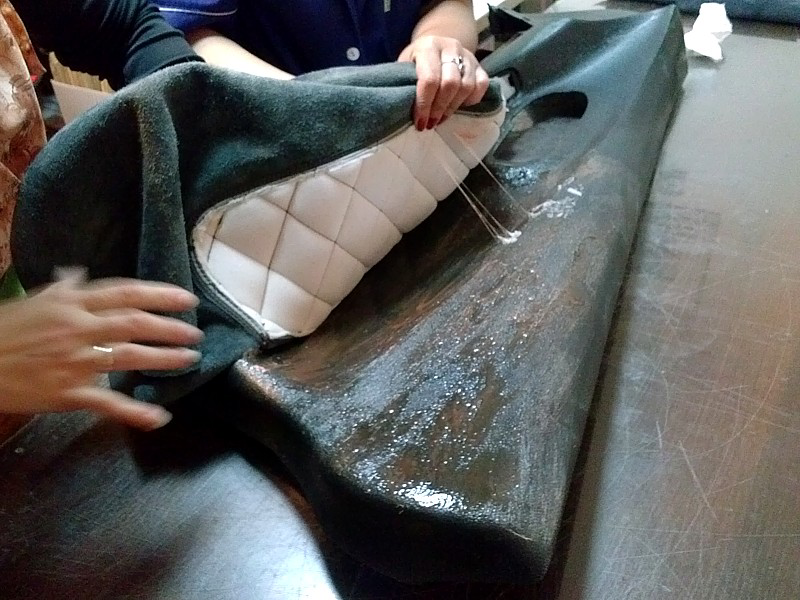
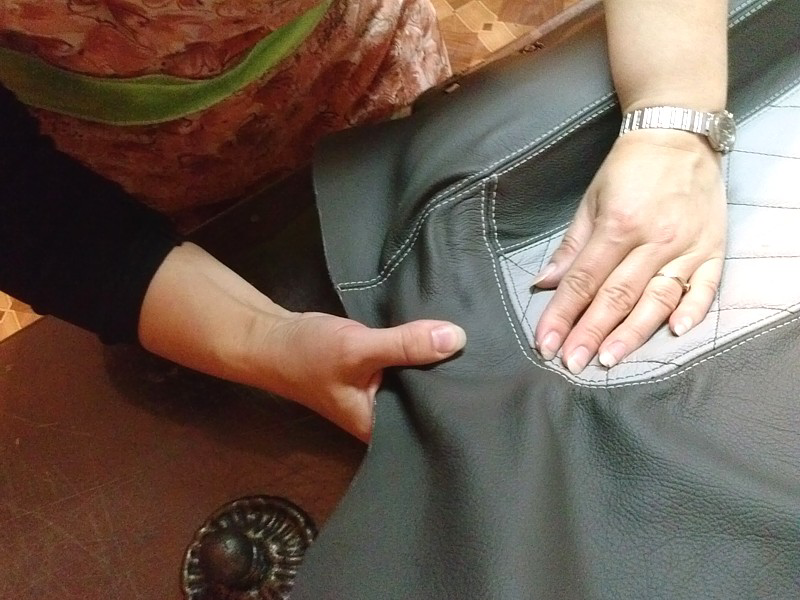
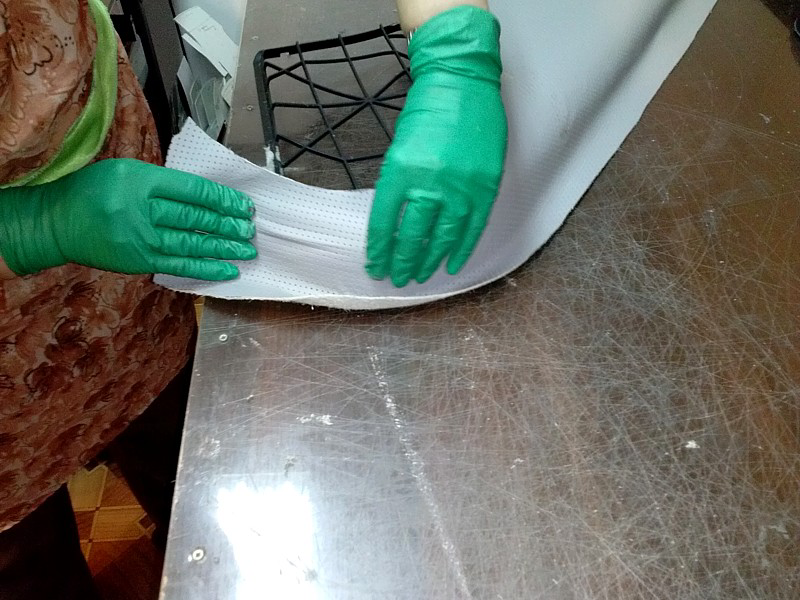
Once you finish, apply the glue along the bottom edge of the panel and press the leather along this edge with a brush end, wooden paddle or any object blunt enough not to cut the leather.
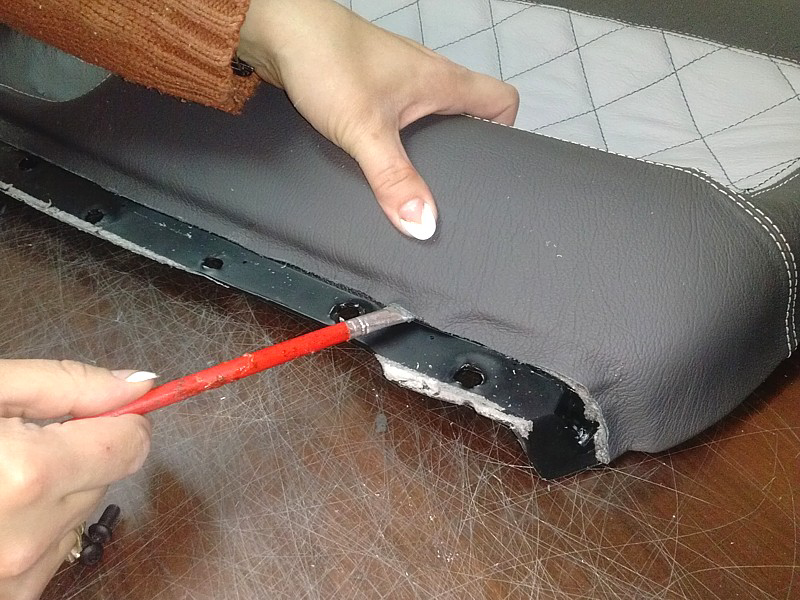

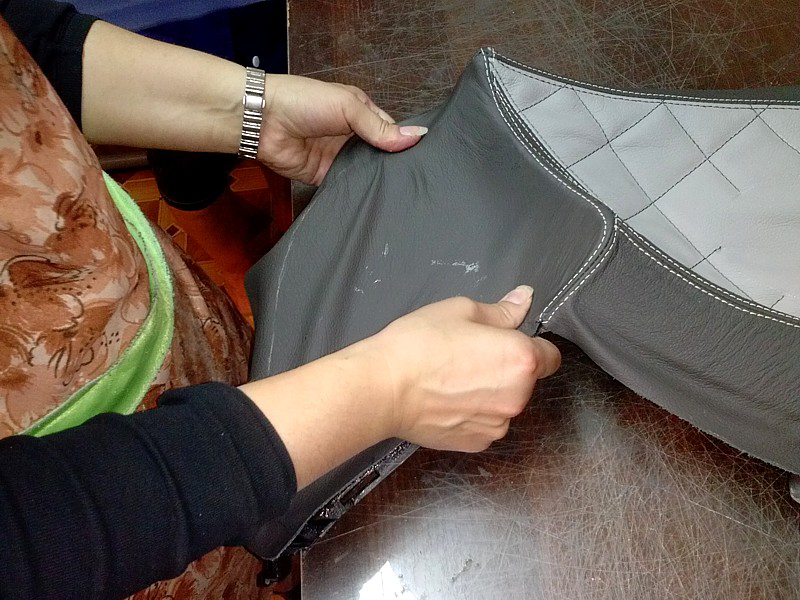
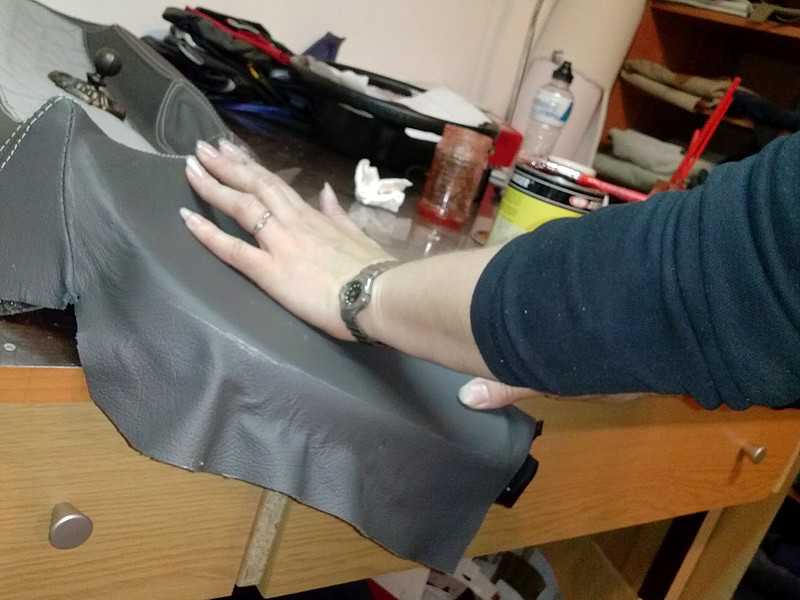
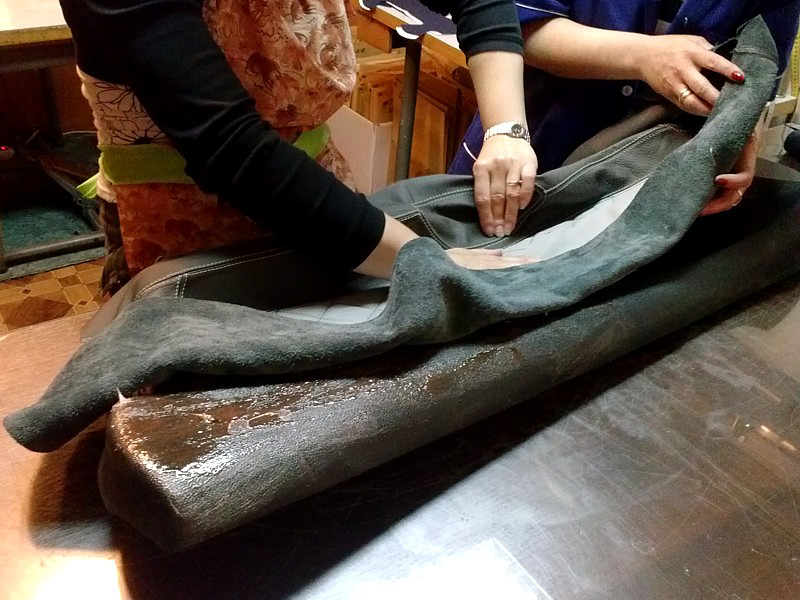
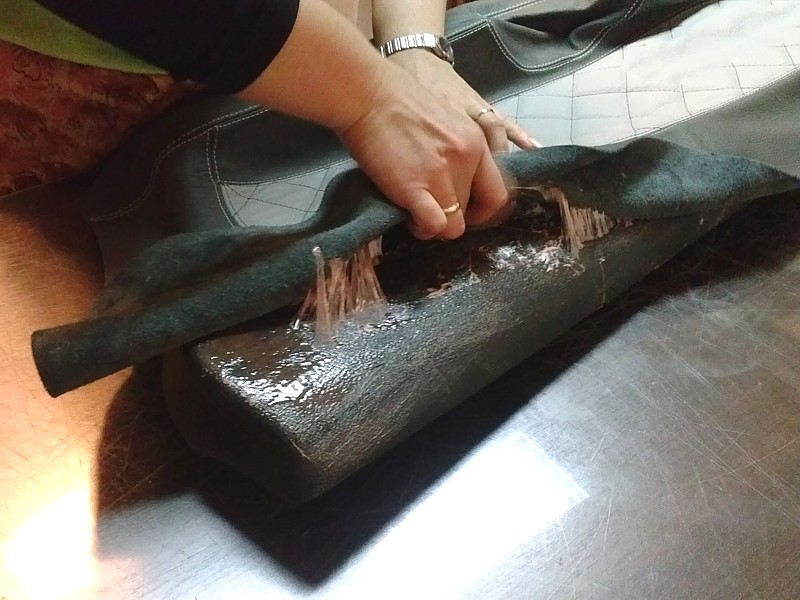
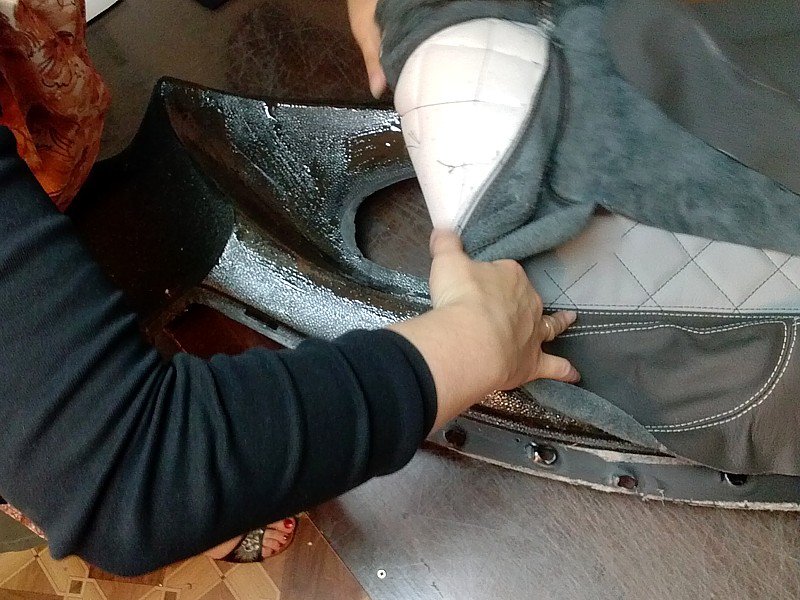
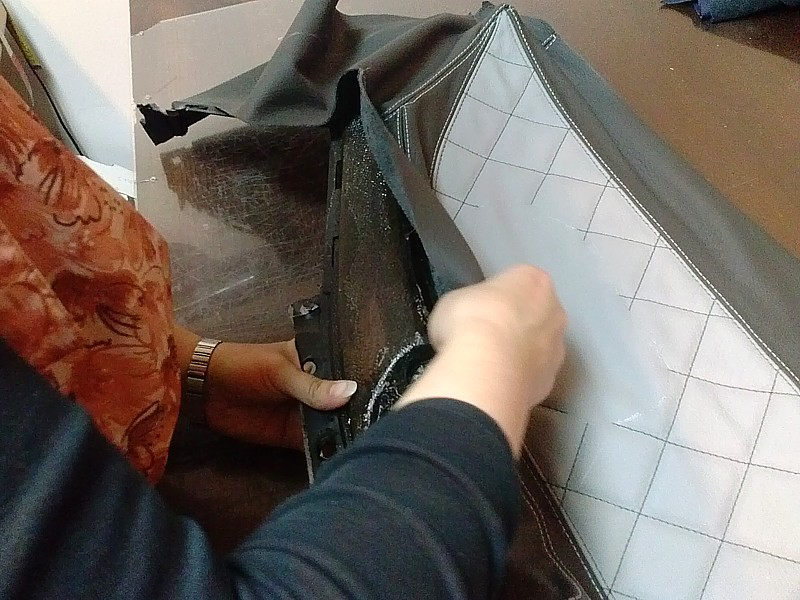
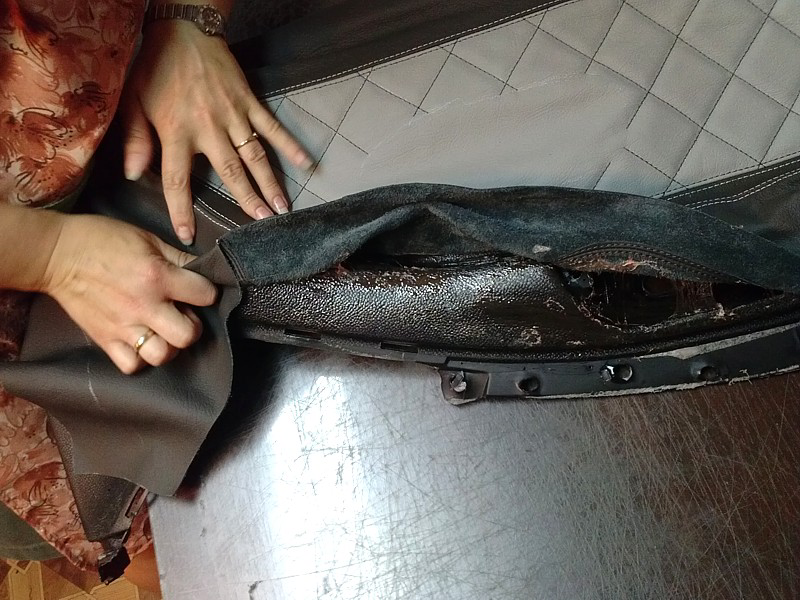
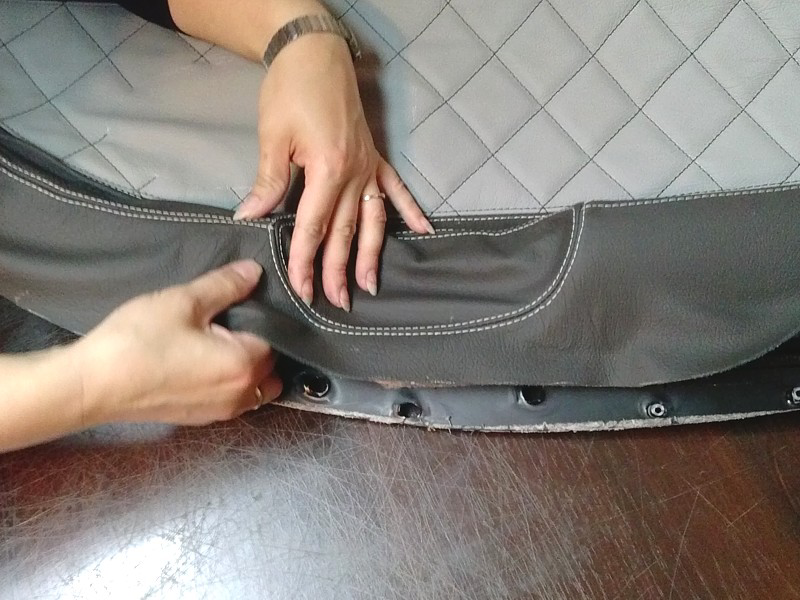
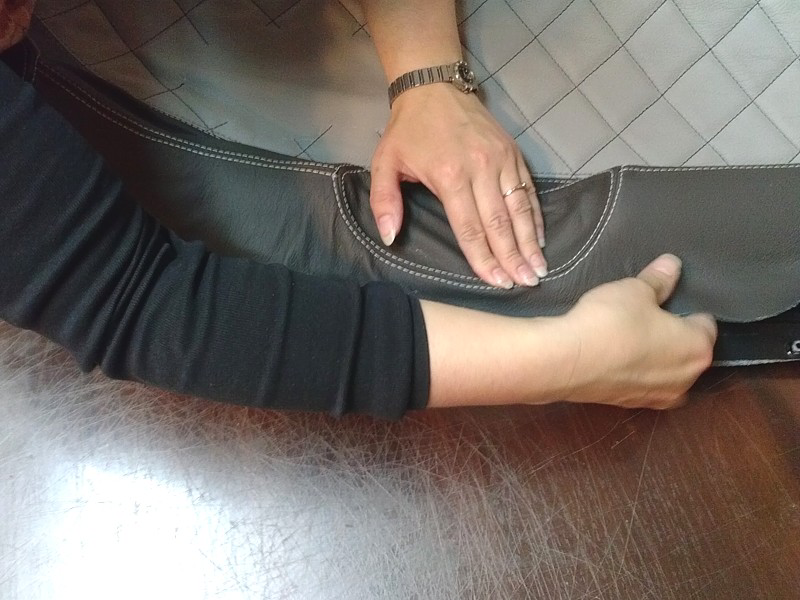
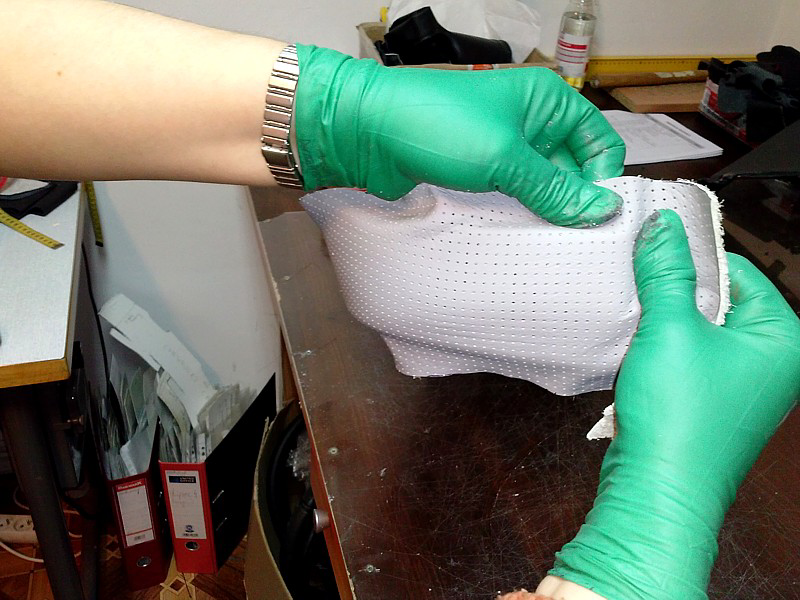
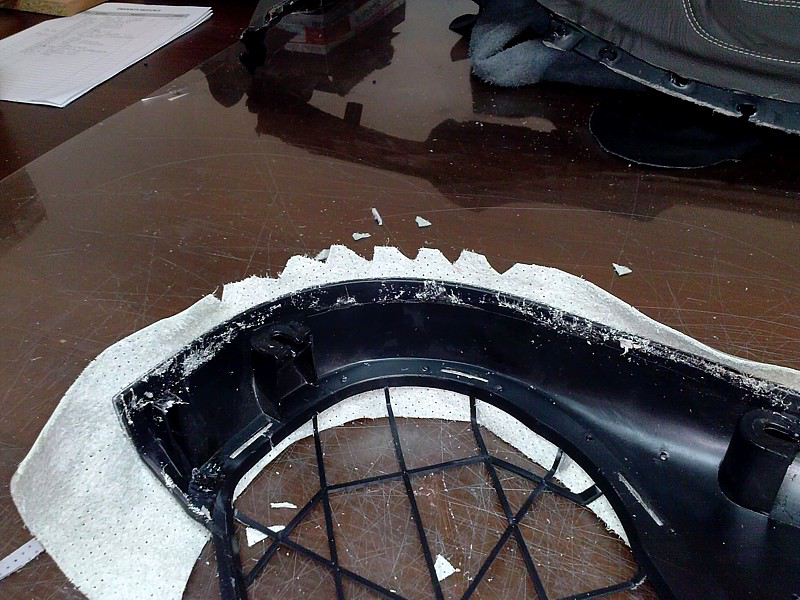
When you have the whole cover glued to the panel you will need to fold it around the edge and glue it to the back of the panel - where factory vinyl was stapled. This is not difficult and you can start wherever you like. Just apply the glue to the back of the door panel along all outer edges, let it dry a bit, fold the leather stretching it a bit to make it lay smoothly and press firmly to the glue on the back.
You will have to make some V-shaped cuts on panel corners and where the edge is curved in order to avoid ugly wrinkles. Be careful not to cut too far so that the cuts are not visible after the panel is installed back onto the door.
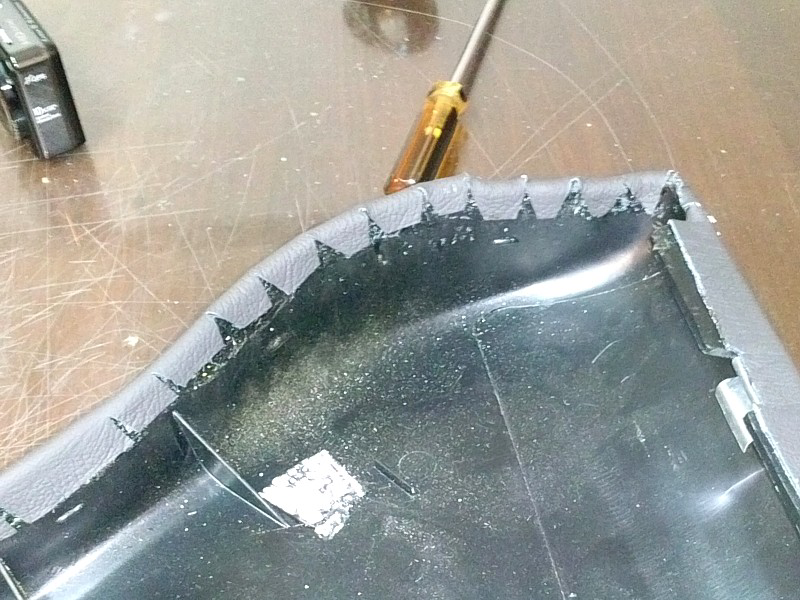
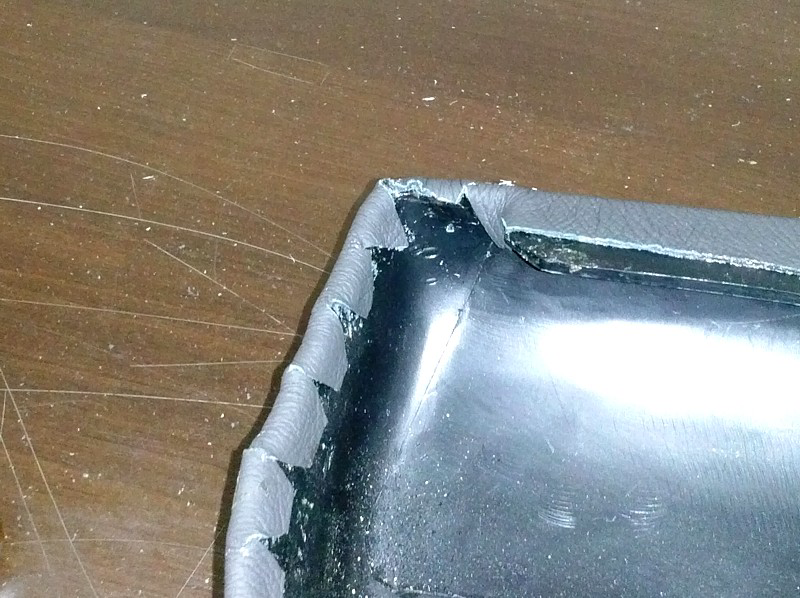
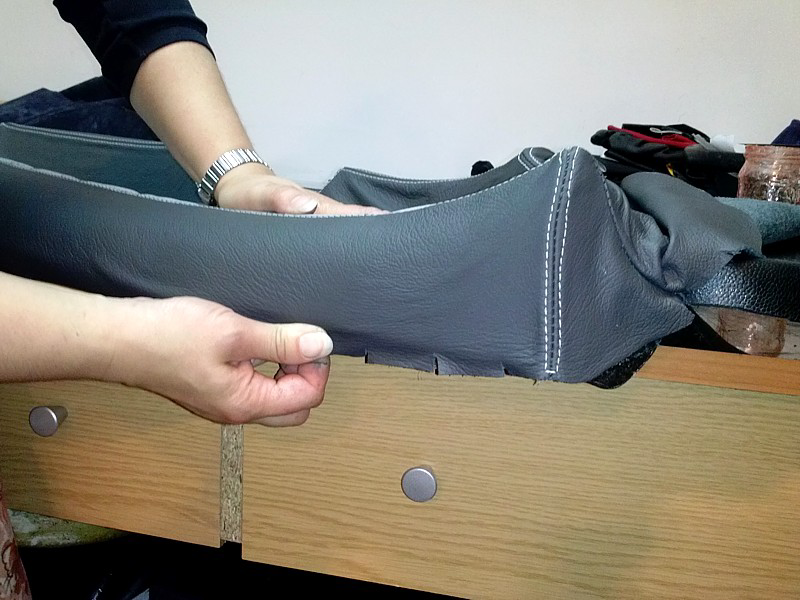
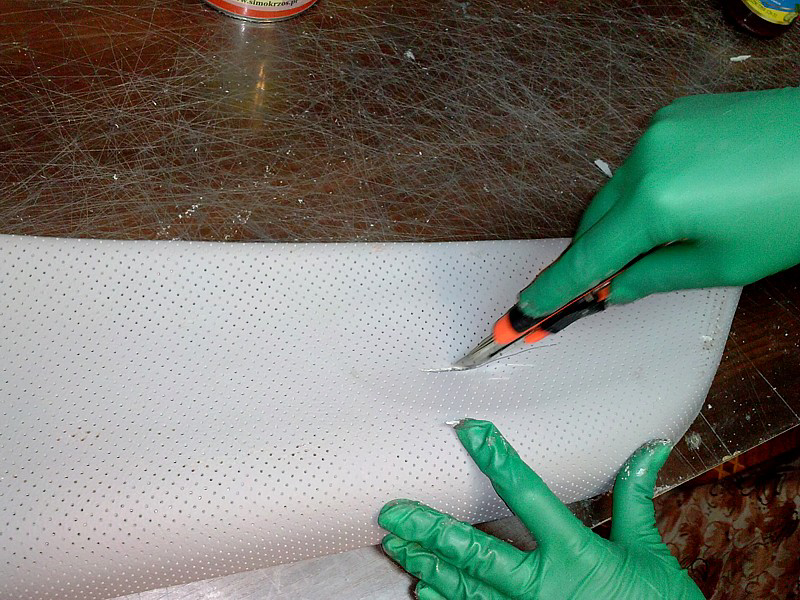
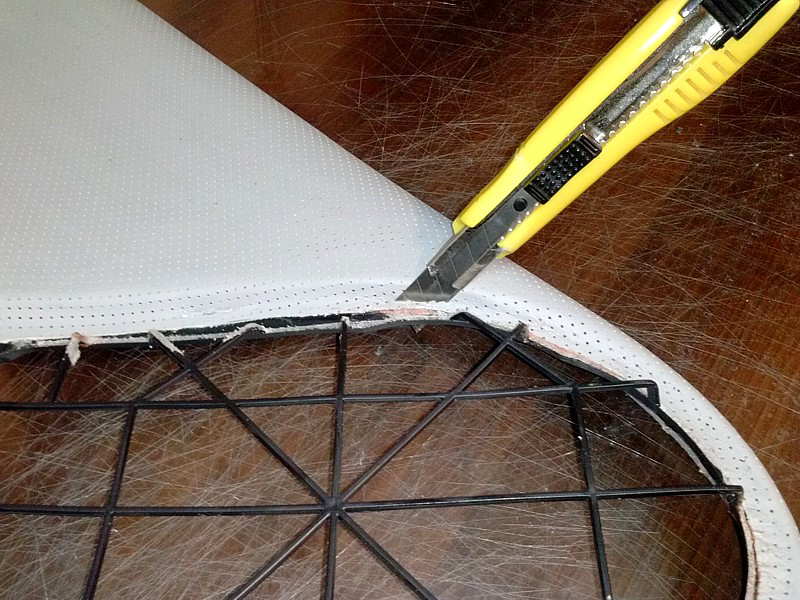
Cut the leather along the bottom part of the panel approx. 3mm from the inner edge.
6) Lower door panel
This is quite easy as there are no tricky shapes. Just align the leather, apply the glue to the panel and press the leather evenly on the whole surface stretching it a bit along the curves and edges to make it lay smoothly and evenly without wrinkles.
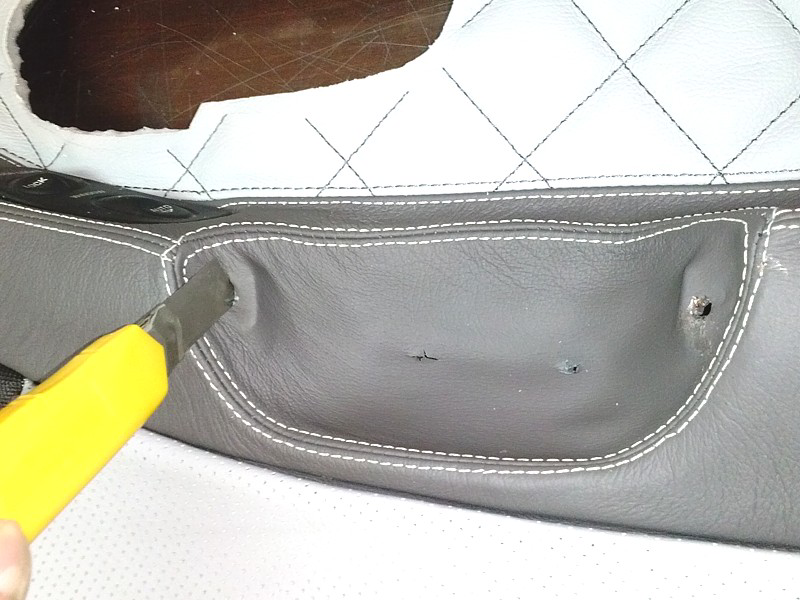
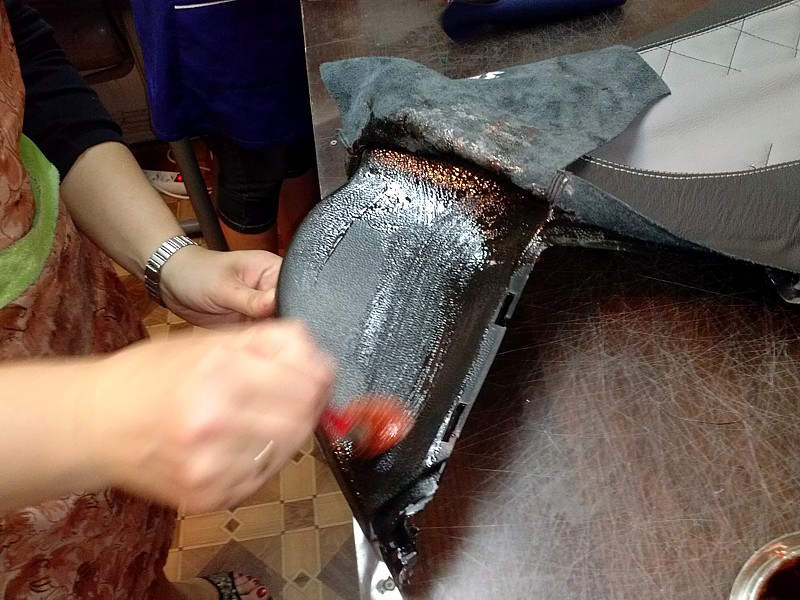
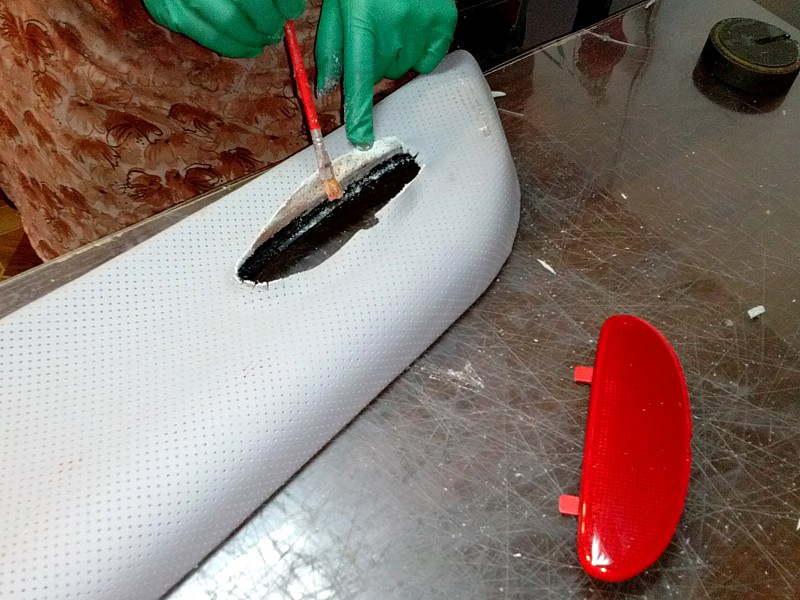
Cut the leather in the reflector hole, make V-shaped cuts around and glue the leather to the back.
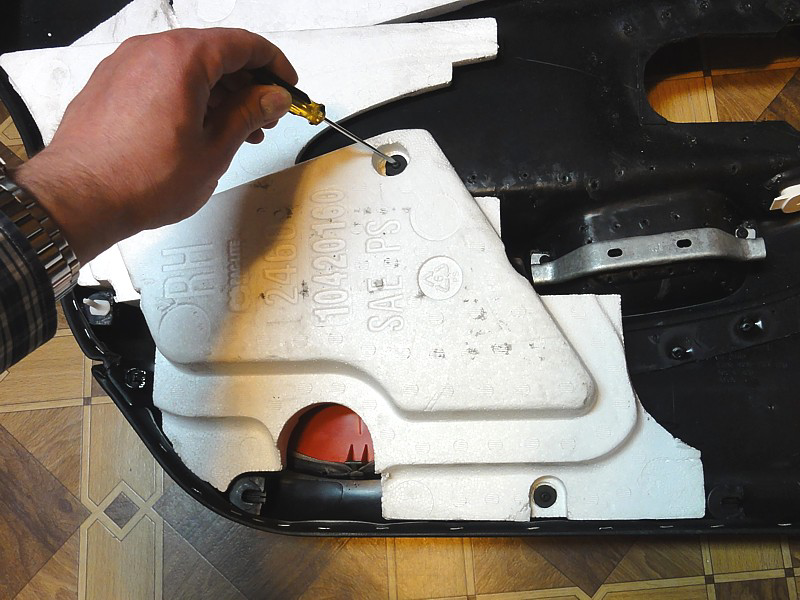
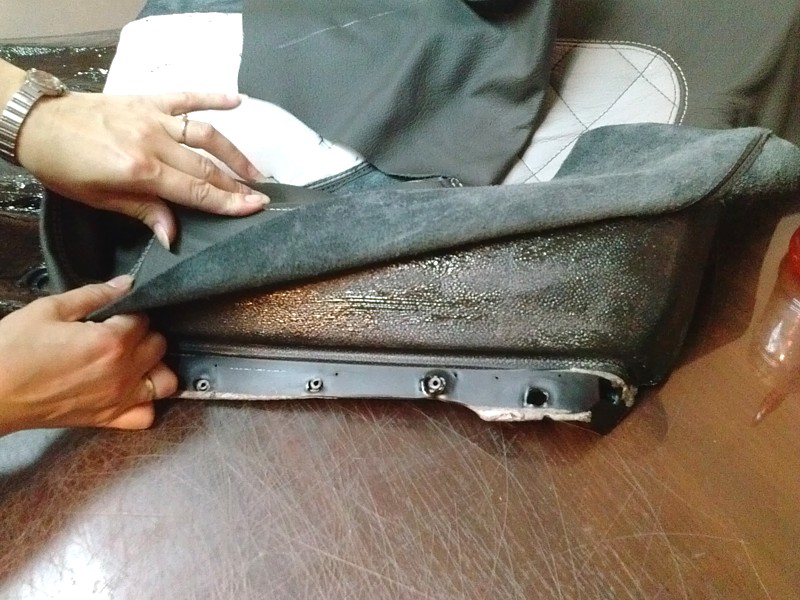
As you destroyed the heat welded pins that hold the main panel and door panels together you will have to remove the remains after those pins and glue both panel parts back together.
Install speaker bezel by folding the tabs.
Install door pull with 2 torx screws from the back of the panel.
Install window switches.
Put the reflector in place.
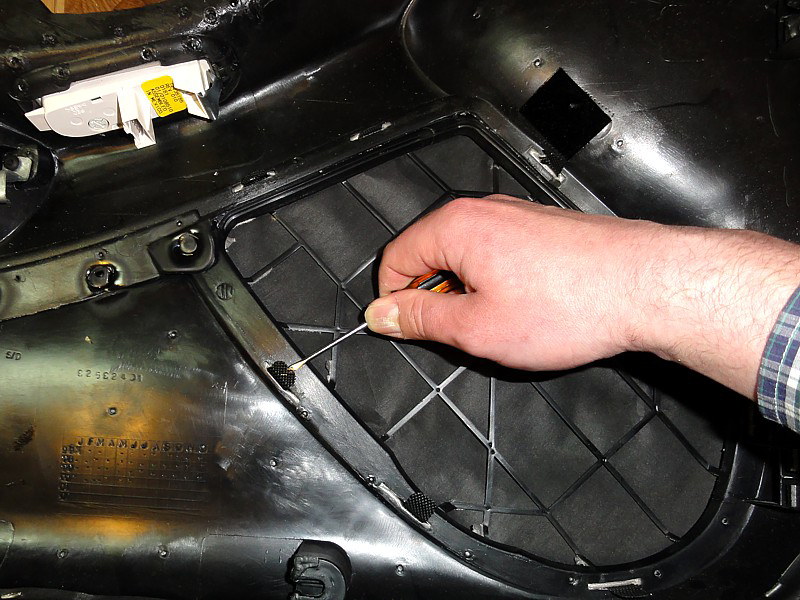
Glue the Styrofoam lining back and secure it with the screws.
Install the panel to the door by 2 screws under the door pull and 6 pins around the panel.
and
Enjoy your revamped interior! :)
Useful tip
You have installed a product made out of genuine leather. As you know, to maintain a leather product in good condition, you should take care of it. We suggest occasionally (every 4-6 week for example) applying some leather conditioner/UV protector to keep your leather from drying up in the sun and cracking.
Redline Automotive Accessories Corp. will not be held liable for any labor, incidental or consequential damages of any kind. Proceed at your own risk.