You must be logged in to rate content!
5 minute read

ALFA ROMEO MILANO/75 INSTALLATION INSTRUCTIONS
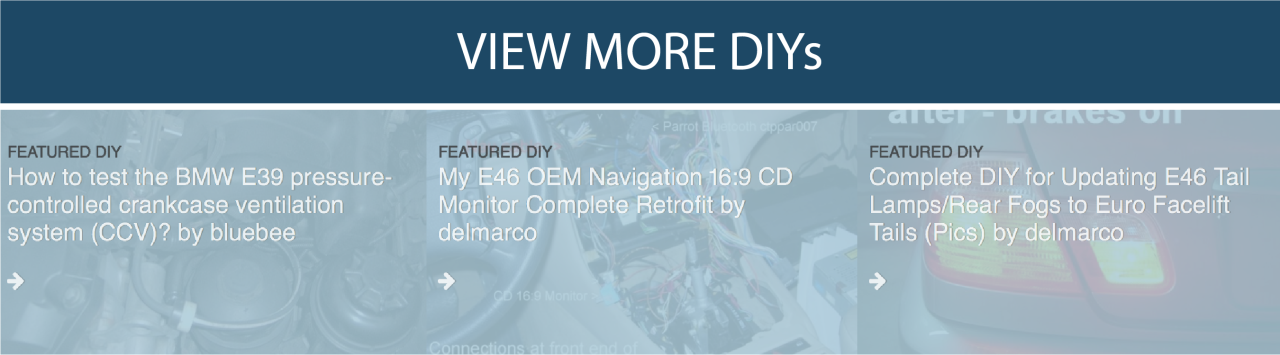
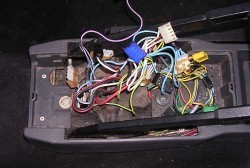
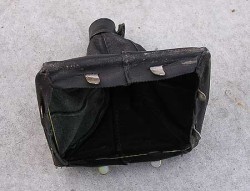
1. Here is the center console prior to starting. The shift boot is held in place by a metal retainer installed from the underside of the console. To replace the shift boot, the console must be removed to access the underside. Start by removing the shift knob. It should be held in by a set screw at base of knob.
2. Please note: Seats have been removed for clarity, but this is not required to remove the console or install the boot
3. Remove the four trim screws holding the center stack in place. There are two attaching the center stack to the console and two attaching the center stack to the firewall.
4. Remove the rear seat ashtray and remove the two screws holding the ashtray/lighter assembly to the console. Empty the center armrest cubby and remove the screw holding the cubby to the center console. Remove both the cubby and ashtray assembly. Make note of each electrical connection as they are unplugged to aid reassembly.
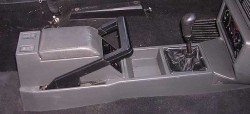
5. Remove the #12 bolt holding the console to the transmission tunnel.
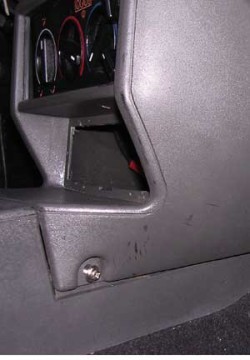
6. The console is now free to slide back a couple inches. Now the center stack can be removed. It is held in place by four screws and to two tabs at the top. The HVAC controls will stay in place, however your radio will need to be disconnected to remove the stack from the car.
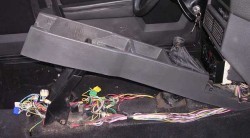
7. Pull the parking brake handle up as far as it will go. The console can just barely be pulled up and over the parking brake.
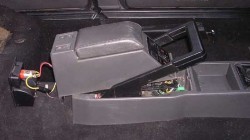
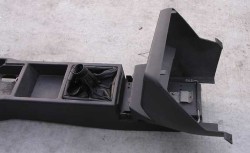
8. Here is a detail of the center stack and console after removal. You can clearly see the plastic tabs where the stack is screwed to the firewall and tabs that slide into instrument panel. Note the metal clip on the console and the wire rod on stack. Sliding the console to the rear releases the clip from the wire rod and allows the stack to be separated from the console.
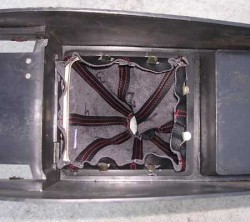
9. To remove the boot, turn the console upside down and bend the clips where they are wrapped around the plastic. The old boot will now be free to be removed from the top.
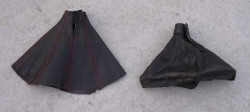
10. Here is the new boot compared to the old. Remove the metal retention ring from the old boot.
11. Install the retention ring into the new boot. Make sure to orient the ring the same way it was on the old boot.
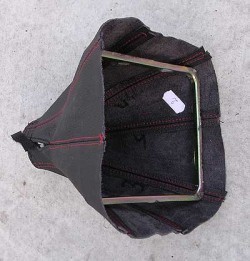
12. Push the retention tabs through the pre-cut slots in your new boot. This will precisely locate the new boot in your console.
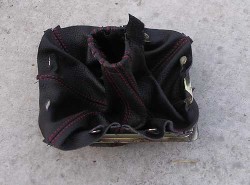
13. Place the new boot into the console from the top. Turn the console over and bend the tabs over to secure the boot to the console.
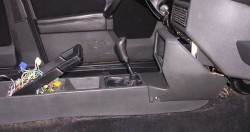
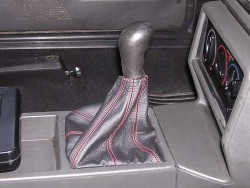
14. Reinstall the center console and stack in reverse order of disassembly. Your completed installation should look similar to this.
ENJOY YOUR NEW LEATHER BOOTS!
Useful tip
You have installed a product made out of genuine leather. As you know, to maintain a leather product in good condition, you should take care of it. We suggest occasionally (every 4-6 week for example) applying some leather conditioner/UV protector to keep your leather from drying up in the sun and cracking.
Redline Automotive Accessories Corp. will not be held liable for any labor, incidental or consequential damages of any kind. Proceed at your own risk.