You must be logged in to rate content!
7 minute(s) of a 37 minute read
5-12-2016
Oh man!
You guys I might have some big news coming soon!
But sorry I haven't posted in my thread in a year. But I guess we are gonna have a recap of what I have been up to! Look forward to it this weekend!
Most of my activity has been on the Facebook TL page, you guys should feel free to join! Pretty good environment and has some good group (Even though I end up giving diagnosis and other help most of the time :P )
7-17-2016
As someone once said 'Old age should burn and rage against the dying of the light'
Life has had its ups and downs, but TL is always right where I left her. So I thought why now show its age with some well deserved wrinkles?
So we begin!
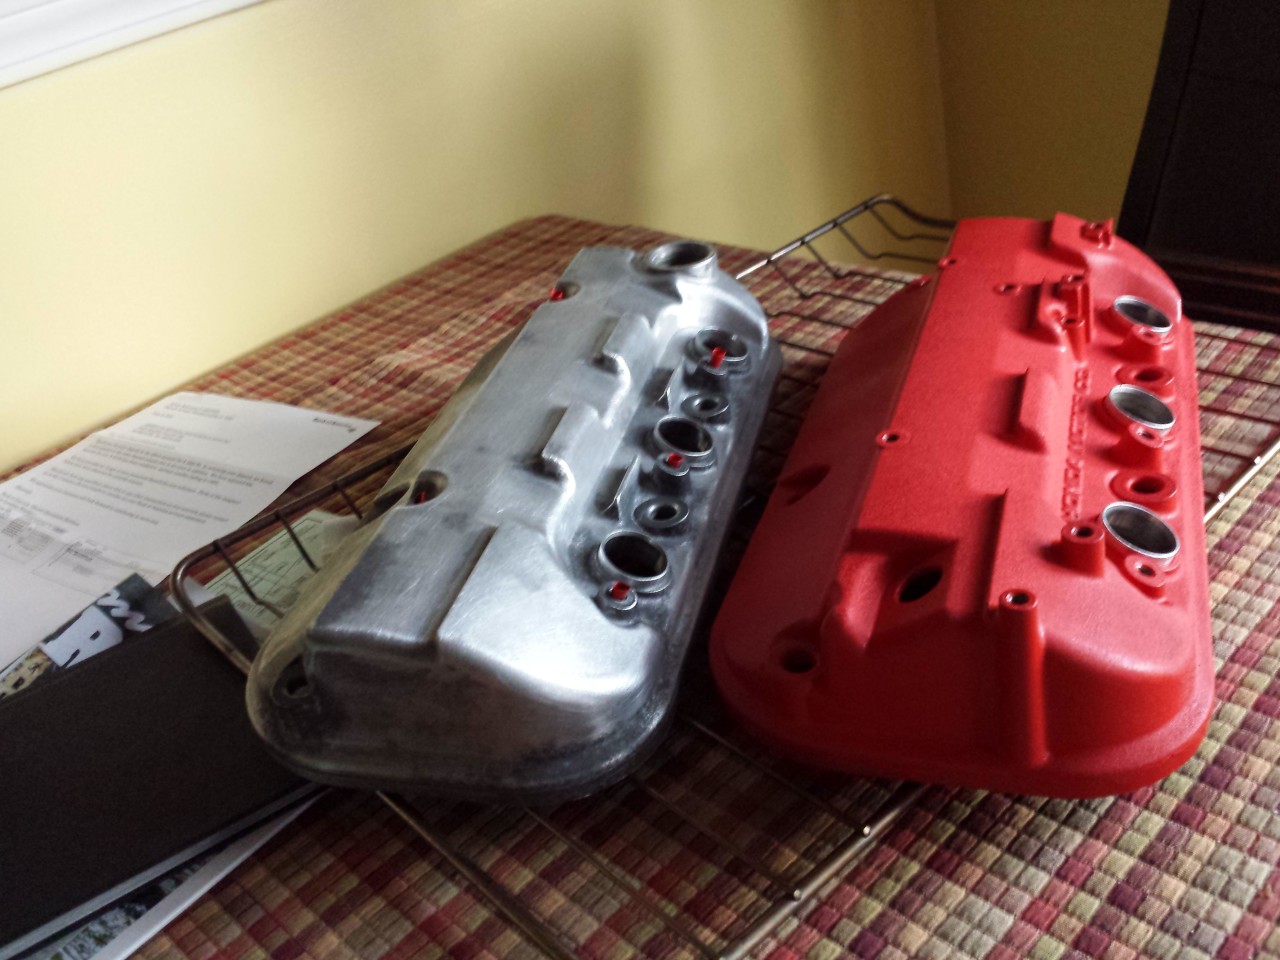
I got some extra valve covers from my good friend 666Worker and got to sanding them down! I dont have any pictures of the paint stripping part, but I was able to take the valve covers and place them in my ceramic sink in the garage and spray it all down with Paint Stripper.
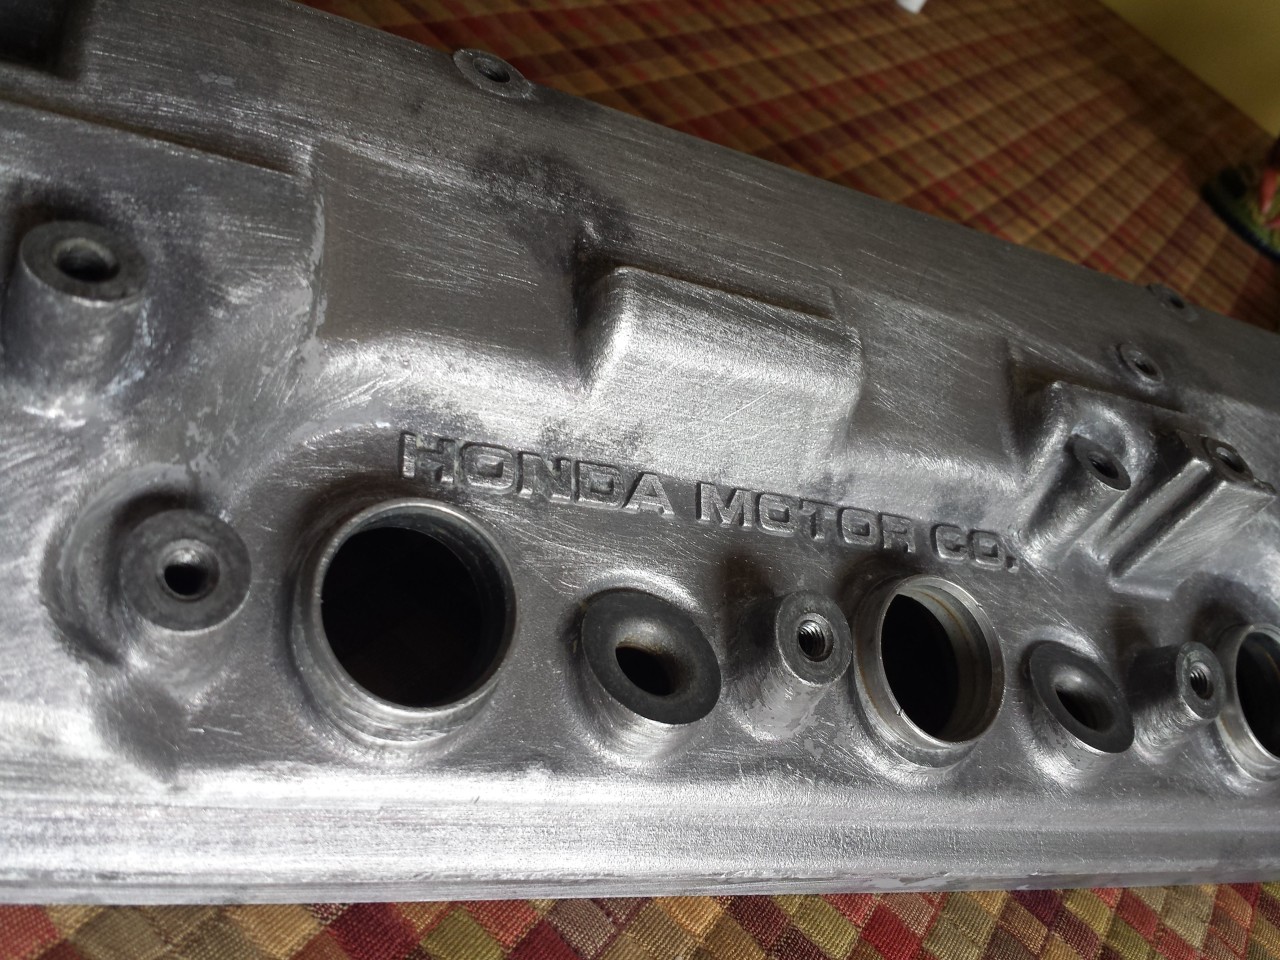
The stripper I used was great and got the paint off in the broad areas right away, and didnt affect the sink at all. So later I got the main front area's cleaned off and was able to go into the small sections in between the lettering was best done by just spraying it an leaving it until it was dry and then taking a brush to pull up all the dried and removed flakes. But some were pretty stubborn and then I ended up using a toothpick on them.
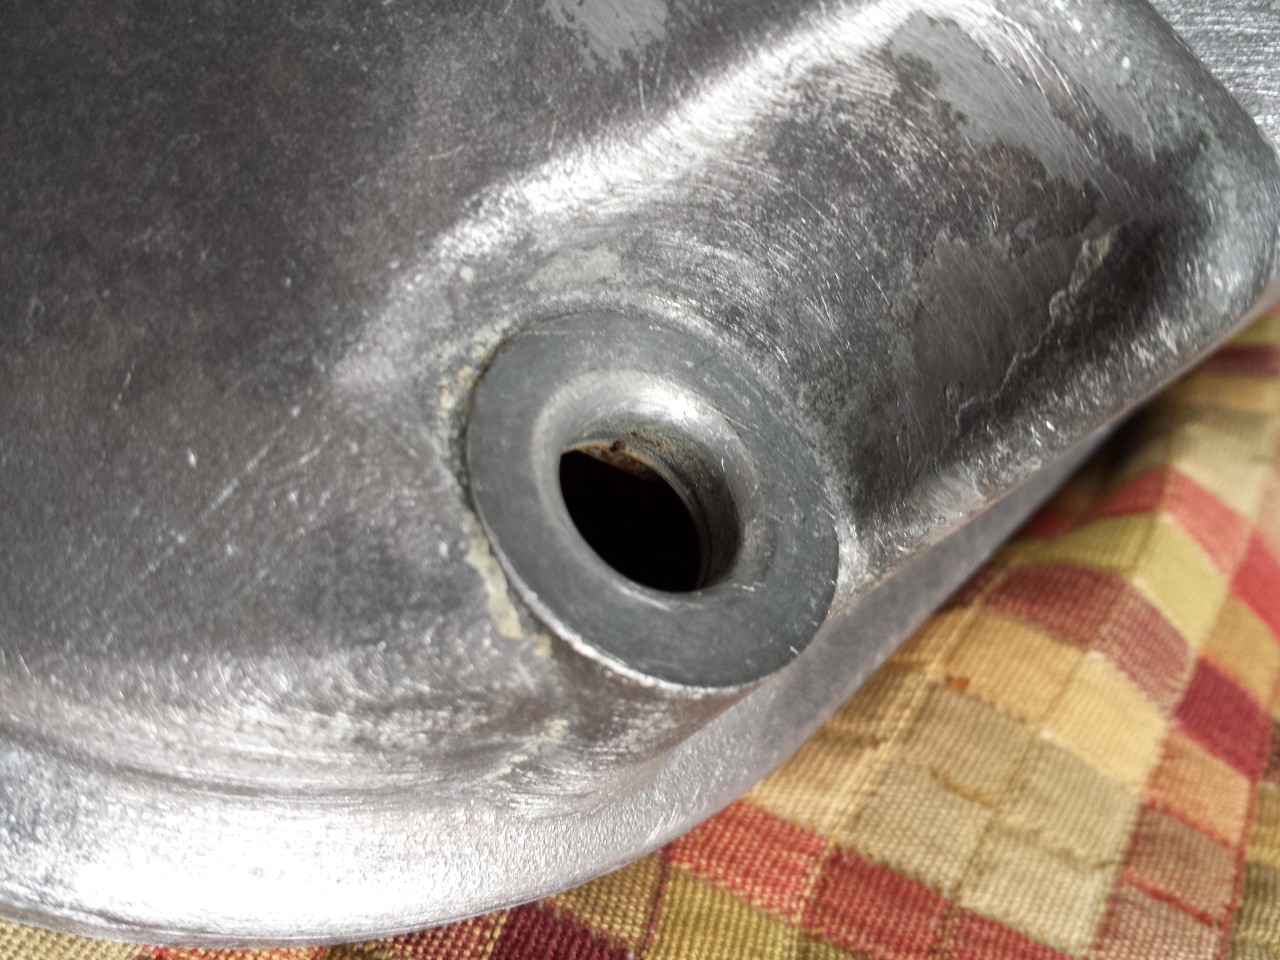
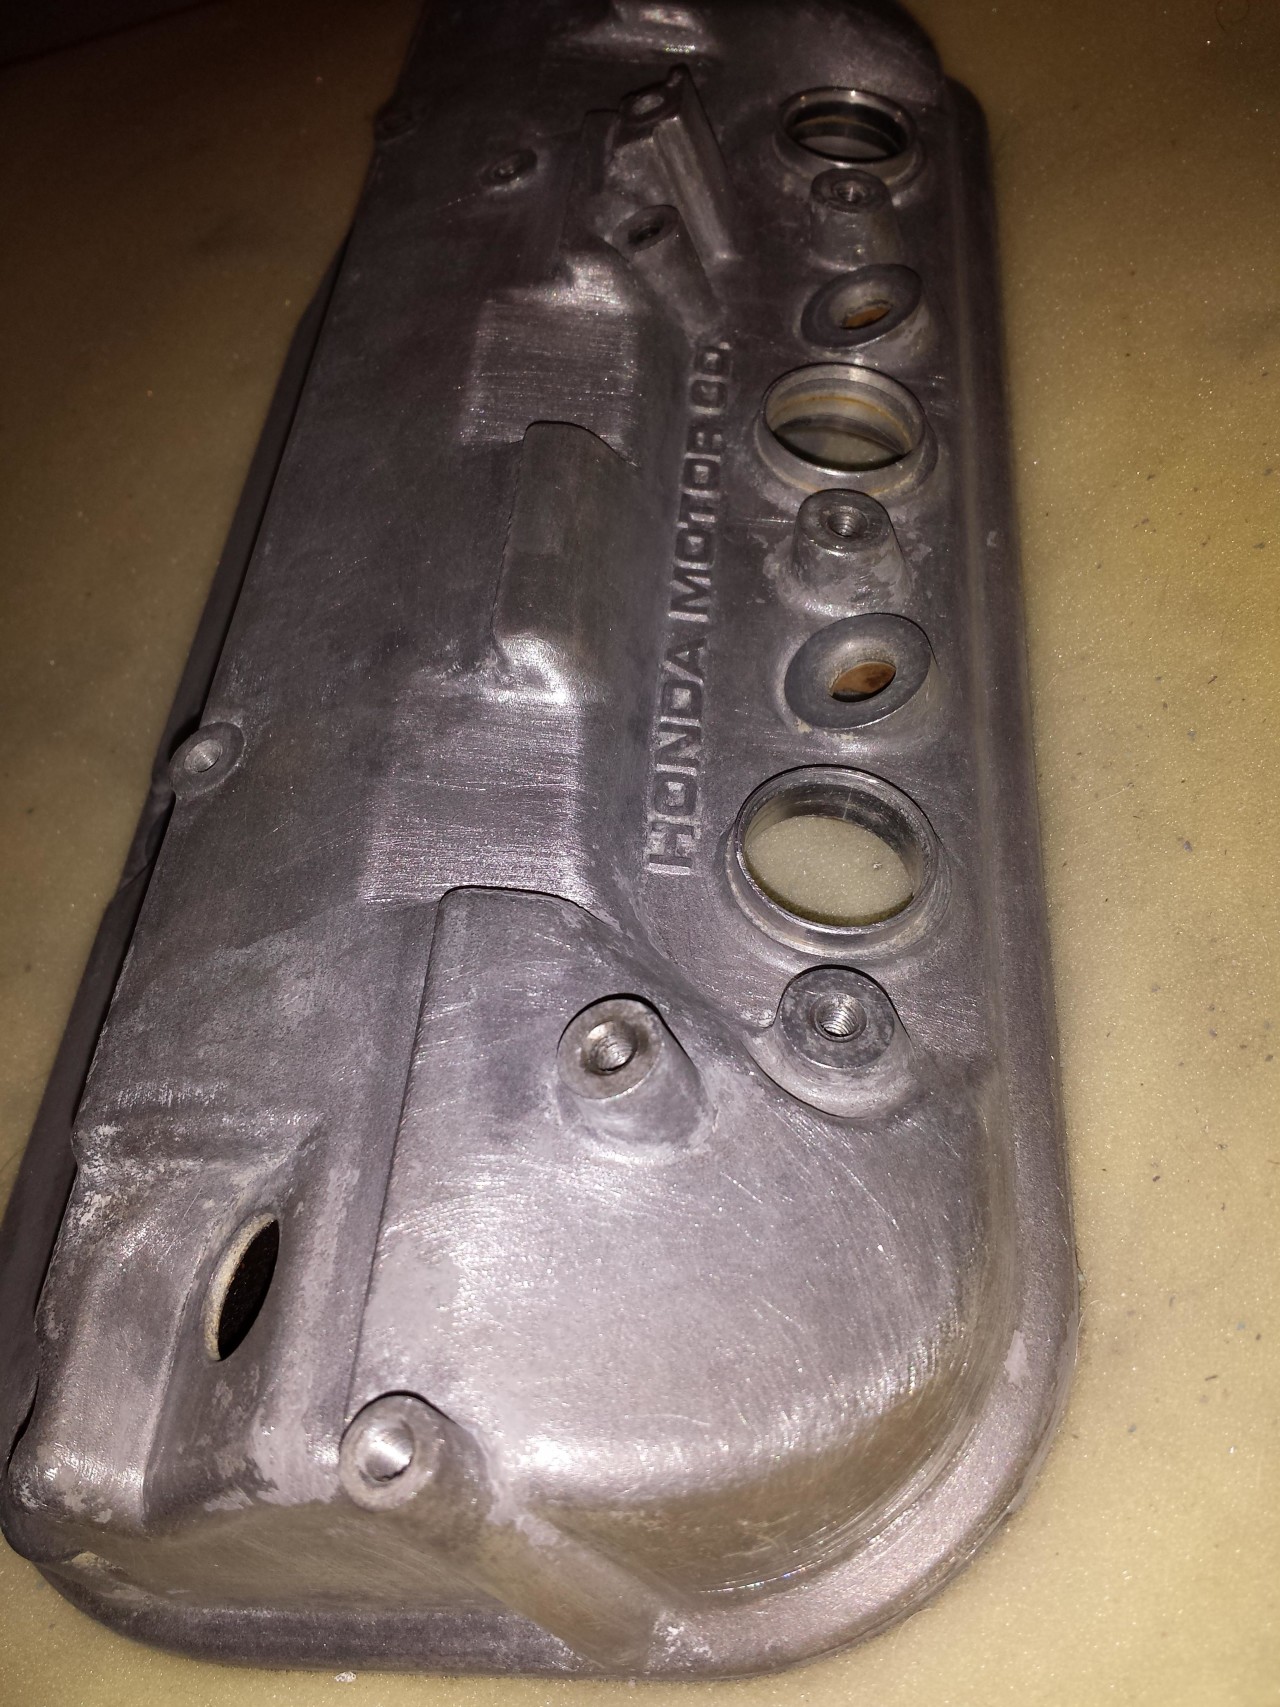
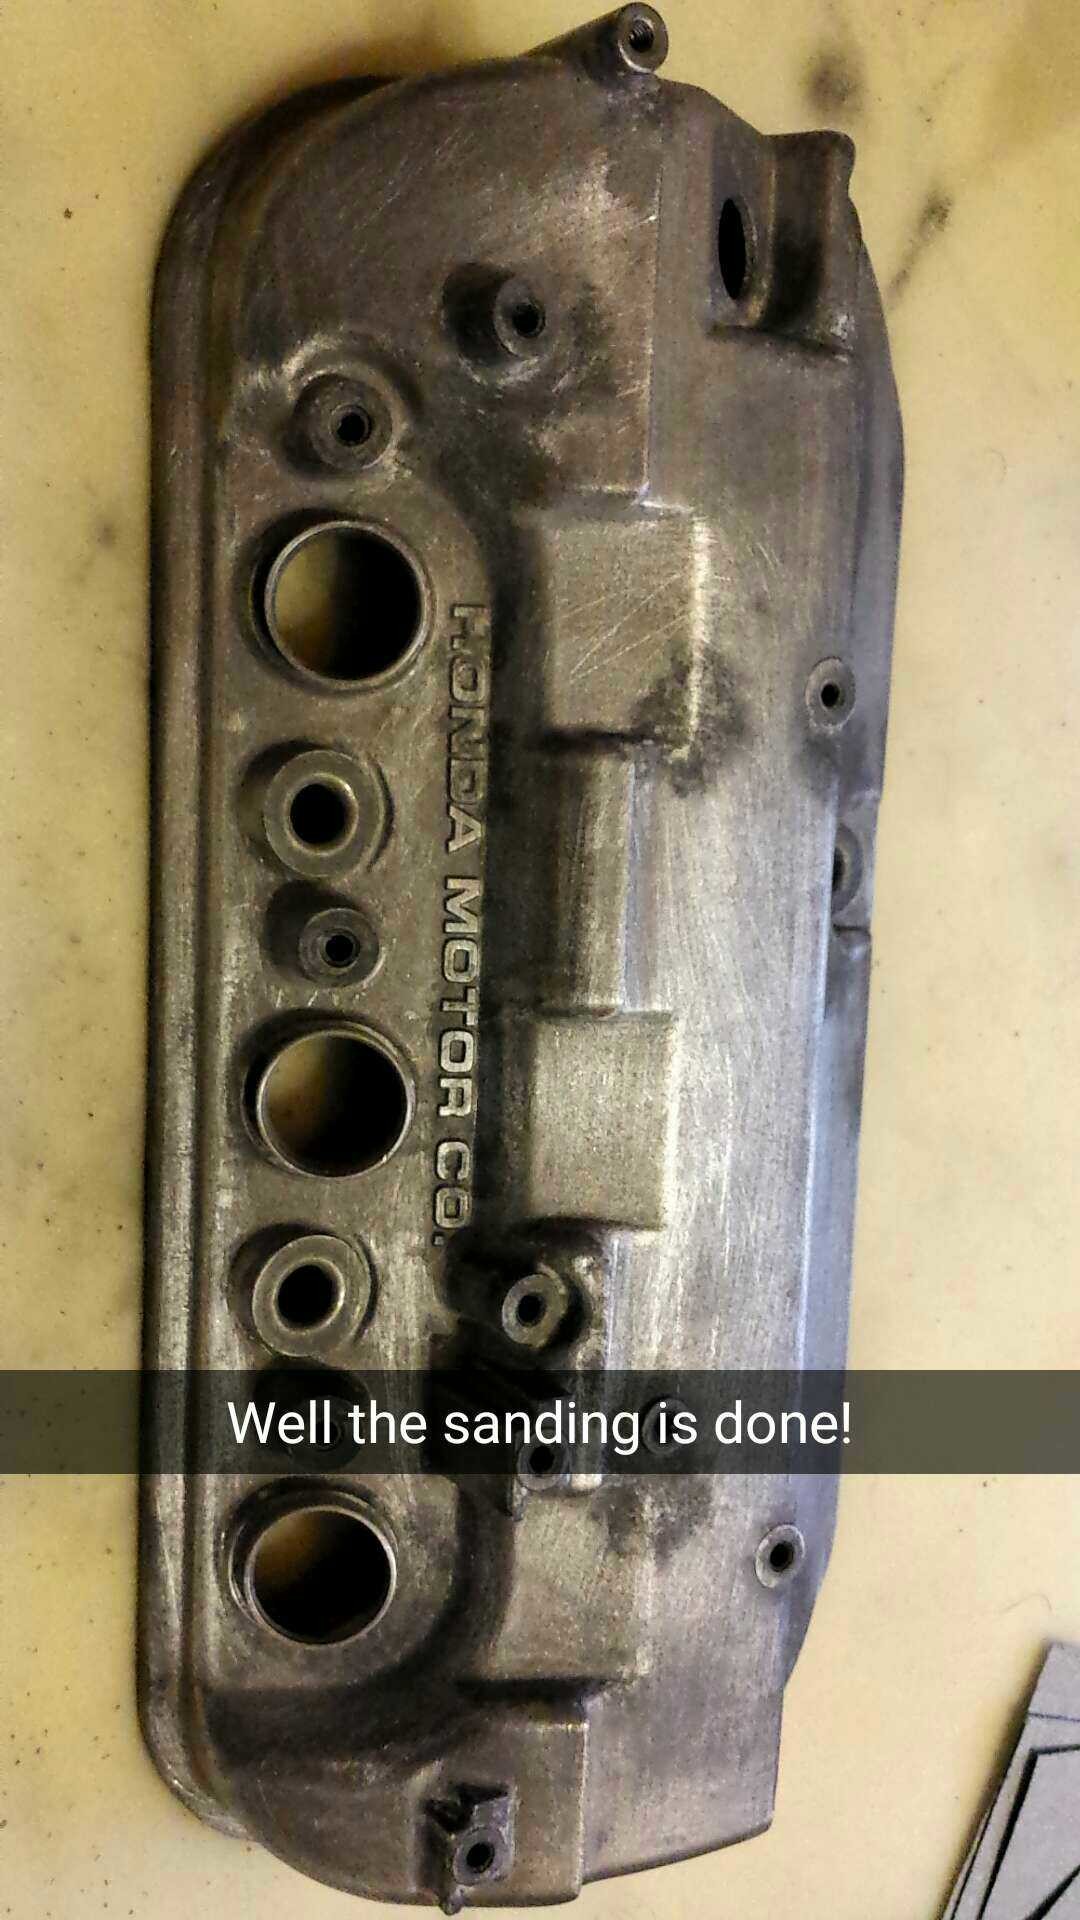
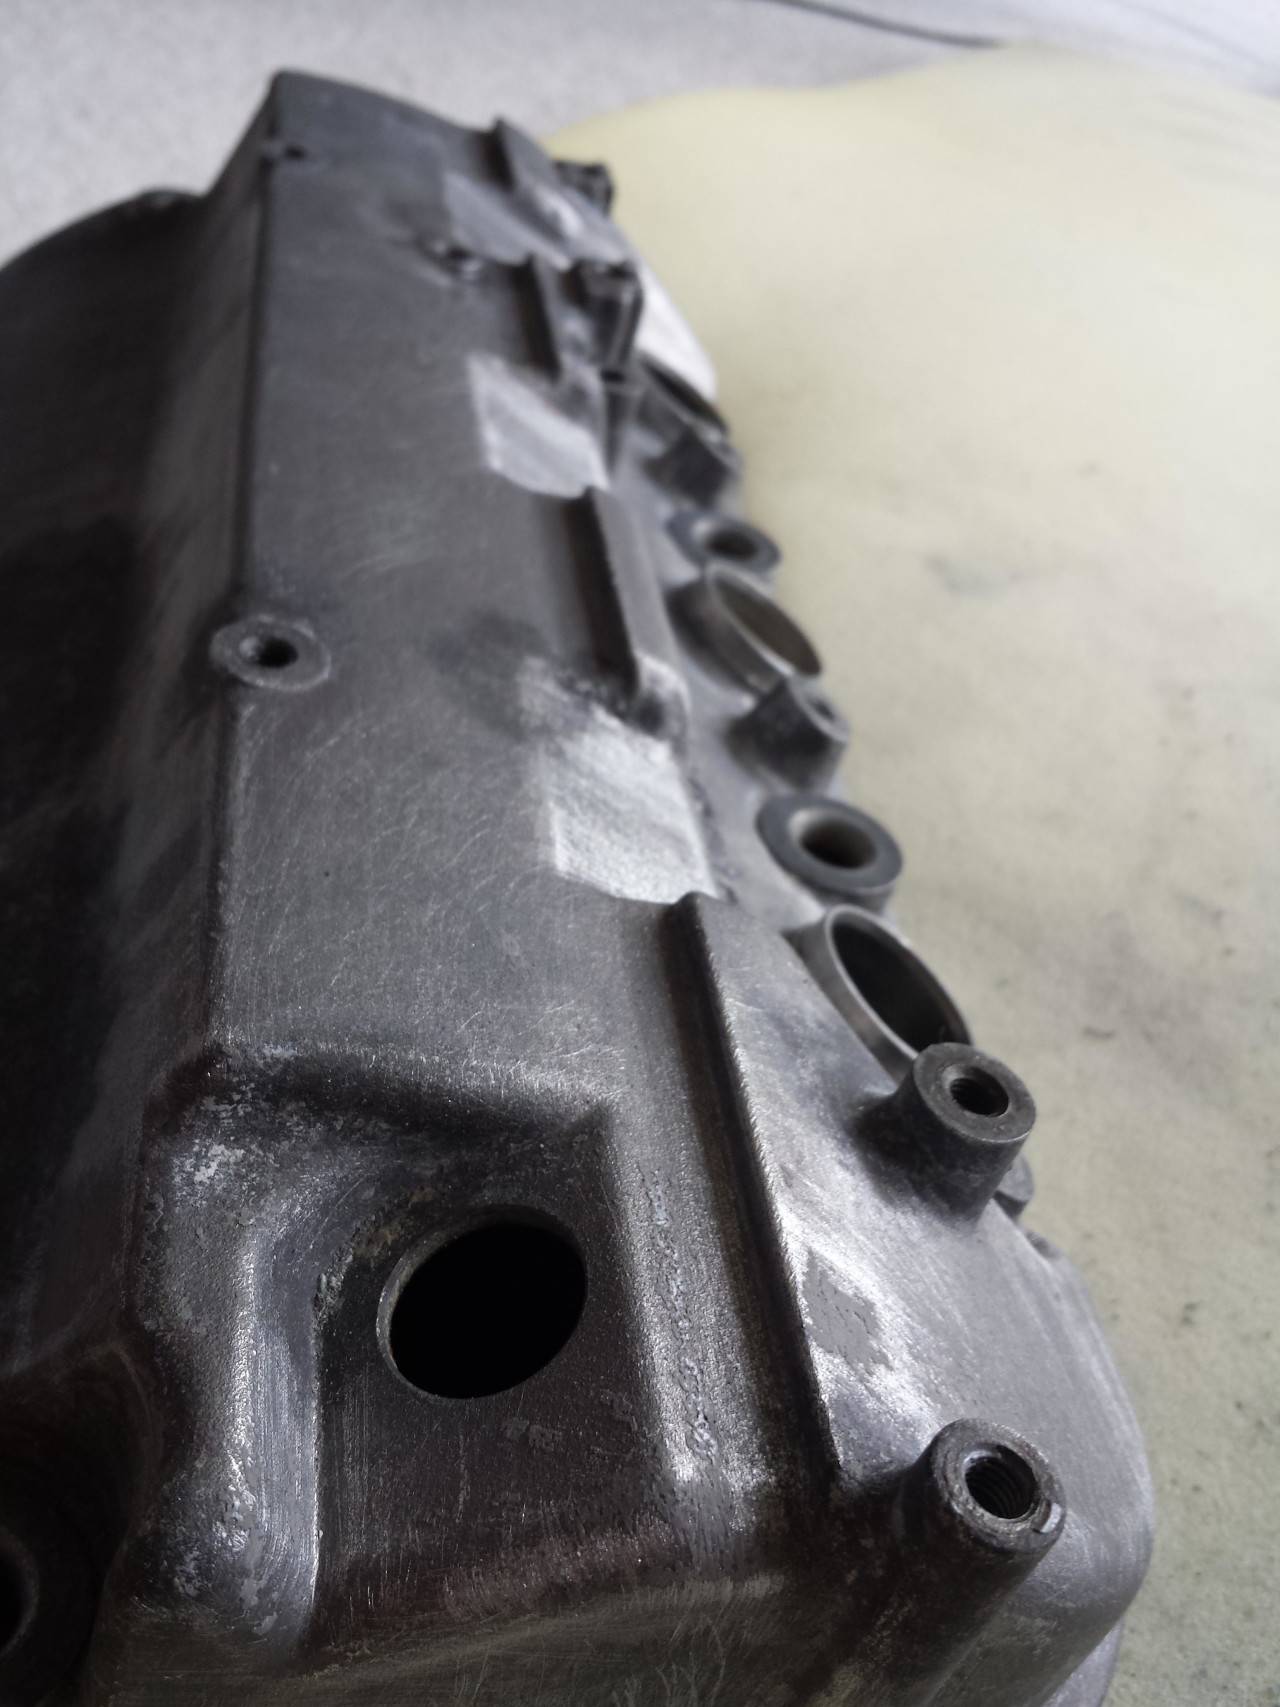
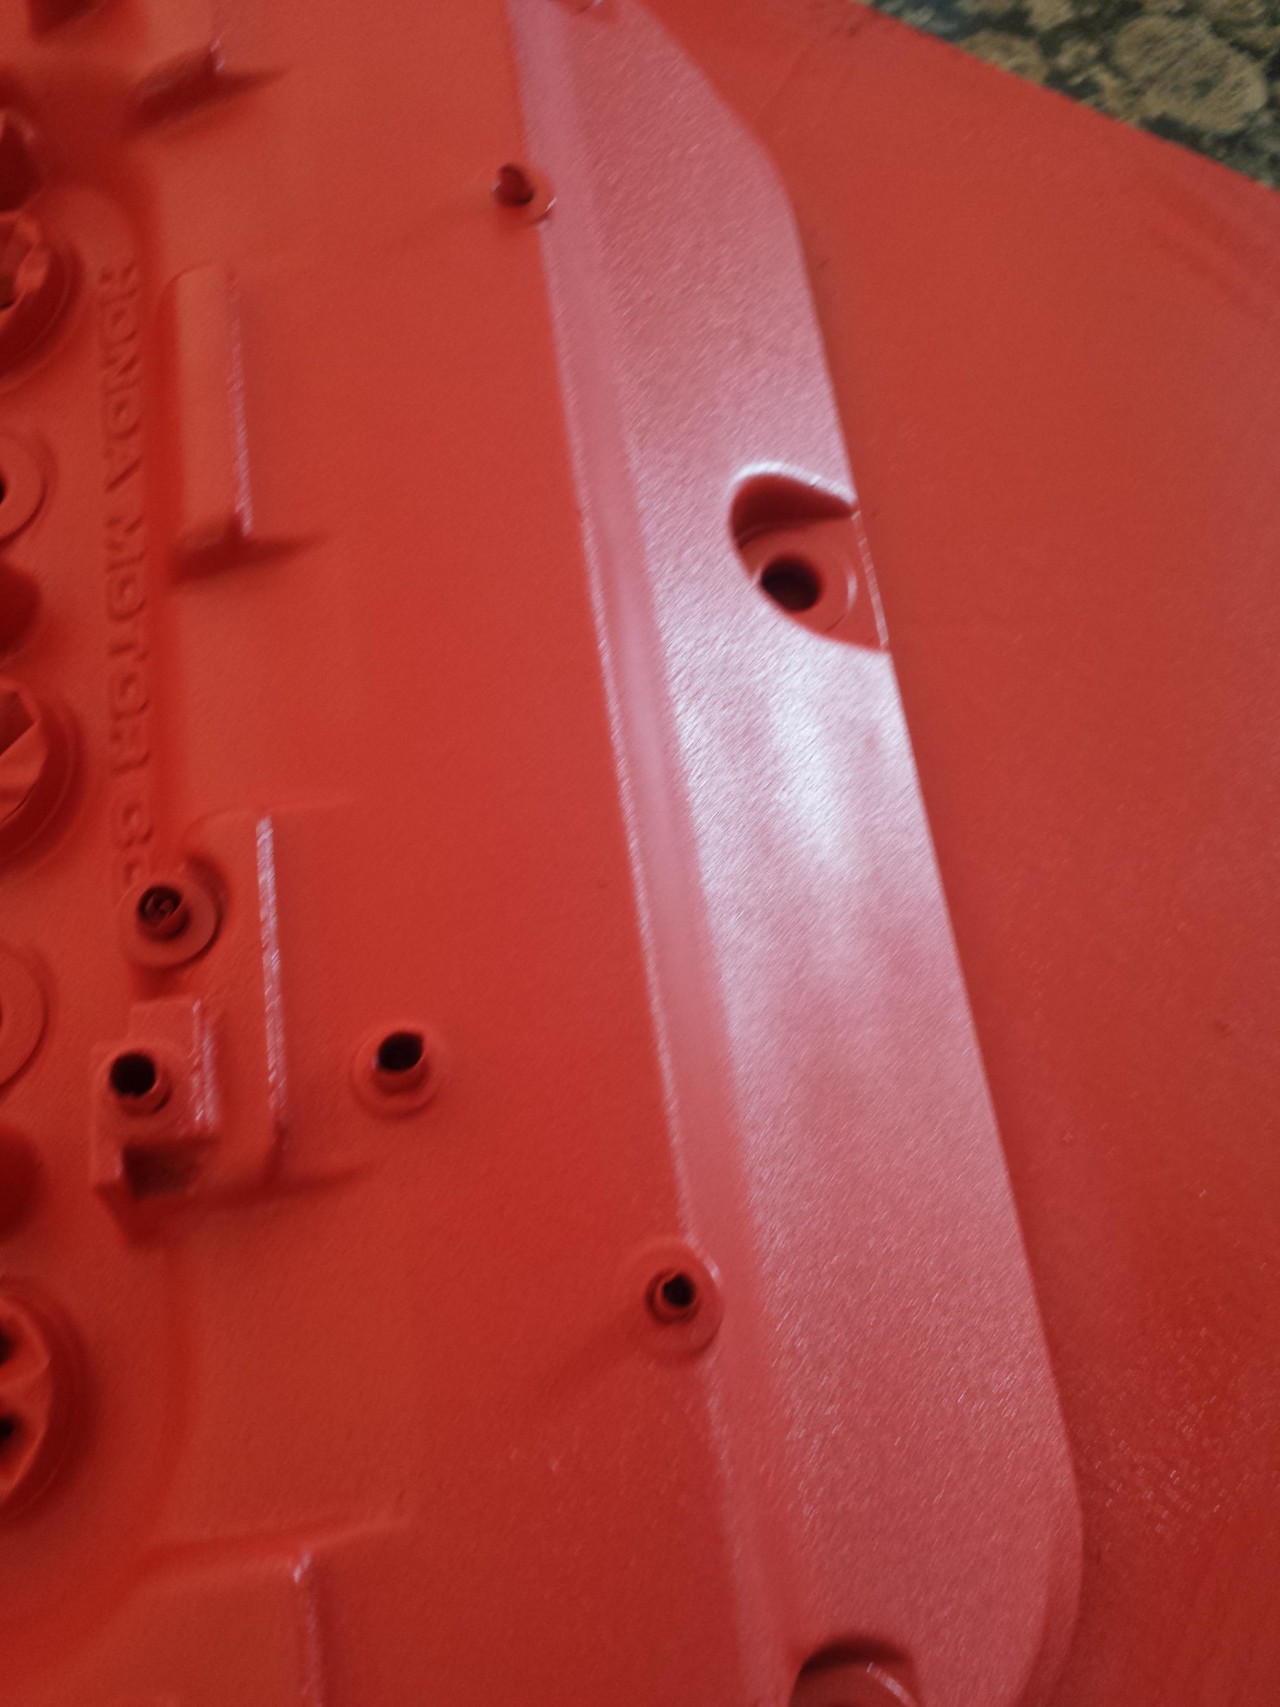
But anyway here it was during the sanding process:
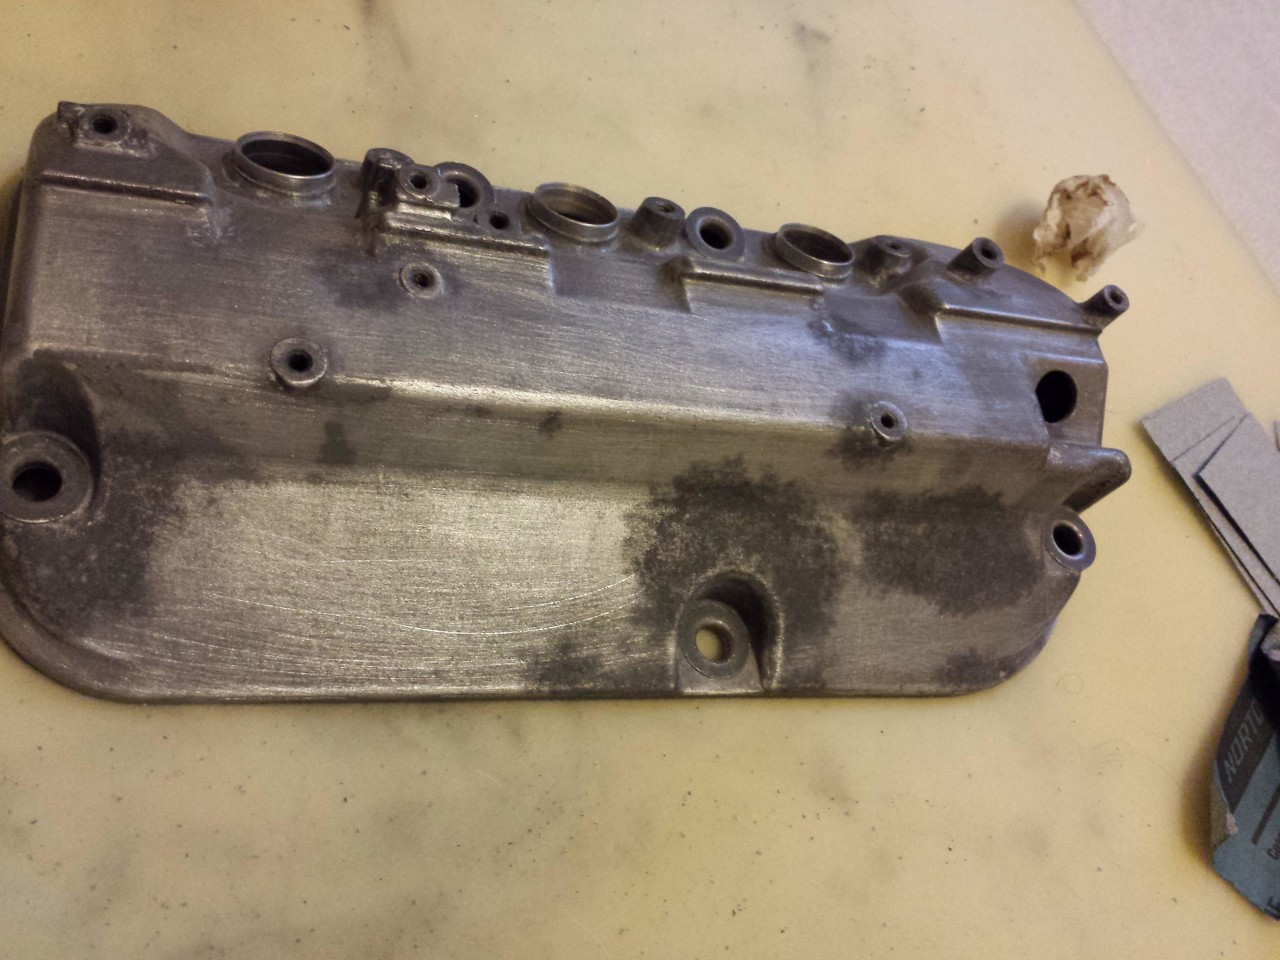
The Dark spots were strange, it seemed like there was some metal erosion, but I was able to then sand it all down.
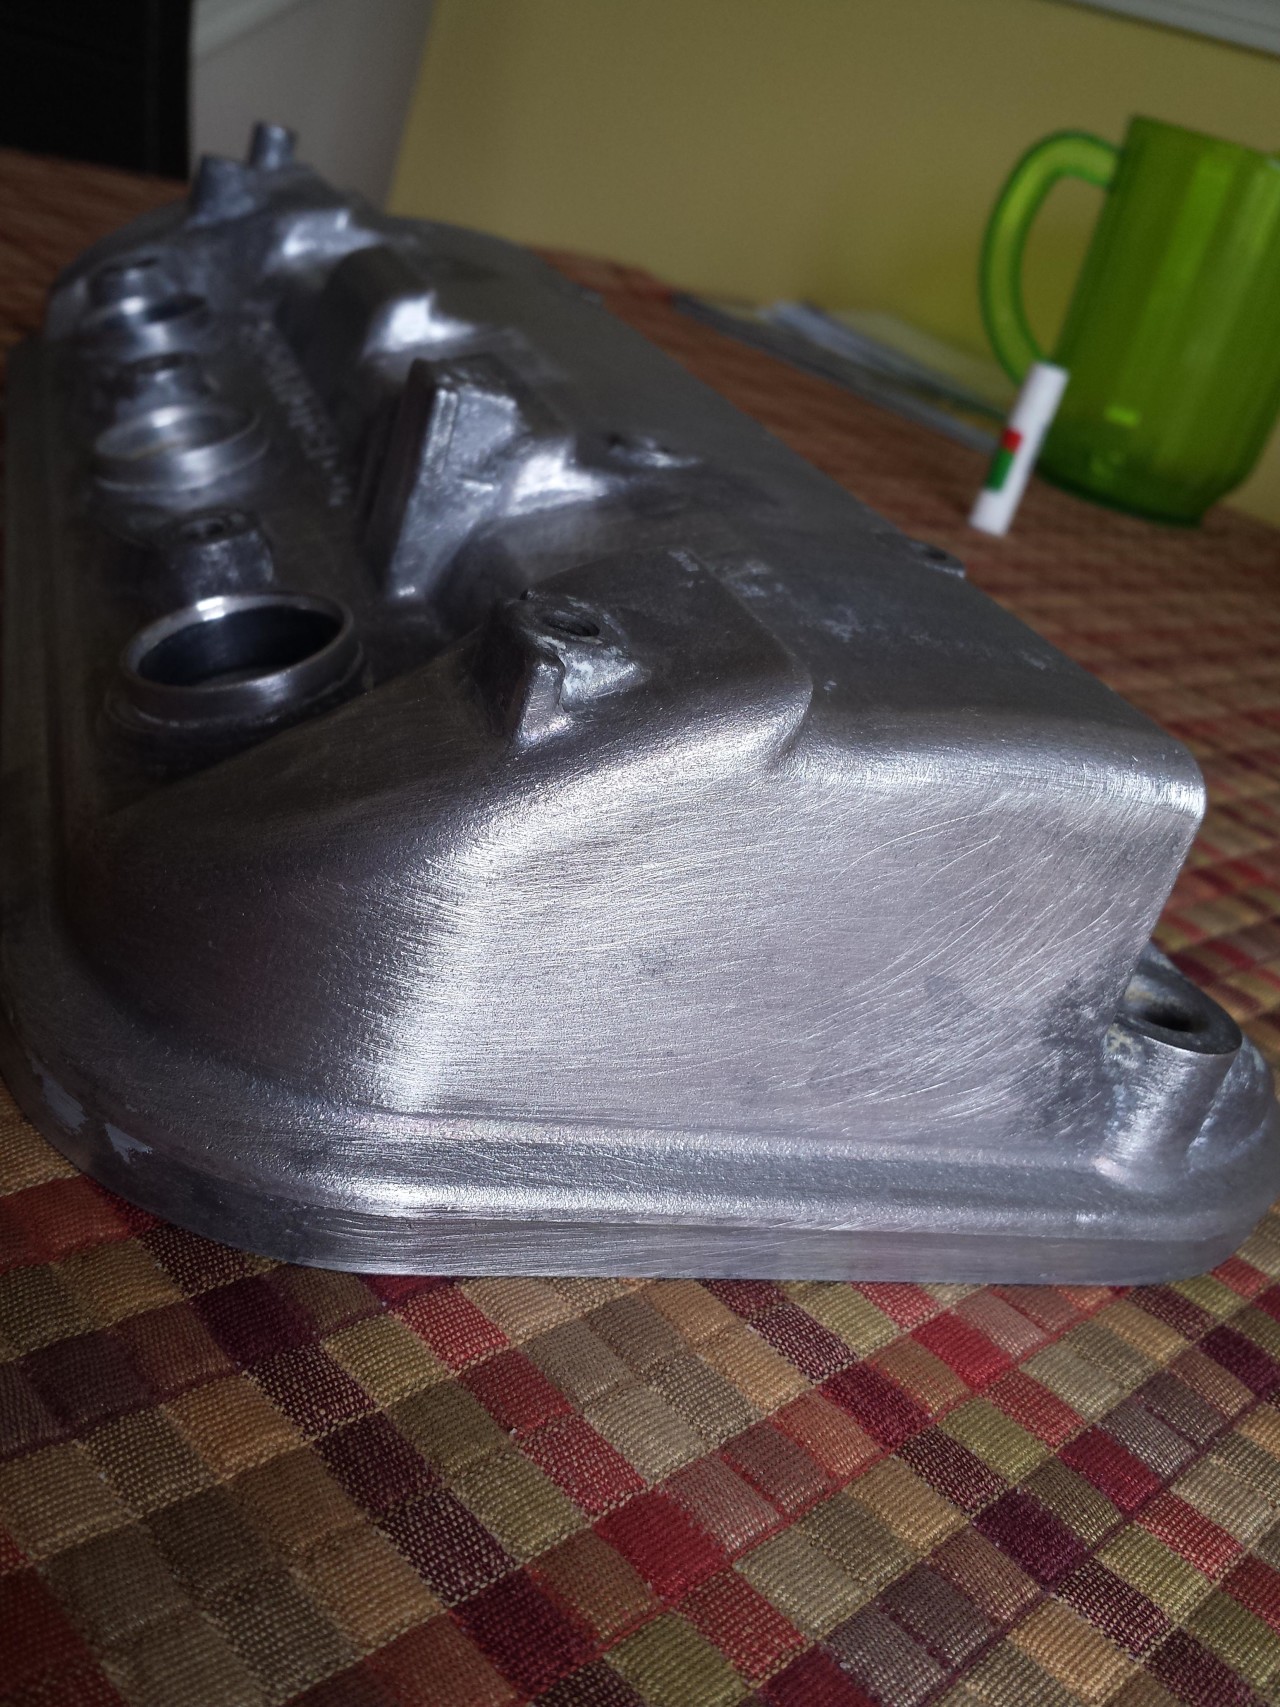
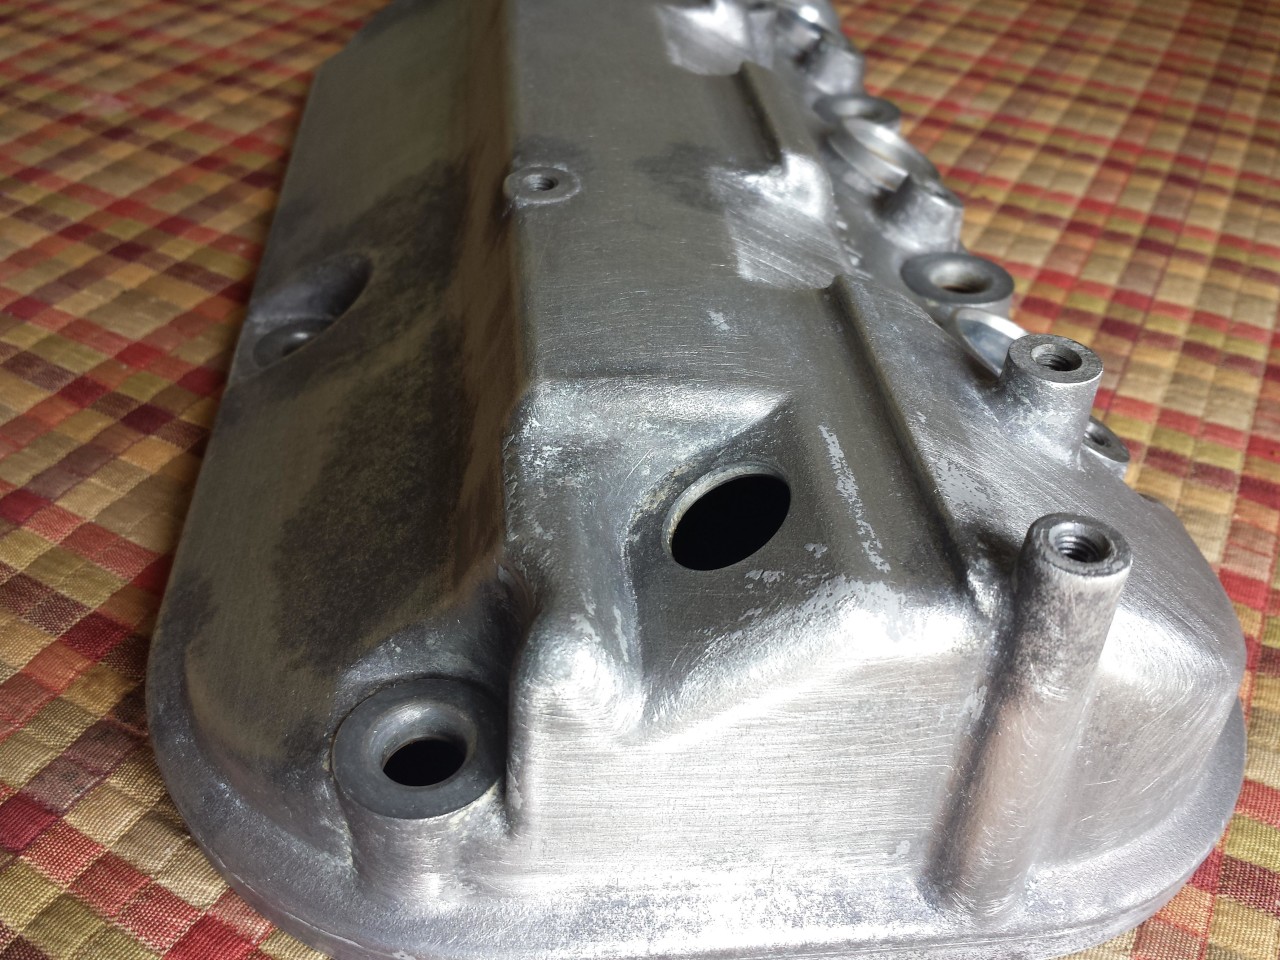
There were definitely some tight spots that took some extra time. But I was able to then get them with some patience.
This was the longest part by far, but with paint, prep work is very key!
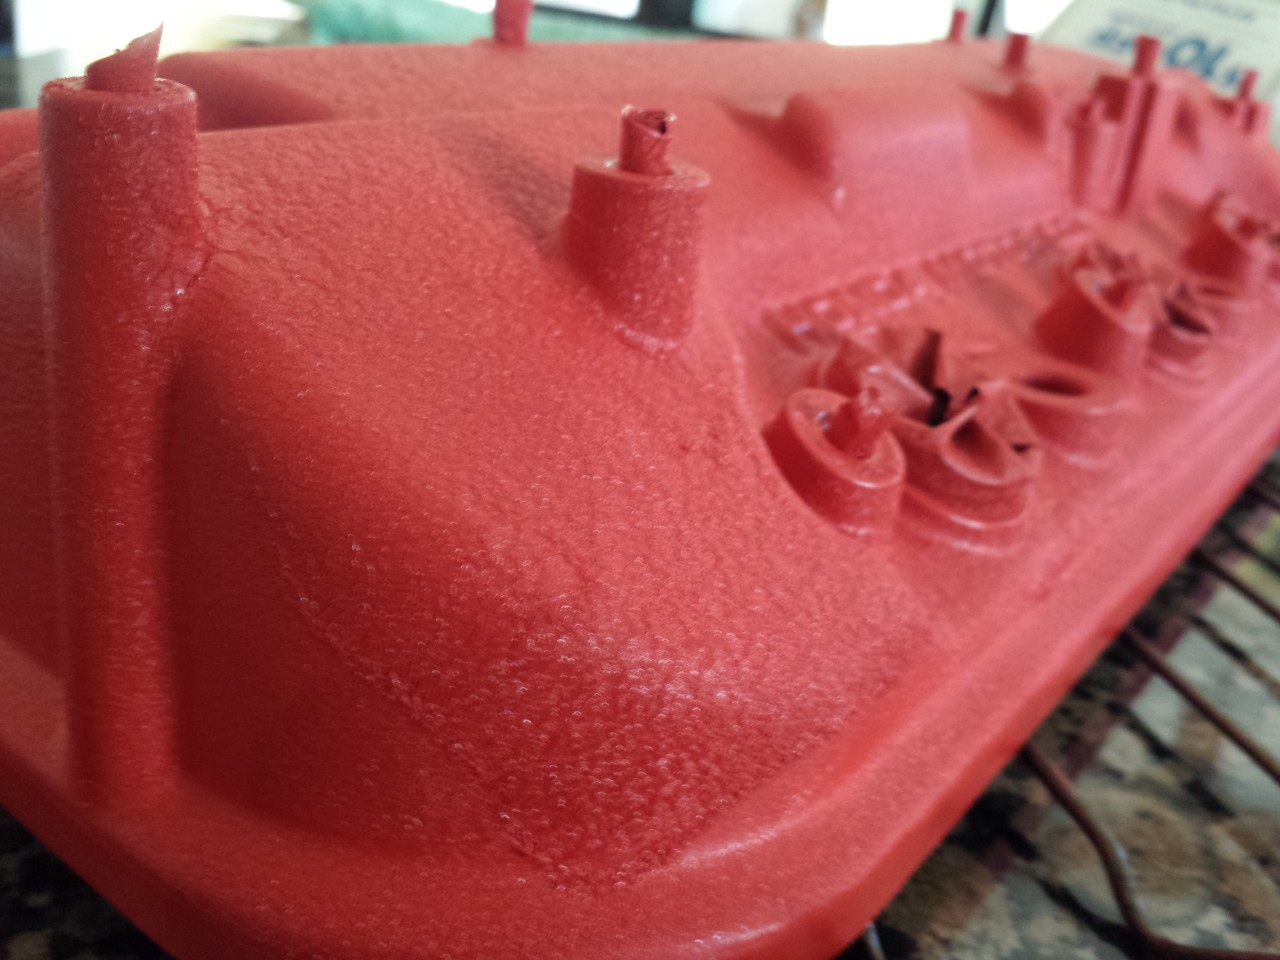
Then I didnt want it interfering with the actual function of the Valve covers so I had to tape things off.
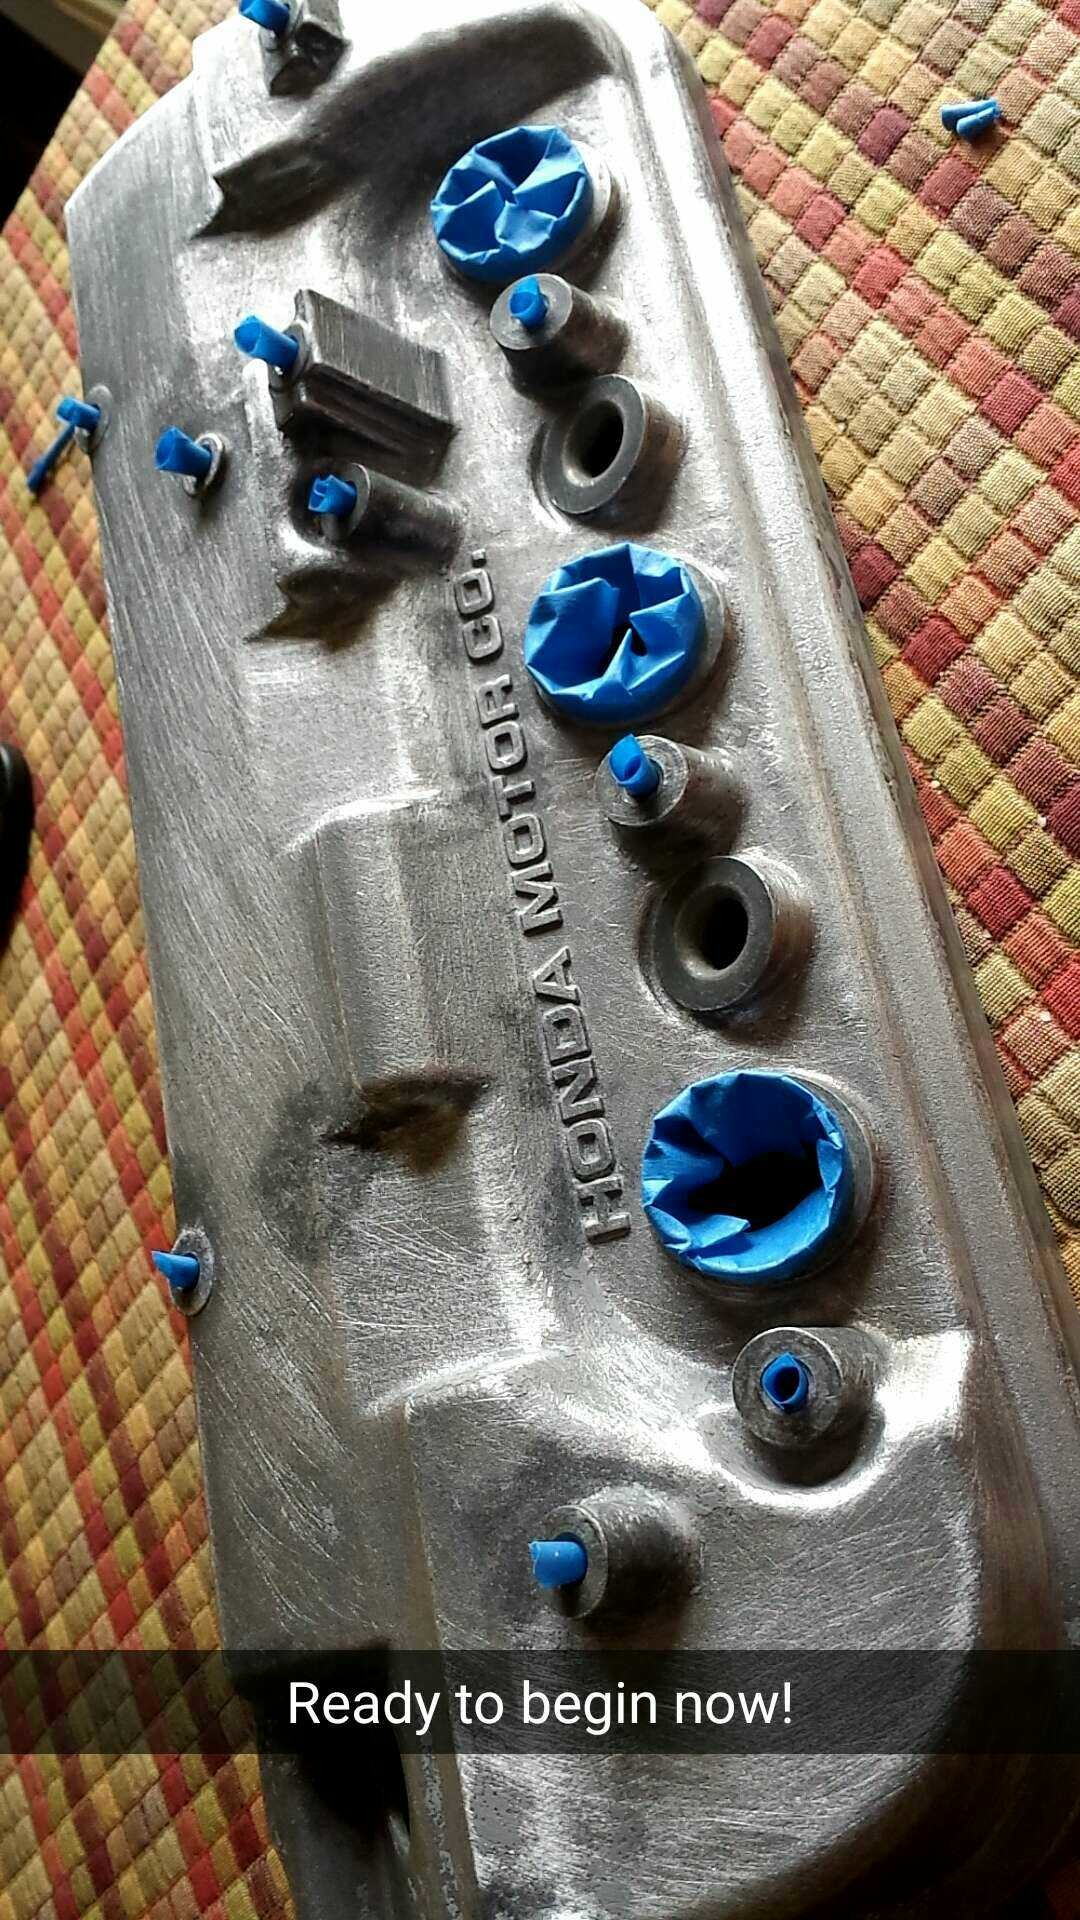
So I thought this was rather clever, I used tape and rolled it int cones and then I would put them into the holes for the lines and other equipment
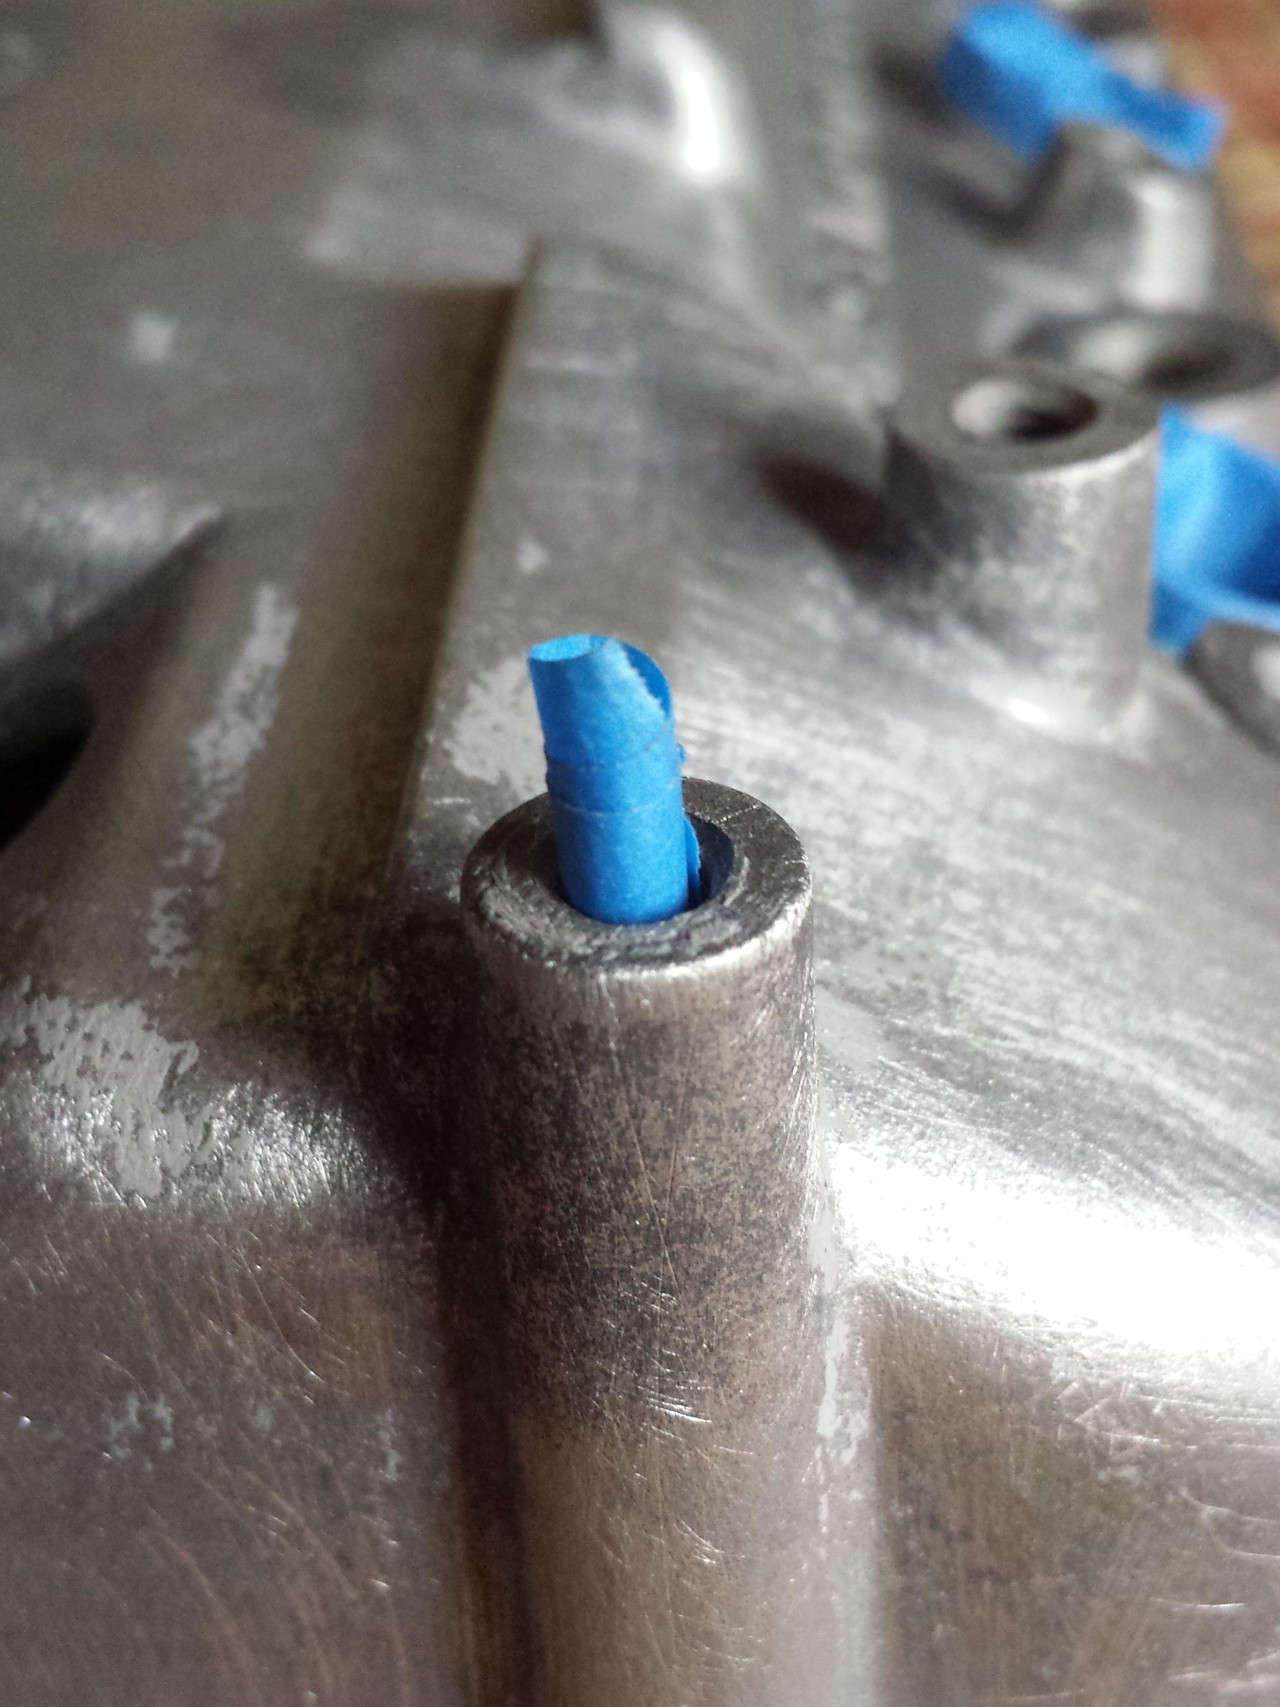
It would just fit in at whatever width it needed and the seal wold be perfect!
Plus you could just cut the top of them if they got too in your way.
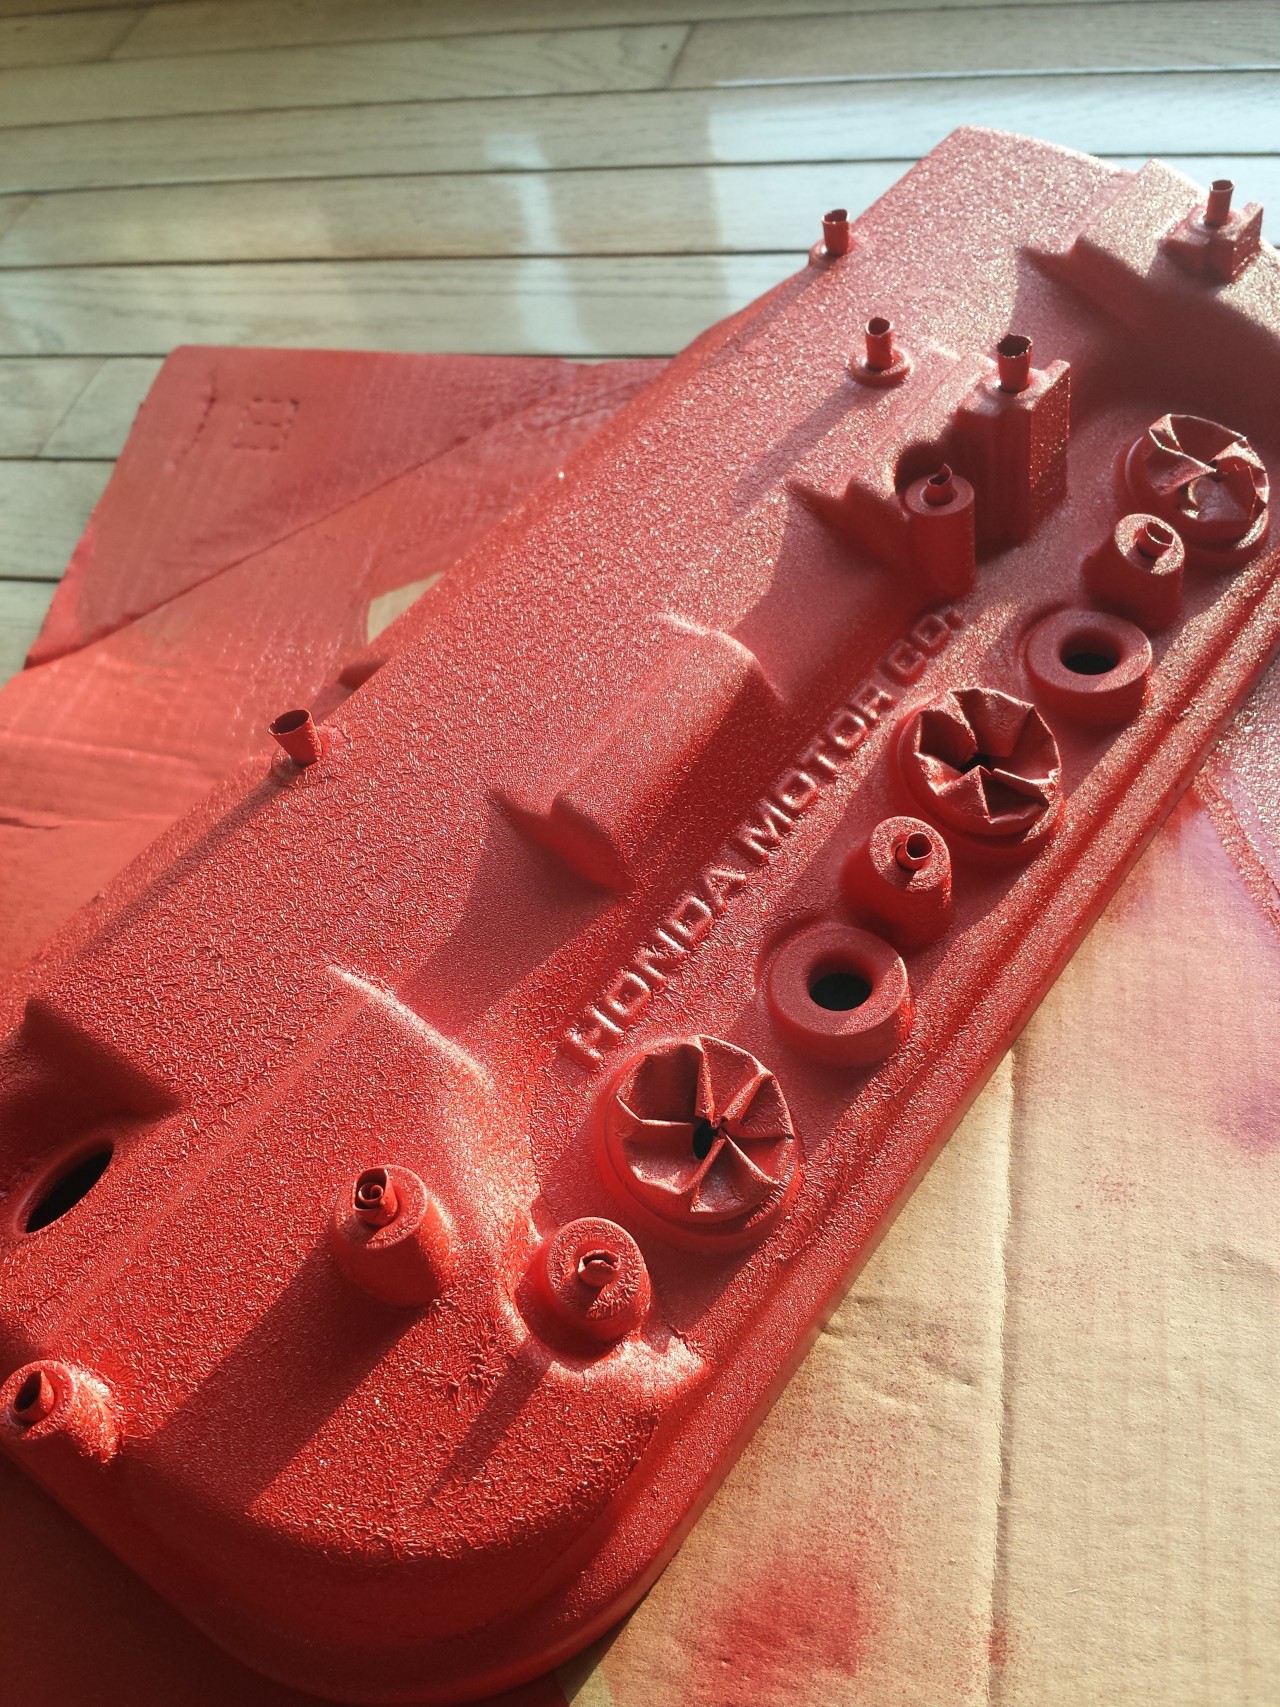
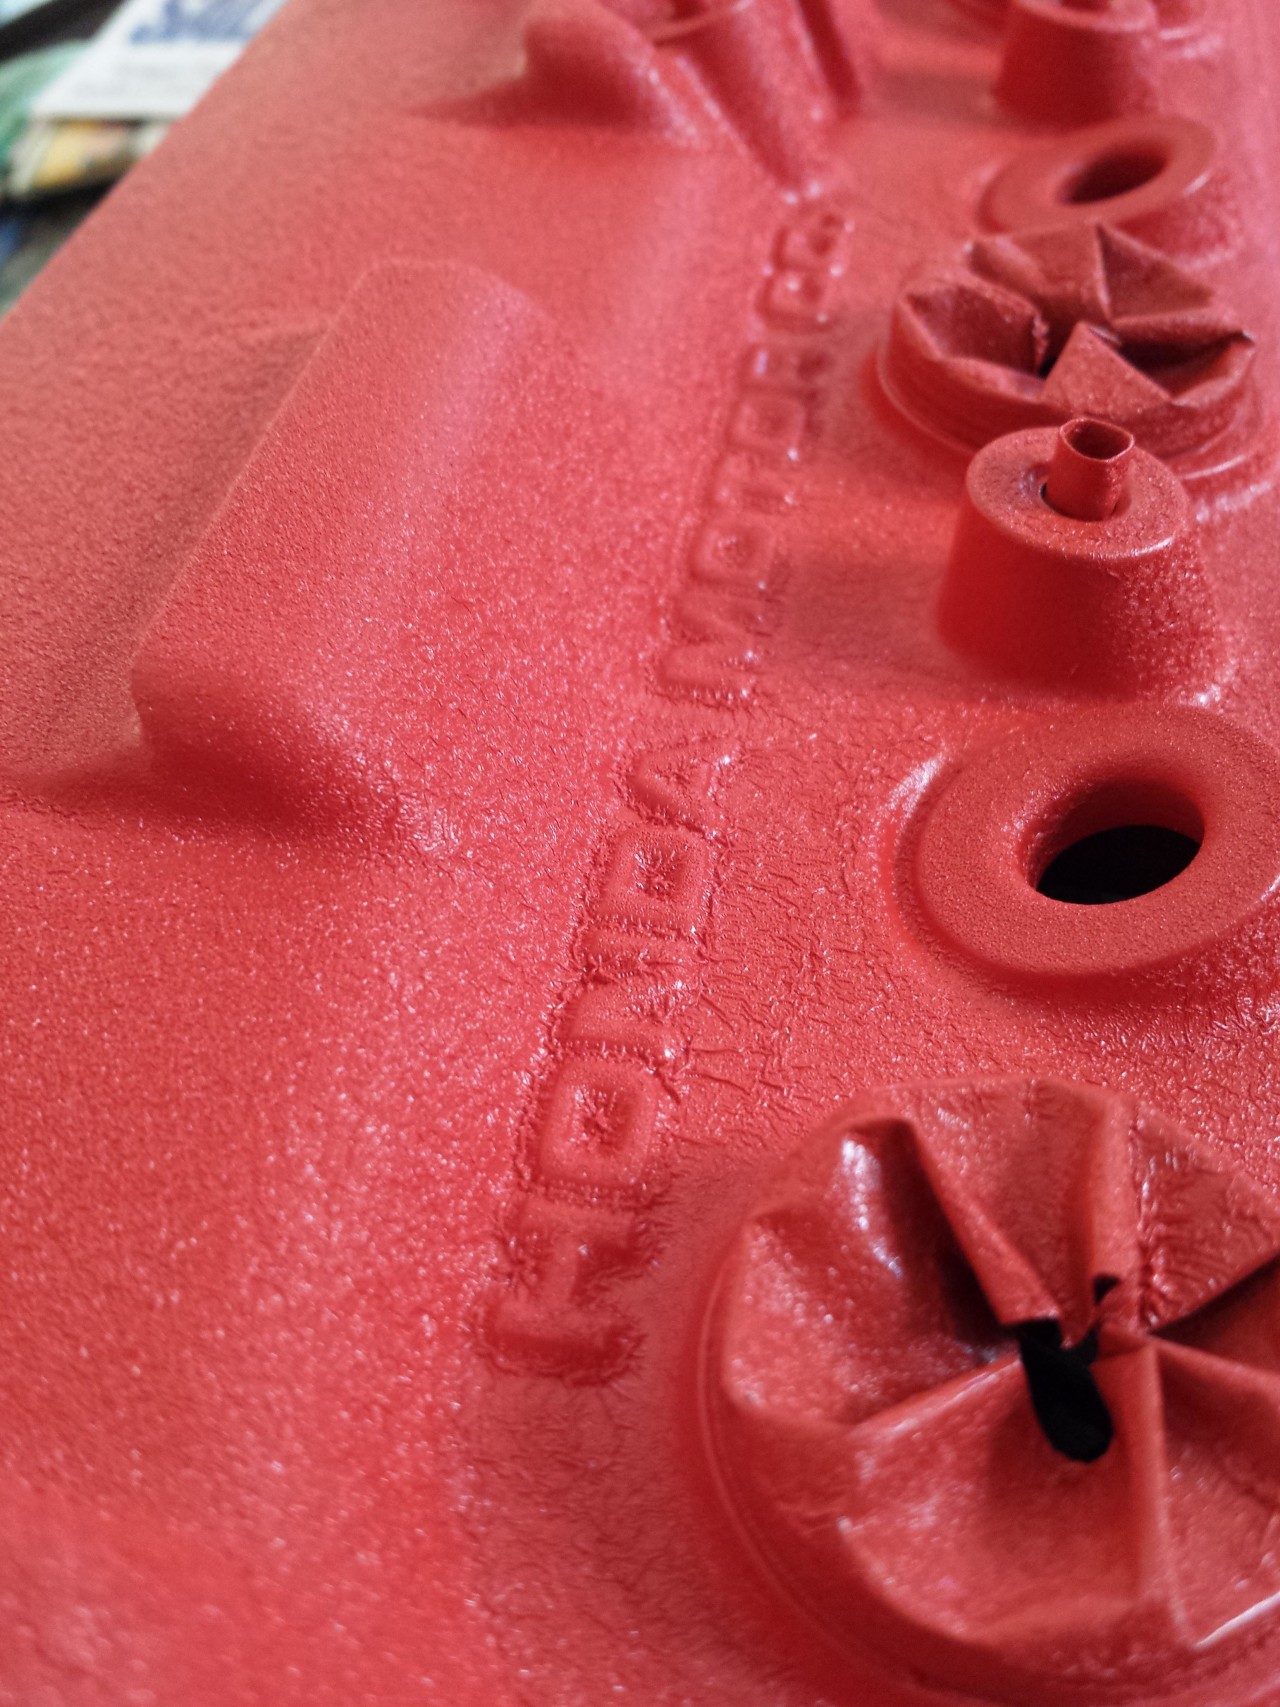
So then I ended up using some VHT Wrinkle red:
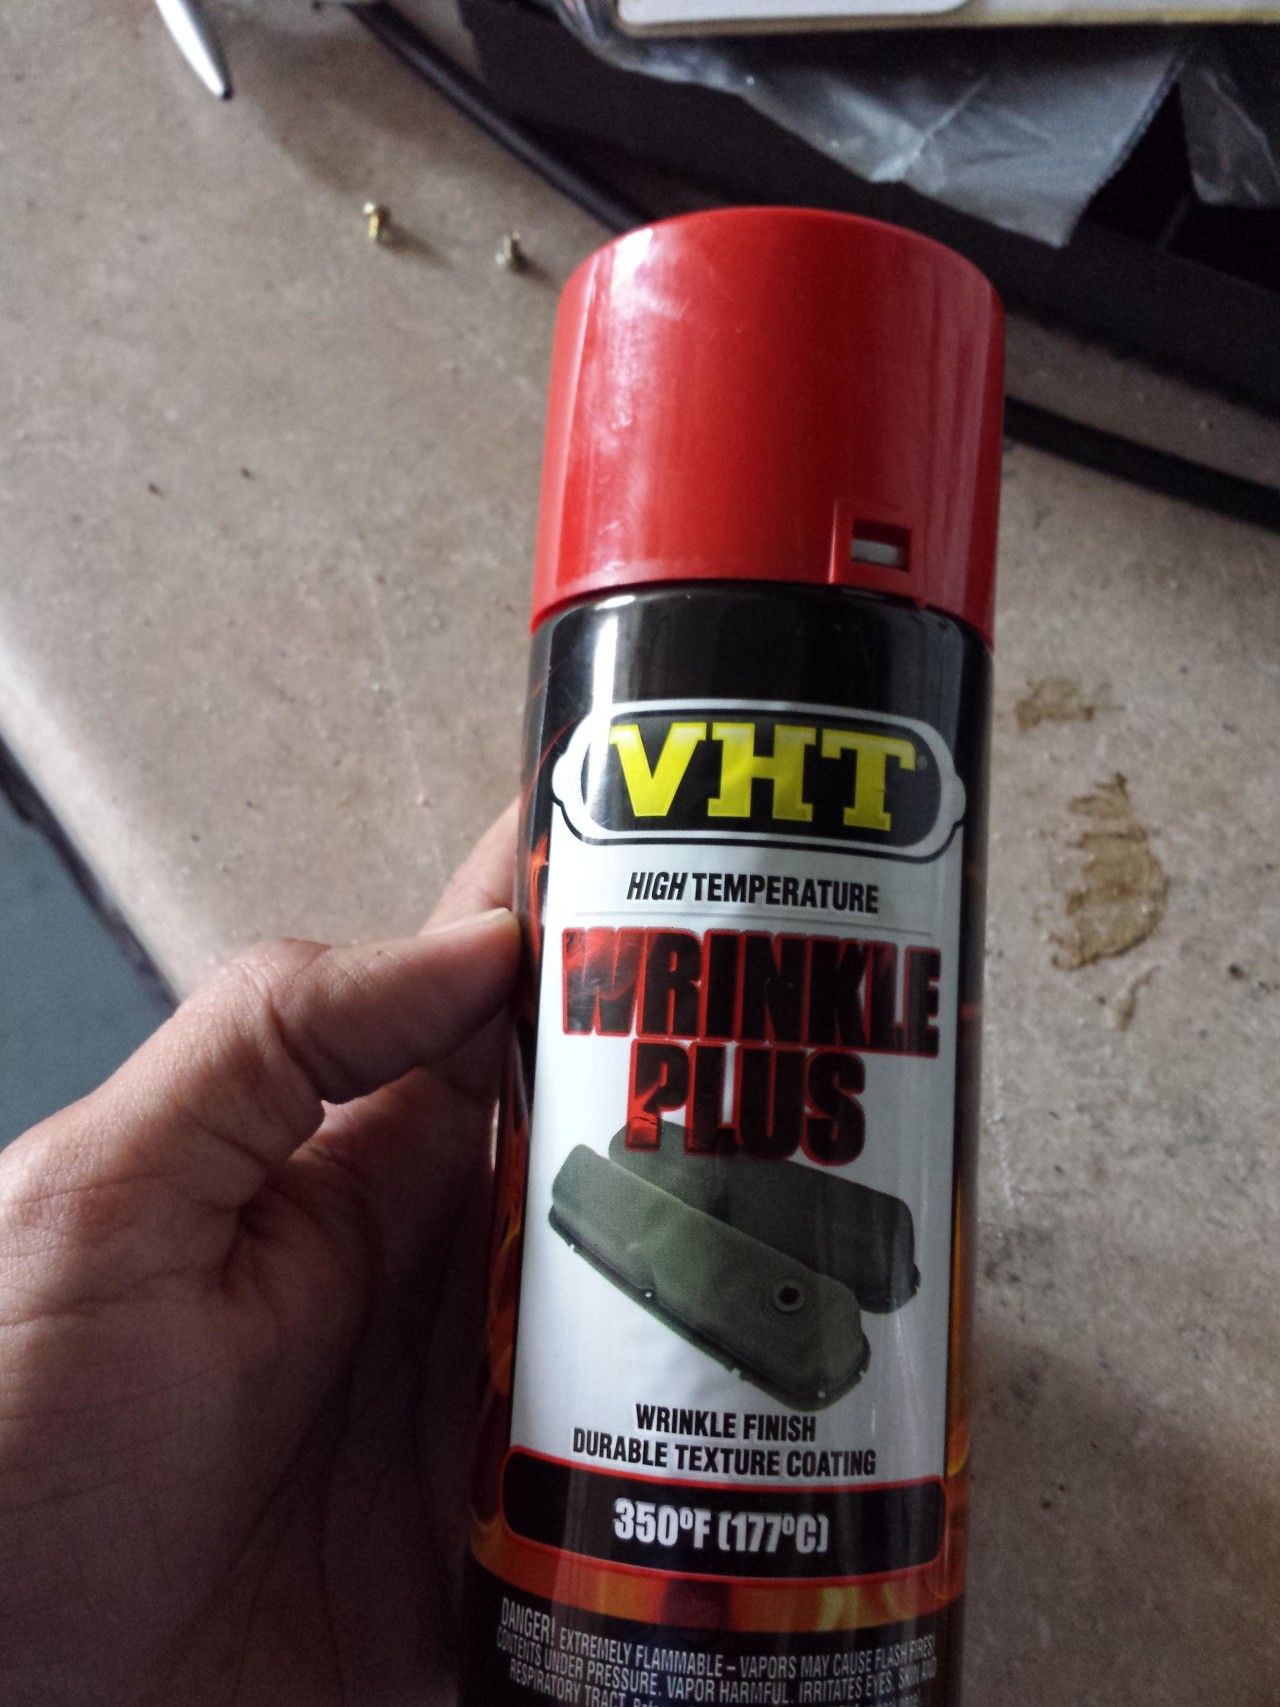
There are some different teqniques to the paint process, but the most recomended one is laying it down in thick coats, once vertically, once horizontally and then one at an angle. Then loop this process as necessary to get the look you want.
The issue here is that you wont really know the final true finished product until it is getting to be a bit dry.
So after a few coats....
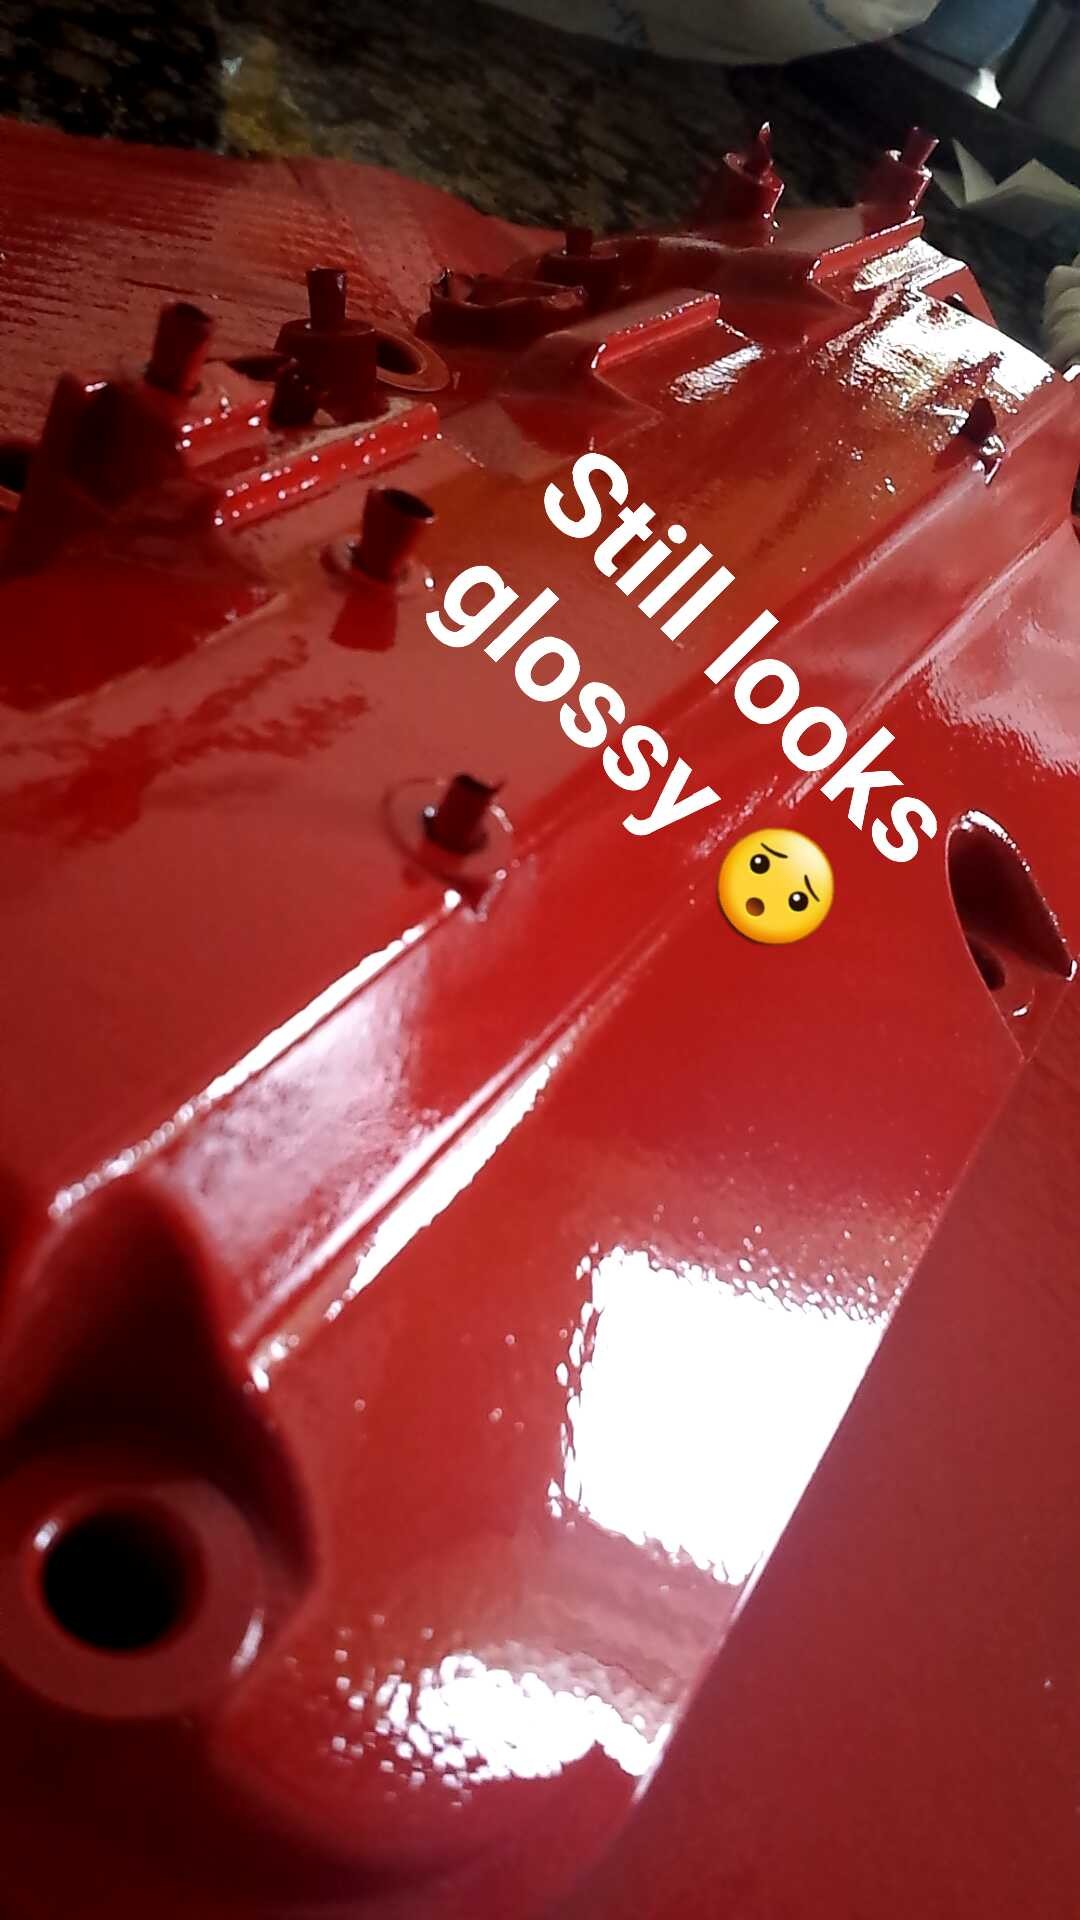
It may still have some sheen but dont worry yet.

You should be able to see them and correct them.
Like here I can see some tiger-striping.
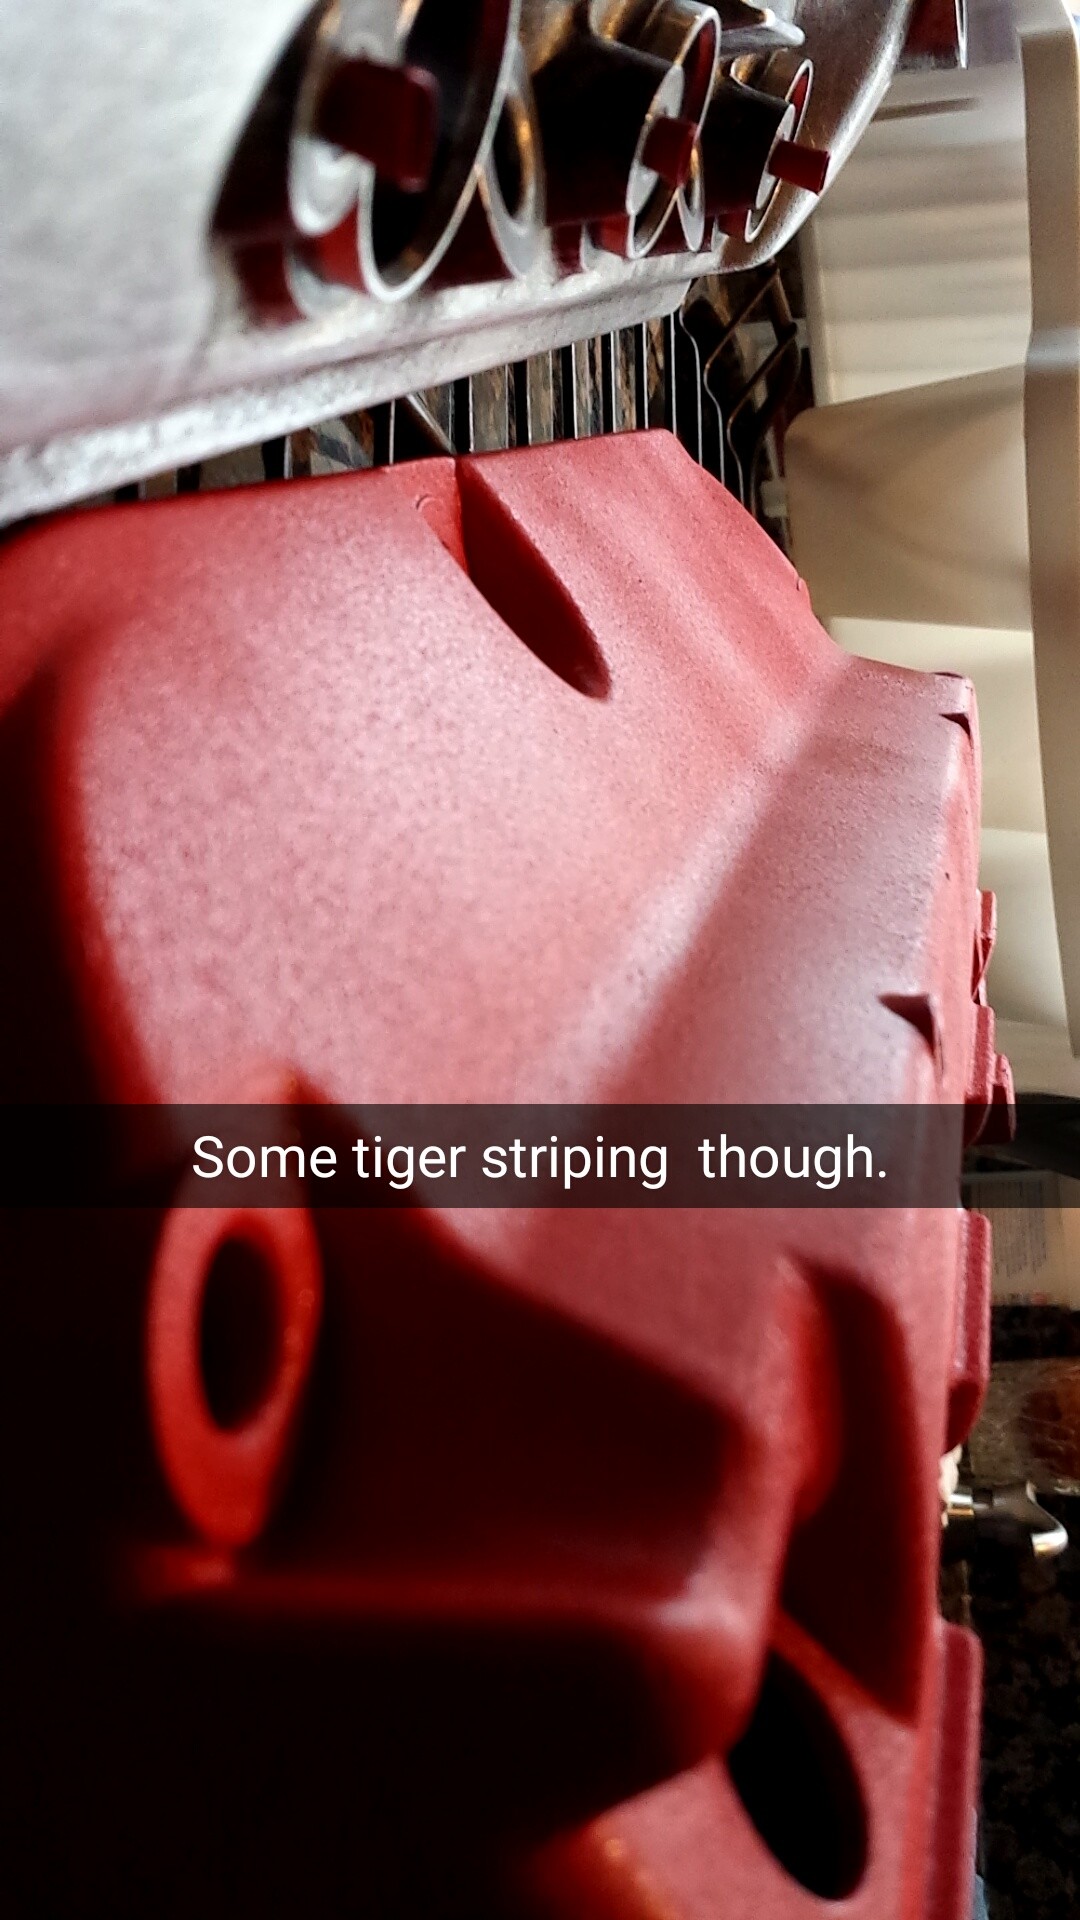
This is usually from holding the can a bit too close. I think 2 Inches back would be able to fix this.
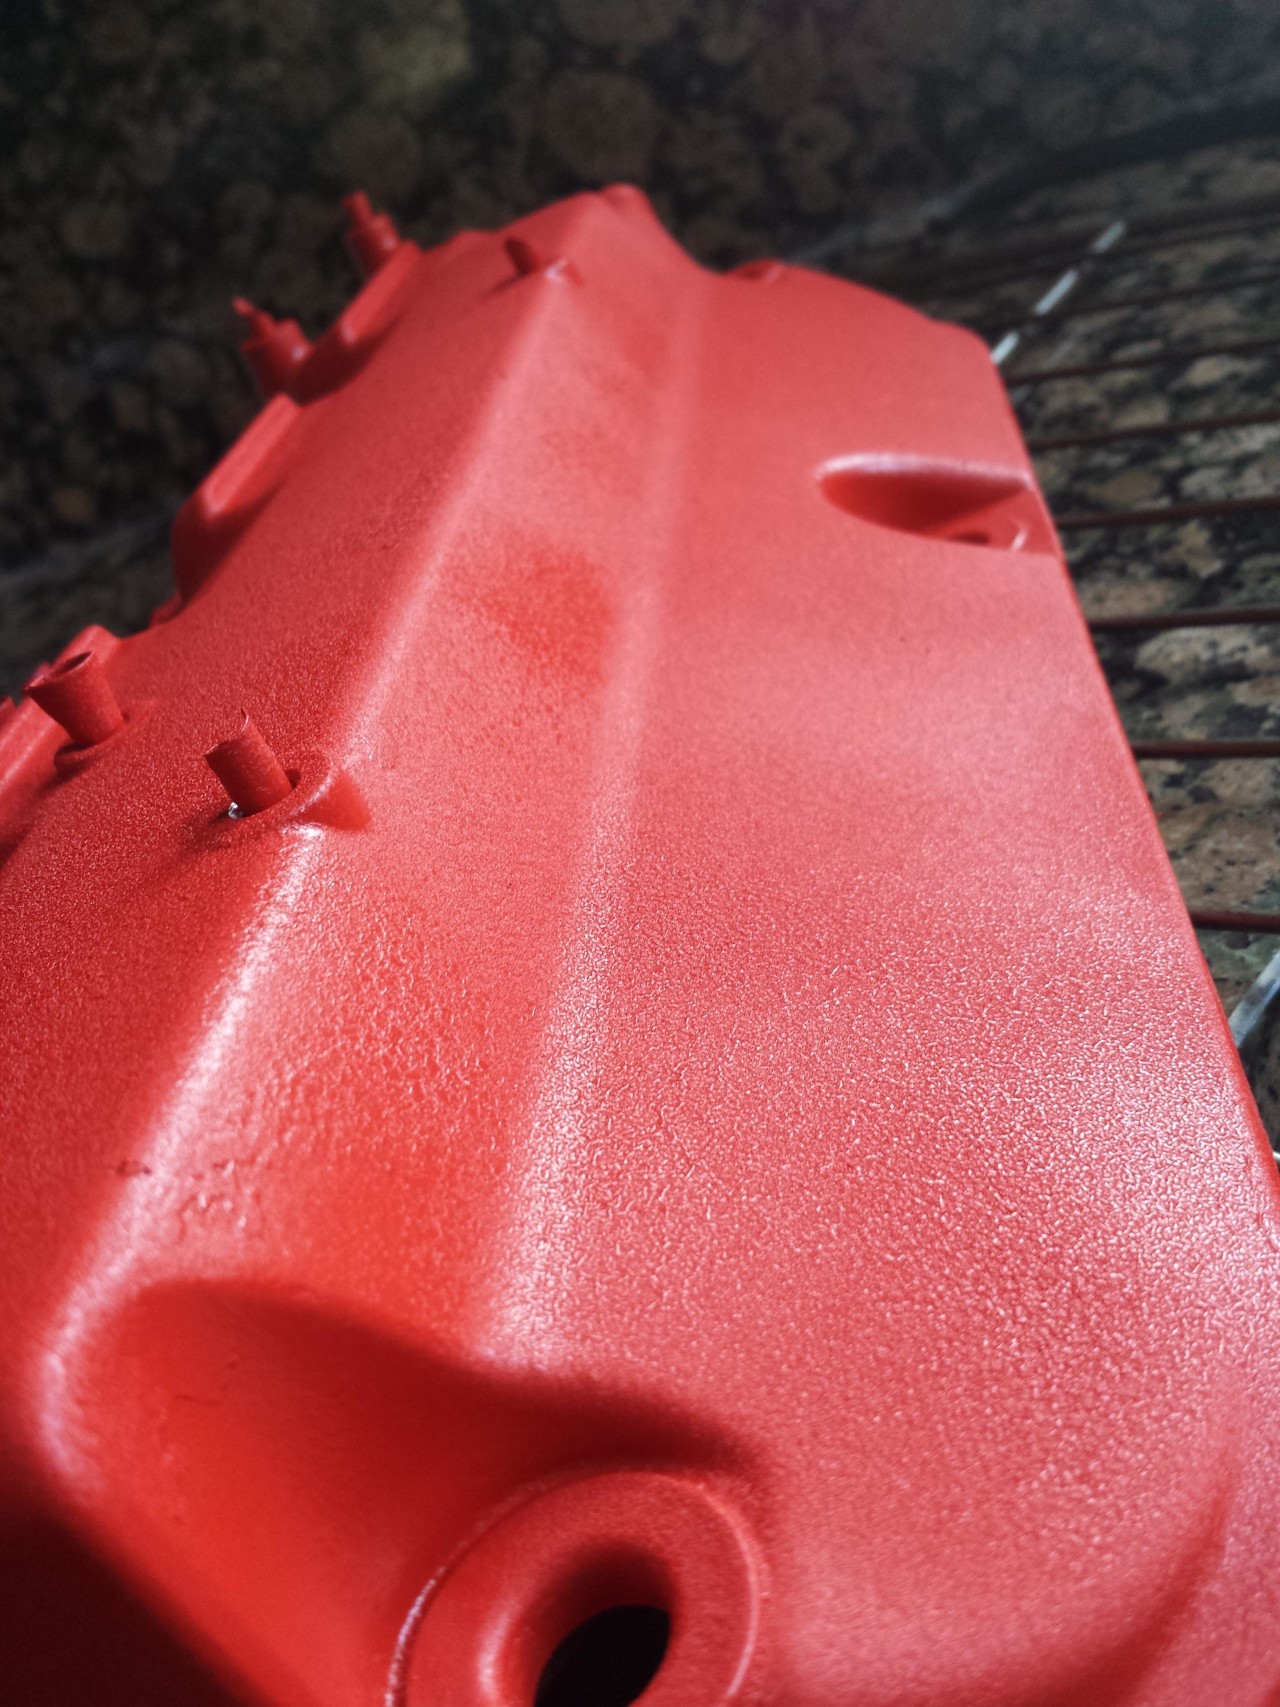
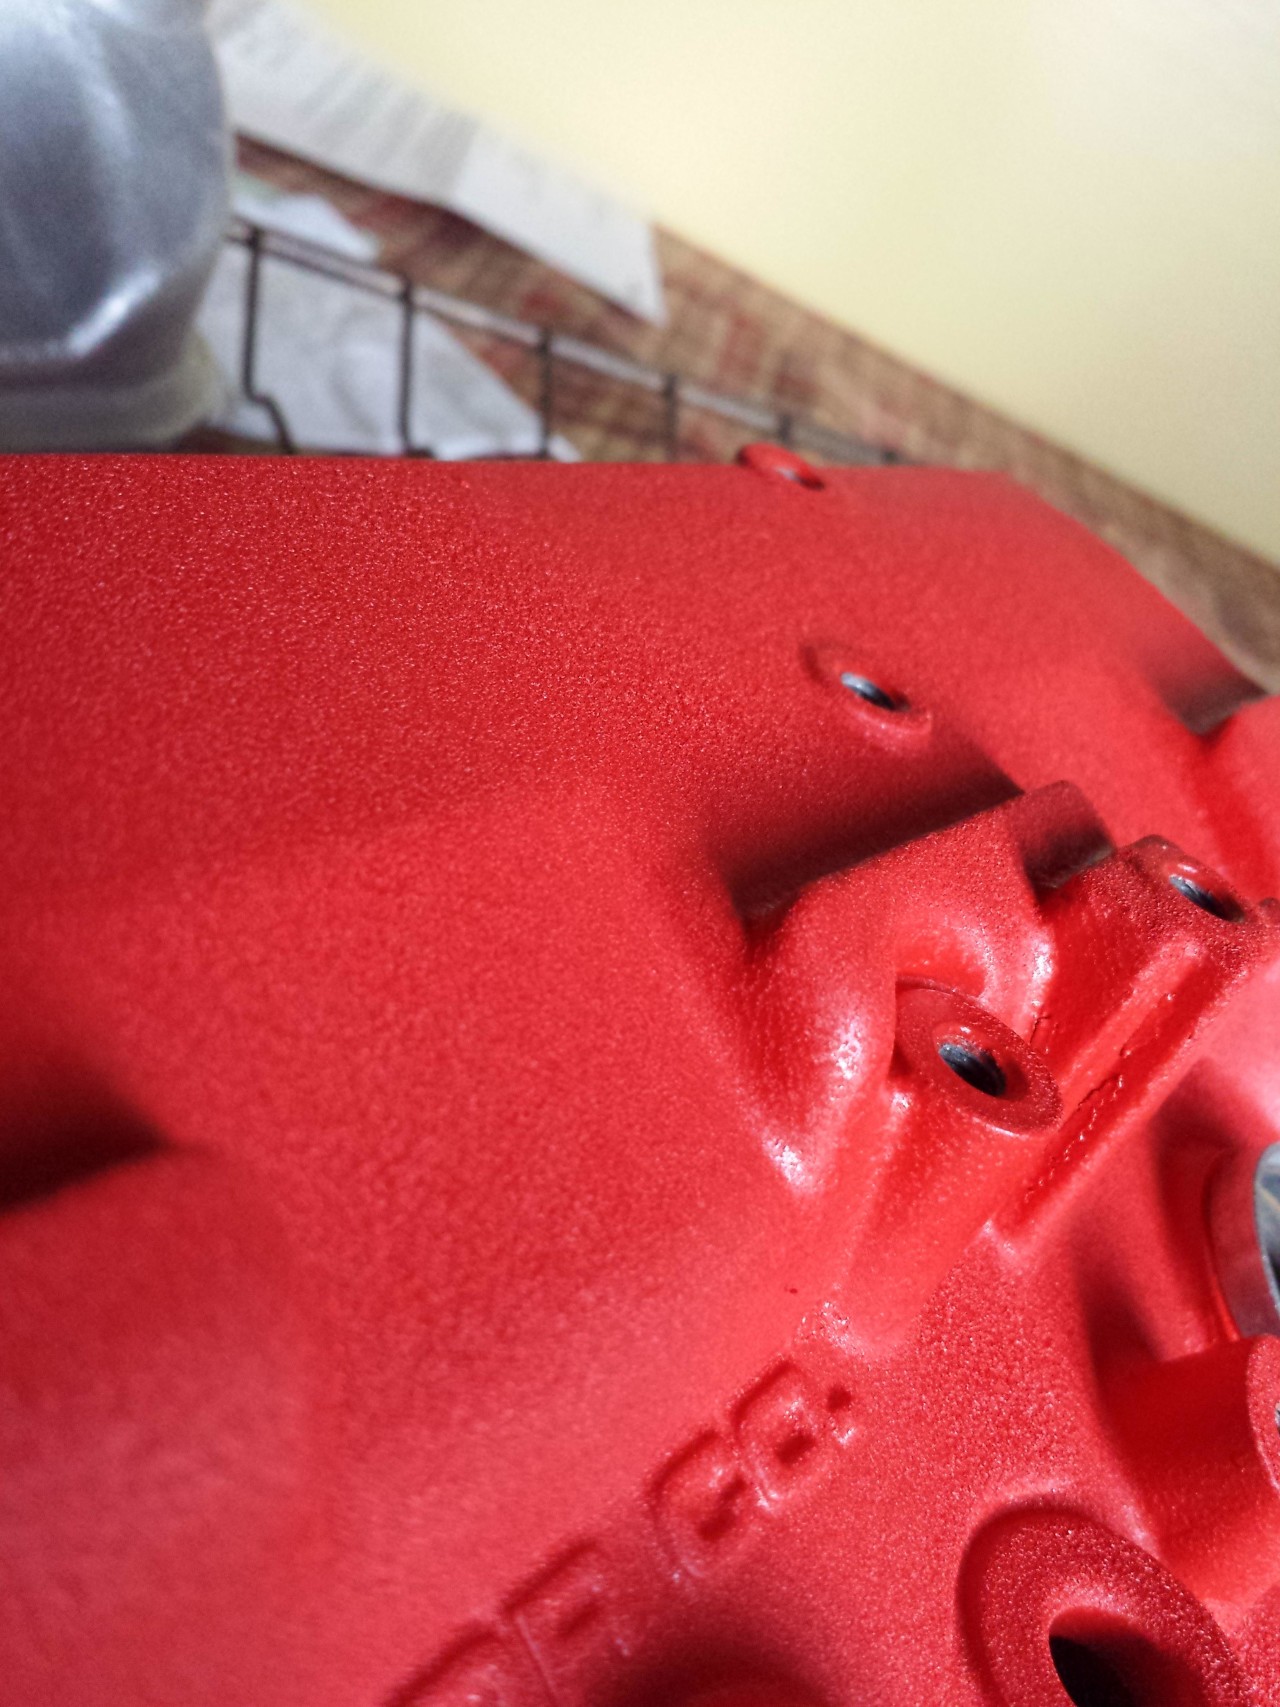
I was able to just use more layers, as I bought 3 cans just in case and had plenty to fix any errors by blending in some Runs that I was able to see
They are slight but the blending in later was able to fix it up quite a bit.
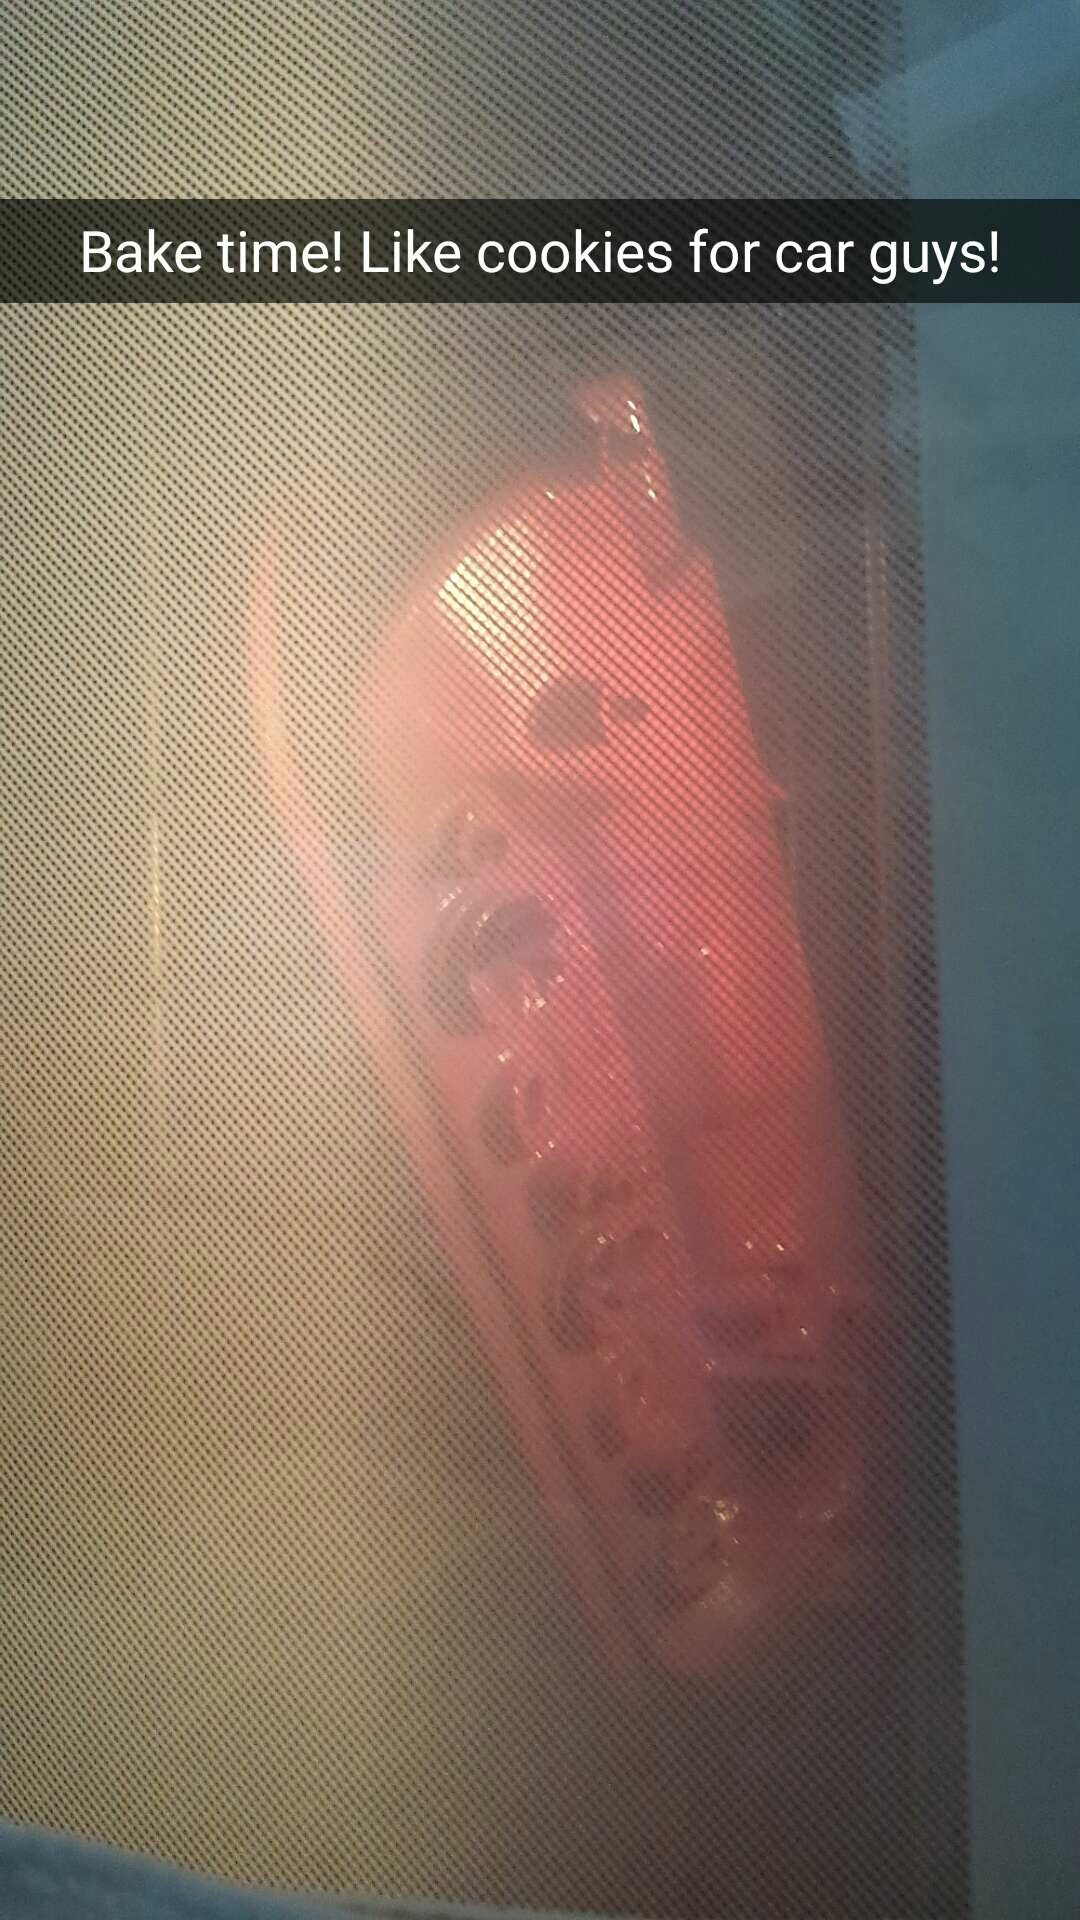
I was also baking this in my house, and yea, it definitely smells quite a bit and will stick to somethings as you bring it in and out of the garage.
It will also collect in some ridges so the battle between laying too much down and it collecting, and the end wrinkle result was a bit hard.
But it works out!

So very much!
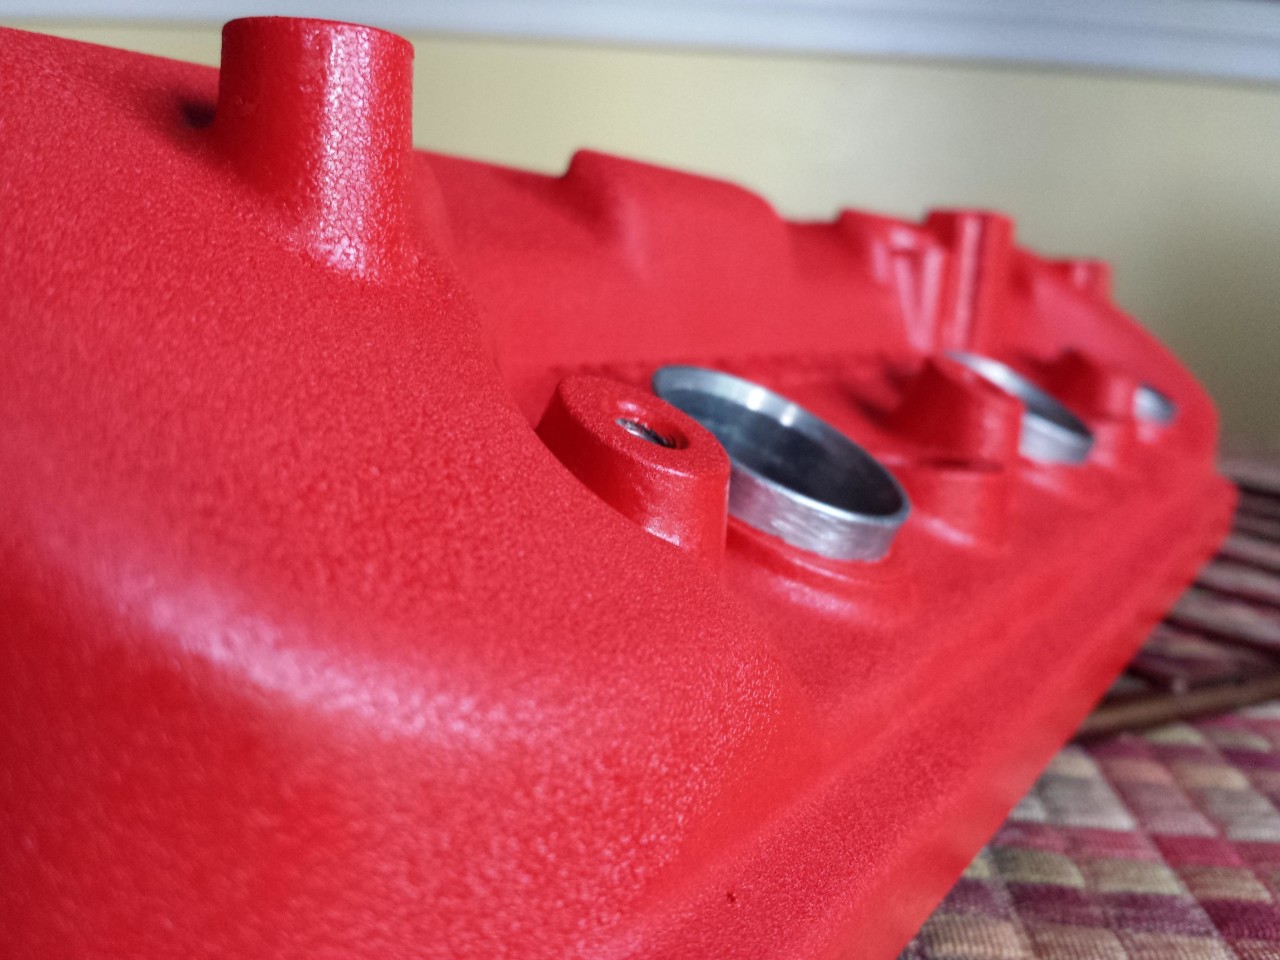
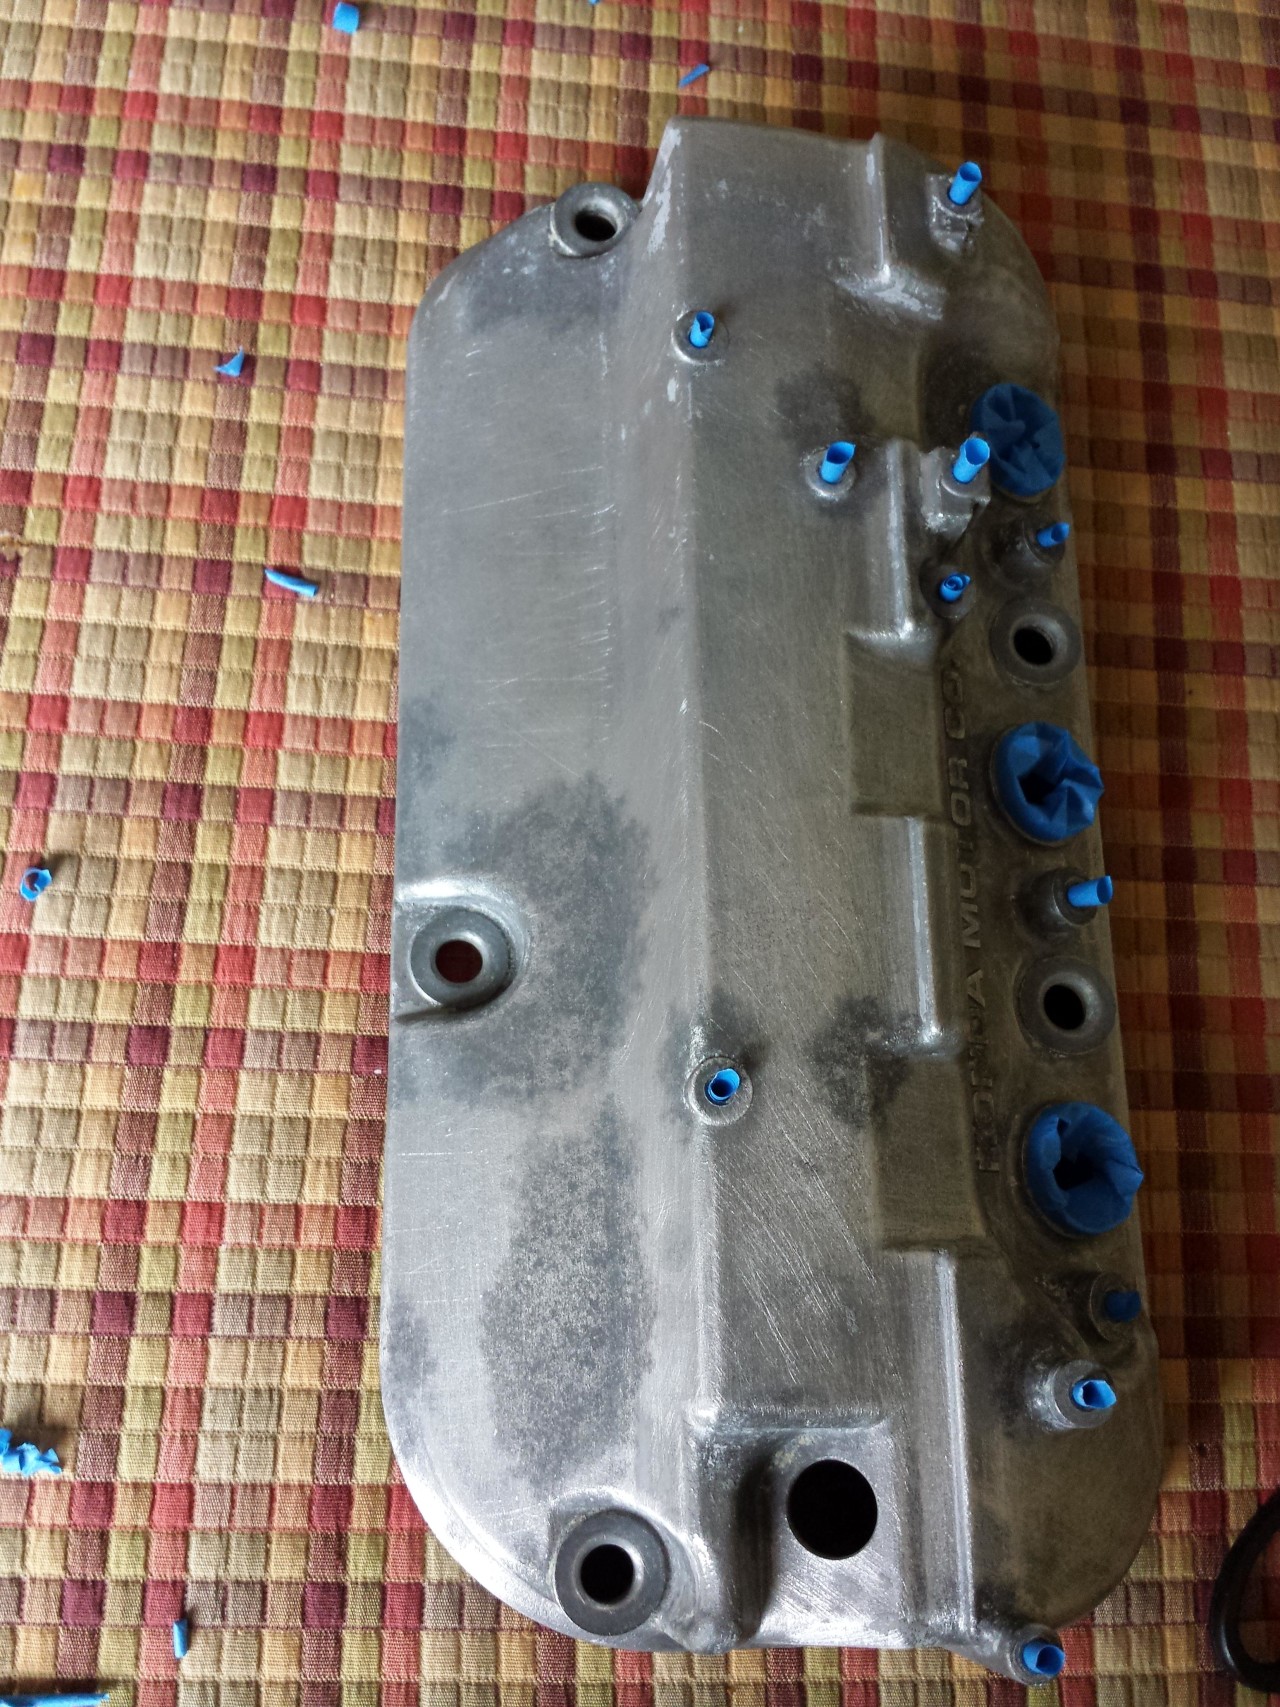
And pulling the tape cones out leaves the screws perfect!
So I practices on the rear one and then applied my techniques to the front one. And they both came out great!