You must be logged in to rate content!
7 minute read

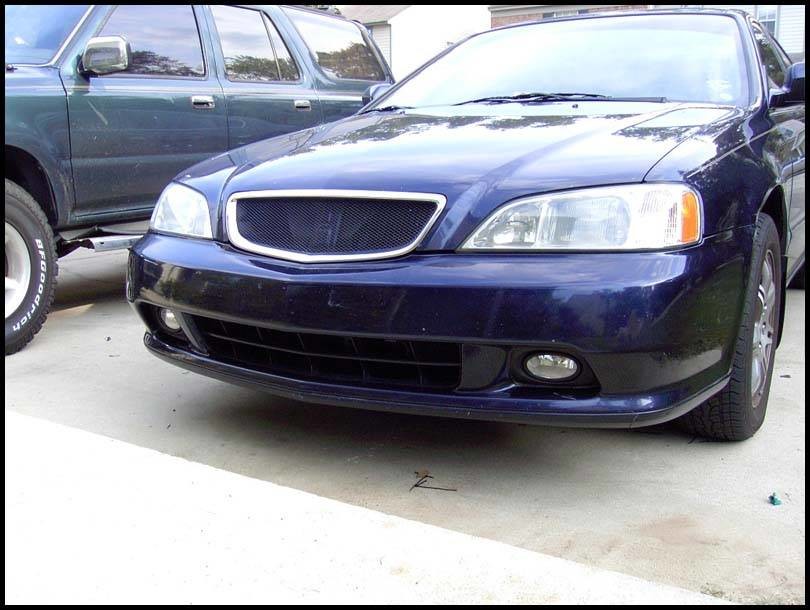
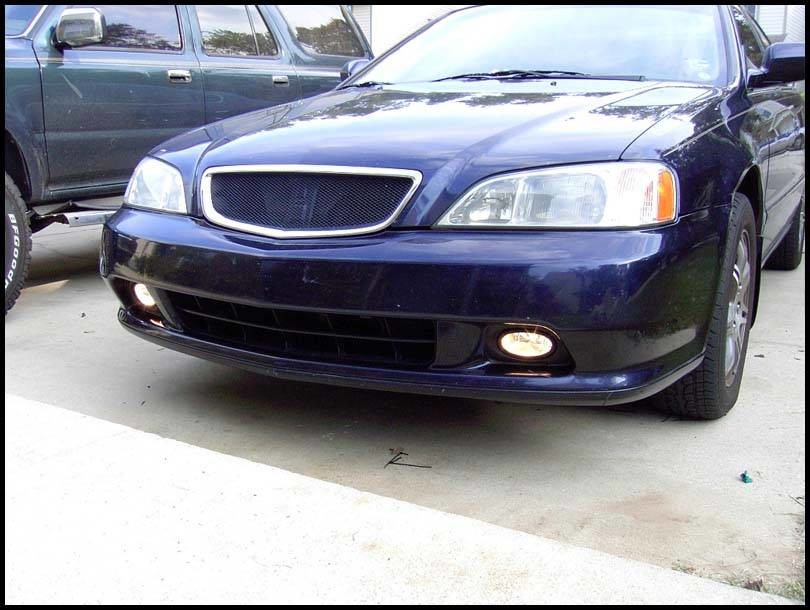
01-03 Civic fogs on 99-01 TL
Compliments of 6MTUA5 @ https://acurazine.com
8-23-2007
MATERIALS NEEDED:
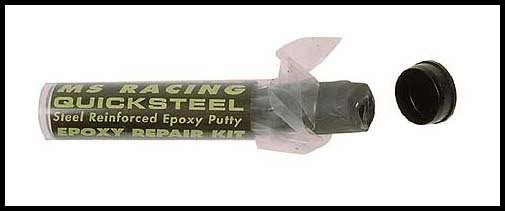
•01-03 Civic fogs  •Dremel w/ good metal cutting blade and sander•Quicksteel or Bondo
•black silicone
•screws
•drill
INSTRUCTIONS:
(all instructions are above the picture)
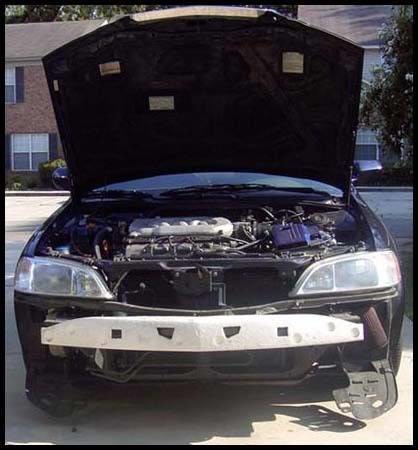
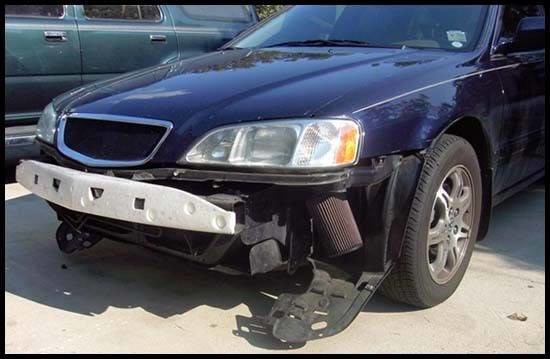
Remove the front bumper. There is a screw in each wheel well at the front. Remove all of the plastic clips from under the bumper and under the hood. There are two bolts under the hood as well.
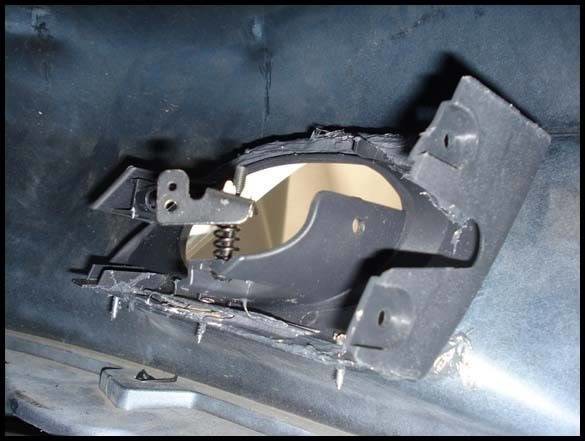
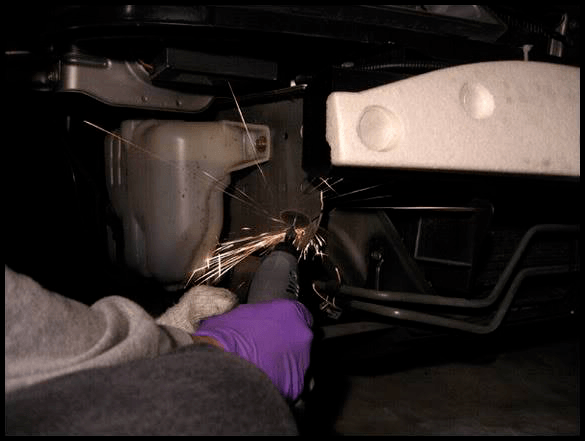
Start cutting out the pockets of the front bumper
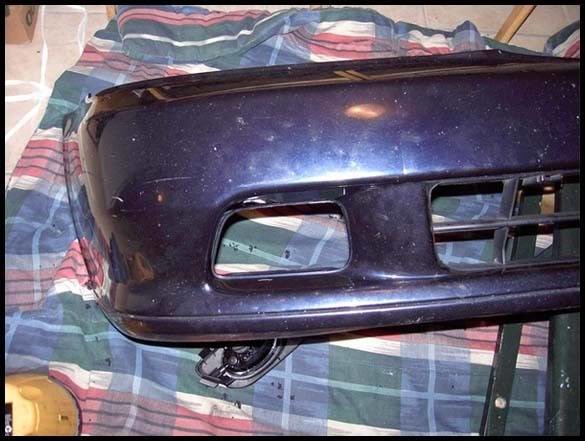
Leave the bottom part of the pocket there to screw the fog light housing to

Test fit and slowly cut away more of the pocket as needed to have a tight fit
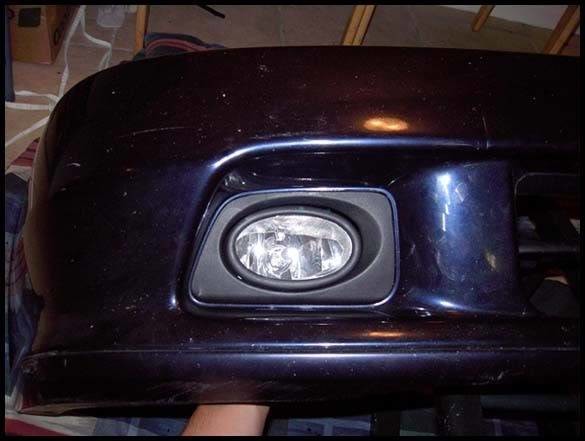
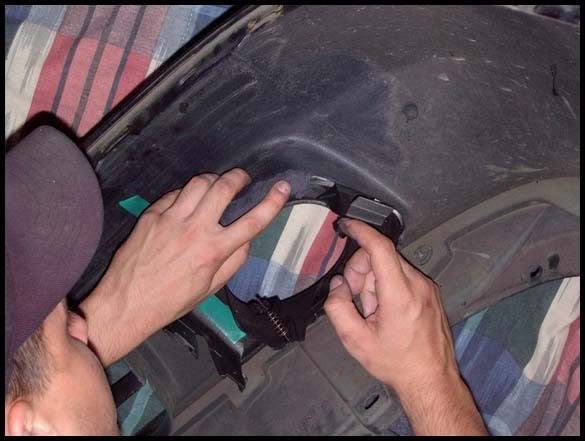
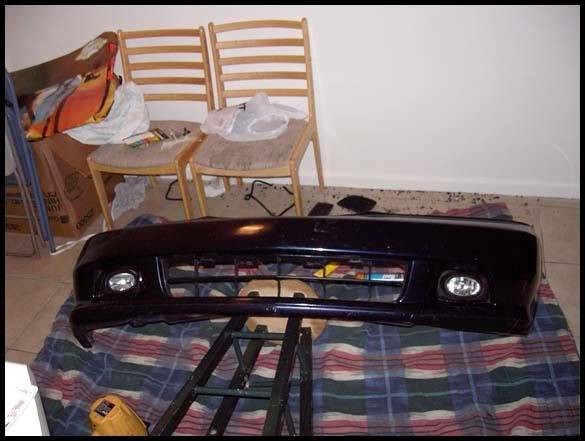
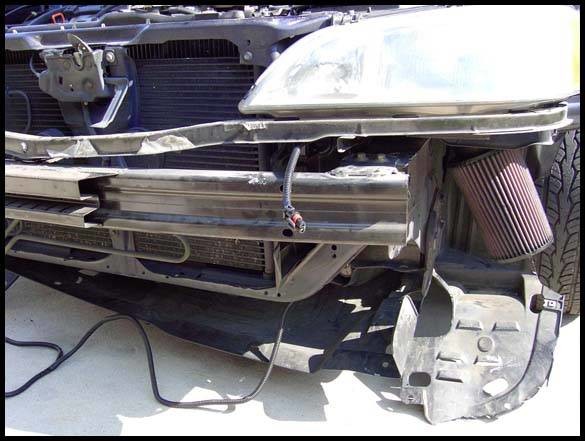
Attach the bottom or the fog light housing to the bumper with screws and make sure everything is straight
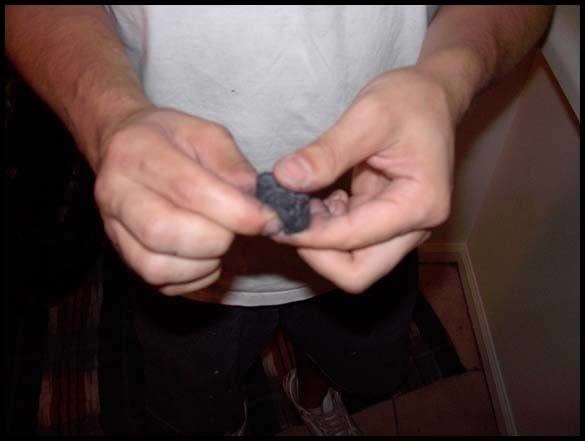
Attach the top of the housing with Quicksteel, Bondo or similar product. I used Quicksteel and it comes in a roll that you mix together to activate.
Use clamps (or green electric tape like I did) to make sure the fog housing is tight up against the bumper.
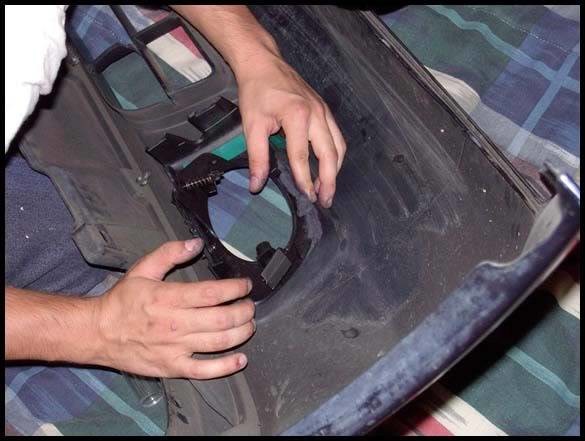
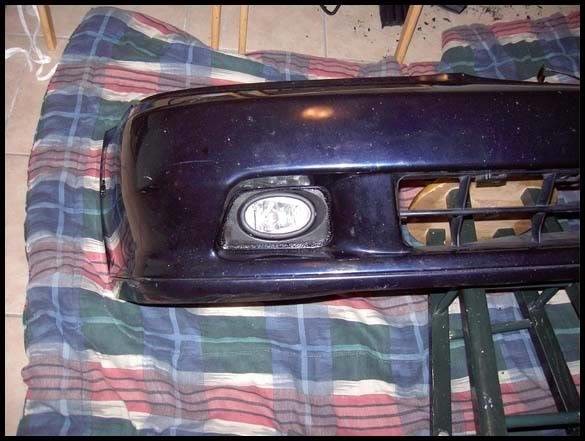
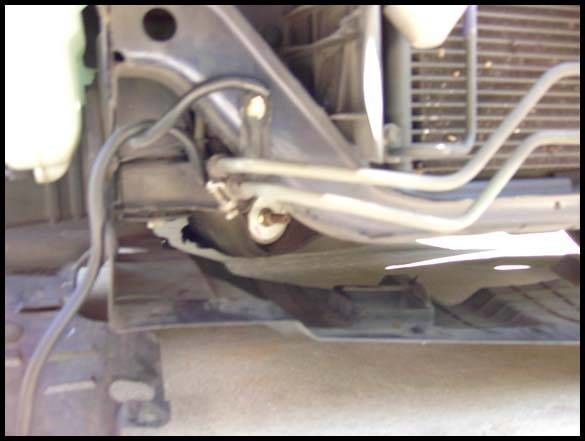
Allow the Quicksteel to dry and check for any holes between the fog housing and bumper pocket and fill those with black silicone or other sealer of your choice. I had to use roofing stuff b/c it was the only kind I could find in black. I may try to find some other stuff later, if it bothers me enough. The picture below actually magnifies it and you can’t really see it that good in person.
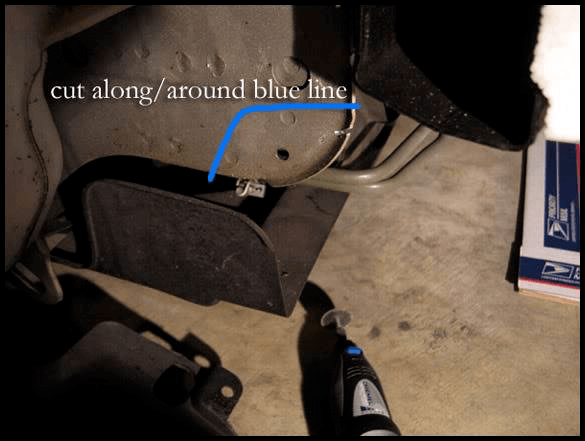
You need to cut a little notch off of the bumper that the fog housing hits when the bumper is on. You don’t need to cut out quite as much as pictured, that is from a DIY for Accord fogs. Right on the inside of that line should be fine for these.
Originally Posted by subtledreamer
and do wear your mask & goggles & gloves & long sleeve while doing this!!!
and TAKE YOUR TIME when cutting... the metal is pretty thick towards the inside.
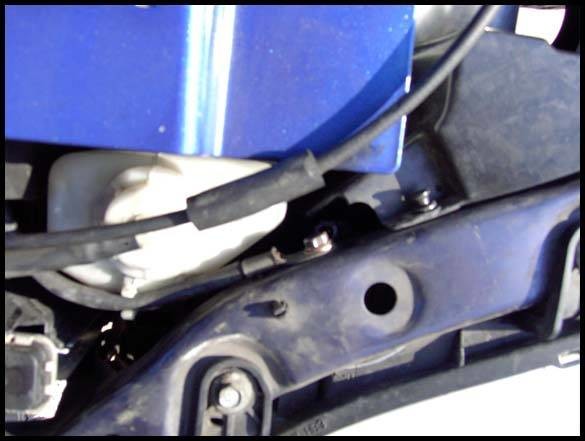
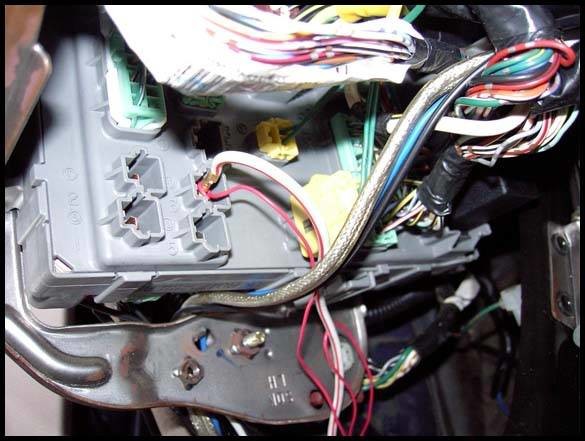
Run the wires from the front bumper where they attach to the fogs and through the engine bay and firewall and into the cabin. You will need to ground on each side of the front bumper. On the passenger side, I grounded to a random bolt by the radiator (I ran the wire below the radiator to the driver’s side). For the driver’s side, I shared the same ground that is from the negative terminal on the battery. Make sure you disconnect the negative terminal from the battery before you undo the ground to add the new one for the driver’s side fog.
In the cabin, you will need to plug it into the socket shown to get power when the lights are turned on. The other red wire you see is one you have to add. It plugs into the same spot on the fuse box as the white wire, and the other end you have to connect to this socket, which is on the wiring harness supplied.
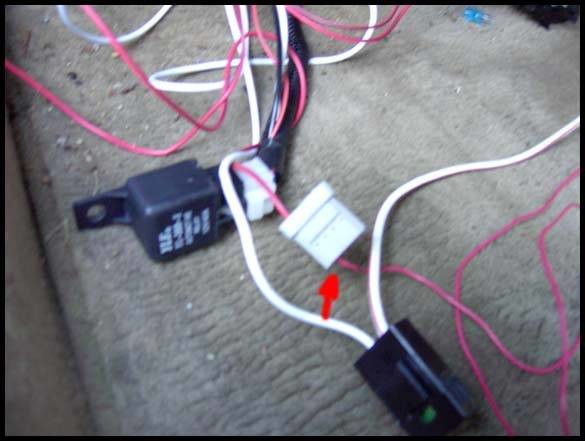
We haven’t really found a way to mount the switch well. salvo24 took the circuit board out of the Civic switch, and mounted it behind the blank dummy switch. You just cut a hole in the dummy switch for the little red button to stick out of.
Turn everything on and enjoy!
I want to thank salvo24 and his dad for coming over and helping me figure out the wiring and showing me how to attach the housings to the bumper. We'll be able to answer any questions you may have about the install as well.
Enjoy