You must be logged in to rate content!
5 minute read

99-03 Front Engine Mount Replacement
Compliments of myTaLizaS3.2 @ http://acurazine.com
7-4-2009
Here's how I replaced my front engine mount...
Tools ( From Acutee's List, hope you dont mind)
You will need:
two floor jacks ( I only used 1)
two jack stands
a block of wood or two to distribute the weight of the engine on the jack
2 6-10 inch 3/8 extensions
a strong 3/8 ratchet
17mm deep socket
1 Universal 3/8 joint
14mm socket
14mm wrench
10 mm socket
12 mm socket
a blanket to lie on when doing the rear mount
and lastly lots of patience (especially the rear mount.)
Removing:
1) Lift car, and put on jack stands
2) Remove battery and entire battery tray so that the tranny don't crush the tray when you raise the motor. Unscrew two bolts to the battery tie down with 10 mm socket. Take out battery. Then remove the plastic battery box. There are 6 12 mm bolts that hold the tray to the bracket, unscrew that. Then there's a 10 mm bolt that holds some clips, take that out.
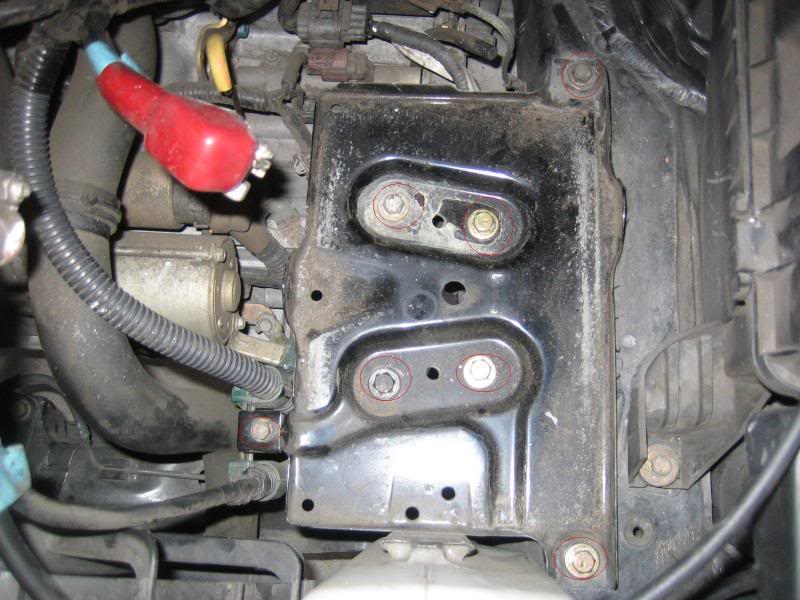
Remove battery tray and put aside. Voila, looks like this.
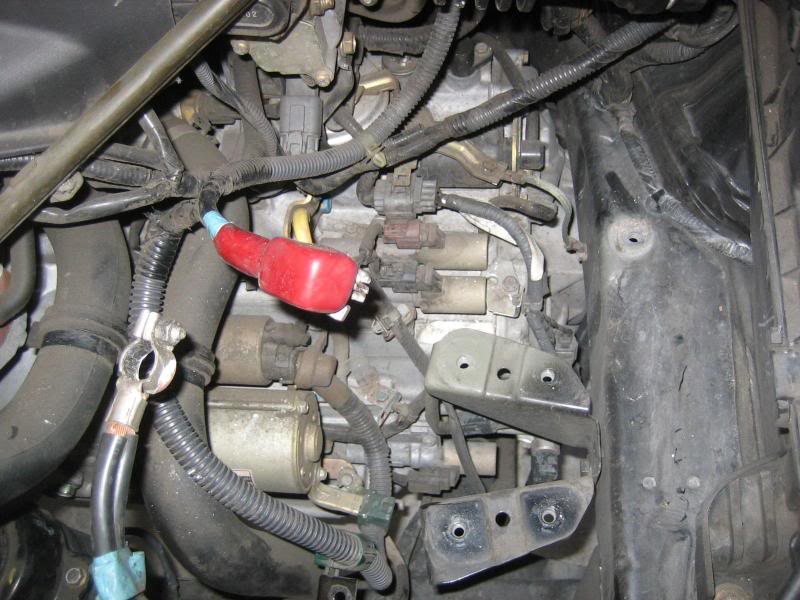
3) First thing i did was put the jack under the engine and raised it a tad, so that it's supporting the engine.
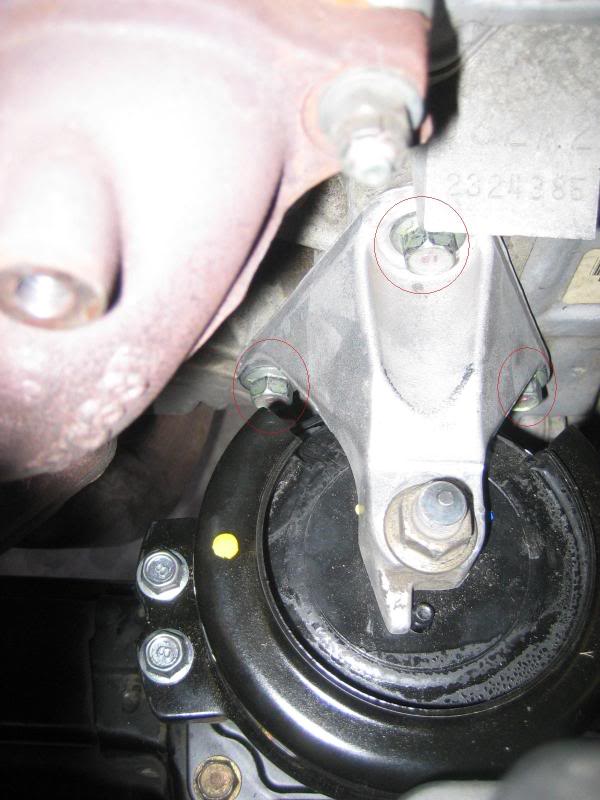
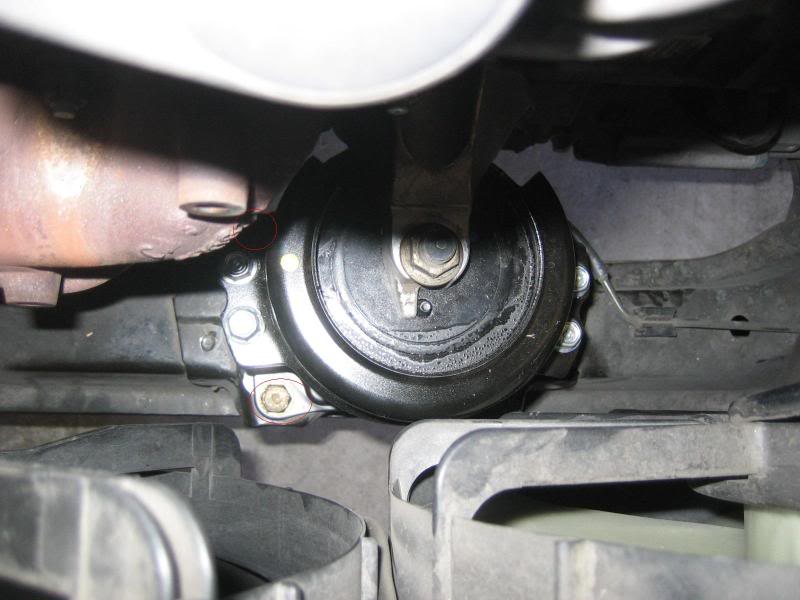
4) Then, start unscrewing three 14mm bolts that holds the engine mountbracket to the engine. There's one on top, and two on the bottom, each on one side of the mount. The top bolt and right bolt were pretty easy to get to, but the one on the left is a pain in the ass. I had to go under the car to access this. I used the 14mm wrench and it took forever! But soon enough, it was out.
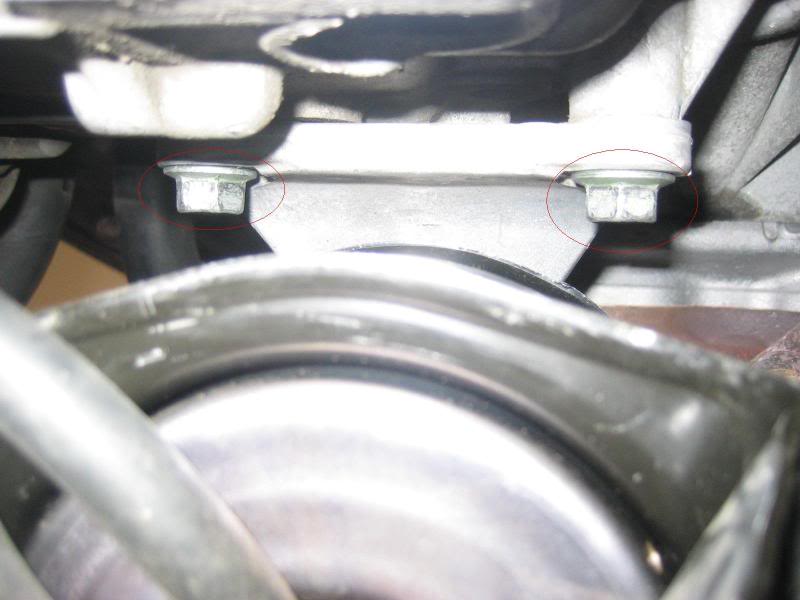
Bottom View
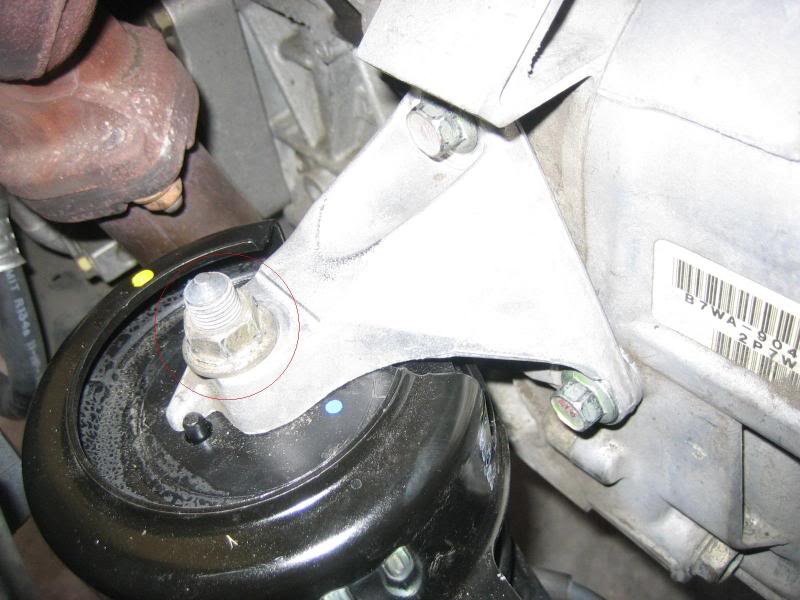
5) Now goes the 17mm bolt that connects the bracket to the engine mount.
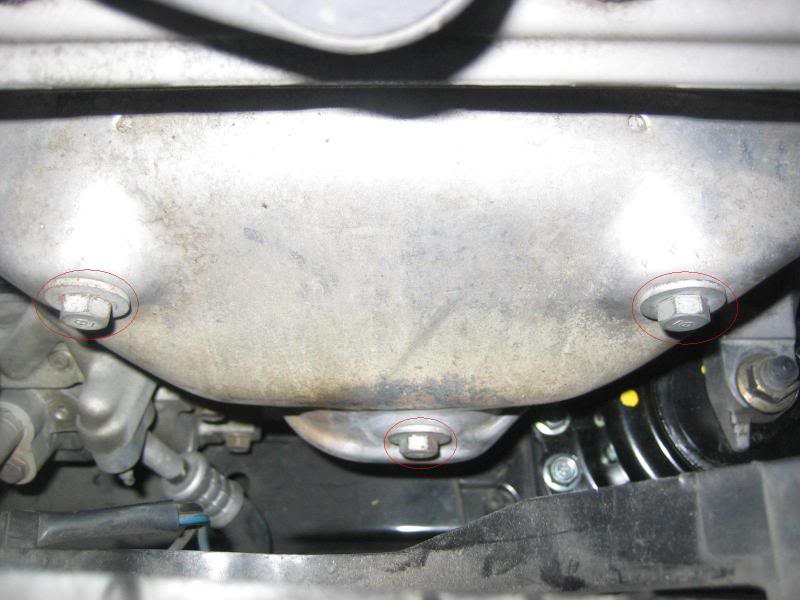
6) Next was removing the exhaust shield because it allows more room to work with to remove the rear left bolt that holds the engine mount down.
This is done by using a 12mm ratchet to remove three bolts. Remove shield and put aside.
7) Using your extensions, and 14mm socket, start removing the 4 bolts holding down the actual engine mount. I left the hard to reach for last. Without the Universal joint, i dont see how you can get this out. I found out the hard way, had to put everything back in, and do it the next day after i bought the Universal Joint.
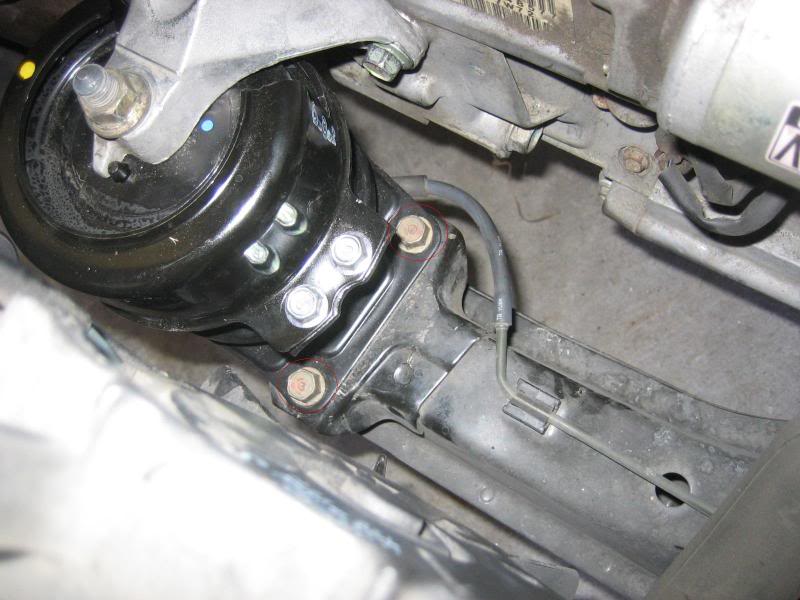
8) Now that all 4 engine mount bolts are off, you can now wiggle out the engine mount. There's a tube that's connected to the bottom of the engine mount, pull it out and take out the mount.
Installing:
1) What I first did was put in the new mount and connect the tube you pulled out earlier and sit it where it should be sitting.
2) Put the engine mount bracket in place and line it up while placing in the three 14mm bolts. I learned the hard way because the first time I tried to install it, I tightened down the engine mount before tightening the bracket. This cause a lot of clearance problems with the left bracket bolt because the actuall bolt didn't clear the mount, thus not allowing the bolt to go in straight.
The correct way to do it is to not bolt down the engine mount yet. This allows you the rotate the mount so that you can tighten the bracket bolts.
3) Tighten all three bracket bolts.
4) Align the engine mount so that all four holes are straight. Tighten.
5) Screw on the 17mm bolt that connects the bracket to the top of the engine mount.
6) Make sure all is tight
7) Put back exhaust shield
7) Install battery tray and you are done.
Pretty simple and straight forward. Hope that helps