- - Phillips screw driver
- - Sandpaper (optional)
- - Industrial contact cement
- - Cardboard/Tape/Newspaper - Little baggie or cup for screws - Clean place to work
You must be logged in to rate content!
7 minute read

Installation Guide for 04-08 Acura TL (Type S)
Getting Started
First of all when u can do this two ways. You can take it to an upholsterer and get this done quickly and it should be done fairly cheap. Or you can do it yourself with a little more work and time... maybe more frustration, but it should be cheaper too.
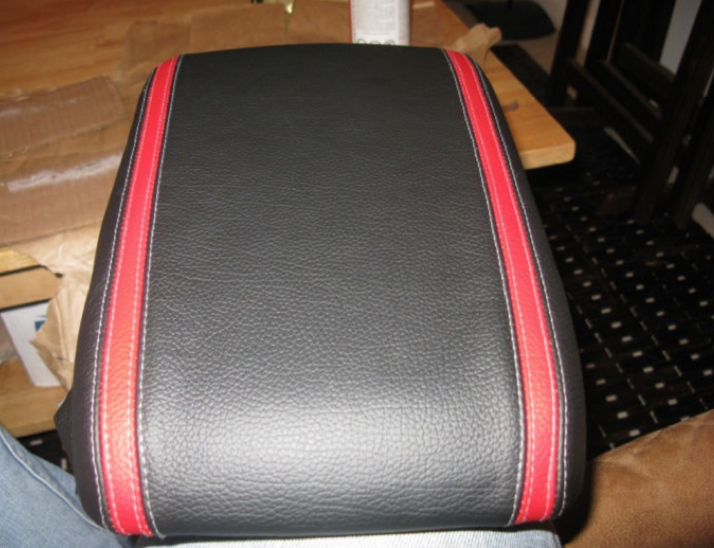
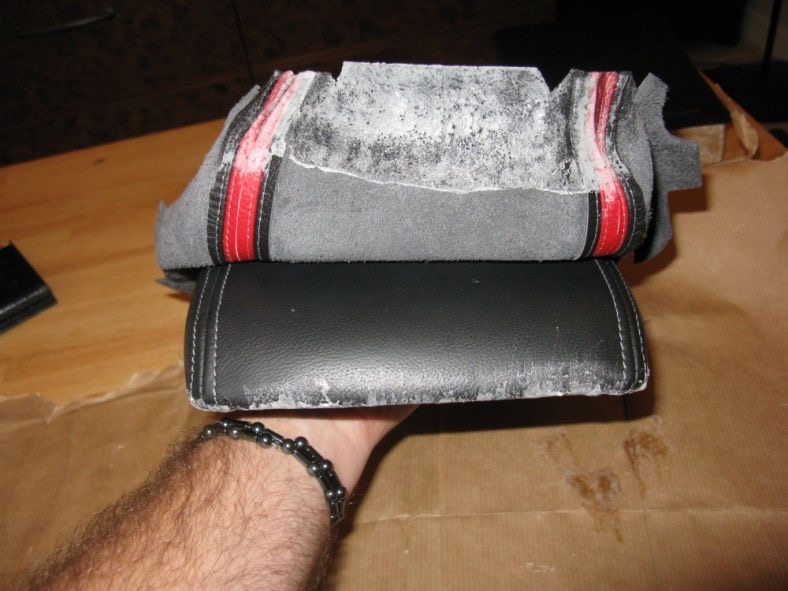
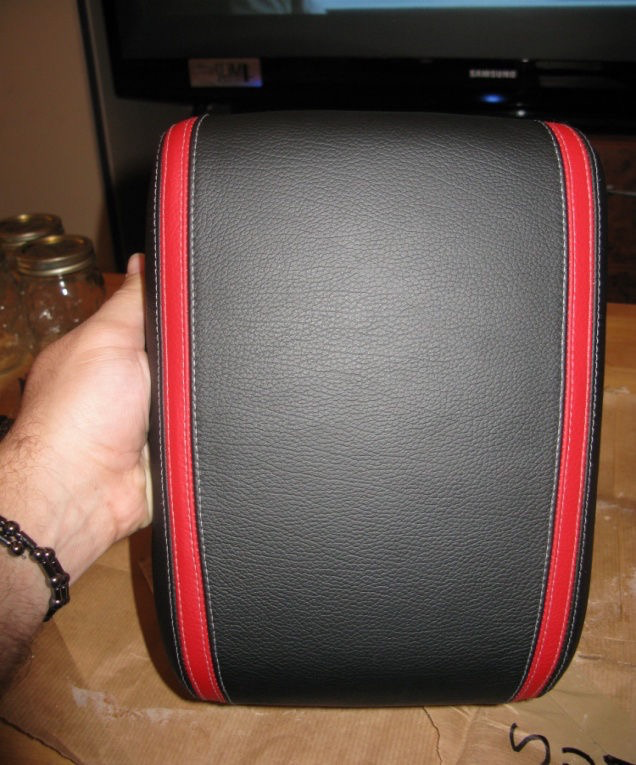
We will obviously be going over the DIY installation. When receive your new armrest it should look like this:
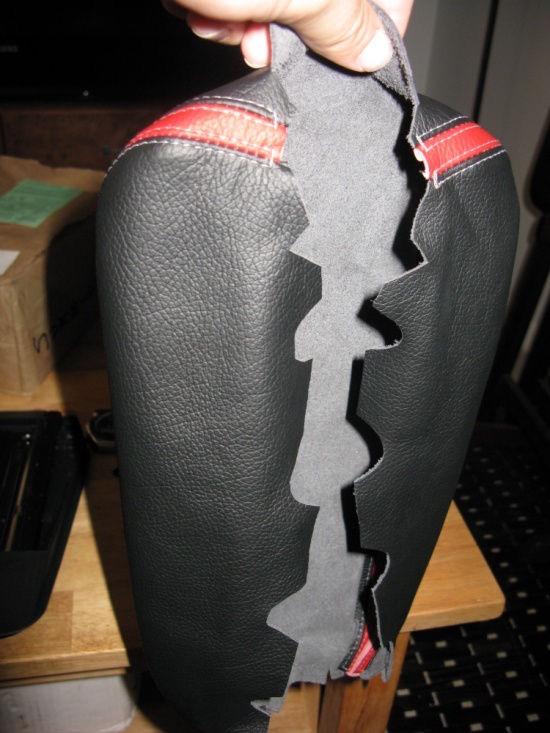
It should be a perfect wrap of your existing armrest cover. I will be abbreviating armrest to AR.
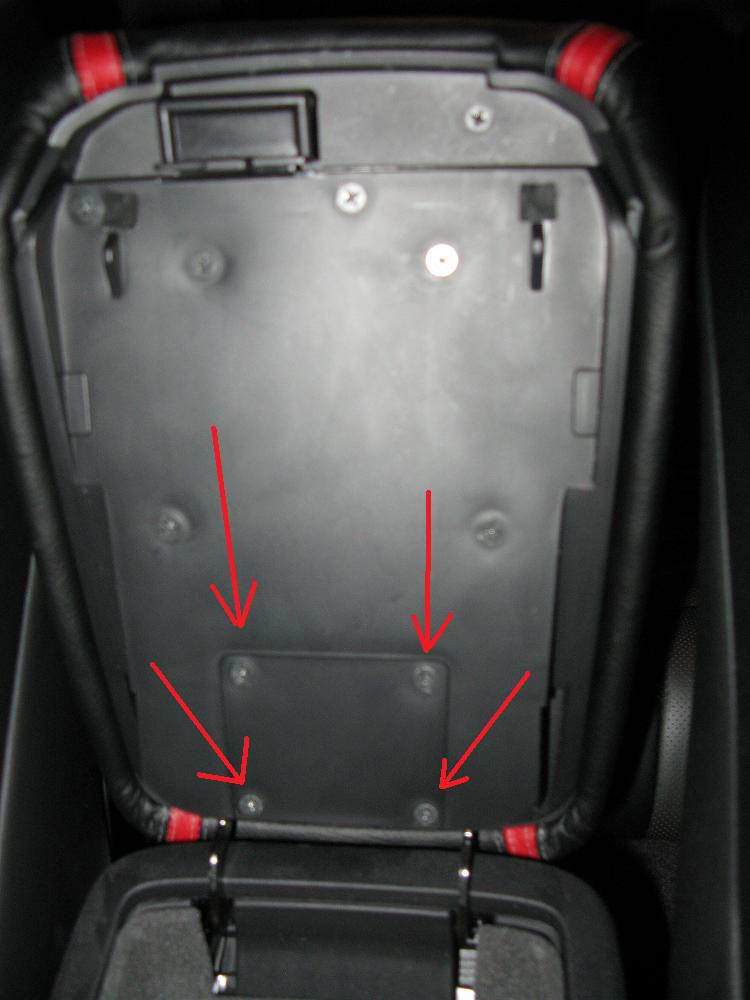
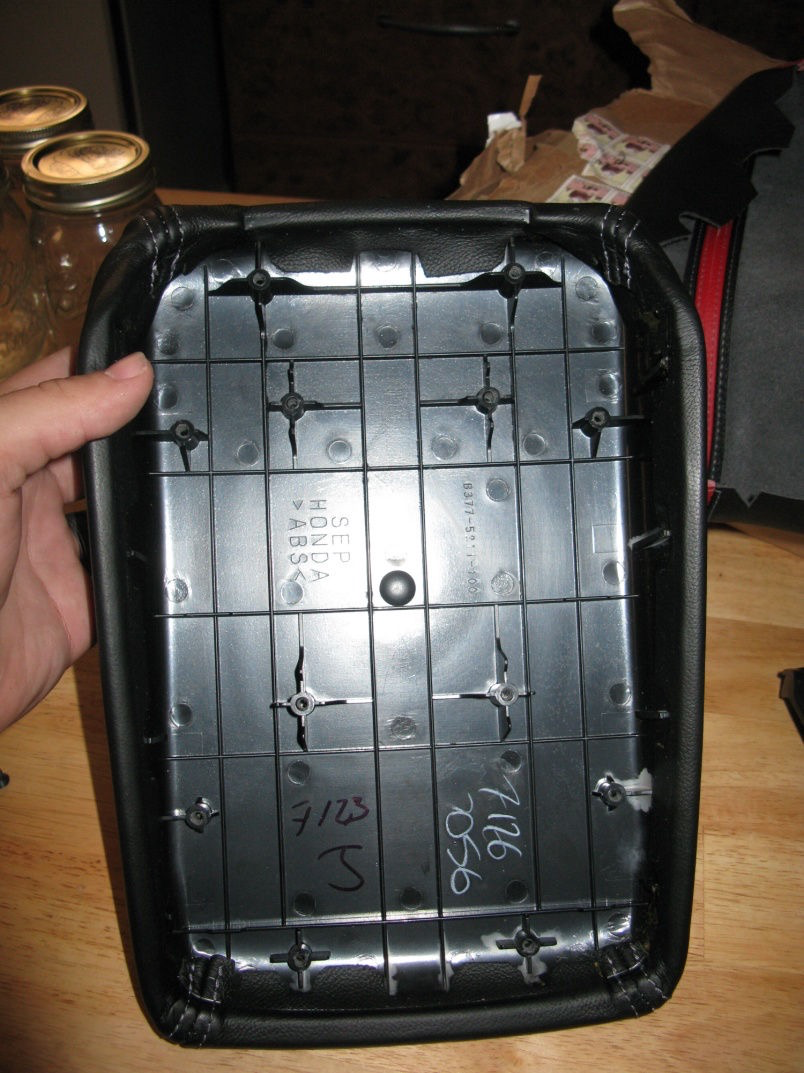
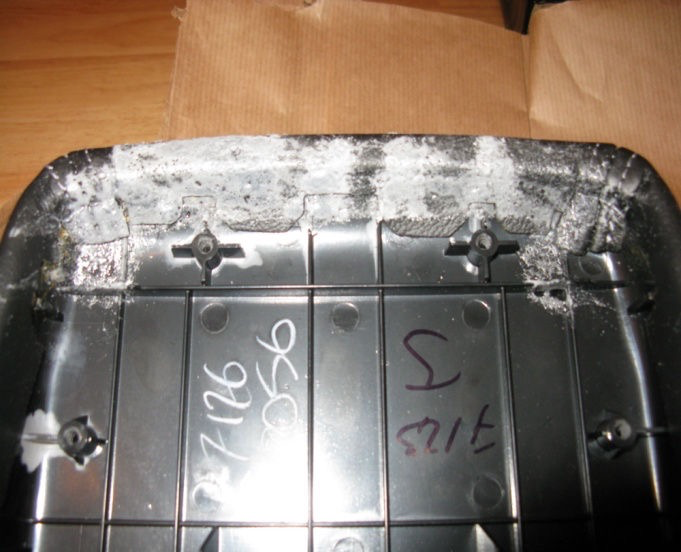
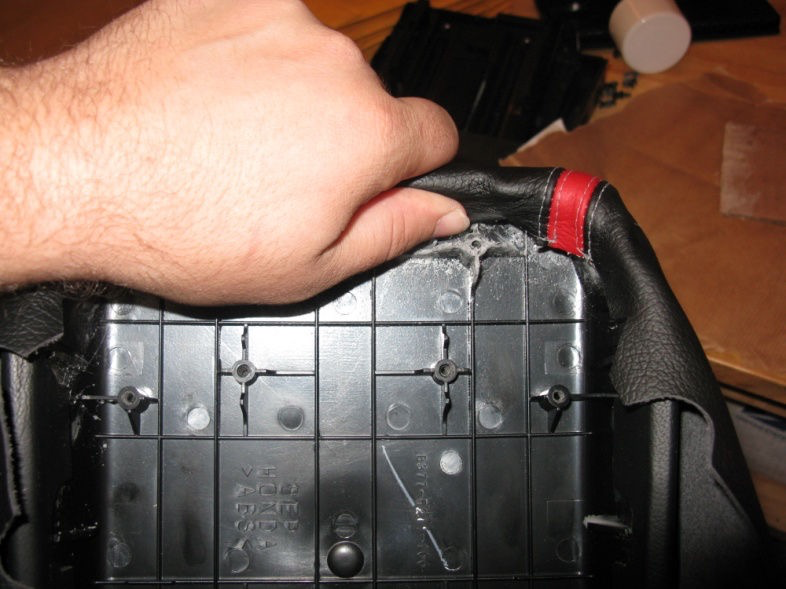
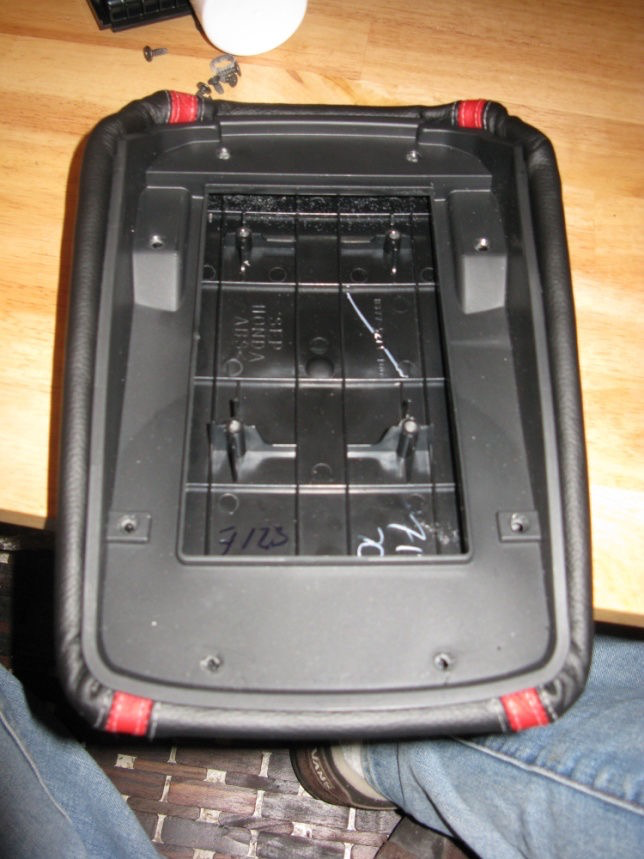
Now you will want to remove your armrest so we can begin the installation. First you will need to remove the four mounting screws located at the base when you flip the AR up:
(remember to bag your screws!)
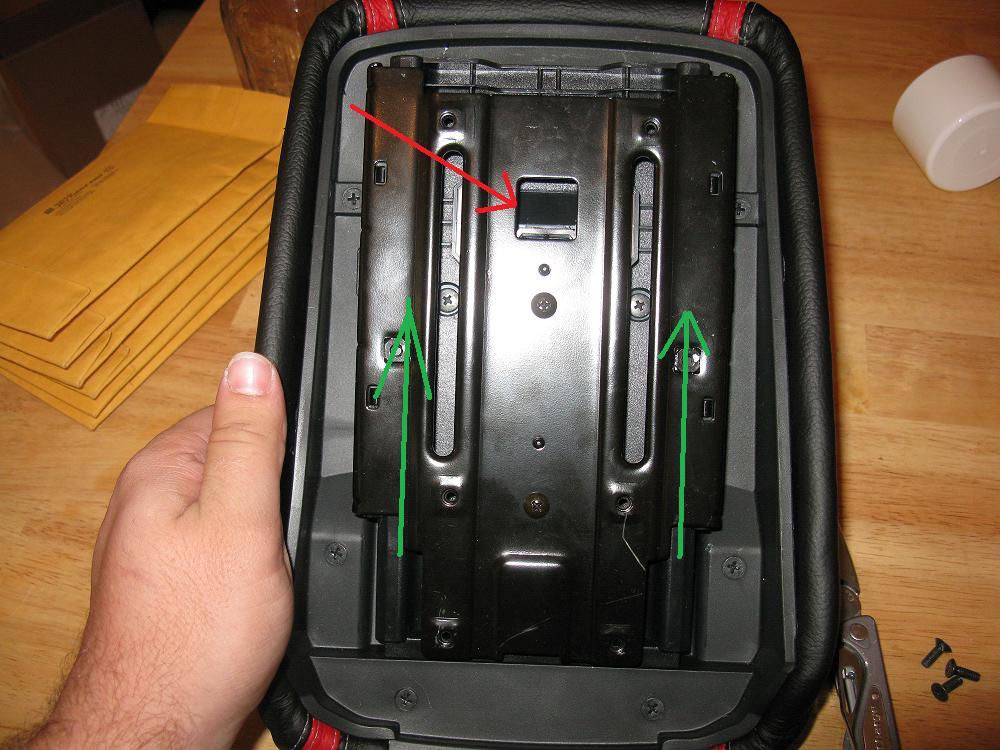
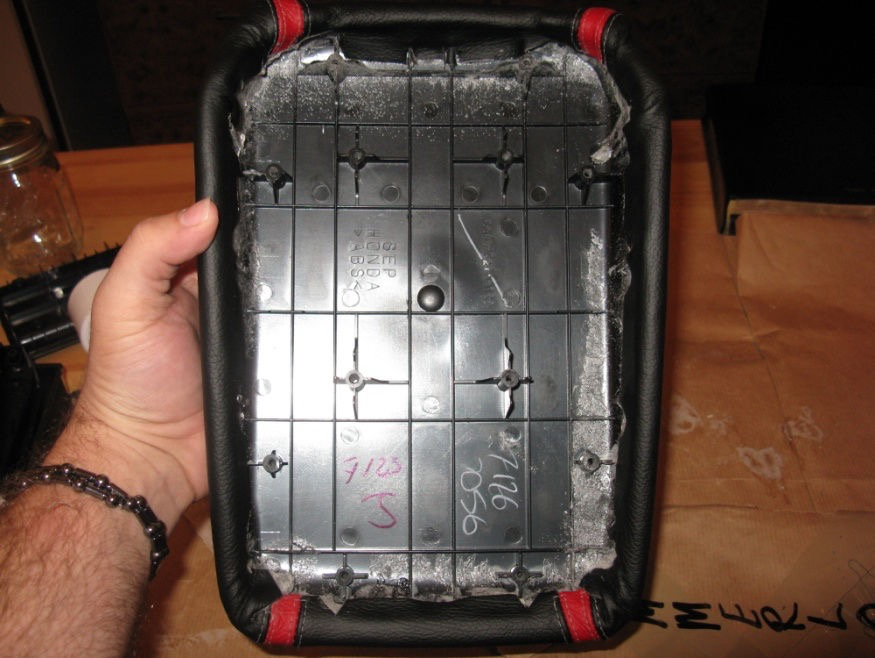
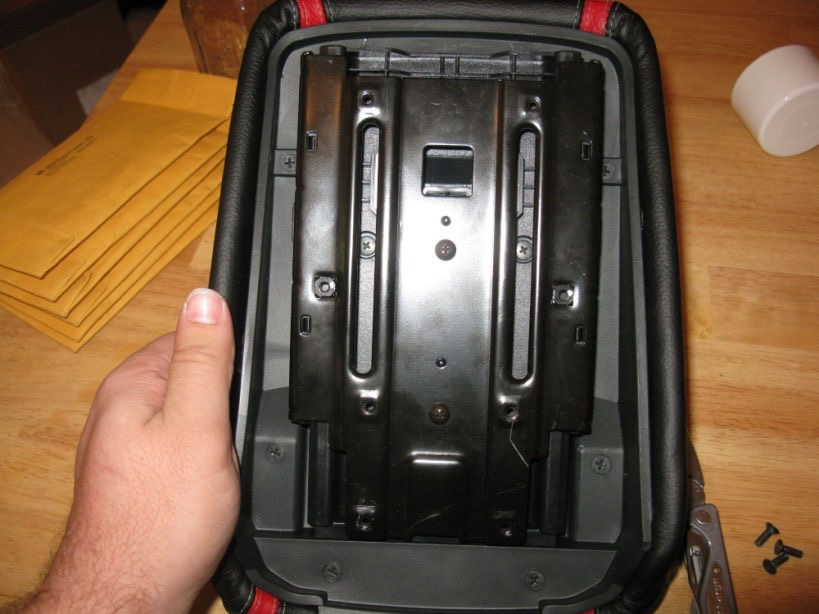
Now you can take the AR to your clean work area, I cannot emphasize CLEAN enough. Now you want to remove the other four screws in the middle of the plastic shroud. Now you should see the metal plate that the whole mechanism slides on. The Square hole is the access to the release clip. Push down on the release clip and the metal glide should come off, and you may need to use some force:
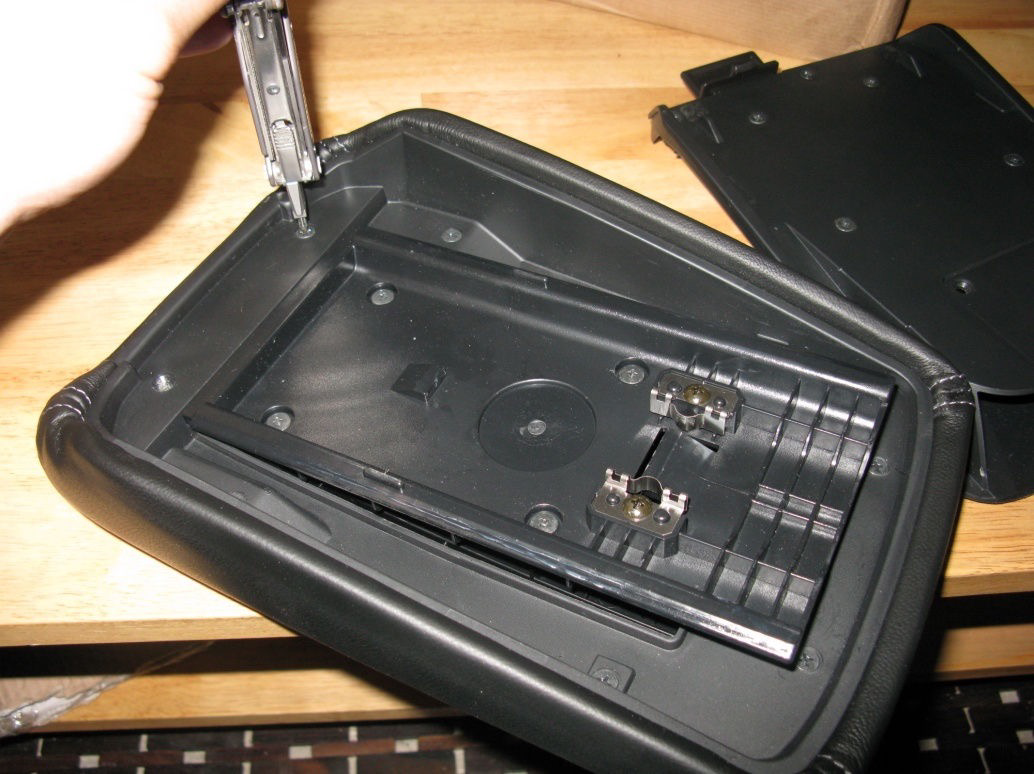
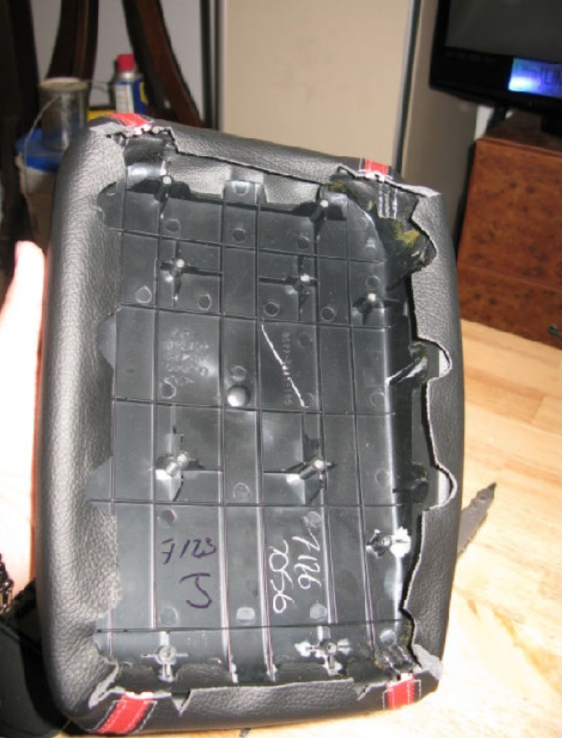
Now you can remove the locking plate and center glide. Basically all the screws come out except the two that hold the metal spring clips:
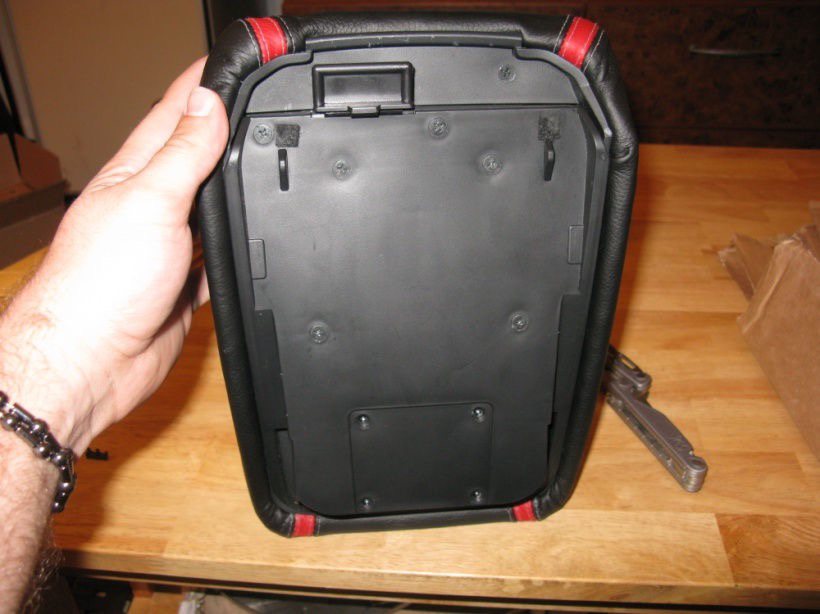
So now the only thing u should see is this:
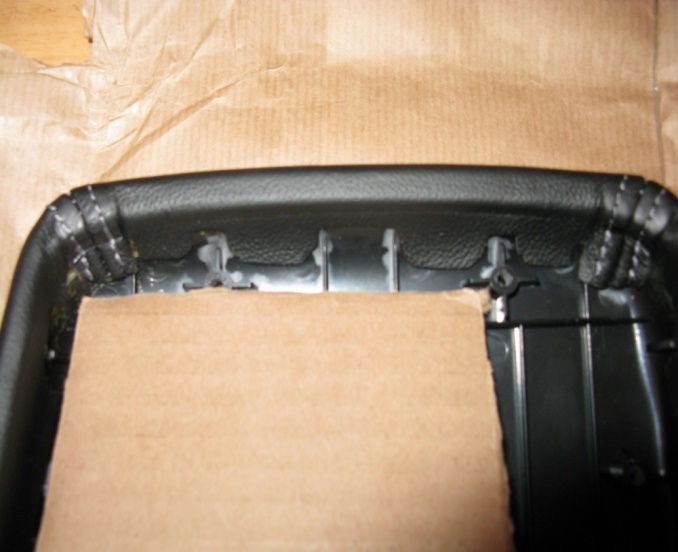
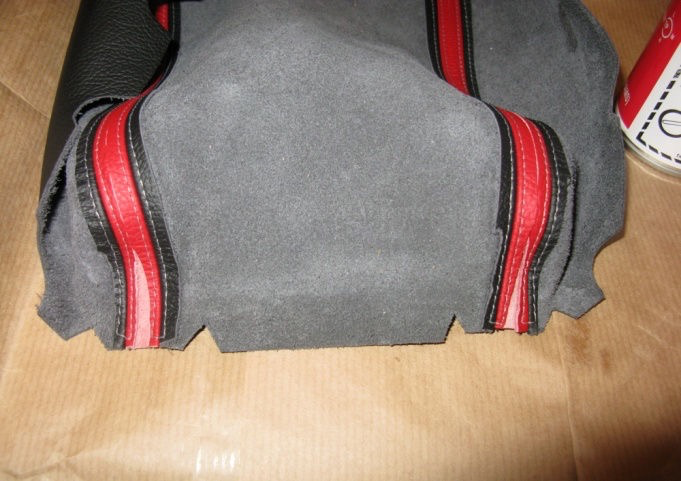
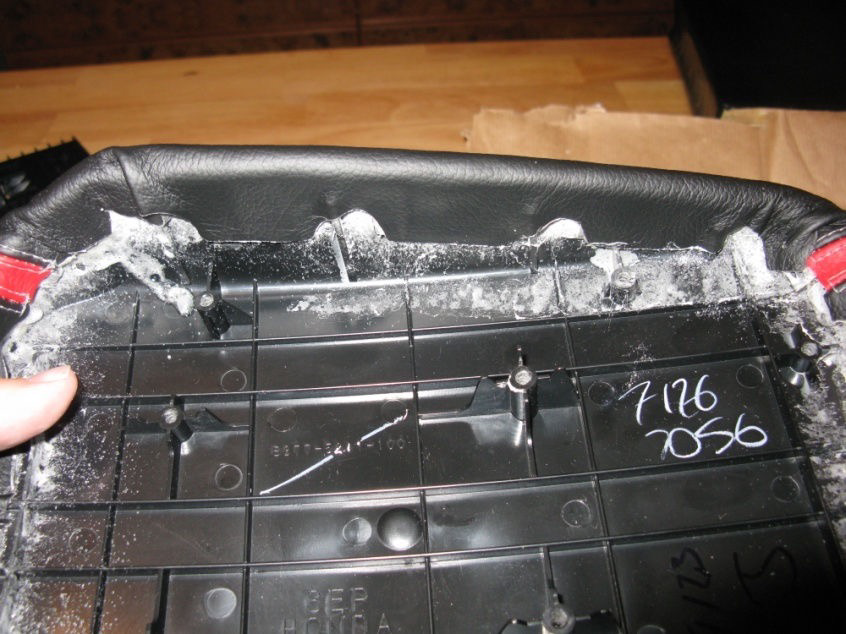
This is where we can start to make a big mess if we aren’t careful. First you should give the Wrap a dry fit, just pull the new one over the existing one and pull around it to make sure it will lay smooth:
If all sits well then we can start to install the wrap.
This step is optional and is only necessary if you really want to do it. Take your high grit sandpaper and rough the surface of the old material before spraying the glue. This makes for a much stronger bond, but really isn’t necessary (I did not use this method).
Now using you cardboard you’re going to want to use it as a shield for the glue u will be spraying. Make sure to spray away from you so you only get glue in a controlled area:
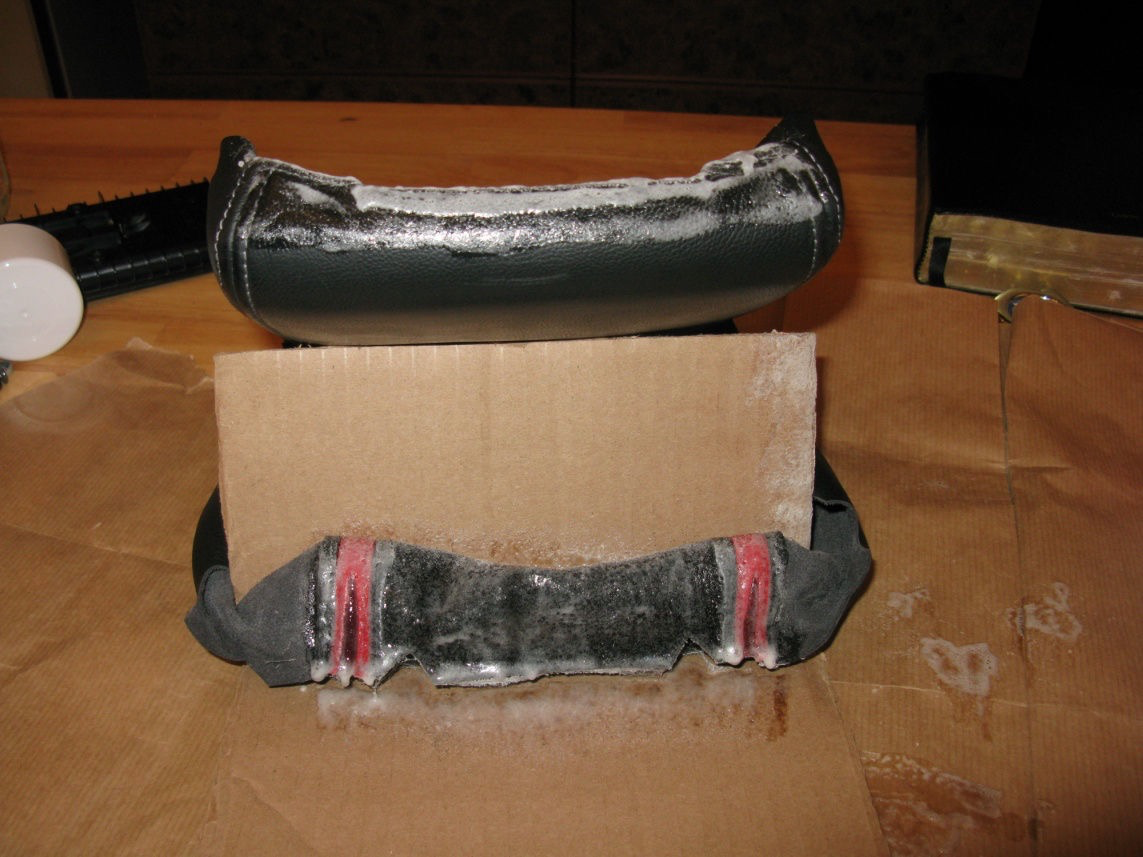
Now on the matching side of the wrap you will want to invert it and spray glue in the same area like this:
Now if you are using good contact cement you need to let the glue dry for a bit before you put them together. When both sides are good and tacky it’s time to bring it together. I took and put the wrap back around the AR and lined up everything before I contacted the first area and it worked well.We’re only doing the back part now because we need a spot to be held so we can pull all the wrinkles out:
Make sure you press it in and hold it to get a good bond. MAKE SURE YOU CHECK YOUR ALIGNMENT!!!!! Go ahead and let this first section dry so u can pull on it in a bit.
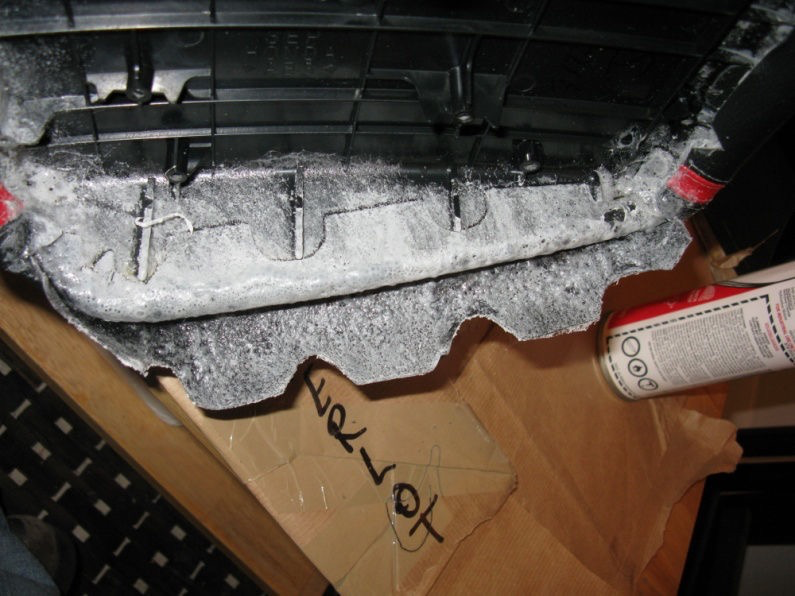
Now we are going to repeat the same thing on the front side. Make sure when you are doing this side that you are pulling very tight, but not so tight you pull the first side off. The Method in the picture is what I did, it made it easier while the glue was drying. MAKE SURE YOU CHECK THE ALIGNMENT BEFORE YOU TACK IT DOWN!!!!!
Now you should be ready to do the sides. Since they are already in place you can spray the entire side at once, just remember to let it dry a bit. After it gets tacky go ahead and fold it over and make sure it’s nice and tight, but don’t pull it too far over or your alignment will be off:
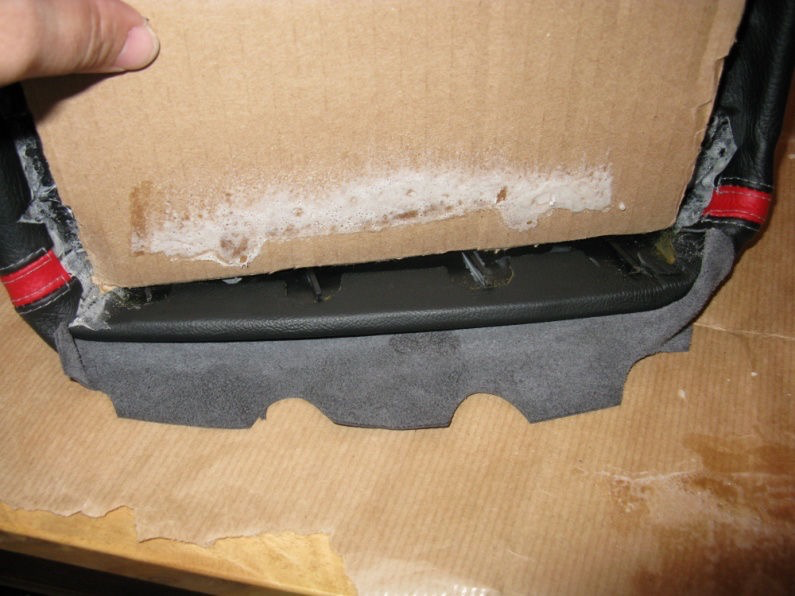
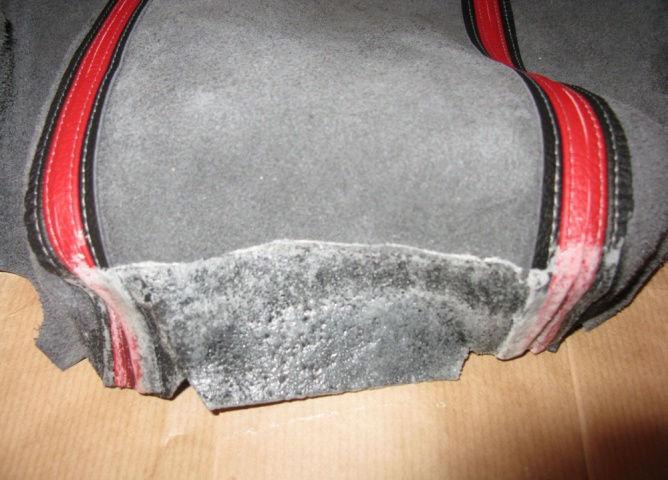
After you get one side on you should end up with this:
When you go to do the other side this is your last chance to get out the last of the wrinkles. So make sure this side is pulled really tight and get the alignment right. When everything is in and done and tight you should end up looking like this:
Now we just reverse the placement of the glide plates, and reinstall and were done. First the holding plate, it may be a little bit tighter than before because we’ve added more material. Then the center glide goes on:

Next the metal glide plate. Then the plastic shroud. Then remount on the center console. I had the metal plate upside down in this picture:
If all went right your end results should look like this: