- - Something to pry with (butter knife, flat blade screw driver, stiff putty knife, etc.)
- - A Rag (for prying so you don’t scratch your trim)
- - Phillips screw driver
- - Large and Small Zip Tie’s (if using after market shift knob)
- - Pliers
- - Nimble fingers!
- - A small cup (For screws! You really don’t want to loose any)
You must be logged in to rate content!
9 minute read

Depending on what kind of shift knob you will be using makes a fairly big difference in the installation method. If you are using you OEM shift knob and trim ring it’s a breeze. If not it’s a little more work. Having some knowledge of teim work on cars will really help too. If you have a friend more familiar with this kind of work you may want some assistance.
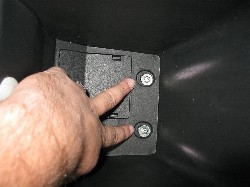
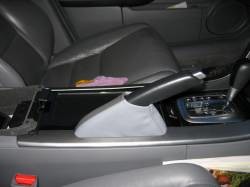
1. You will need to start by removing everything out of your center console. You may want to move your seats all the way back for best access. In the bottom of you armrest compartment there is a rubber mat, remove this. Underneath the mat there will be two screws with a washer on each one. Go ahead and remove these screws with the phillips screwdriver (put them in the cup!) the armrest portion should be loose.
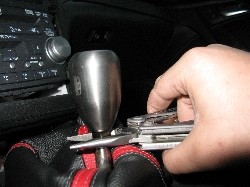
2. Next you will need to remove the long trim pieces that run down the center console on each side. Also go ahead and Unscrew your shift knob. OEM knob need to slide down trim ring before you unscrew.
3. Starting at the back rear the armrest use your prying tool to slowly and carefully pry up on the trim strips.
4. The strips are held in by spring clips, so don’t worry about the popping. When u get to the area around the radio BE CAREFUL! If you pry too hard you can kink the trim. Keep working your way up to the top and it should come off with good pressure and patients. Once both pieces are off you can now begin removing the center console sections.
5. Now you should see some screws. There will be 3 around the cup holde area 3 or 4 more up by the shifter, and 2 more up by the radio.
6. Go ahead and remove all the screws around this area

7. (You can ignore the trim still in the pics.)
8. Next you need to unclip the side pannels from the main console. There are about 4 spring clips that are attached. When you have both sides free you should be able to slide the rear scection back a little bit.
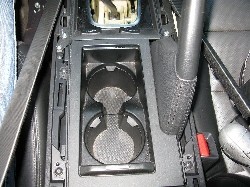
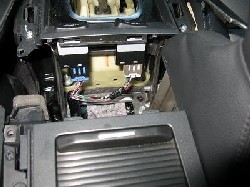
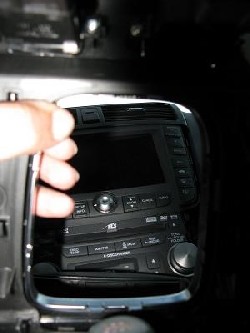
9. Now you should be able to move the armrest portion out of the way. It should unclip from the cup holders and just slide back. Ok! Now you should see this:
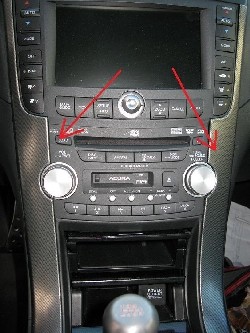
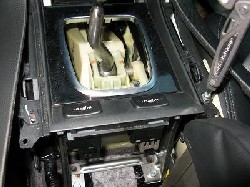
10. First you will want to turn the cup holders out of the way. So, See those two plugs? Yep unplug em, and now you should see this... Nearly missed a screw! :)
11. Now then, If you have removed all the screws in the area, including the two up by the radio, the shifter trim area should be ready to come out now. I’m sure those pesky spring clips on the side panels fell back in so you’re going to need to pry them out again.
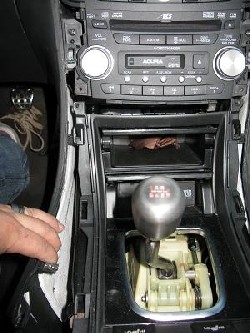
12. Gently pull out the shifter trim with the storage containers and all. Don’t pull too hard, your ac outlet plug is connected and you don’t want to rip it out. It also helps to put your shift lever in 4th gear to get it out of the way. It should come out pretty smooth.
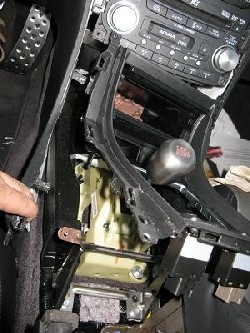
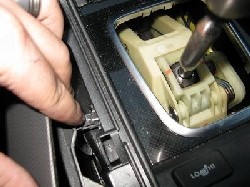
13. Now that you have the main piece needed you can remove your old shift boot. Simply unscrew the four mounting screws that hold the boot down and it will pop right out! You can now take off the two trim pieces that go around the shift boot. They are held in with spring clips as well, but mine were very stubborn so just keep working at them. I also advise you to take this time to clean in these cracks otherwise it’s hard to later.
14. So now we have all that done. Now it gets interesting. If you are using an OEM trim ring on the boot you just need to attach the boot back the the console and slip it together. Done! :)
Now for us that are using an aftermarket shifter… we still have some work yet. I had a fully custom boot so I had them remover the ring. However I reused it in a different way. If you don’t want to use it at all then you have to find out what you want it to look like.
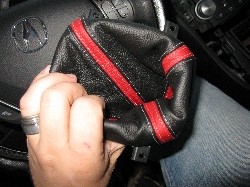
15. I started by inverting the boot.
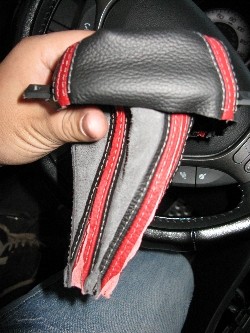
16. Then I put the trim ring in the top about half way down where the colar would normally sit.

17. Next I slipped it all back over the shift lever,
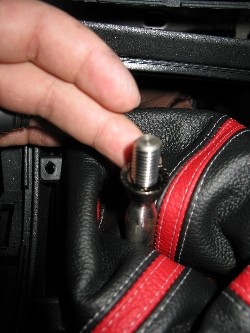
18. and put the flanged nut on, and tightened the knob back onto the lever.
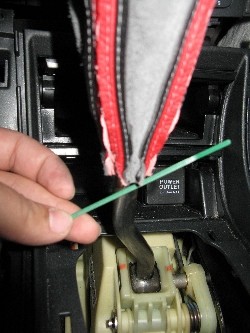
19. Next, using Zip Ties, fasten the leather to the groove in the trim ring. Slip it up to the base of the knob. You may need a little scotch tape (that’s what I used) for better grip to add aother zip tie under the ring to keep it held to the base of the knob.
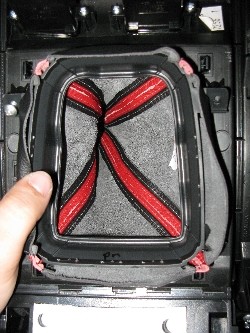
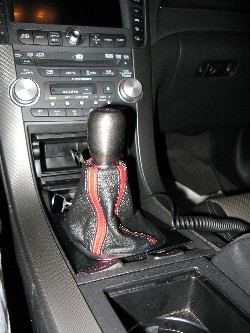
20. Now then. You can take and shimmy the boot back over the shifter console, and re-attach it with the four screws. When you pull it all back over and align it all it should look like this:
21. Now make sure you remember to reconnect you’re your ac outlet or you’ll be kicking yourself when you relize you forgot. Also reconnect the two plugs for your seat heaters. Now just start reversing what you took apart.

22. Slide the Cup Holders back in, reattach the side panels, slide the armrest in, and re-screw everything together
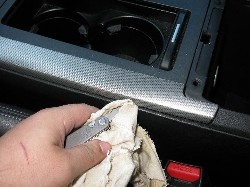
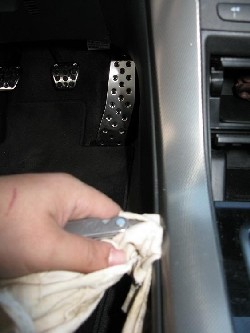
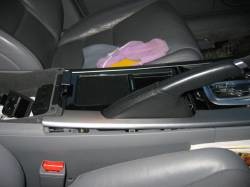
23. Open center console cover- this will allow for removal of the metal strip on the side of the console (only the passenger side needs removal). Use a plastic spackle knife covered in a microfiber cloth. Start at the area nearest the open hatch (pry it up carefully, and disengage the clips with light upward pressure- be careful not to bend the strip as a replacement is ~ $80 from Acura)
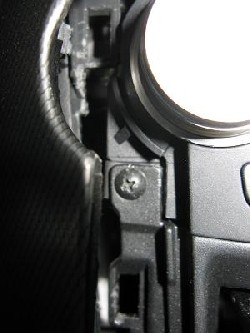
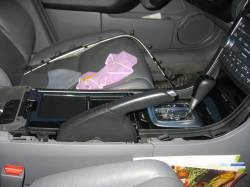
24. This is what it looks like with the metal strip off
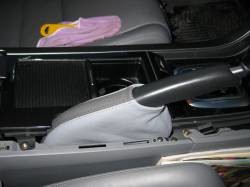
25. The existing vinyl boot stays on (do not remove it as it gives support to the leather cover)- simply place cover over the existing vinyl boot and work it down in the recess around the existing boot- it will take just a minute or so to get it right. Snug it down to the handle base.
26. Replace the metal strip- align clips carefully and snap back into place. DONE!