You must be logged in to rate content!
8 minute read
Heater/Water/Coolant Control Valve DIY
Compliments of Majofo @ http://acurazine.com
10-7-2009
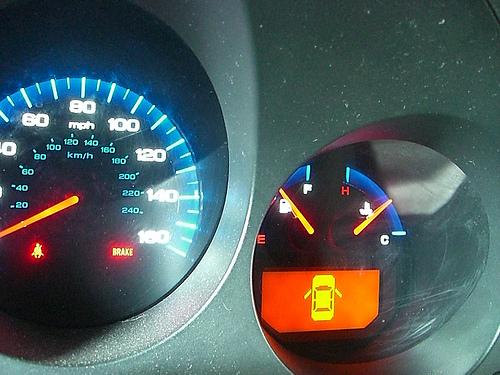
I thought I'd post up an easy DIY for you guys in time for the upcoming winter. Last winter I noticed a long delay before my heater would kick. My system would blow cold air for minutes no matter the temp setting. I noticed that I was also going low on coolant.
The culprit.. Heater Control Valve.
Highs
Cheap & Easy - 1 hr & $15~30
Lows
Neighbors may be offended by the amount of butt crack you expose while reaching over the block
Tools
- Socket set.. can't remember the exact sockets.. 10mm, 12mm & 14mm should do it.
- Flathead Screwdriver
- Precision Phillips screwdriver
- Pliers / Small Channel Locks
- Shop towels
- Coolant
Parts
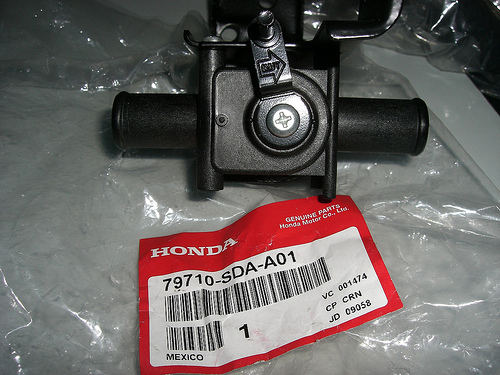
- Heater Control Valve 79710-SDA-A01
- Hose A (Block to HCV) 79721-SDB-A60 (optional)
- Hose B (HCV to Heater) 79722-SDA-A00 (optional)
- Screw clamps to replace spring clamps (recommended - Harbor Freight ~$10)
The new cheap ass plastic valve. Pretty simple, Up = Closed, Down = Open. I bought both inlet hoses as well and screw clamps. Didn't use either, original hoses had no cracks or wear & couldn't find the screw clamps at the time, of course I found them the following day.. anyways..
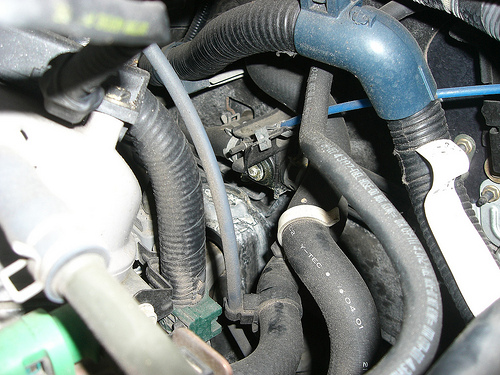
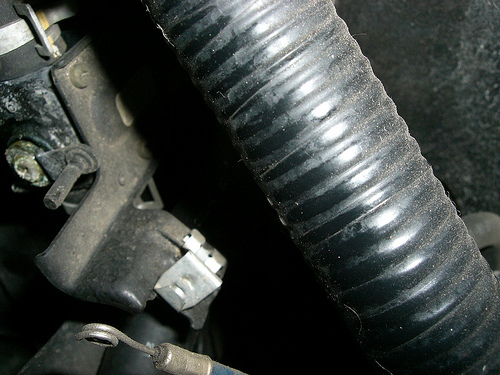
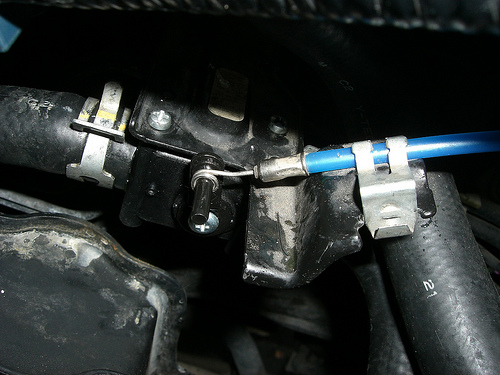
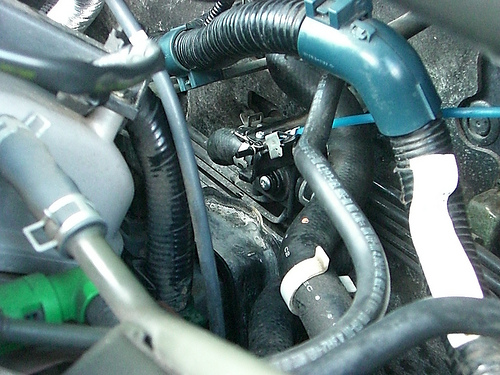
The HCV is located at the rear behind the block on the firewall above the rear mount.
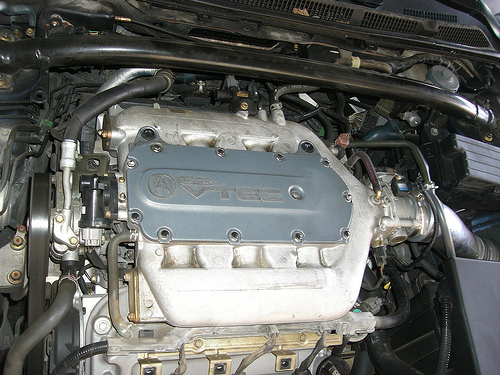

Opposite Angle
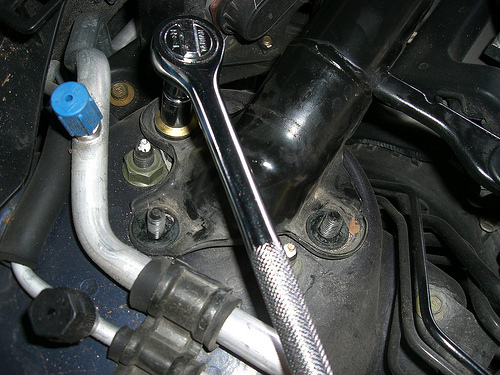
Step 1: Remove Strut Tower
Remove the 6 mounting bolts on the strut tower, they don't have much torque on them (remember that when putting them back). There will also be some connecting bolts to misc assemblies (fuse box, etc).

Step 2: Unclip HCV Cable
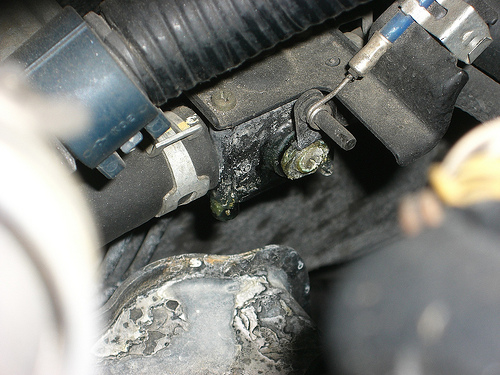
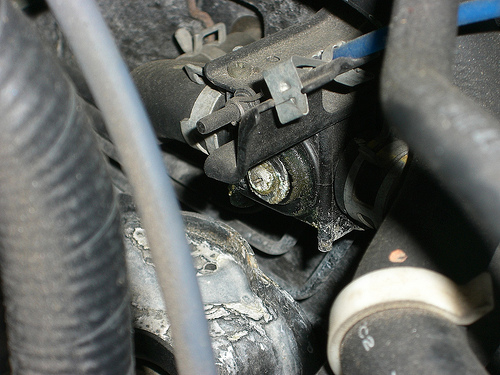
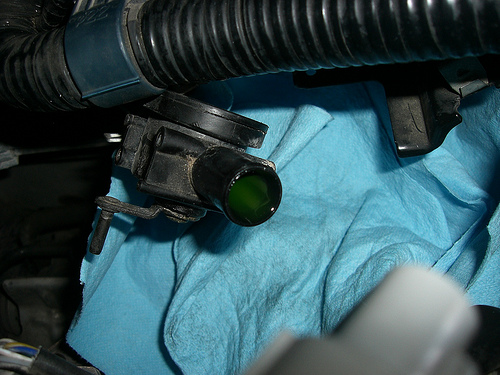
Step 3: Disconnect Electrical Conduit for Access & Unscrew HCV from Bracket
You can either unscrew the HCV from the bracket (2 screws) or you can unbolt the whole bracket / Assy which is attached by a single bolt. I unscrewed the top screws because I knew I was more than likely going to lose the bolt to a black hole.

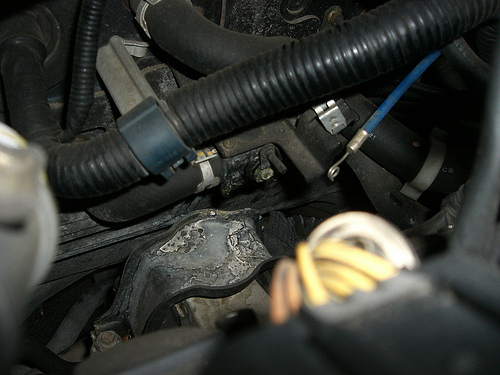
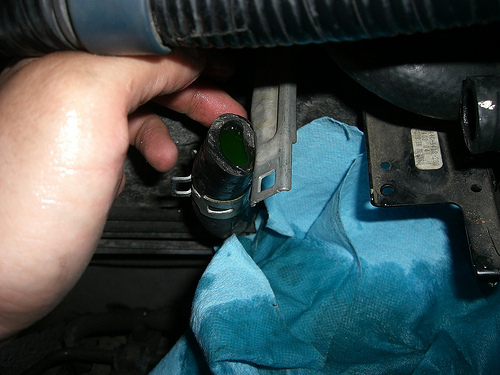
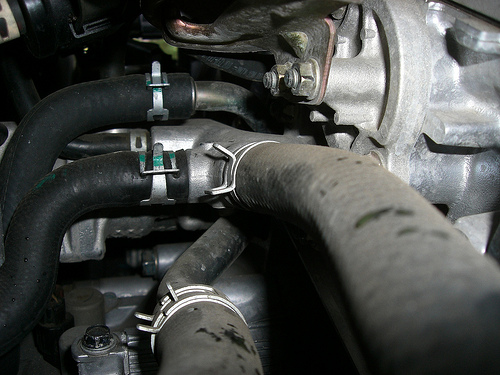
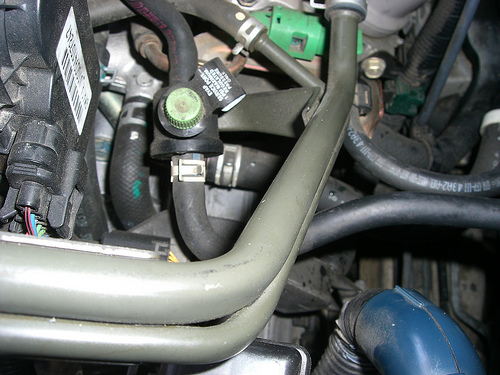
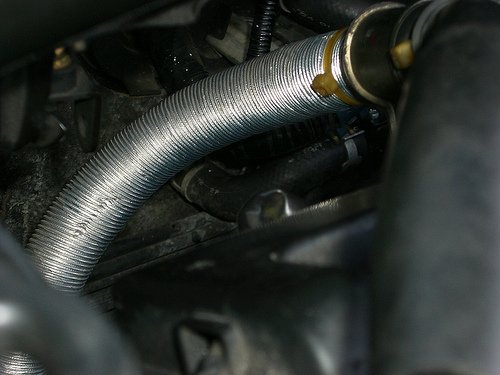
Step 4: Push back Spring clamps with pliers / channel locks & Remove Inlet hoses.
Put a bunch of shop towels down to keep anymore coolant from getting all over the rear mount, brake lines / fuel lines. Check the hoses for any tears or wear. Replacing them while you're in there is recommended. I decided to take the easy route since the hoses looked good and because I couldn't find my screw clamps. Hold the heater inlet hose up to limit the amount of coolant from spilling.
Step 5: Put in the new HCV and secure it

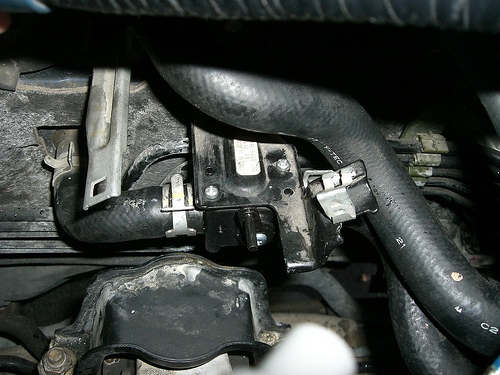
Step 6: Secure the control valve cable with the valve closed
Make sure you push it all the way back before securing the cable.
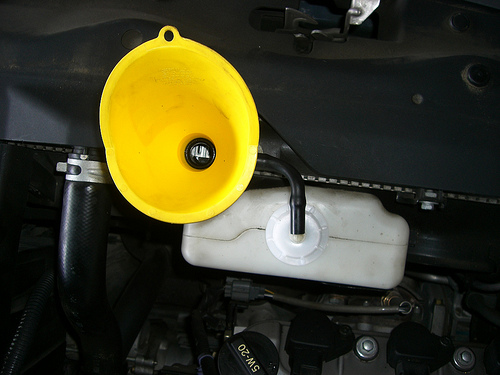
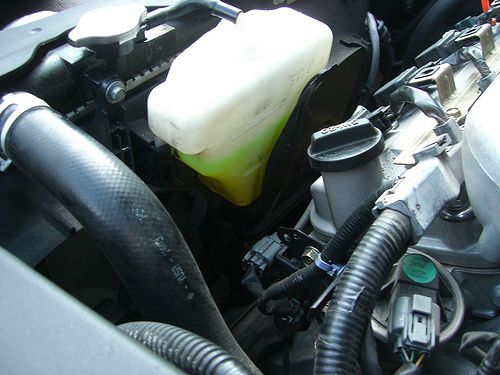
Step 7: Top off the Radiator & Res, Burp the system, check for leaks.
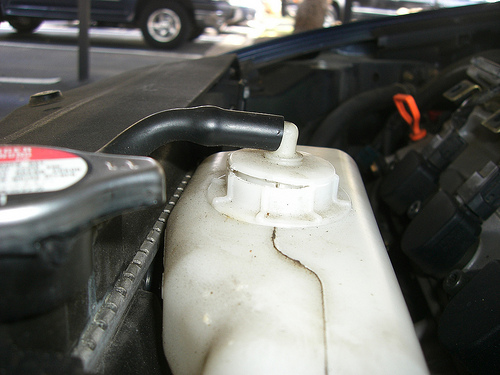
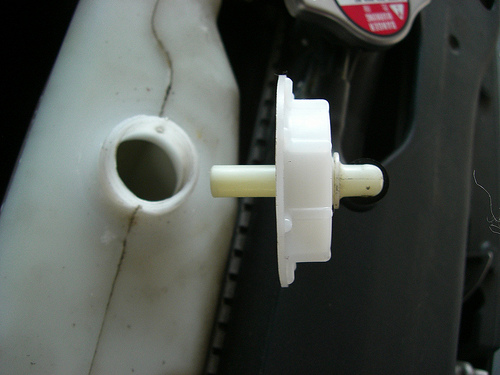
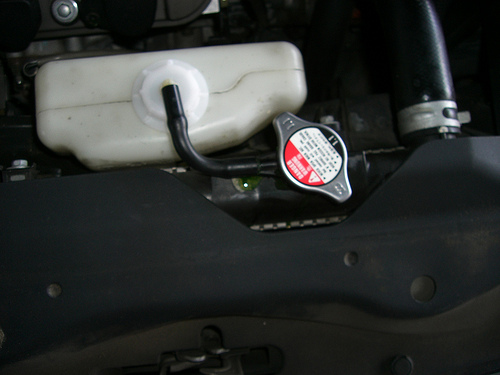
My reservoir cap was cracked.. so I replaced that as well. I filled the reservoir about mid level to account for any air during the burping process. Check the block connection & heater connection along with HCV connections to make sure no leaks are present.
Put radiator cap back on but don't close it off. Start the vehicle and let it get up to op temp, turn on A/C and check the temp gauge, listen for the rad fan to cycle. Turn the car off and use a rag to close off the radiator cap (will be warm / hot). Some coolant may leak from radiator cap in burping process.
Step 8: Put it all back together, don't overtorque the strut tower bolts, should only be ~16 ft.lbs
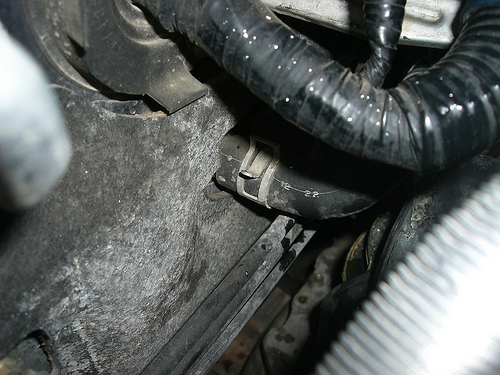
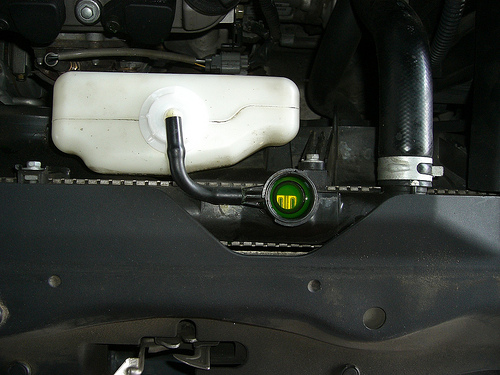
Check your coolant level & for any leaks after the swap. I hardly lost any coolant in the burping process, which is why my res is at the mid level. Here are some pics a week later. No more leak.
Cliffs: (sorry, I like taking pics)
- Step 1: Remove Strut Tower
- Step 2: Unclip HCV Cable
- Step 3: Disconnect Electrical Conduit for Access & Unscrew HCV from Bracket
- Step 4: Push back Spring clamps with pliers / channel locks & Remove Inlet hoses.
- Step 5: Put in the new HCV and secure it
- Step 6: Secure the control valve cable with the valve closed
- Step 7: Top off the Radiator & Res, Burp the system, check for leaks.
- Step 8: Put it all back together, don't overtorque the strut tower bolts, should only be ~16 ft.lbs
Hope that helps some of you. Let me know if I left anything out. This is seriously easy and probably not warranted for a pictorial, but I had extra time on my hand while I was banned.