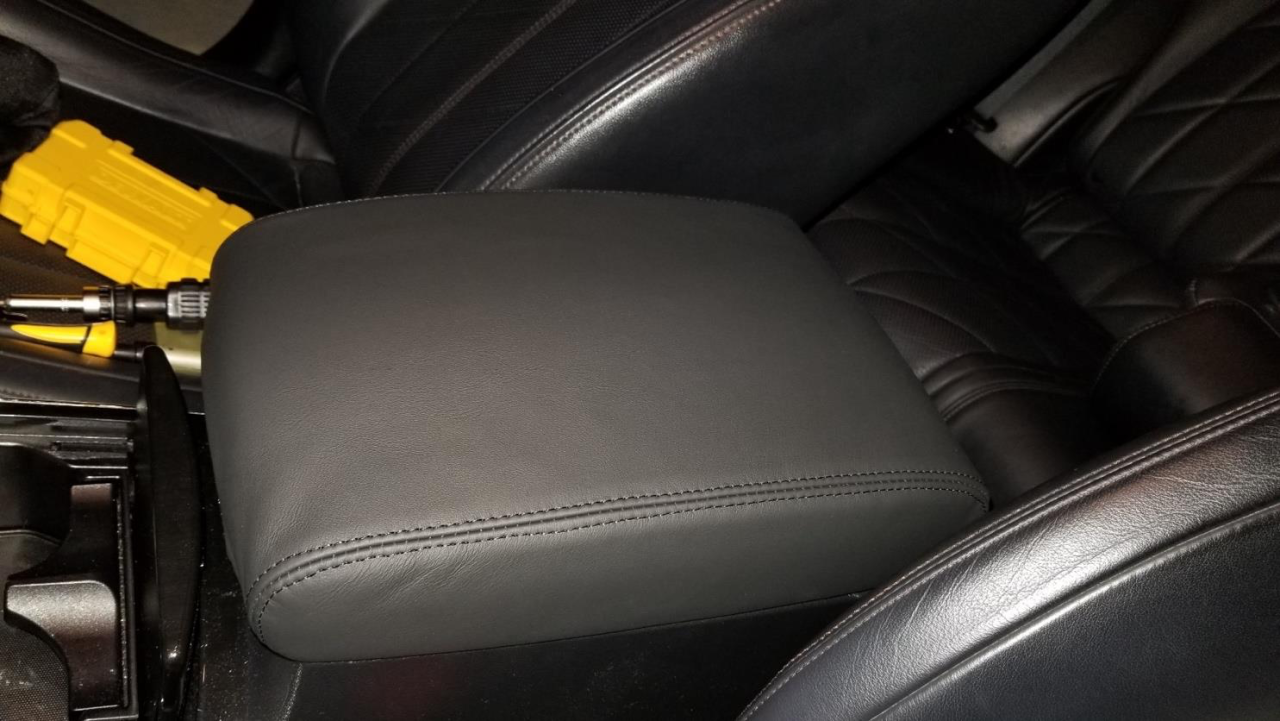
- Plastic clip removal tool
- Screwdriver bit
- Flexible extension for bits
You must be logged in to rate content!
3 minute read

2009-13 FX armrest cover by RedlineGoods - installation
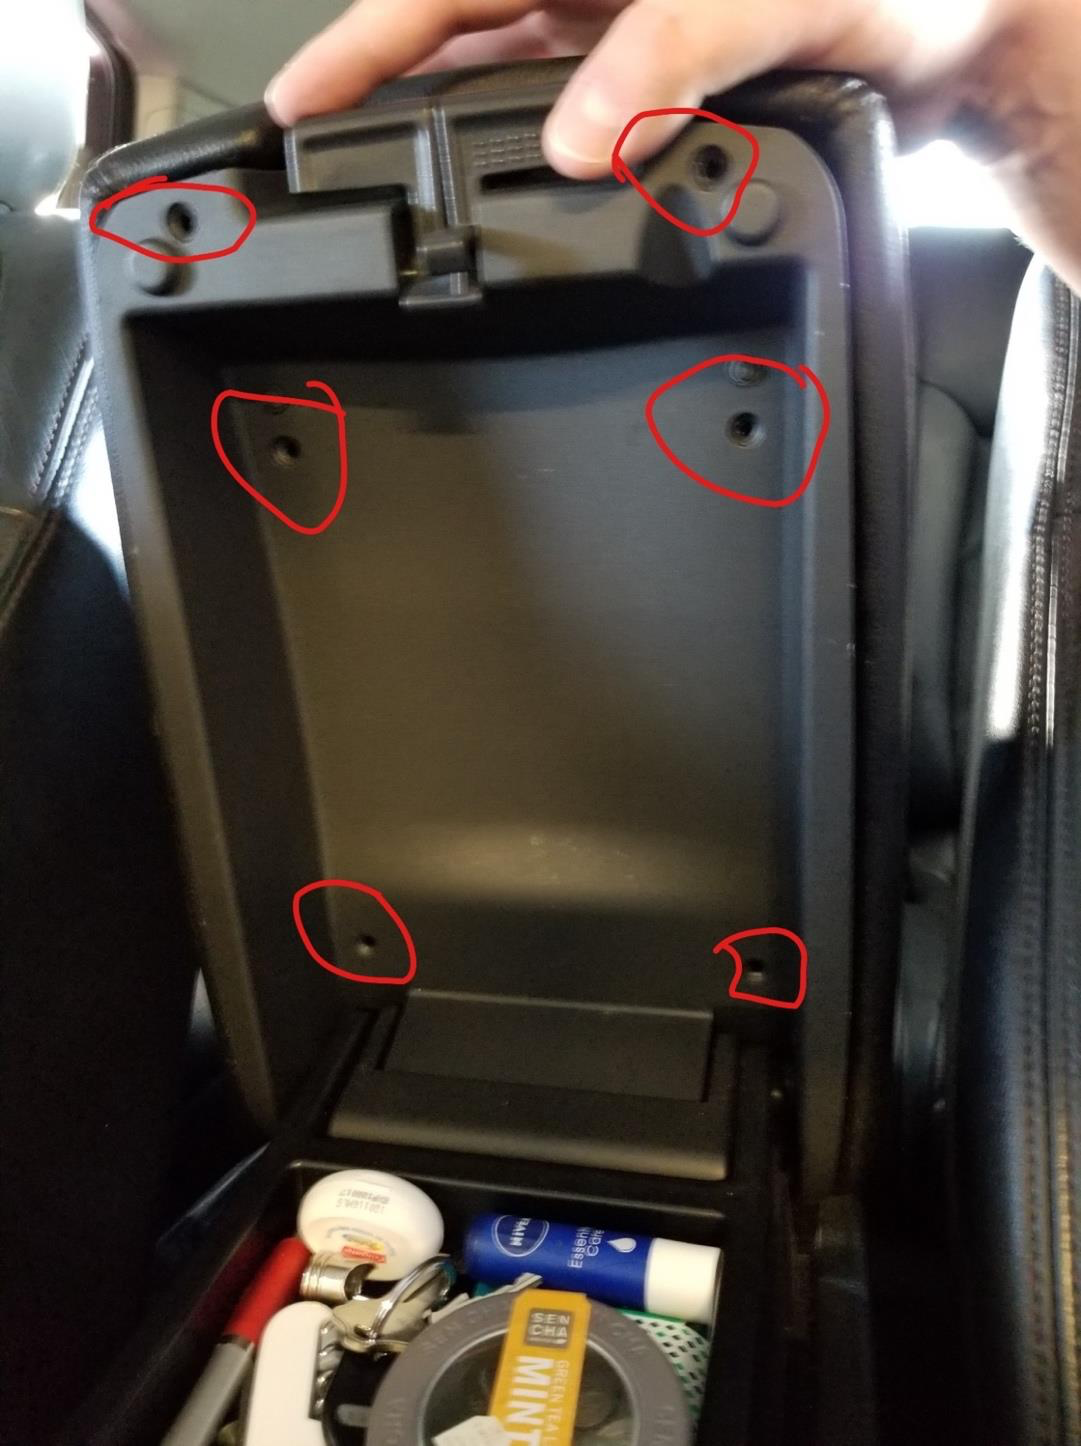
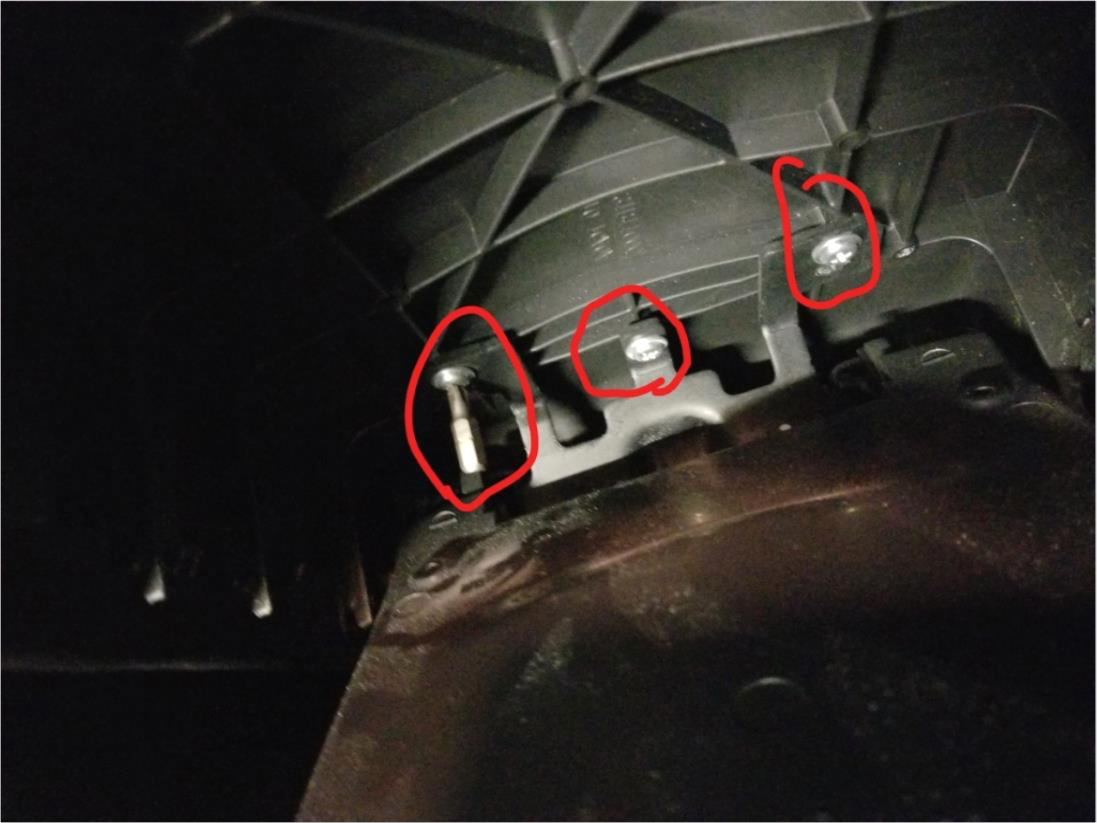
Remove 6 screws (circled in red)
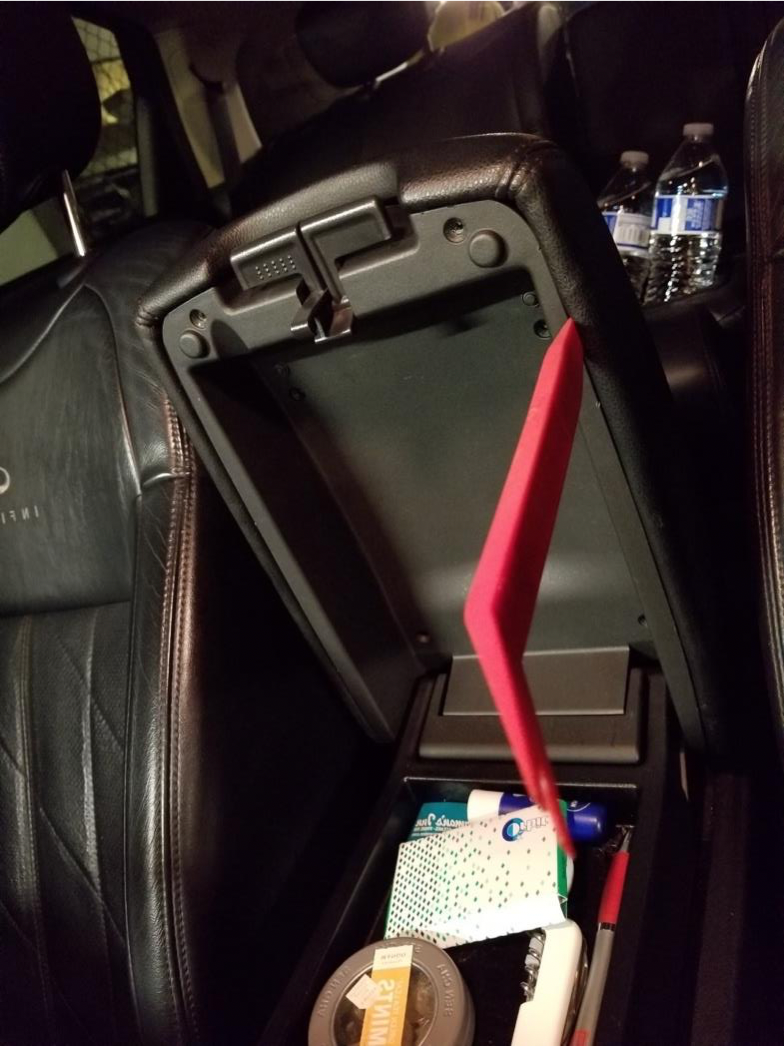
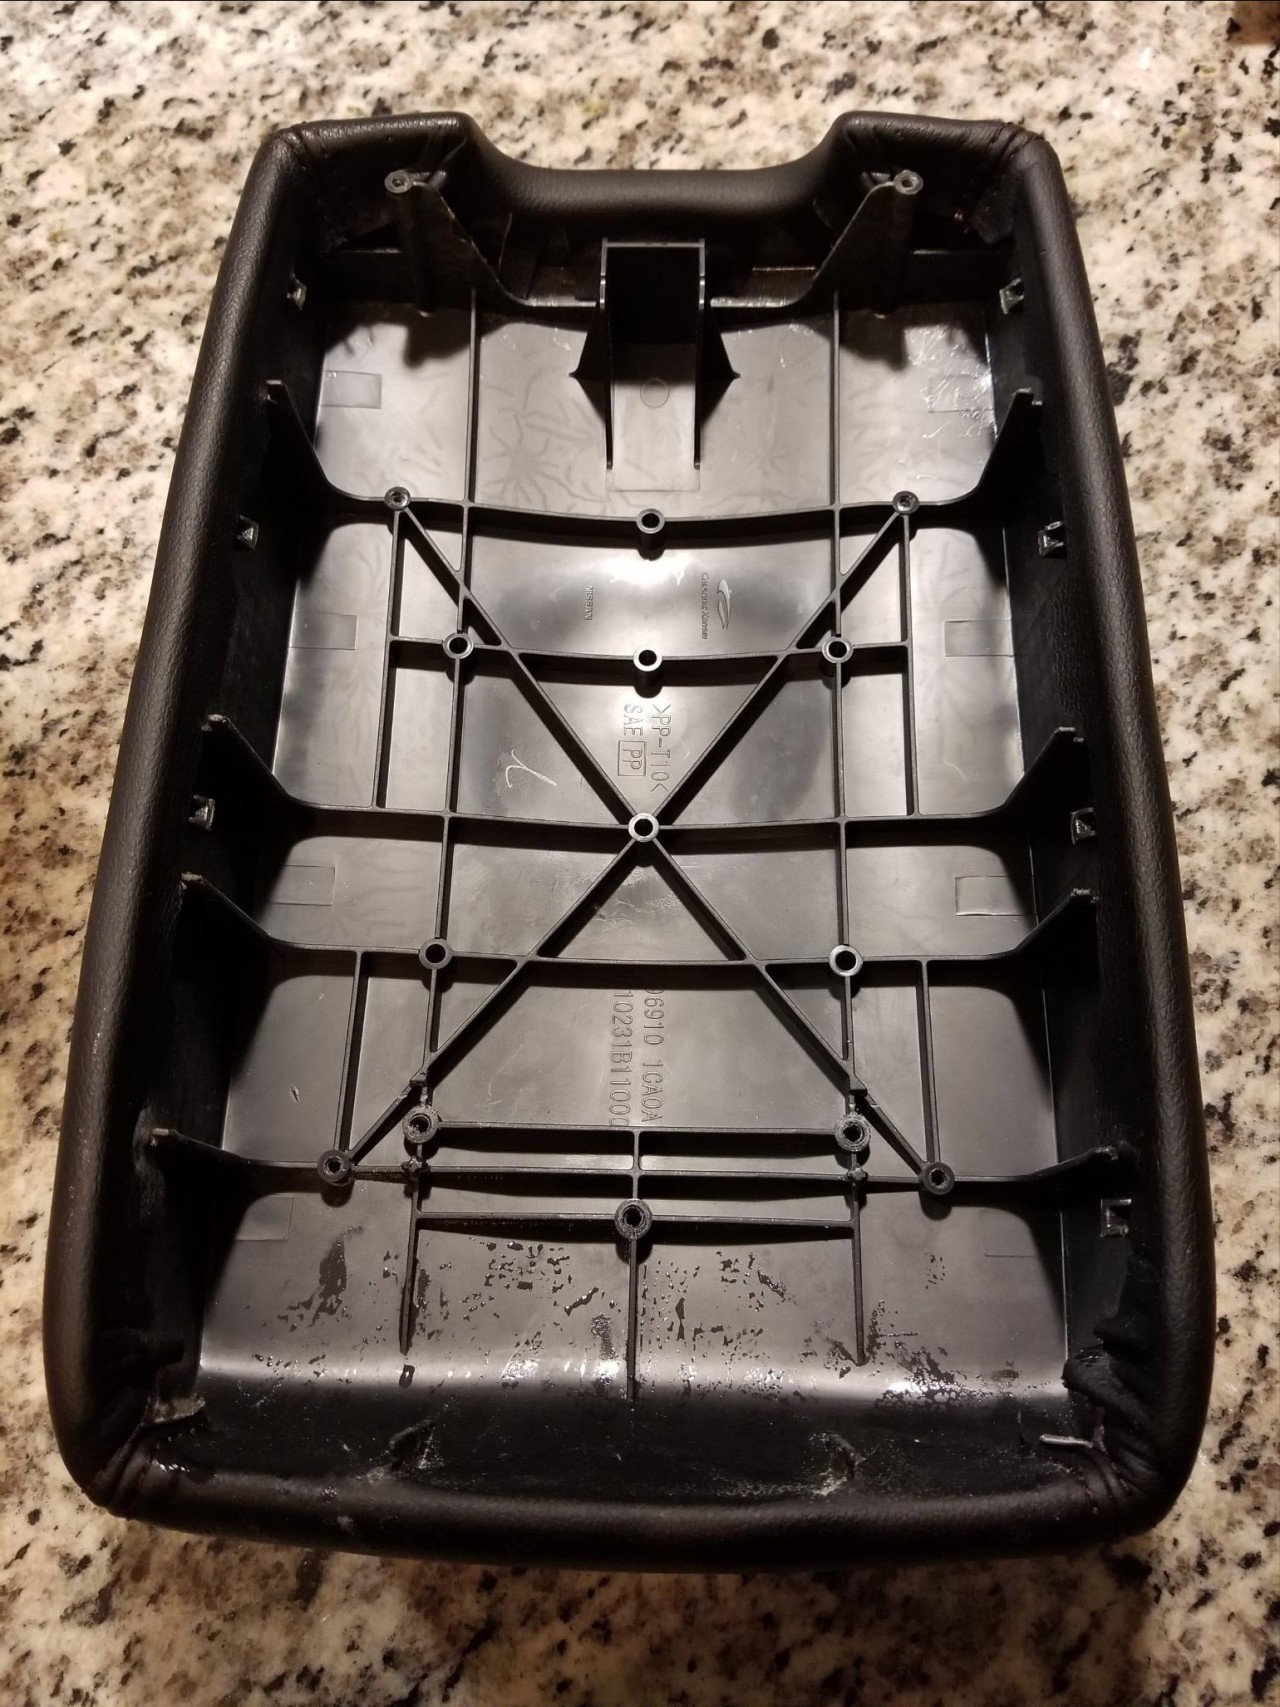
Pry off with clip removal tool (you can use knife or plastic card) to get the outer layer off:
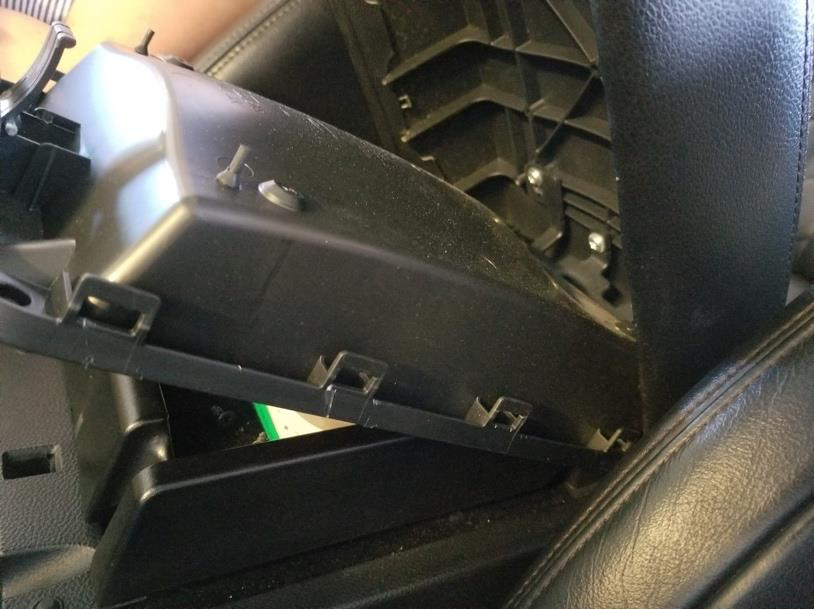
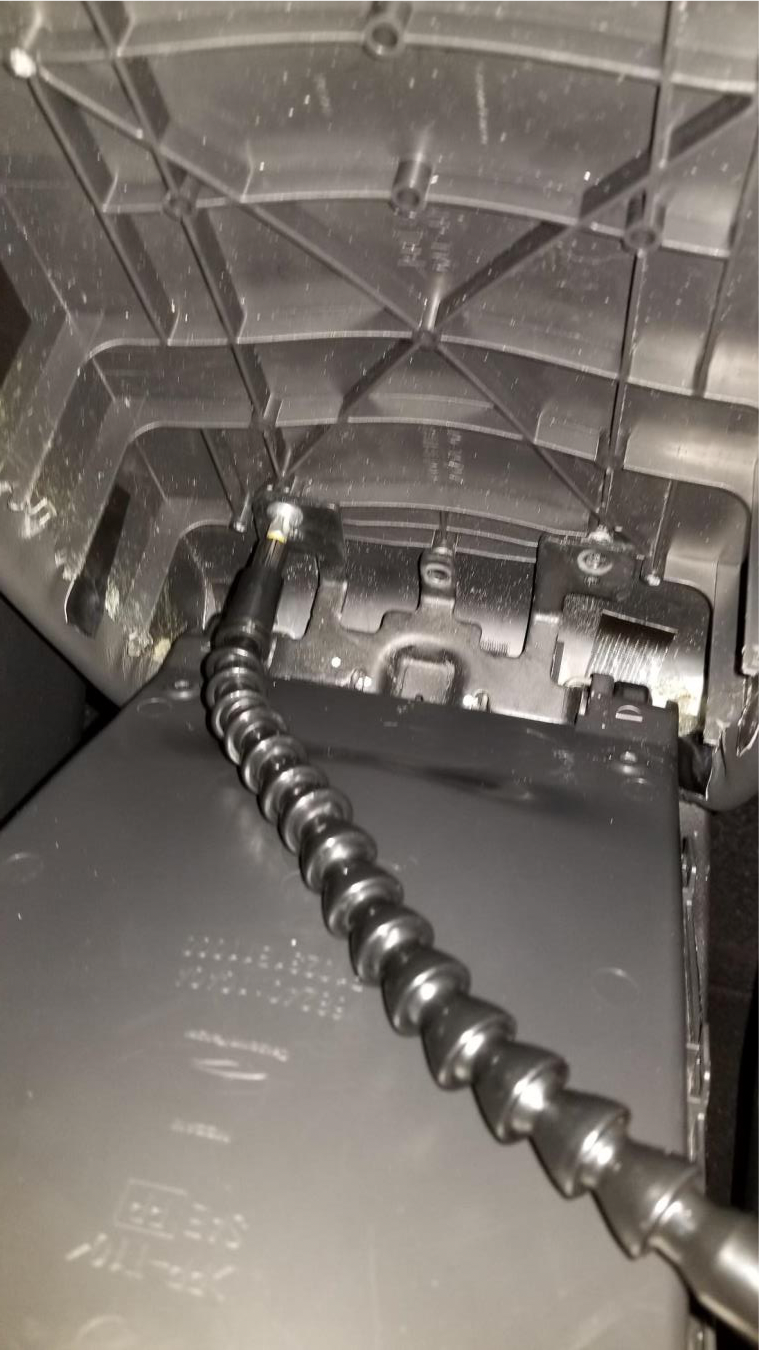
Most complicated part. TO remove 3 screws in the back (it hard to remove without flexible extension) or you can use bit + vise grip:
You are all set. Install the cover over the factory one, or removing the factory one – as you wish. You can do it the easy way, or the proper way. The latter involves gluing the new cover. The easy way is just gluing the ends on the underside of the top layer of the armrest.
Gluing is more cumbersome, but preferred, as the armrest cover will stay flat against the old surface at all times. Make sure to use a glue approved for auto upholstery (Automotive GOOP or similar), make sure to clean the surface of the armrest before you glue.
Assemble in the reverse order of removal – reinsert the 3 screws with flex extension:
Replace back all 6 screws (be carefull to not over tighten them)... and enjoy! ☺
Useful tip
You have installed a product made out of genuine leather. As you know, to maintain a leather product in good condition, you should take care of it. We suggest occasionally (every 4-6 week for example) applying some leather conditioner/UV protector to keep your leather from drying up in the sun and cracking.
Redline Automotive Accessories Corp. will not be held liable for any labor, incidental or consequential damages of any kind. Proceed at your own risk.