You must be logged in to rate content!
4 minute read

91-95 PRIMERA/INFINITI G20 SHIFT BOOT INSTALLATION INSTRUCTIONS
Preparation
1. Remove Shift Knob, by turning counter-clockwise. It may be necessary to use a wrench, as Nissan glues the knob to the shifter. Once broken free, keep twisting until the knob comes off.
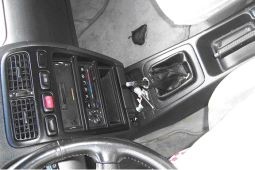
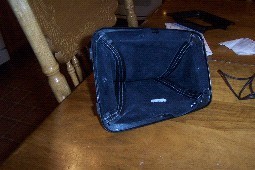
2. Remove Shifter surround assembly by pulling up on the rectangular panel. It will be necessary to turn the existing boot inside out.
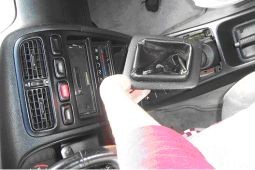
3. Remove the boot from the shifter by taking off the rubber band, and removing the small metal ring. After these are removed, just slip the boot off the shifter.
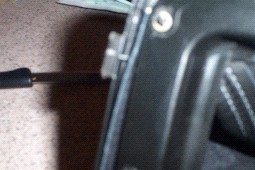
4. Now is the hard part. There are small one way retaining washers that are holding the assembly together. As you can see, the cloth goes in between the plastic panels, and these must be separated. After a lot of careful work, it was determined that these clips are not going to be salvageable, and we simply cut them off using a small set of wire cutters.
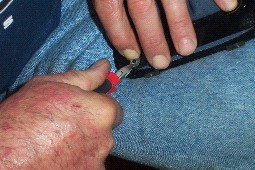
5. Once these are removed from all four corners, carefully use a small screwdriver and break the seals that are in the middle of each side. It looks as if Nissan melted the plastic for some reinforcement. Once these are broken, the whole assembly should be separated, and you can remove the old boot. Now you can line up the holes from the new boot, and slip them onto the plastic nubs that are located in each corner of the assembly.
6. Now you can start piecing together the assembly. Slip the inner part into place. I went to a local hardware store, and purchased some “C-clamps” for about 10 U.S. cents. These seemed to be good replacements for the Nissan one way washers. If you can salvage the washers, or find others, this may be a better idea, but I tested these clamps, and they were very strong.
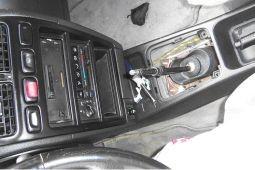
7. Since Nissan found it necessary to seal the assembly by melting the plastic, I used hot glue, and resealed the points. I also glued the clamps for some extra insurance.

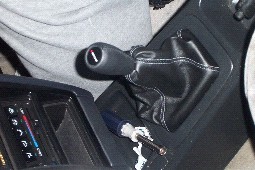
8. Now turn the boot inside out, pulling it through the whole assembly. Use the same rubber band and metal ring that your took off, and attach the boot to the shifter the same way you took it off. Finally, turn the boot right side out, and attach the assembly to the center console. Then re attach the shift knob, turning clockwise. That's it, you're DONE!
Useful tip
You have installed a product made out of genuine leather. As you know, to maintain a leather product in good condition, you should take care of it. We suggest occasionally (every 4-6 week for example) applying some leather conditioner/UV protector to keep your leather from drying up in the sun and cracking.
Redline Automotive Accessories Corp. will not be held liable for any labor, incidental or consequential damages of any kind. Proceed at your own risk.