You must be logged in to rate content!
3 minute read

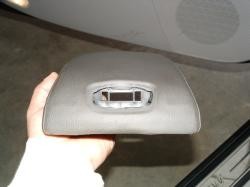
I30&I35 00-03 ARMREST COVER INSTALLATION INSTRUCTIONS
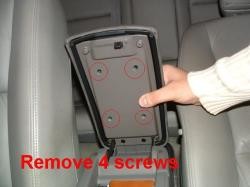
1. Open the armerst and remove the 4 screws holding the top bart to the bottom one.
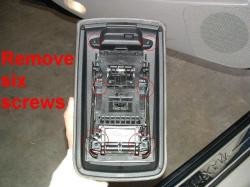
2. Remove the 6 screws holding the inner top part to the outer one.
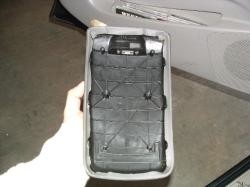
3. The inner part should just pull straight out.
4. Push the button out from the inside.
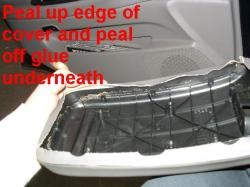
8. Peel off the old cover and clean off the glue residue.
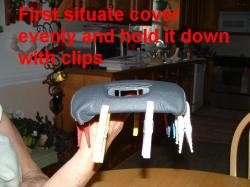
9. Situate the leather cover evenly on the armrest. Go piece by piece and use clips to hold it down.
12. After you get all the clips on, make sure it fits PERFECTLY.
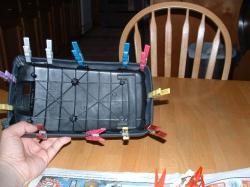
13. Using any epoxy-based glue (Automotive GOOP or similar) start gluing. Apply glue liberally and make sure you do it piece by piece - take off a clip or two, put glue underneath it, relocate the clip. Make sure the cover doesn't move on the armrest while you're in the process.

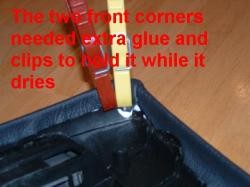
14. Make extra sure you got the corners right, especially the front ones. Use more glue and more clips right there to make sure the cover is flat and even on them.
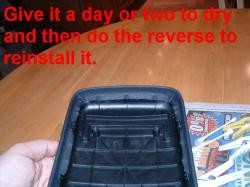
14. Once done gluing, give it at least 24 hours to dry completely (depending on what brand of glue you use, check the glue leaflet for more information regarding this). Reinstall in the reverse order of removal (steps 4, 3, 2, 1).
ENJOY YOUR NEW LEATHER ARMREST!
Useful tip
You have installed a product made out of genuine leather. As you know, to maintain a leather product in good condition, you should take care of it. We suggest occasionally (every 4-6 week for example) applying some leather conditioner/UV protector to keep your leather from drying up in the sun and cracking.
Redline Automotive Accessories Corp. will not be held liable for any labor, incidental or consequential damages of any kind. Proceed at your own risk.