You must be logged in to rate content!
4 minute read

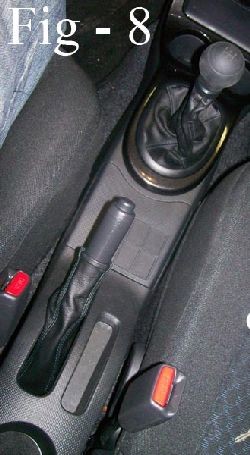
1. Begin by emptying your cupholders in front of the shift boot and gathering the tools needed for installation, a ratchet with a 10mm socket and extension, and a zip tie.
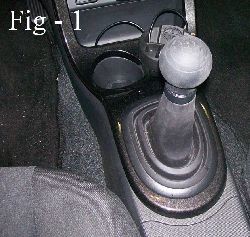
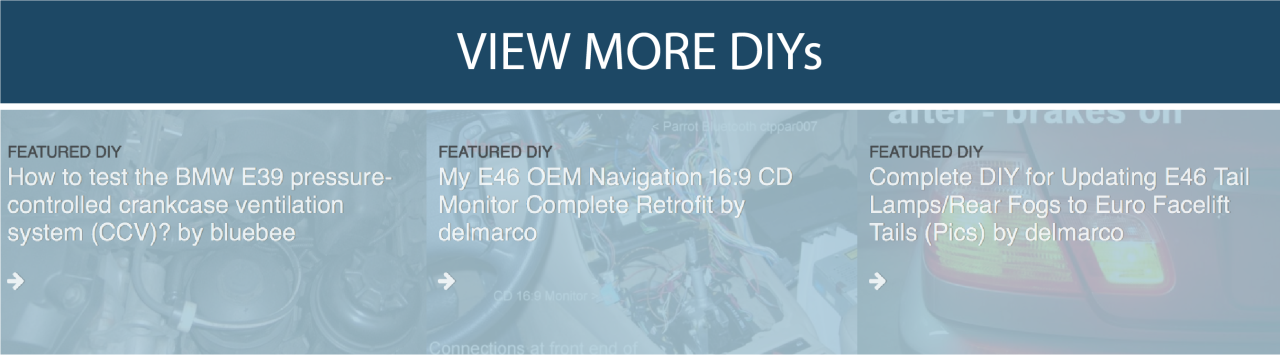
2. Next remove the shift knob, grab the edge of the painted trim around the shift boot and lift up, Don't worry you won't break it. Now grab the area above the cup holders and pull out. the painted trim should now be separated from the rest of the console.
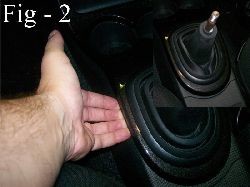
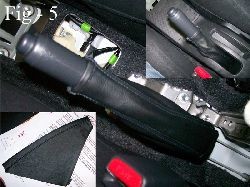
3. Now separate the shift boot trim ring from the painted trim by gently pinching the clips around the underside edge. After that's separated separate the old boot from the trim.
4. Grab your ratched with a 10mm socket and extention and remove the bolts circled in red. You can also remove the plastic ring around the shift lever. Then remove the switch panel that's in front of the e-brake handle.
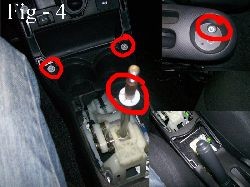
5. Lift up on the console and remove it. Take the e-brake boot and slip it over the handle and factory rubber boot. Now you can put the console back in place, bolt it back down, and replace the switch plate you removed in step 4.
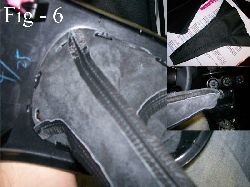
6. Turn the new shifter boot inside out. Attatch the new shifter boot to the trim ring you removed the rubber boot from, and snap the assembley into the painted trim panel. It takes a little work but it will snap back in, make sure there is no visible bits of the boot sticking out from underneath the trim ring. This could cause problems snapping it back in. Now place a zip tie loosly around the top end of the boot.
7. Slip the end of the boot with the zip tie over the shift lever and tighten and trim the tie. Place your hand inside the boot and grab the threads of the shift lever to protect the leather from scarring. With your other hand pull the trim assembley with the boot down turning the boot right side out.
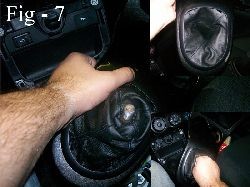
8. once you have the boot right side out again you are ready to snap the trim back into place and put the shift knob back on.
CONGRATULATIONS - YOU HAVE SUCCESSFULLY INSTALLED YOUR NEW LEATHER BOOTS!
Useful tip
You have installed a product made out of genuine leather. As you know, to maintain a leather product in good condition, you should take care of it. We suggest occasionally (every 4-6 week for example) applying some leather conditioner/UV protector to keep your leather from drying up in the sun and cracking.
Redline Automotive Accessories Corp. will not be held liable for any labor, incidental or consequential damages of any kind. Proceed at your own risk.