You must be logged in to rate content!
3 minute read

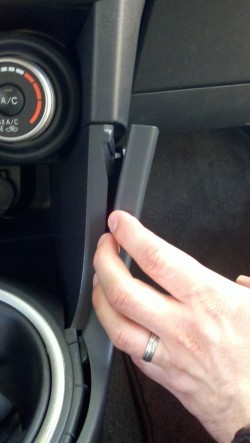
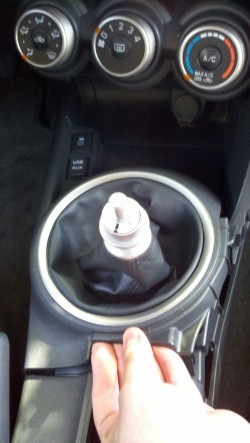
1. Remove Shift Knob by turning counter-clockwise. Remove the Right Upper Panel by firmly pulling up on the rear section...
2.then out on the forward section.
CAUTION: If a screw driver is used to pry panels loose, ensure something is put over the tip to avoid scratching any surfaces.
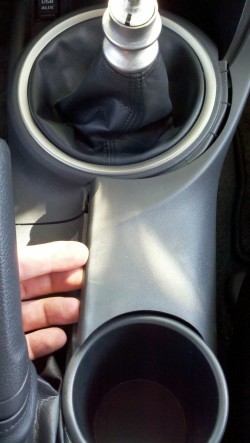
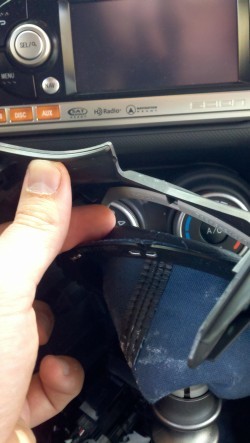
3. Remove Forward Console Cover by pulling up on exposed rear section...
4. and moving around the piece until it completely separates from the console base.
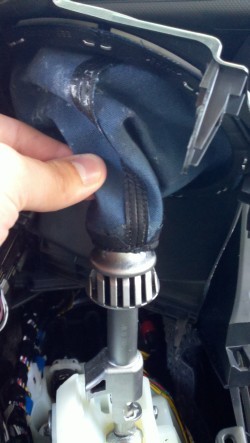
5. Gently pull the boot up, over the shifter, until it is separated from the shifter.
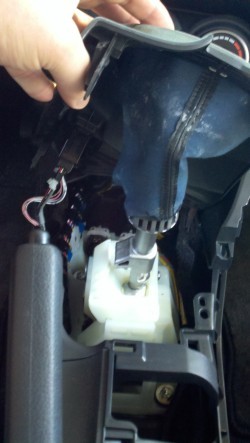
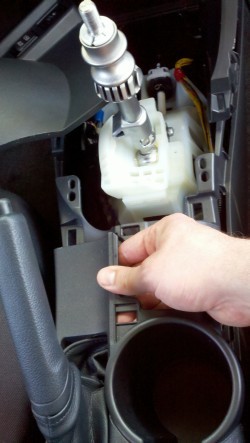
6. Tilt the base until you can see the plastic frame the shift boot is attached to. Pull plastic frame (with the shift boot) out from under the forward console cover.
CAUTION: Ensure attached cables are not pulled, torn or broken to avoid future vehicle issues.
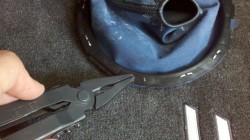
7. Use the needle nose pliers to straighten staples and remove the boot from the plastic frame.
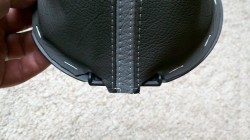
8. Attach Redline Goods Shift Boot to frame with staples or glue (whichever is easier given the tools at your disposal).
CAUTION: Take note of notches in the Redline Goods Shift Boot and align the boot in the same manner as the stock boot.
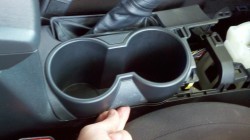
9. Remove Rear Console Cover (with cup holder) by pulling on the front...
10. and sides until the retaining clips release. Gently lift the cover up and over the e-brake, sliding the factory boot over the e-brake handle.
Remove e-brake boot from console and replace with RedlineGoods E-Brake Boot, ensuring the opening is toward the front.