You must be logged in to rate content!
7 minute read
New HID Retrofit Kit
Compliments of 2ez24get @ forum.chryslerminivan.net
9-2-2014
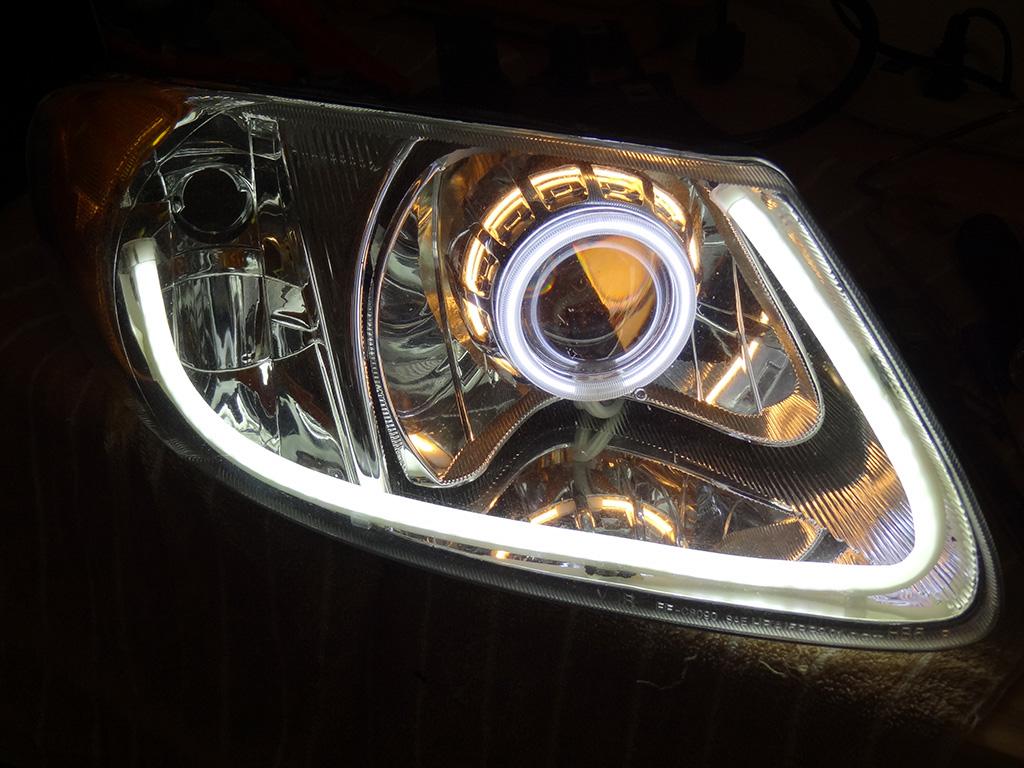
I finally got around to pulling apart the old set of headlights for a retrofit install. This time I am using LED switchback light tube and 3" HID with angel eyes and halo ring. I had to cut away some of the top reflector to get it to fit. Not a big deal just not 100% bolt-in. Pictures are below. My daytime running lights are the led tube and rings which put out a lot of light and will be really cool looking going down the road. The led tube switches on and off amber when the turn signal is on then back to white for use a drl. The outer ring is amber and the others are white. Once I get the lights mounted and aligned I will post a few more pictures of the process.
9-9-2014
I will post pictures of my work as it will help others interested in upgrading their headlights.
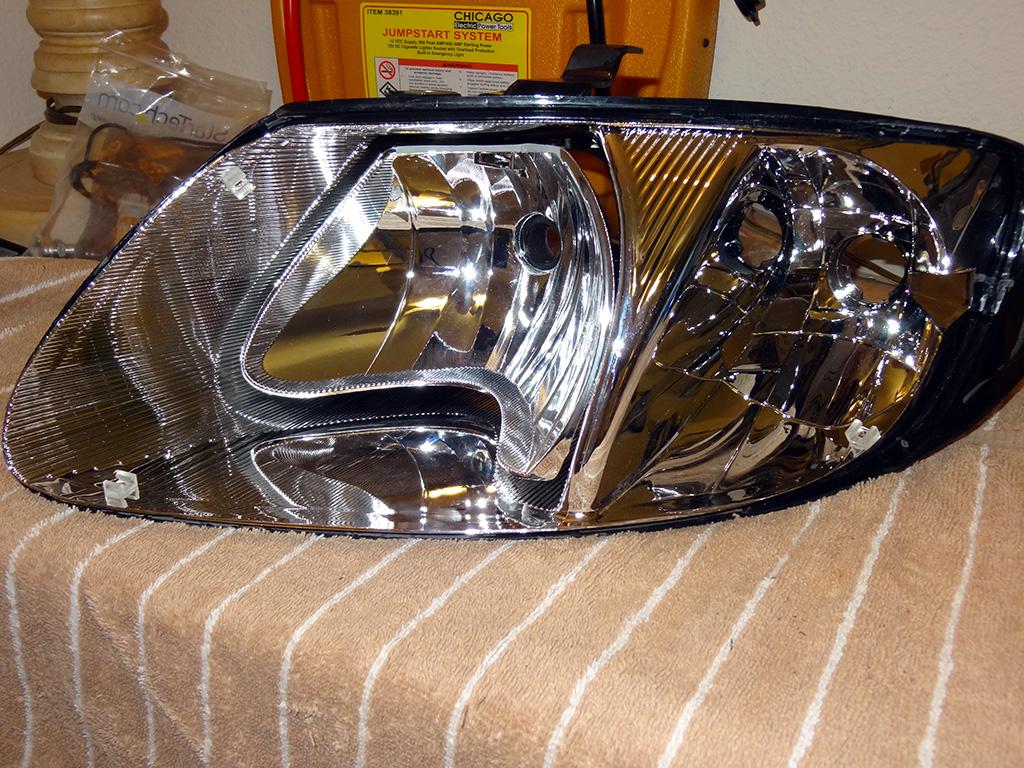
To start get a set of headlights. OEM or aftermarket it doesn't matter. I get them new off Ebay for around $100.
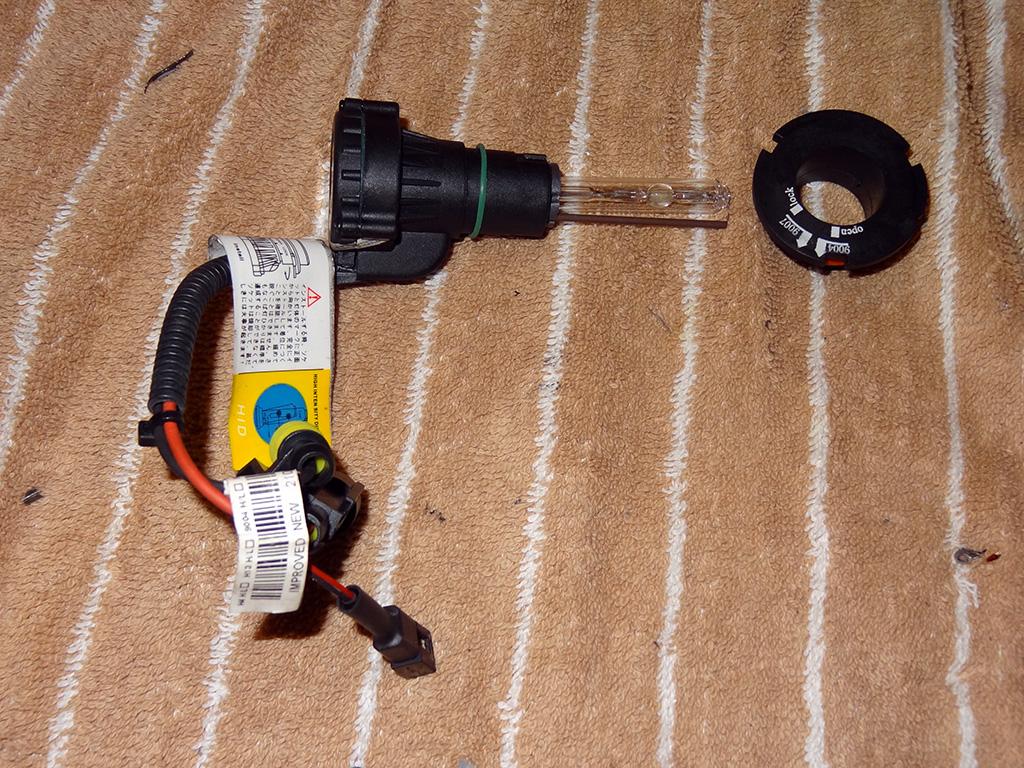
Purchase a HID bulb kit like the one below. You will need the adapter when you install the HID bulbs in the headlight.
http://www.ebay.com/itm/281371346960...%3AMEBIDX%3AIT
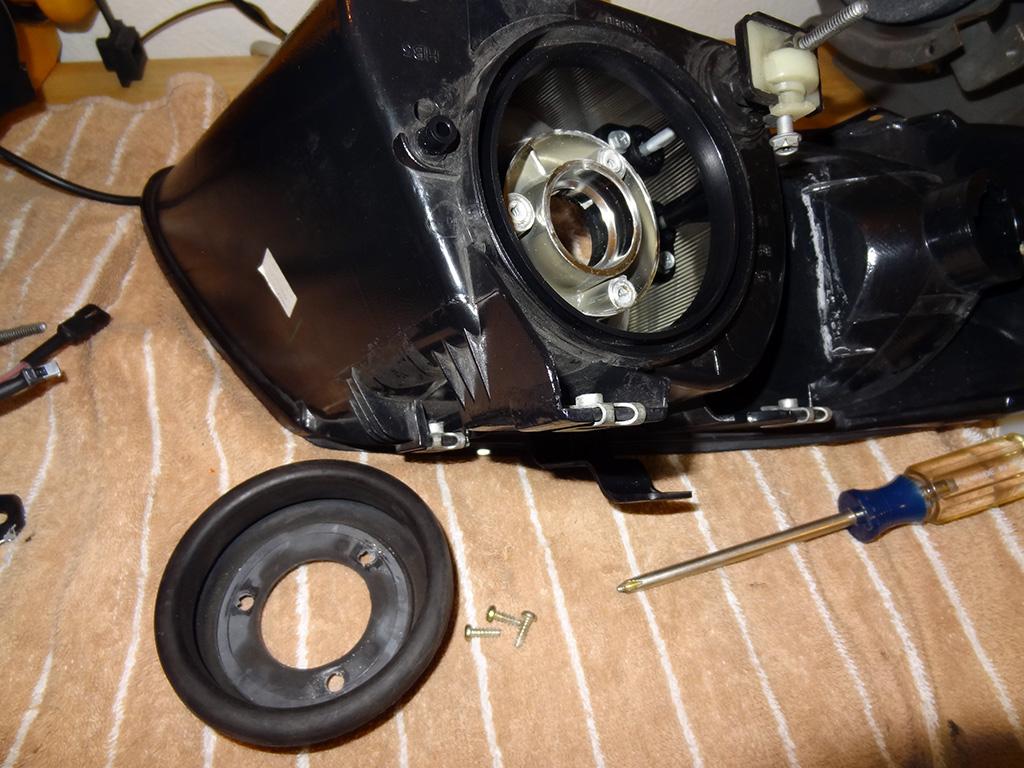
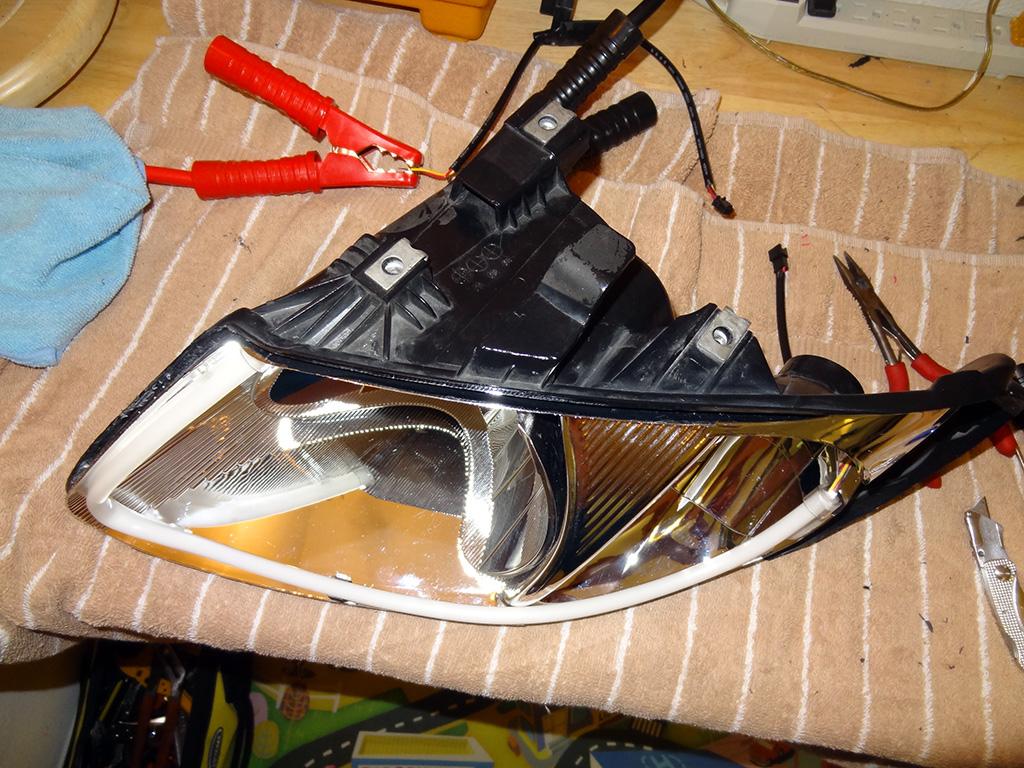
Remove the bulbs and headlight rubber grommet. Three screws and be careful when pulling off the rubber not to rip it.
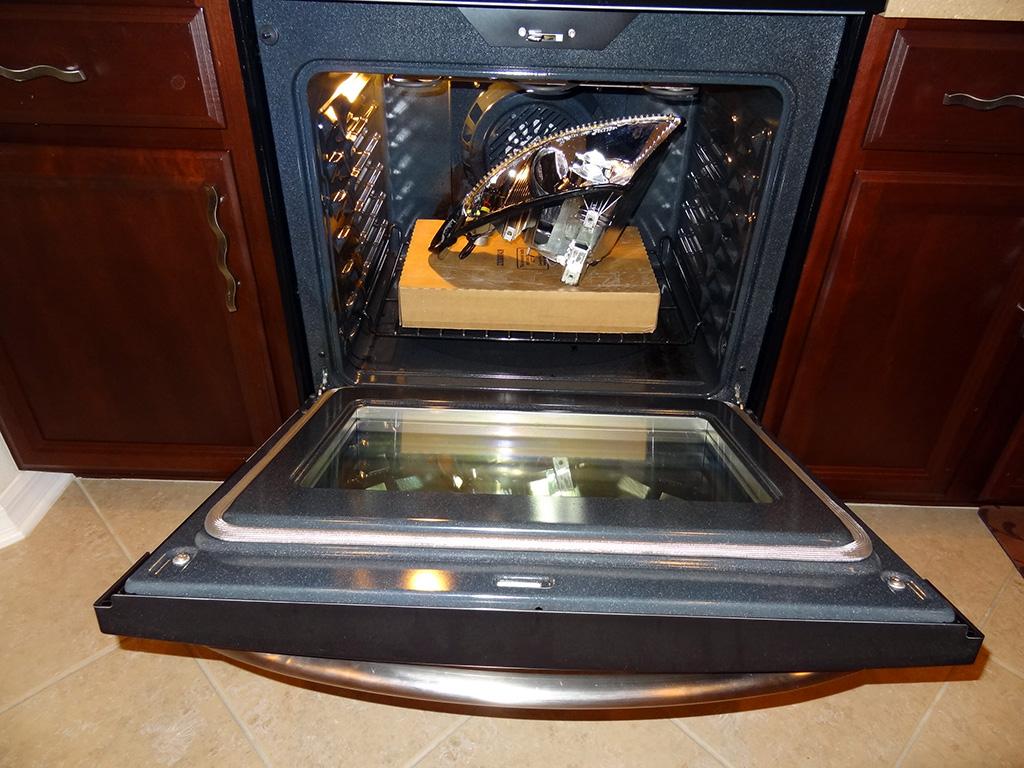
To get the headlight lens off the body of the headlight you will need to heat the headlight to about 210 degrees several times. It usually take me 3 trips to reheat the headlights.
Do one at a time. I use a hook carpet razor blade to cut between the lens and the body to cut through the glue. I picked mine up at Harbor Freight.
http://www.harborfreight.com/folding...ife-90802.html
http://www.harborfreight.com/pack-of...des-37557.html
You will need some way to check how hot the headlight is getting. I use a inferred gun. I also use a set of wooden chisels to pry apart the lens from the body. I start near the top of the headlight and pry and cut the glue away until I can get my hands inside to pull apart the two.
http://www.harborfreight.com/4-piece...set-42429.html
I would recommend you get an entire HID retrofit kit as you need ballast, blubs, HID projectors and wiring harnesses. I recommend 35 watt 2.8" MAX unless you are alright with having to cut away the top of the reflector bowl.
9-10-2014
Pull the DRL fuse and wire the Angel Eyes or LED Tube to be your DRL. I use a DRL harness to run mine.
http://www.ebay.com/itm/LED-Daytime-...ht_3884wt_1362
9-13-2014
The Retrofit kit I would recommend is the G8 HID BI-Xenon Headlights Projectors Lens Kit CCFL Halo + 2 AC Ballast 6000K kit it has all the parts needed to wire up the HID. It's available in Left Hand Drive and Right Hand Drive.
http://www.ebay.com/itm/G8-HID-BI-Xe...ht_9581wt_1362
Package includes:
2x G8 Universal BI-xenon Projectors + CCFL Angel Eye
2x HID bulbs for the projectors (proprietary product)
2x High quality AC/35W slim digital ballasts
2x CCFL Inverters for CCFL Angel Eye
1x H/L relay harness
Other necessary wires and accessories for installation
12 months warranty
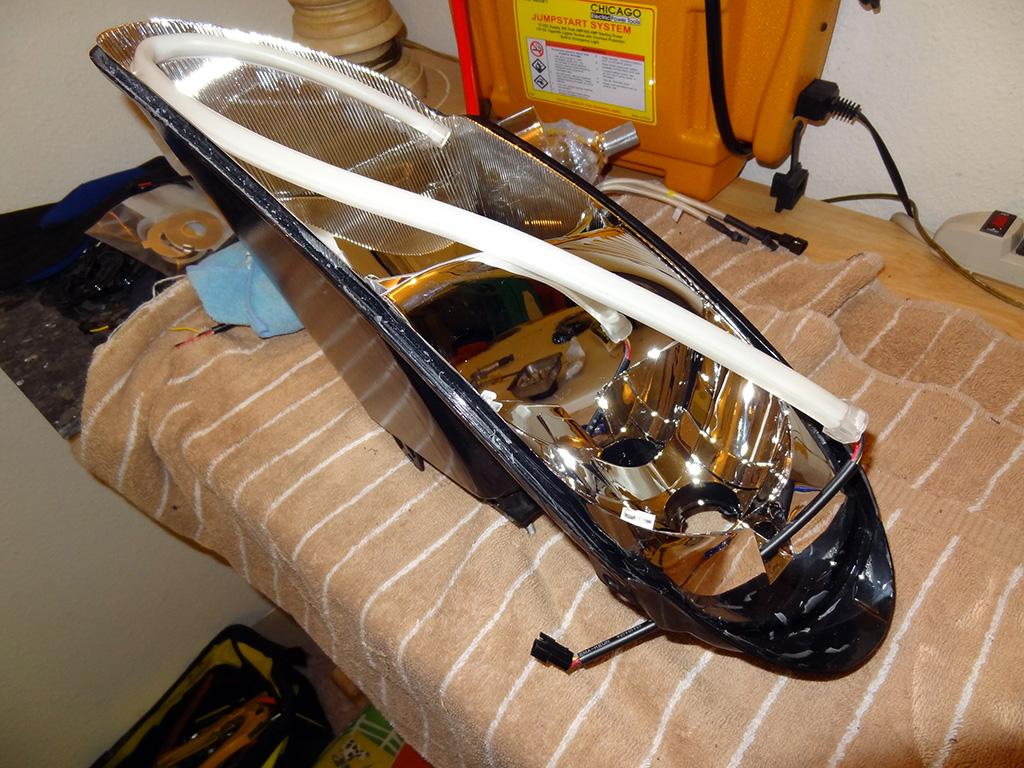
More pictures of the process to install the LED Switchback tube in the housing..
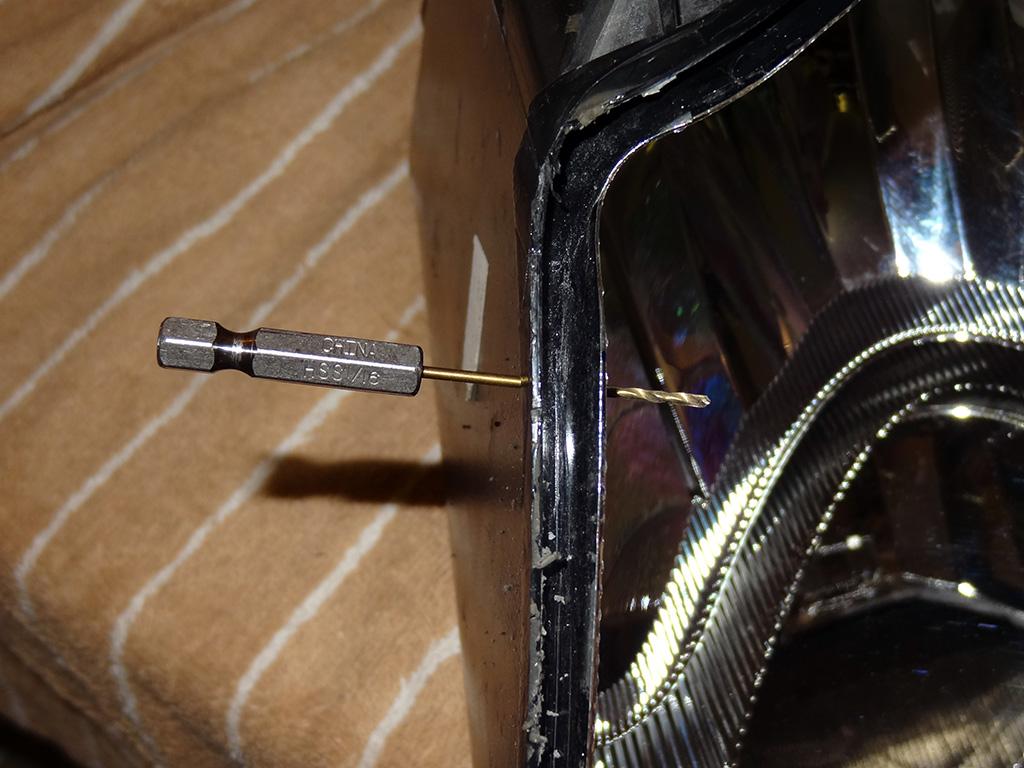
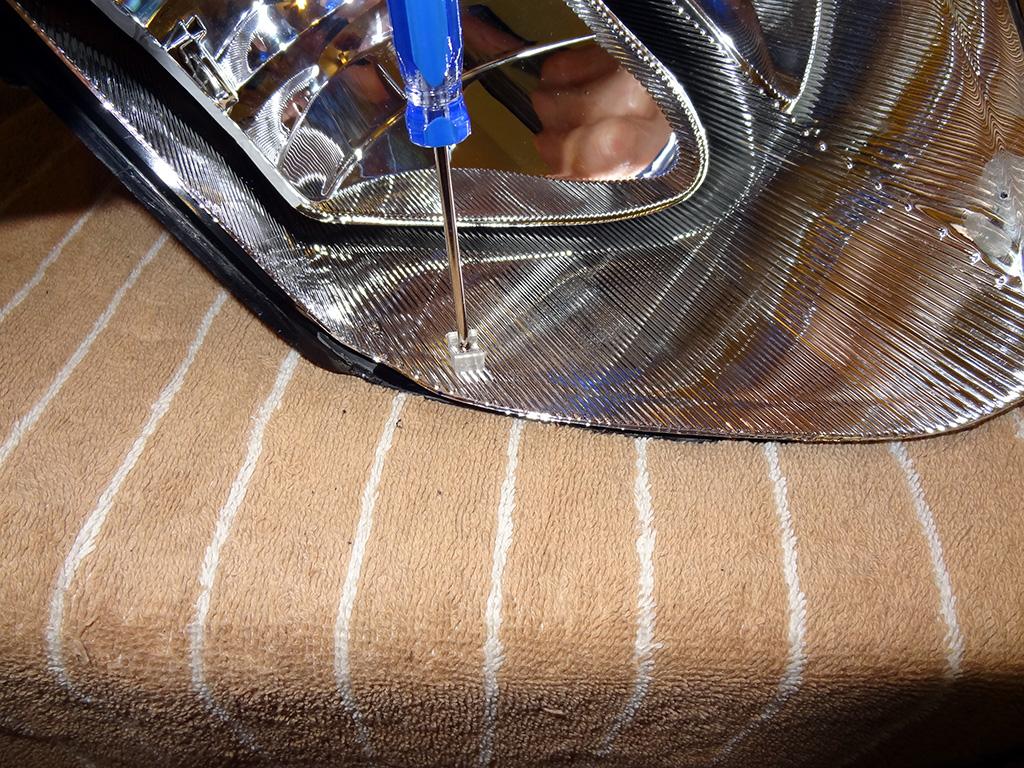
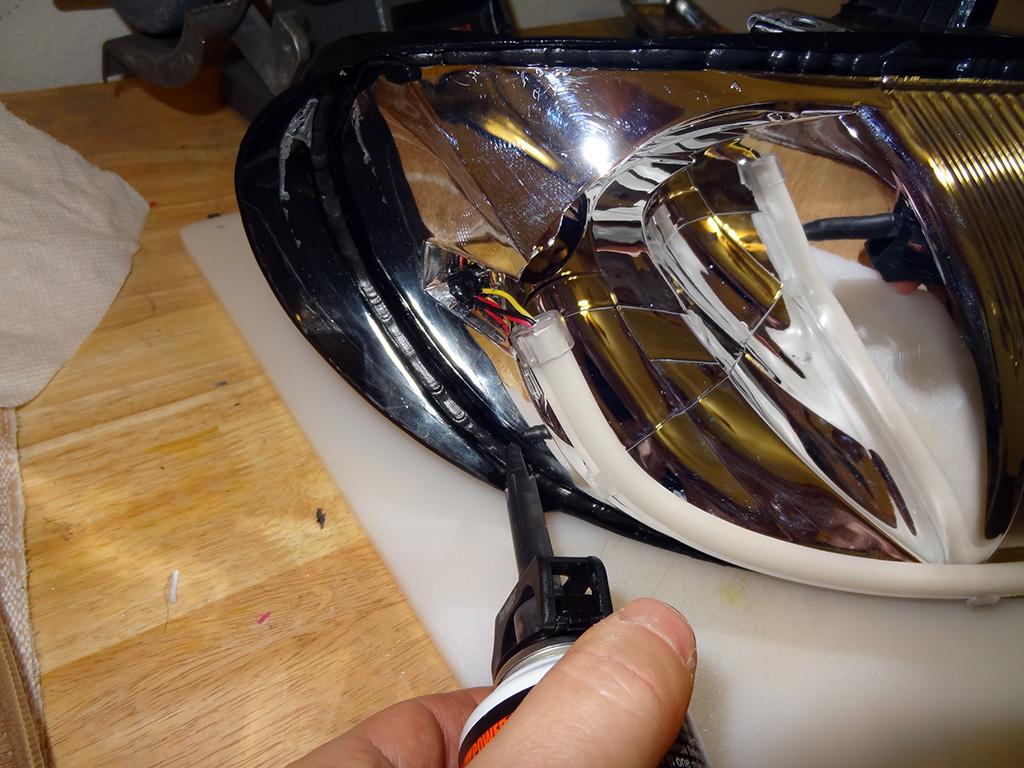
I drilled 3 small holes to mount the LED tubes. Glued with epoxy two mounts and one end to secure. Tested LED Tube and amber turn signal. Next is installing the Projector HID in the headlight and installing them on the van to adjust the horizontal cutoff.
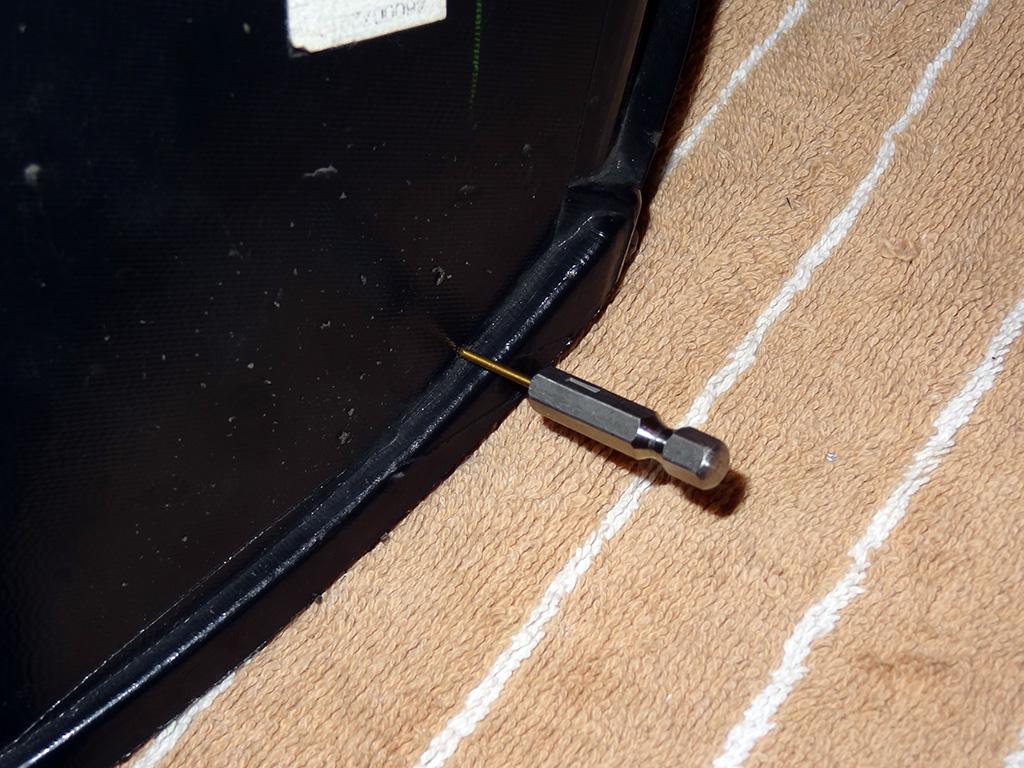
Drill behind where the lens will mount in the groove.
Attach the mounting clips.
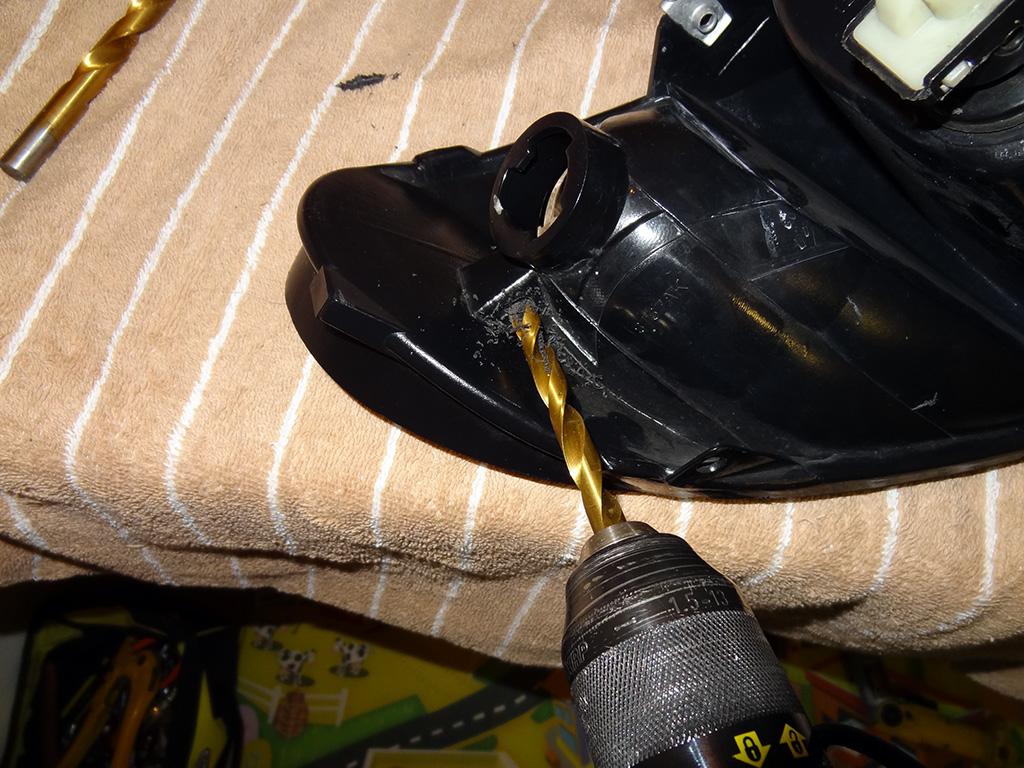
Drill a hole to run the wiring through
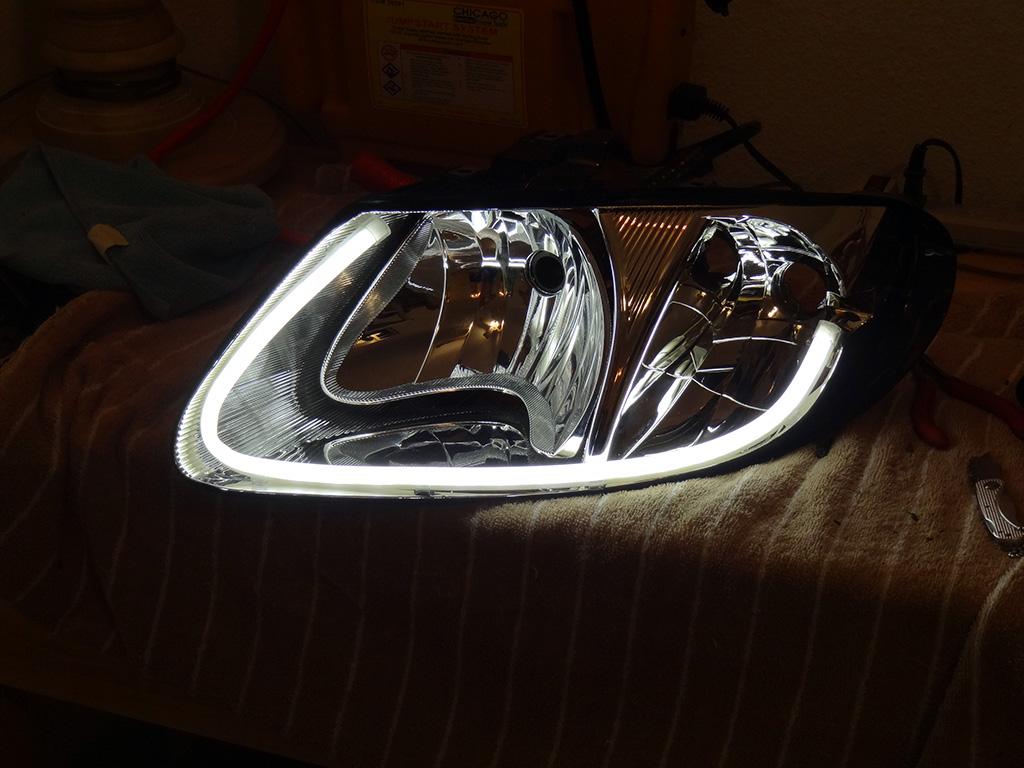
60cm LED Switchback Tube
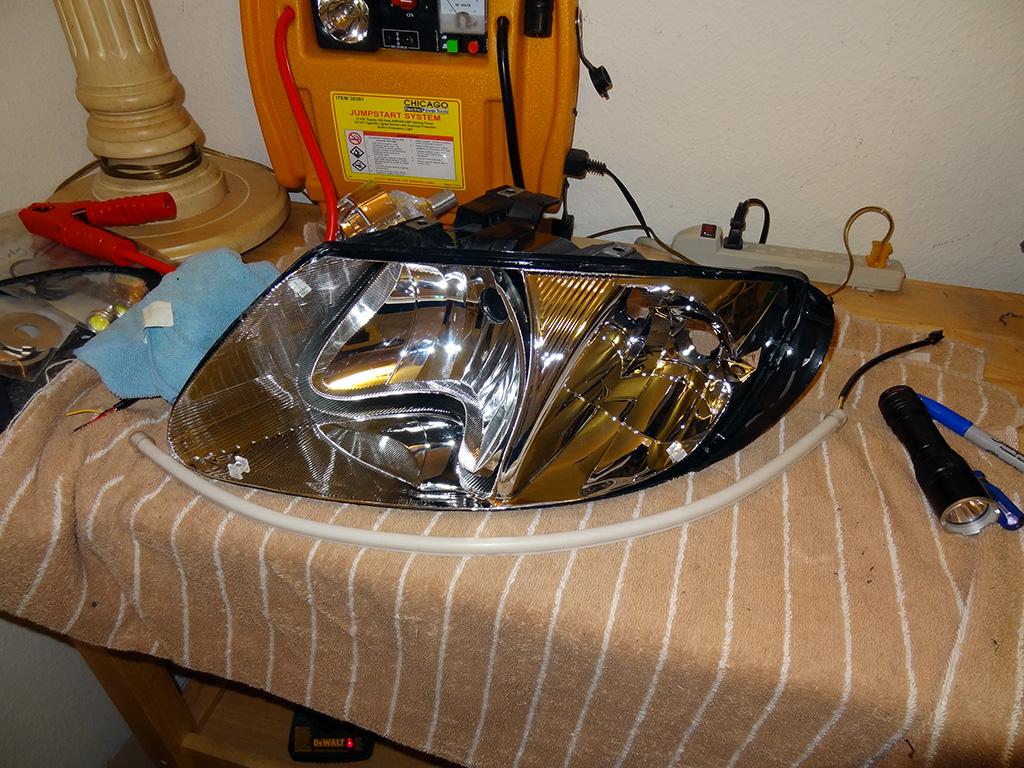
Test the LED Switchback
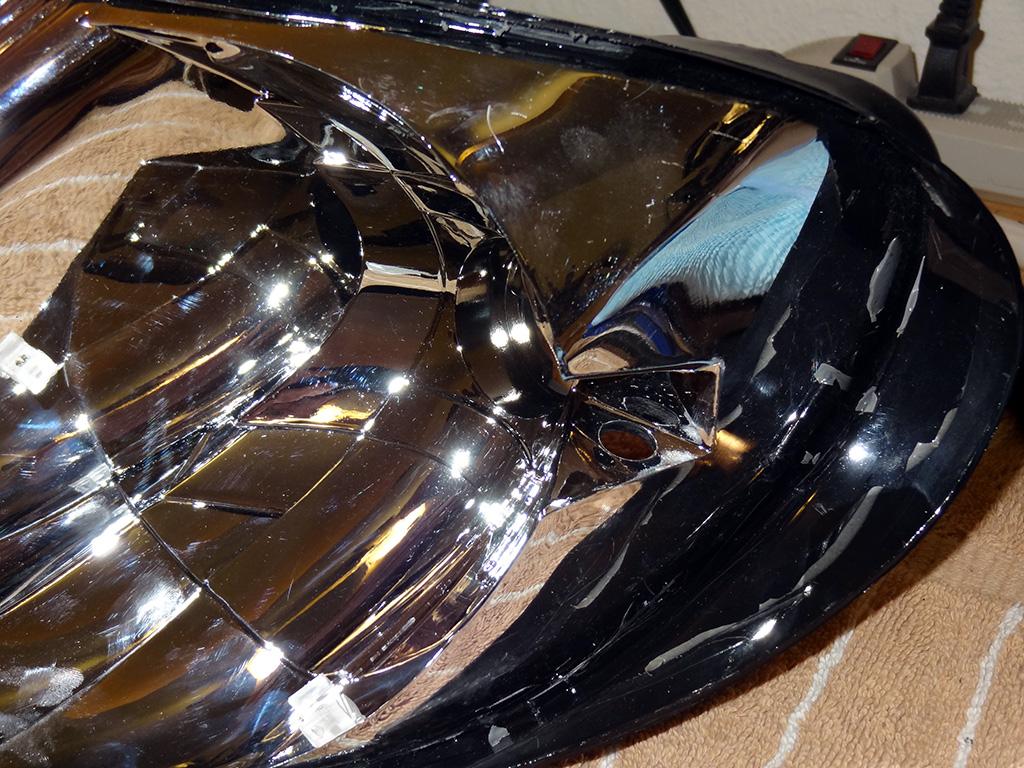
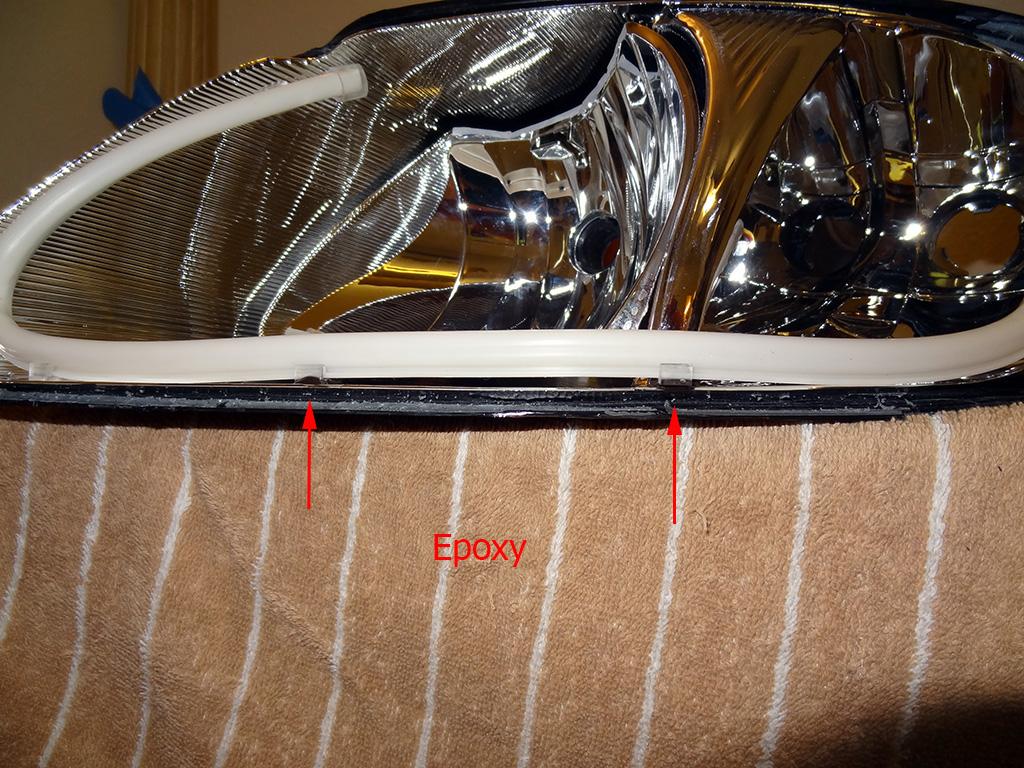
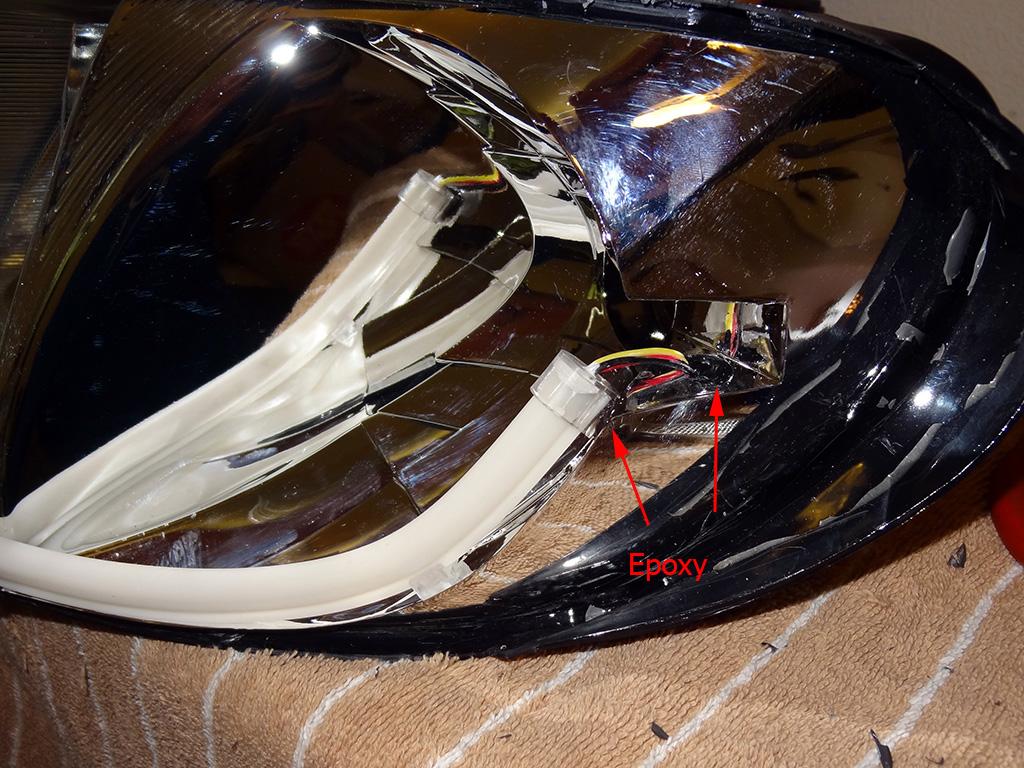
Epoxy 2 of the clips to the headlight. The lens channel is directly underneath so drilling and mounting screws is not possible. 1 is a full clip and the other is half of a clip. I used JB Weld.
9-28-2014
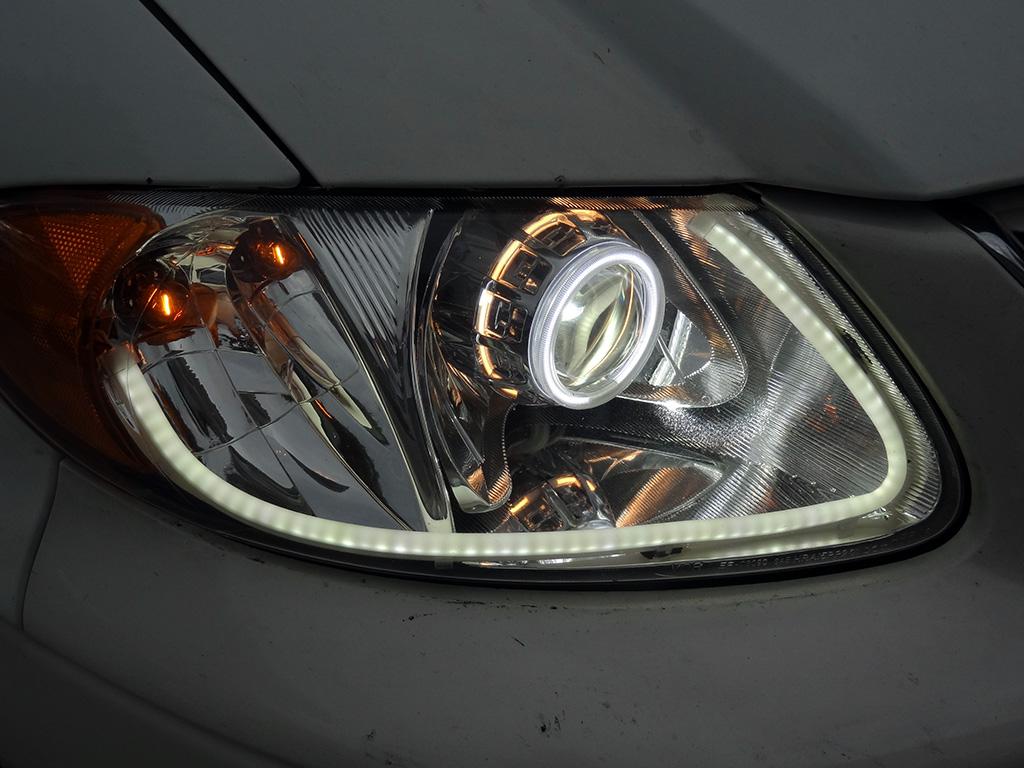
Finished the HID Install.
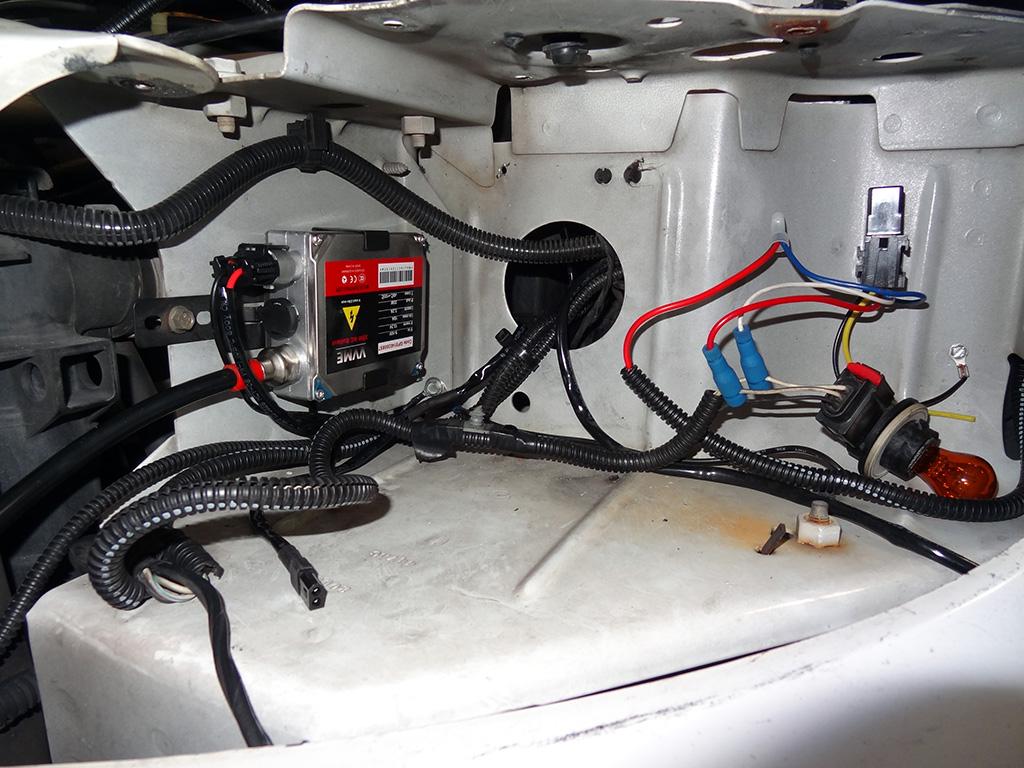
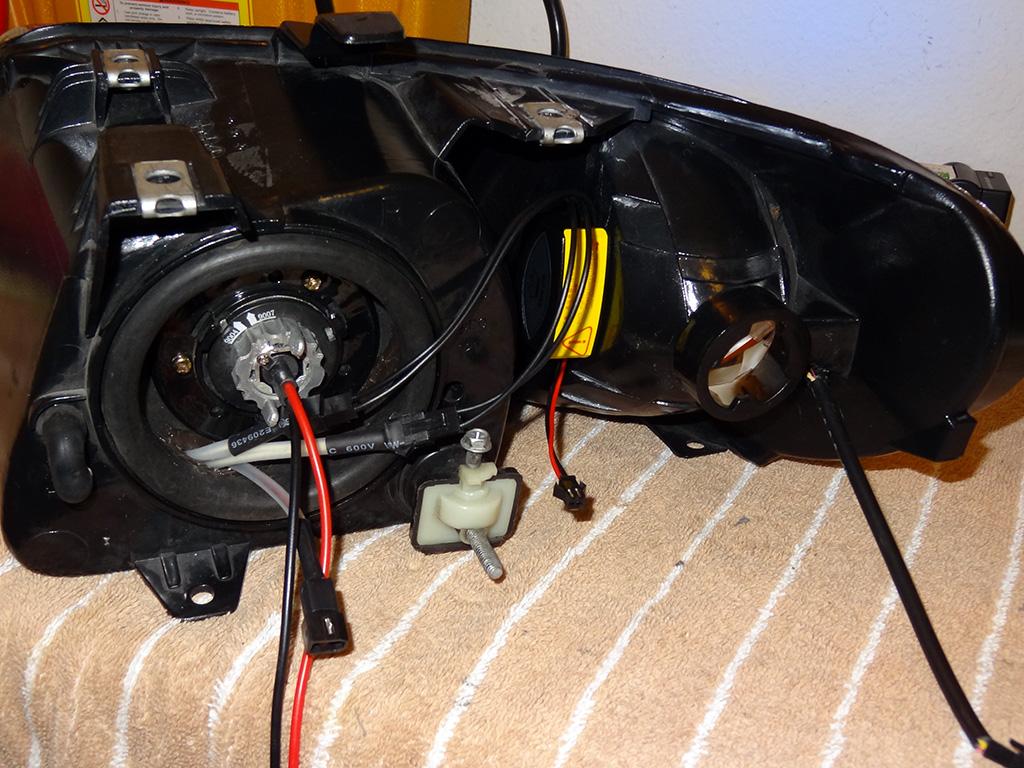
Ballast and wiring harness installed.
Applied 5 min black rtv sealer to the housing.
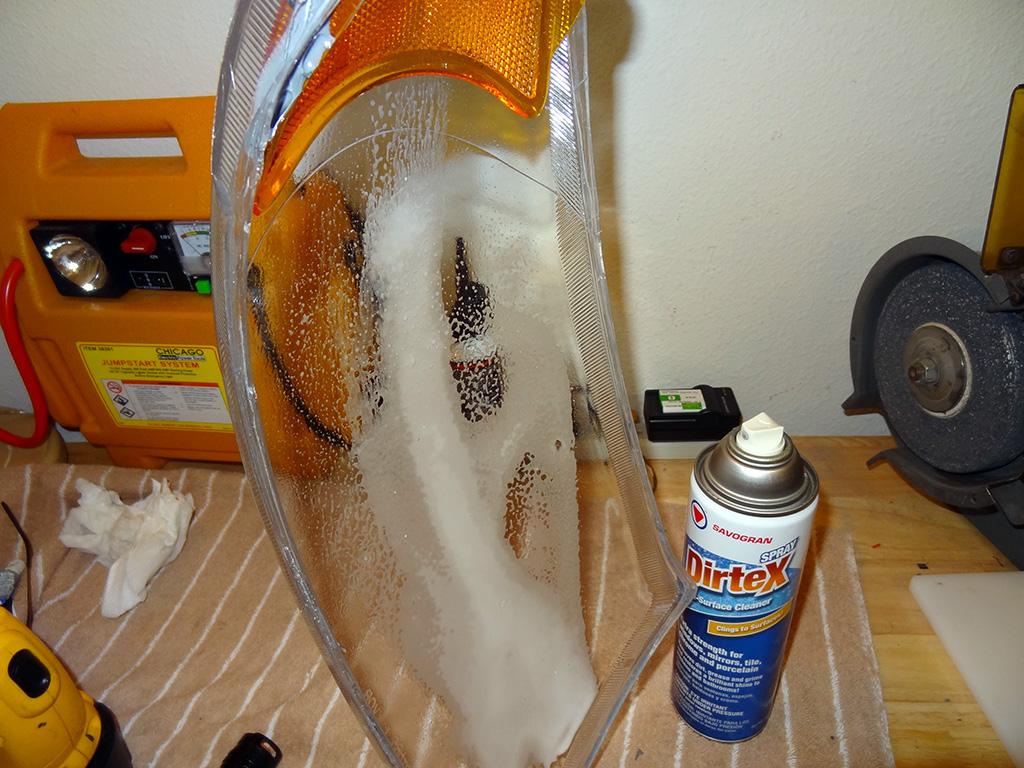
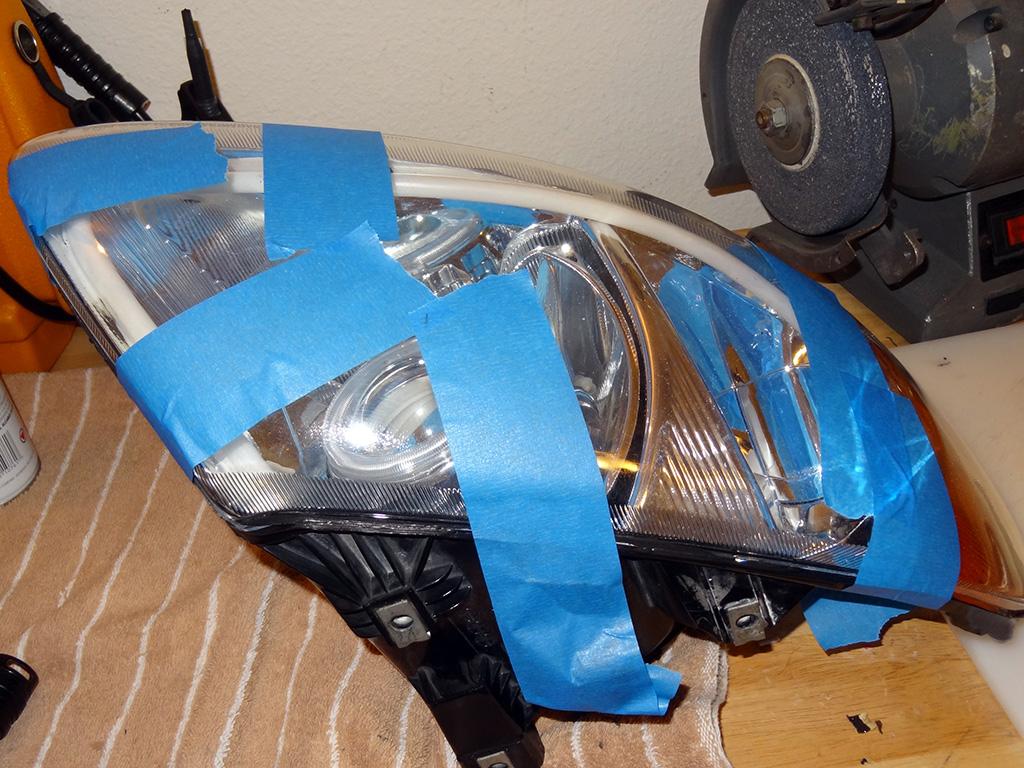
Cleaned the lens inside out. Check it against a bright light to identify and remove streaks.
Taped together and let sit overnight.
Back Side wiring.
Installed
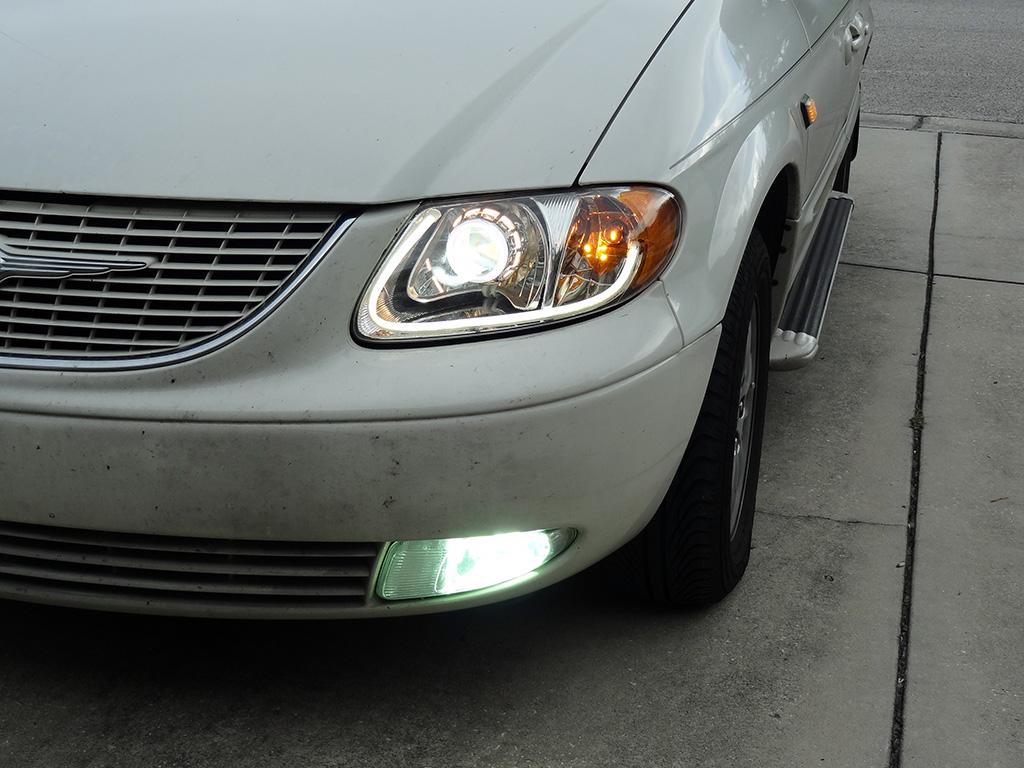
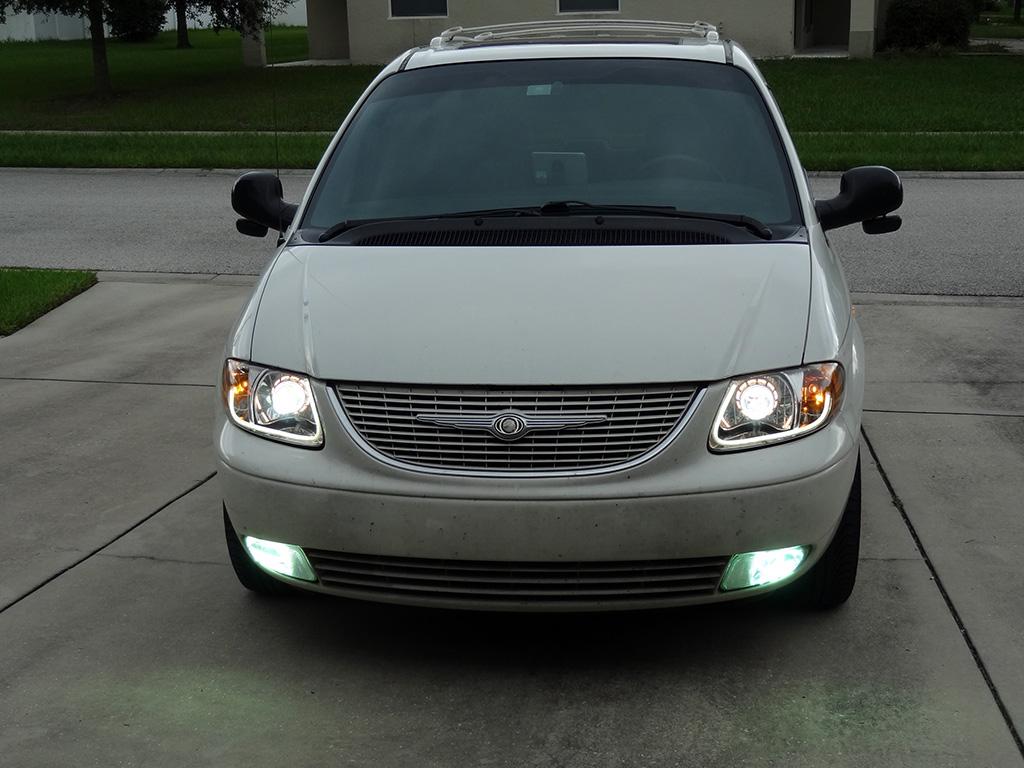
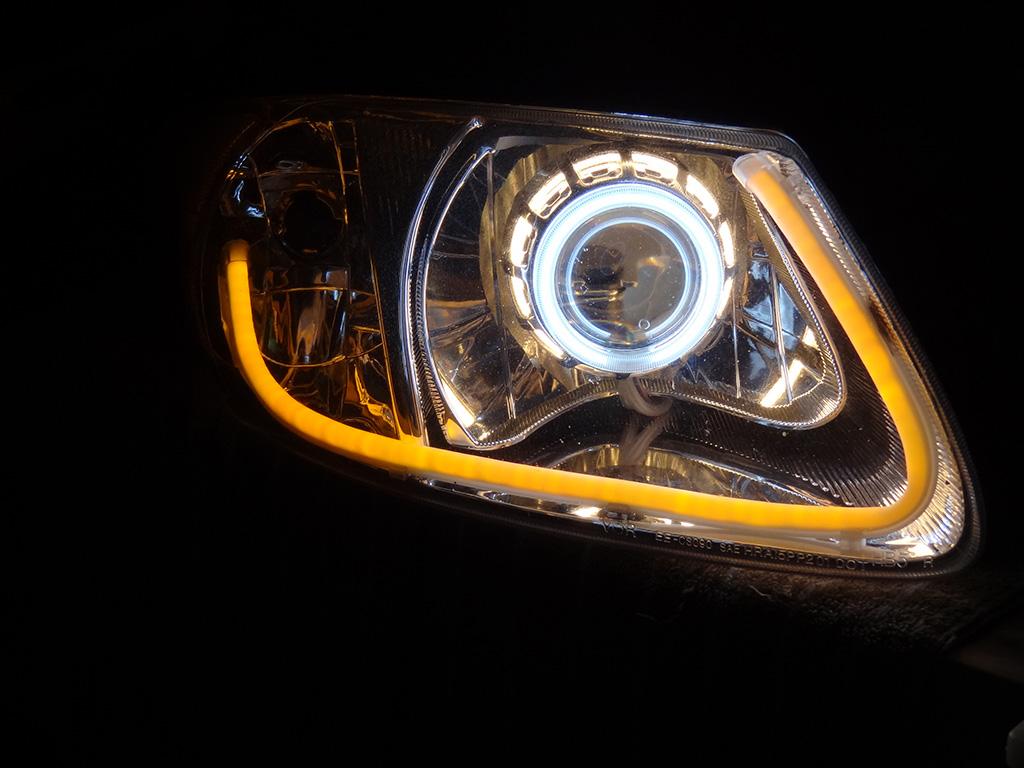
Short Video of LED Switchback when turn signal is on. Flashes Amber then switches back to white as a DRL.
Nice DIY!
Posted by Diggymart on 4/23/19 @ 12:50:12 PM