You must be logged in to rate content!
4 minute read

HYUNDAI SANTA FE 2013-19 SHIFT BOOT INSTALLATION INSTRUCTIONS
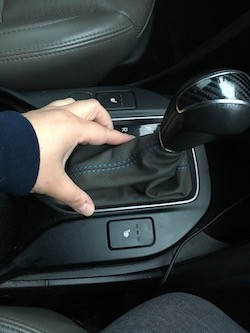
1. With car in park hold shift with button pressed in and pull straight up.

2. It may be easier to sit on armrest so you can really give it a good pull.
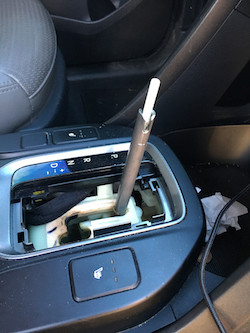
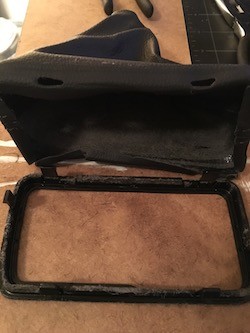
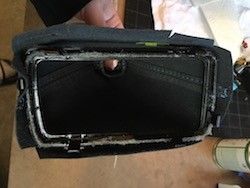
3. Remove the shift boot - working in sections, squeeze it around the bottom to dislodge the frame and pull off the car.
4. Take note of how the black plastic spacer is facing once removed from the inside.

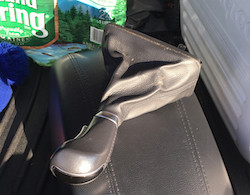
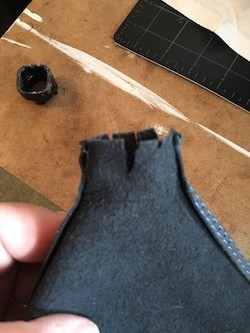
5. Start removing the existing leather from on the under side of the boot frame.
6. Go all around until you have it all separated.
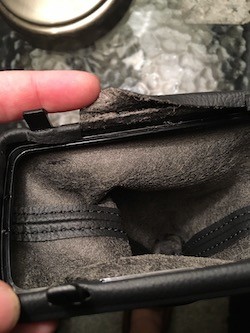
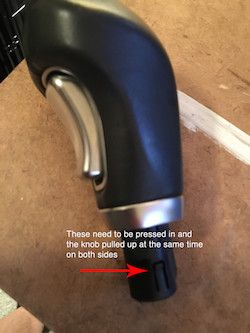
7. To remove shift knob from boot you will need to press into the tabs on the sides of the knob and pull.
8. Take note how the leather boot tucks into the top of the black plastic spacer. Pull off leather from black spacer.
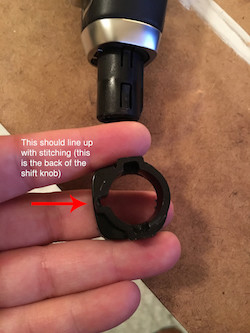
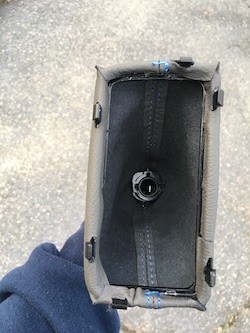
9. Push the spacer into the new boot with the circular side facing down and square side facing up - leather will go up and over the sides of the spacer (see photo 16). It is important to notice which direction the longest notch faces, it should be facing the center back of the boot, which lines up with the back of the shift knob.
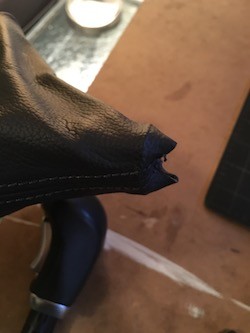
10. If the hole in the boot is too small to fold in and over the spacer, you may have to make little slits before you glue.
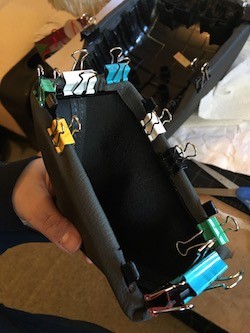
11. Glue sides of boot up and over black spacer slightly. using small clips, clip around top of shift boot.
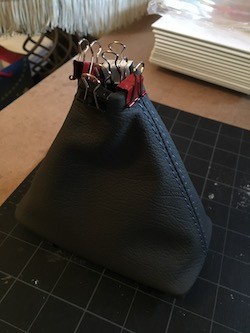
12. This shows how it should look once leather is folded over and glued into the spacer.

13. Take note of the natural slant of the boot and make sure the frame matches up. Dry fit this first in the car, that way you can switch it around if you need.
14. Apply glue on the inner edge and top of the frame.
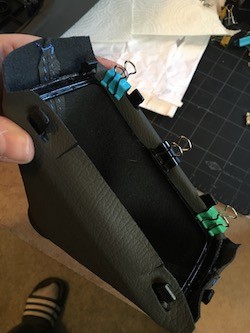
15. Slowly press the leather around and using the same size clips hold sections in place.
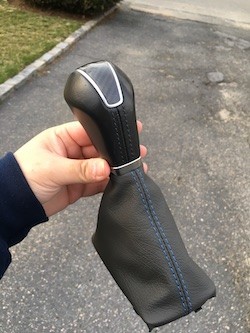
16. This is what finished boot should look like...
17. ...make sure it's nice and even around the shift knob.
18. Press tabs into slots on the shifter console, tuck in leather as necessary.