You must be logged in to rate content!
5 minute read
Alternator conversion, my version
Compliments of envino @ mgexp.com
1-30-2015
I was planning on using my generator for as long as it would last, after the resurrection - I even went so far as to polish and paint it. It lasted about 40 miles. (Yes I lubed it, the front bearing went).
I know that I want halogens and a sound system so there is no reason to throw cash at the old thing, sadly.
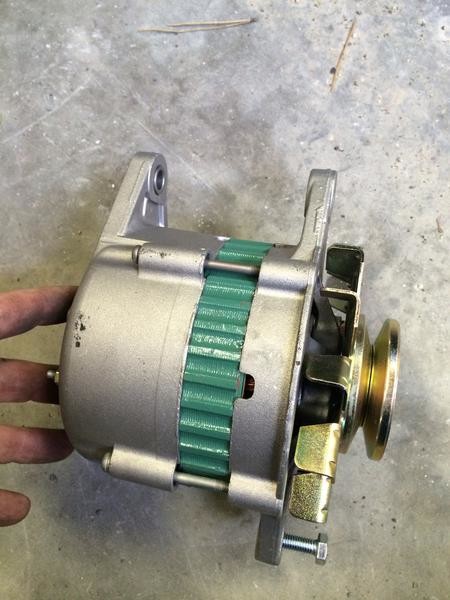
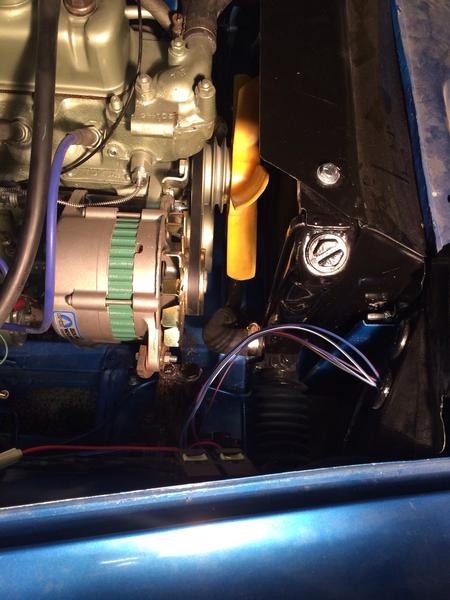
For my alternator I chose this guy...a Hitachi LR160. Found in a 1983 nissan pulsar and many others.
I chose it for the following reasons :
1) reasonably easy to mount
2) comes ready out of the box, no pulley swapping, no clocking
3) 60A
4) more petite than a GM delco and much cheaper than the Saturn
5) readily available
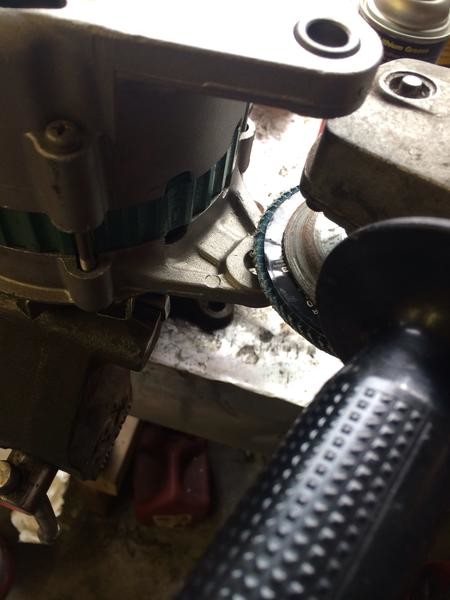
First thing I had to do was grind a little on the front ear, to line up pulleys. A 3 minute job.
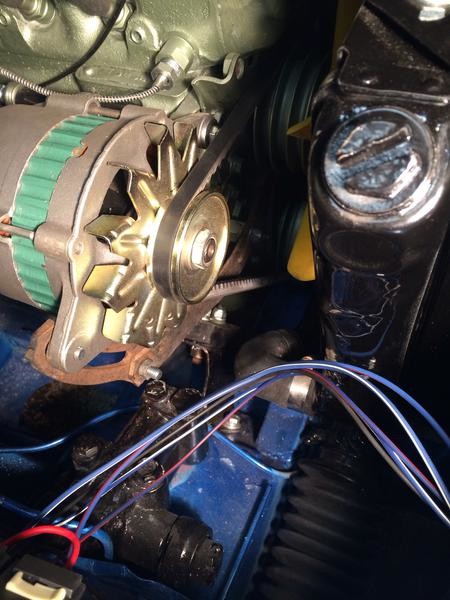
Then using 8" of threaded 5/16 rod, and some carefully measured and cut pieces of pipe, and nuts and washers, mounted the top.

I wanted to use a 8" long 3/8 bolt but the holes in the midget brackets are too small, and I want to leave the car as unmolested as possible.
This morning, I went to the salvage yard and picked up two brackets and a pigtail for the alternator, so future me won't have to know which plug goes where. Plug n play.
The brackets were a short slotted one and a longer slotted one. They looked about right.
The short one came off of a mid 70's ford pickup, and the longer one was off of a mid 80's ford pickup.
I ended up bolting the brackets one to the other, hinge style, to get the arc and adjustment right. Once I had it, I tightened it down, and cut off the excess, and smoothed it with a grinder.
Measured for belt, (36 5/8" and done.
I'm going to take that bracket back out tomorrow, weld it permanent, and paint it green.
More bracket pics

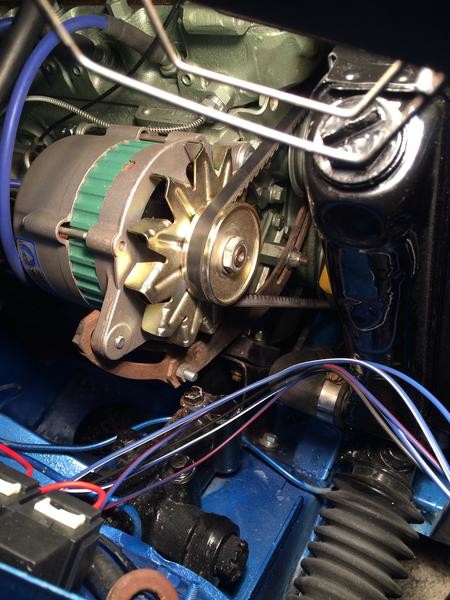
So for easy sliding brackets, get a long bracket with the curved notch, and a shorter one. Puzzle everything together, drill a hole and bolt them together loosely, but tight enough that they don't move easily. Adjust the hinge so that you have buttery smooth adjustment on the bottom slider. The top one isn't used as a slider, we just need the curve to clear stuff. Once you're satisfied, tighten it down, yank it back out, trim off any extra bracket, smooth with a grinder, weld it permanent, paint green.
Hope this helps somebody. It was kind of a pain in the ass to figure out.
Well, the wiring is next - but there is tons on info on this site and others.
Essentially- "batt" lug to battery
"L" terminal to if ignition lamp
"S" terminal to switched ignition - I'm going to use the coil + side.
Batt lug puts out the juice,
L is the turn on for the alternator through the lamp, also will light the lamp if the alternator fails
S senses overall voltage for the regulator to regulate.
So I think a word or two is in order about the top mount - I seriously considered buying the top rear alternator bracket from Moss or VB but in the end I decided it wasn't necessary. It'll save you an inch of pipe, maybe, if you don't use a Lucas alt. I have mine mounted in double shear, with one long bolt (rod) with exactly cut spacers (pipe) to stop there being stress on either the brackets (rear bracket and water pump) or the alternator ears. I'm confident I could stand on it no problem. It could look hokey if you're not careful but I'm going to pull the spacers and paint them to match the engine so they look like they belong. I don't think most will even notice.
So got it all wired up and nailed it the first time, it alternates!
Best part of the whole thing, is that somehow in the midst of wiring the new alternator in my tachometer got fixed. No clue how but, yay. One less thing on the docket!
I downloaded these instructions from Moss:
http://www.mossmotors.com/graphics/products/PDF/130-068.pdf
Gives you diagrams of exactly how to rewire at the regulator.
Felt kind of bad using their instructions but not their alternator but I buy a lot odeon them so I guess I don't feel too bad..