You must be logged in to rate content!
6 minute(s) of a 28 minute read
3-1-2011
Hello guys!
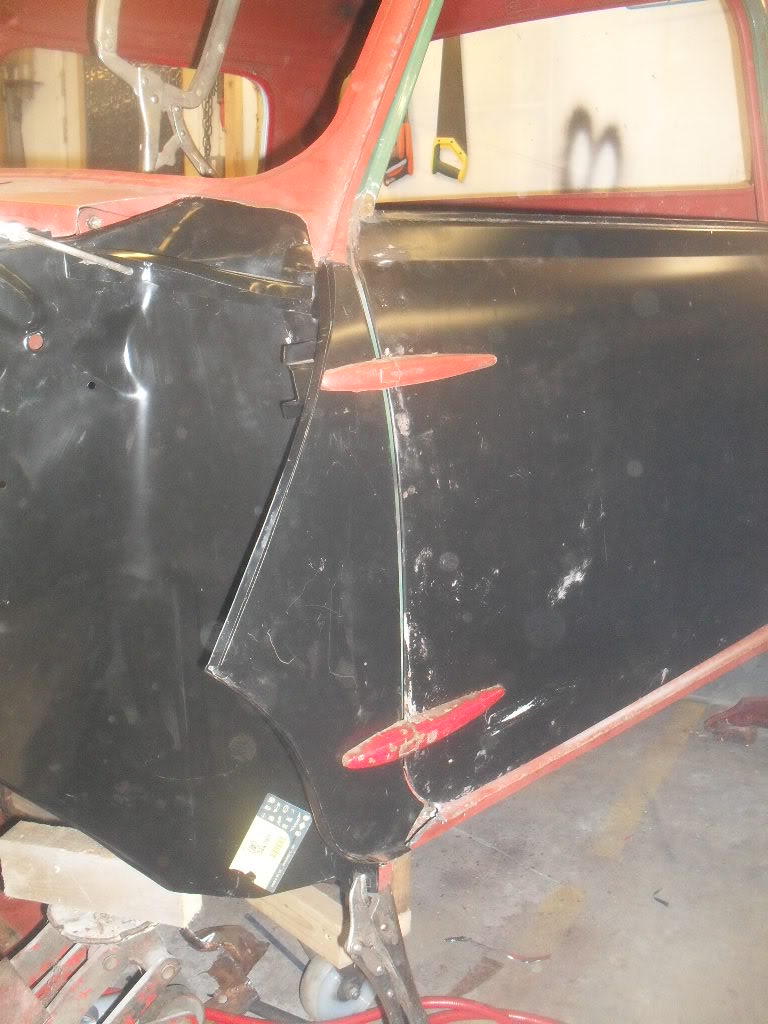
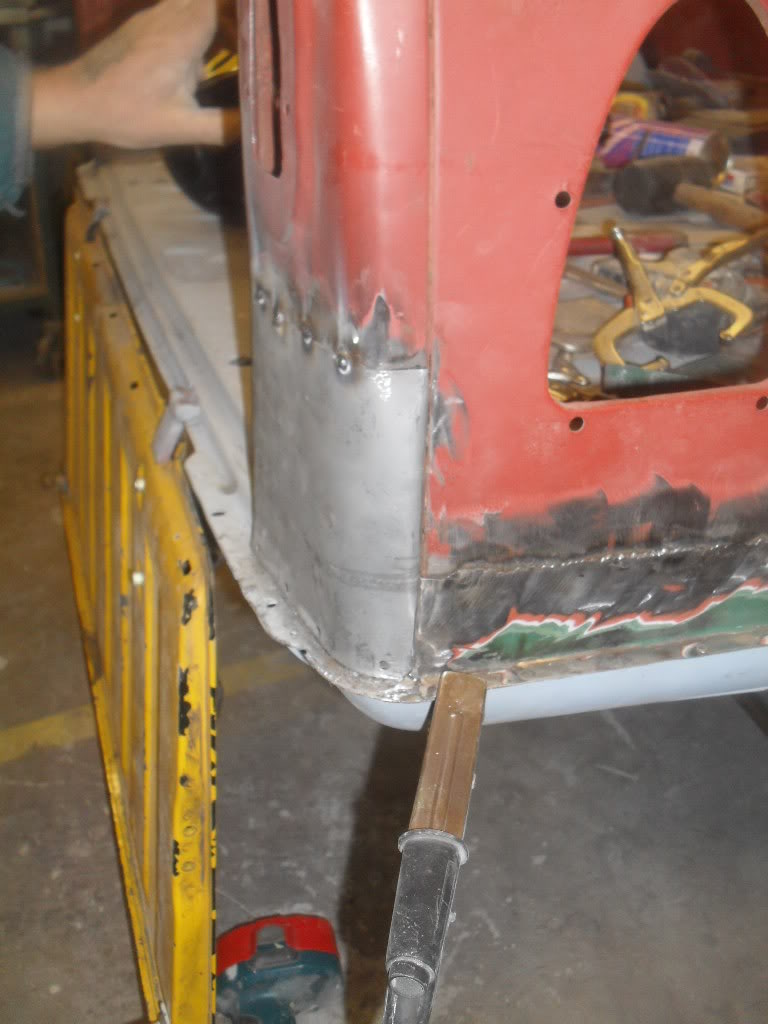
this is the photo that was supposed to be third from last error on my part!!!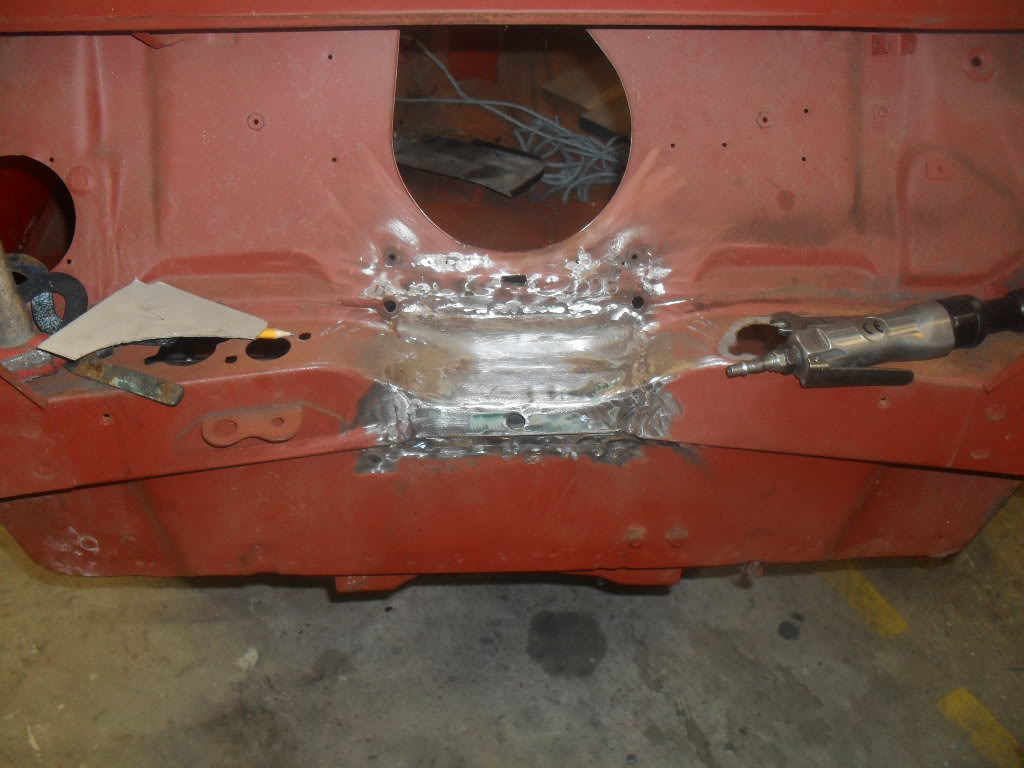
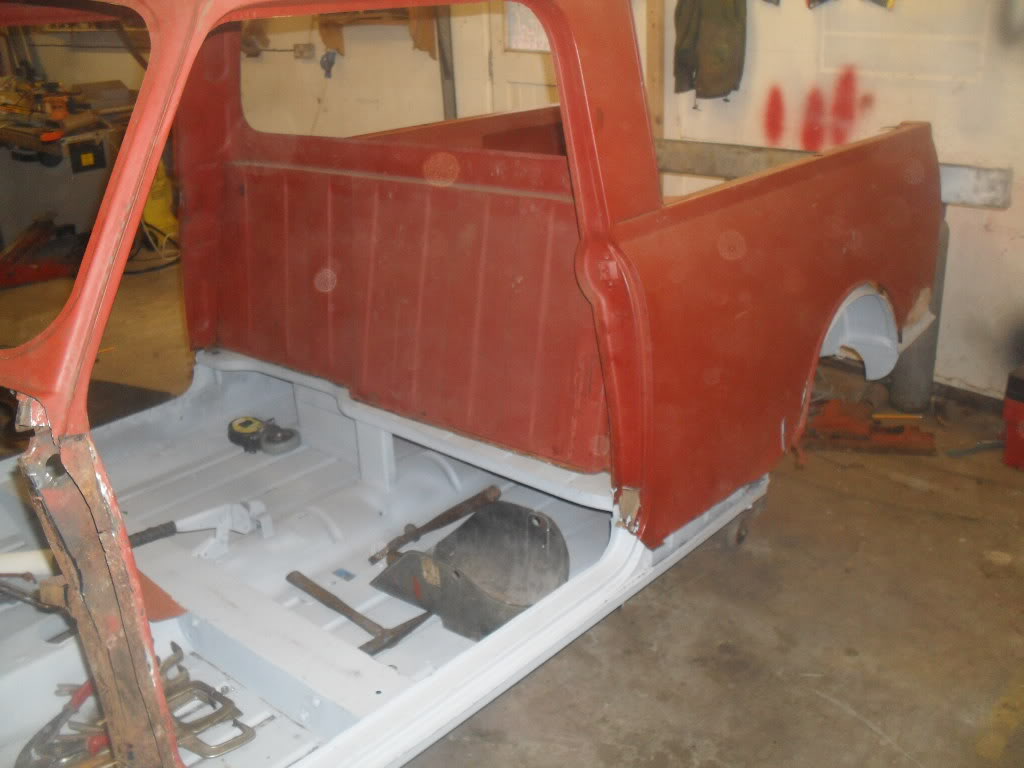
next we need to turn our attention to cutting out the gash inner wings that have had loads of crap
repairs over the years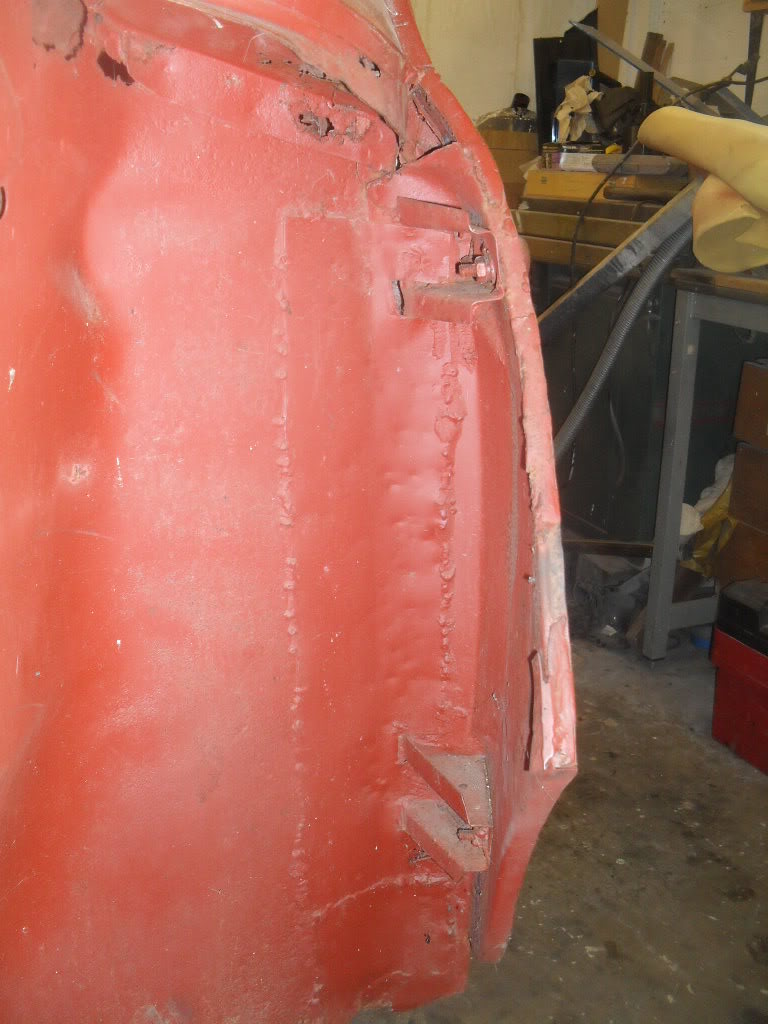

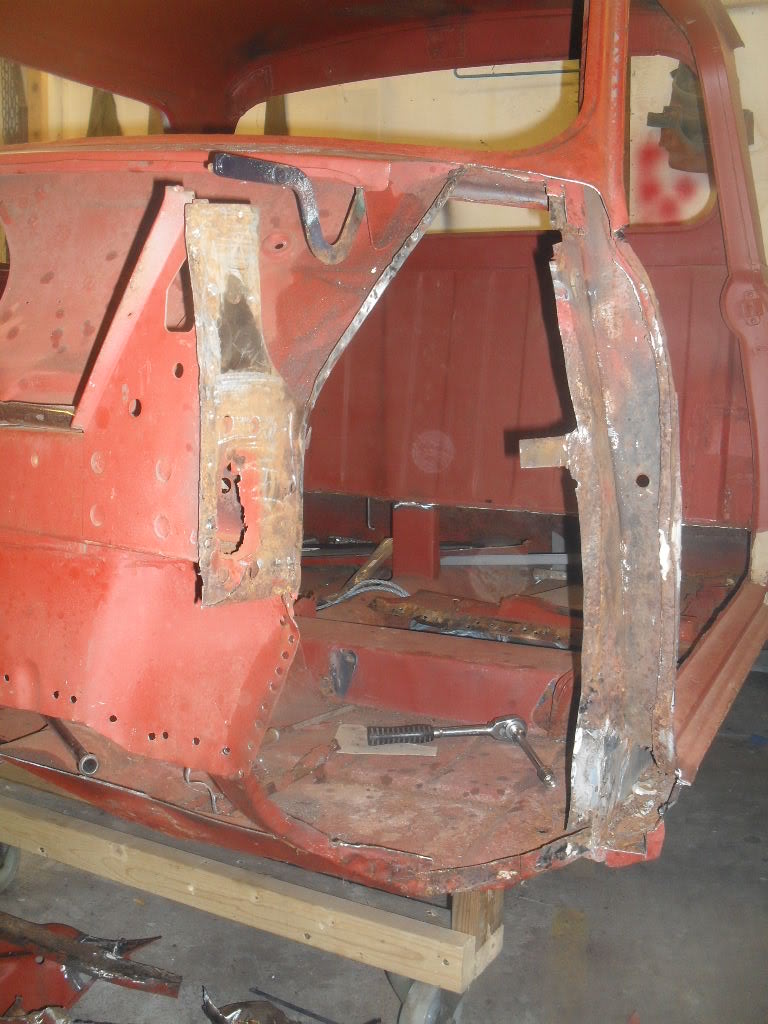
once this was cut out we did a trial fit of the new inner wing a panels and one of doors we managed
to repair. we wanted to check that the gaps were going to be ok with the new inner wings.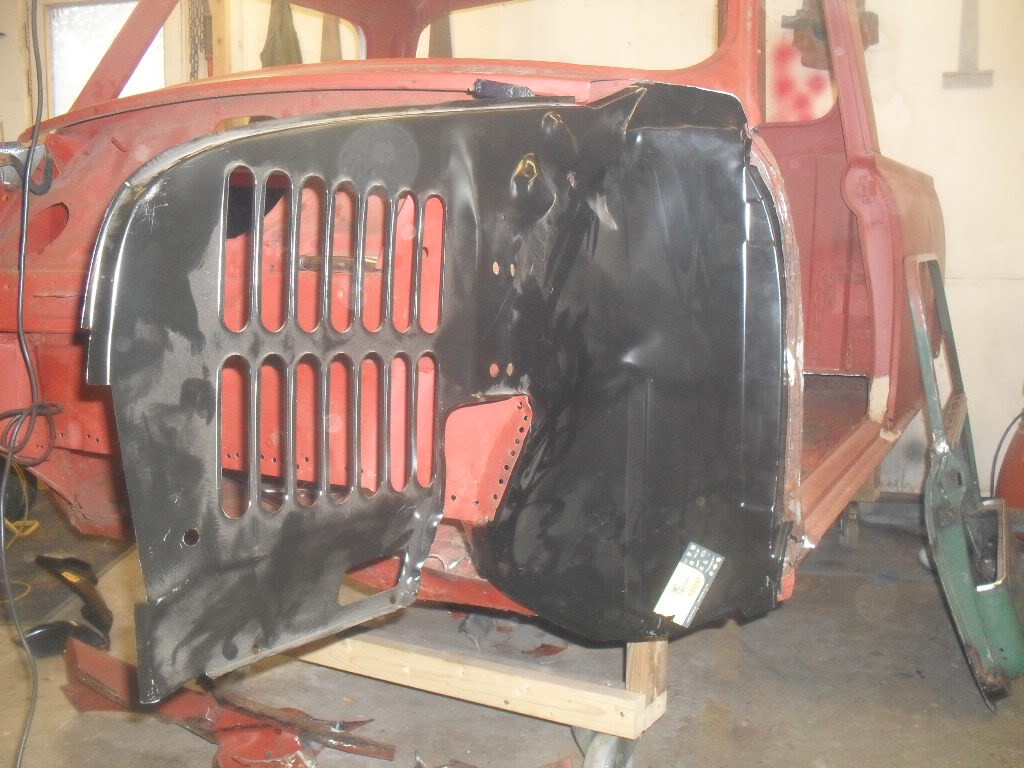
with the trial fit over with it was time for the major surgery to commence!! Yay!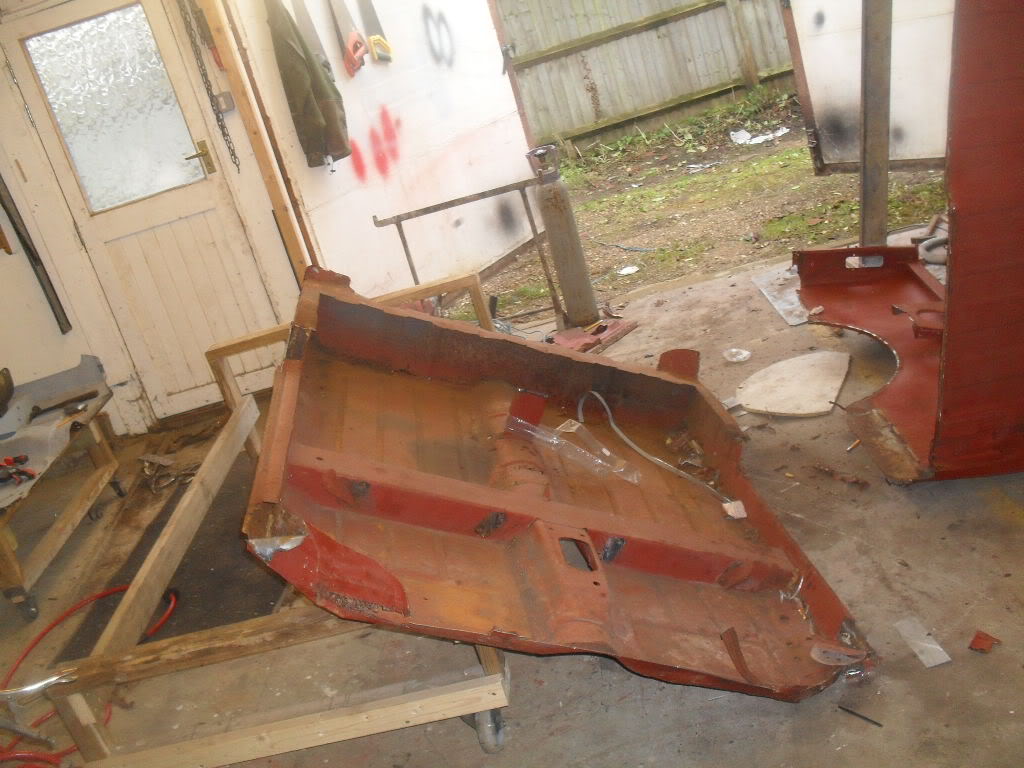

with the old crappy floor pan cut out it was time to bring out the van base and drop the shell on
top!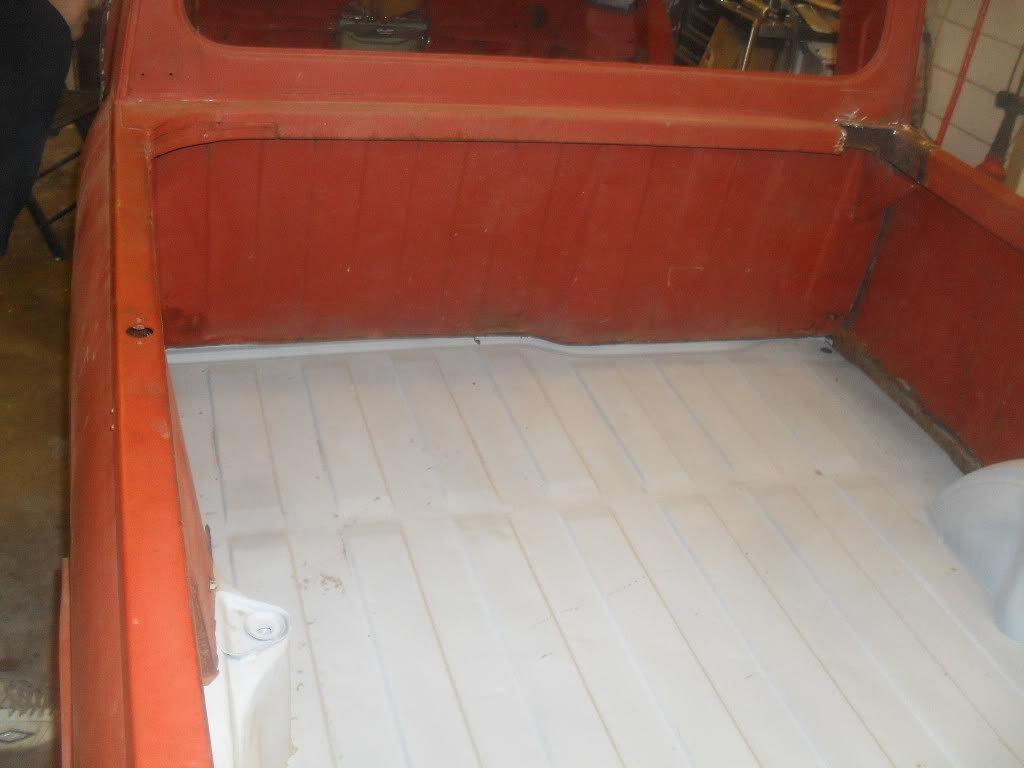
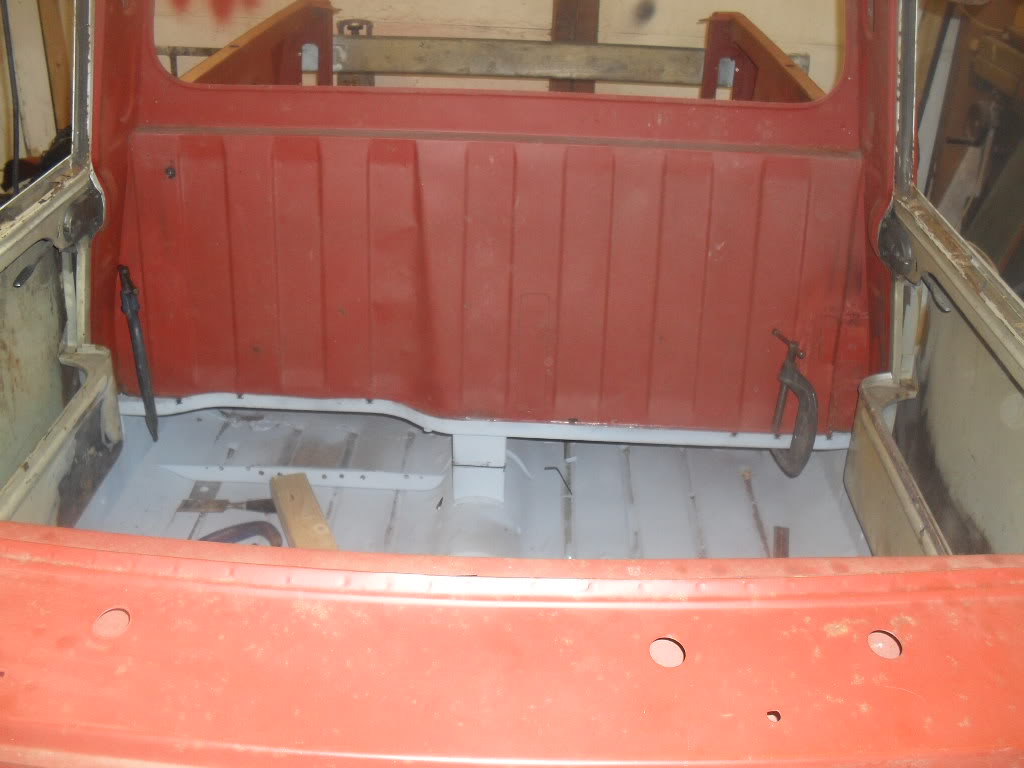
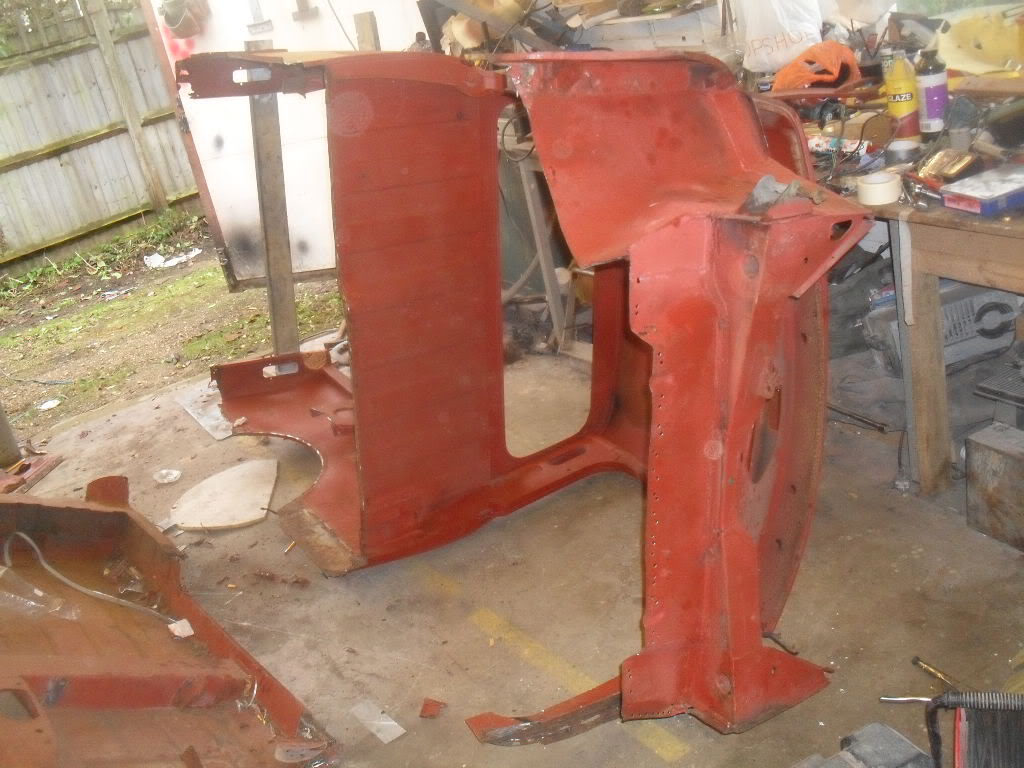
with this done we can start to line up the toe board and inner wings. to start with we bolted the
toe board to the van base just to make sure that the inner wings would line up properly.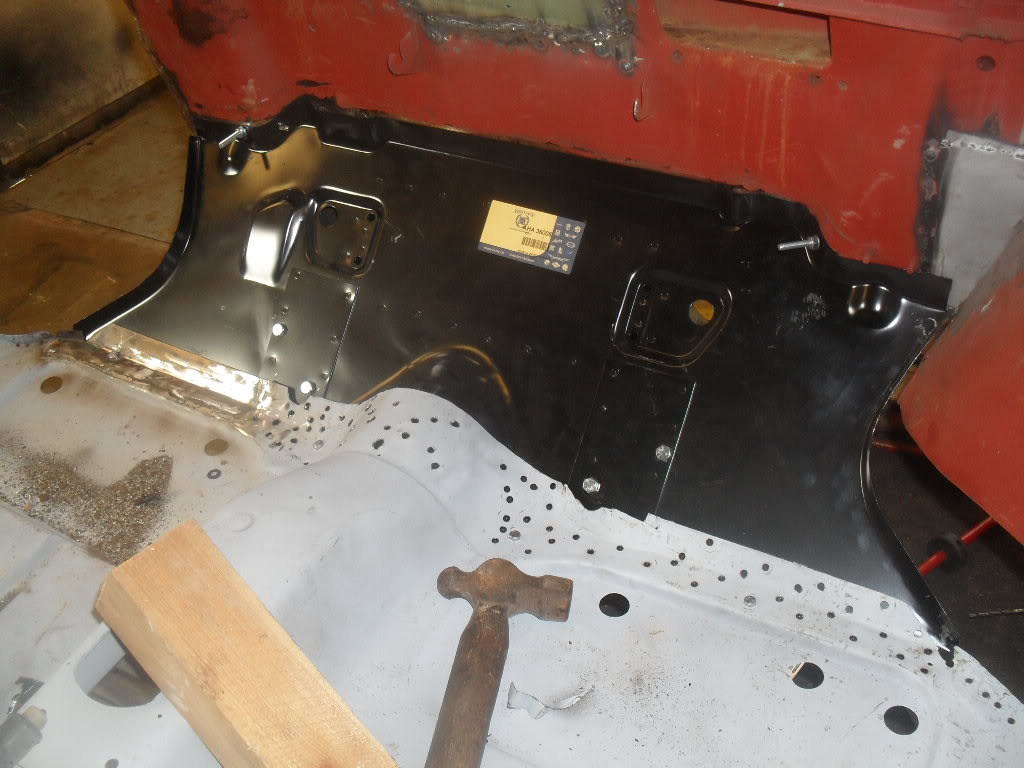
we also used the front subframe to give us an idea of where to position the toeboard to start with.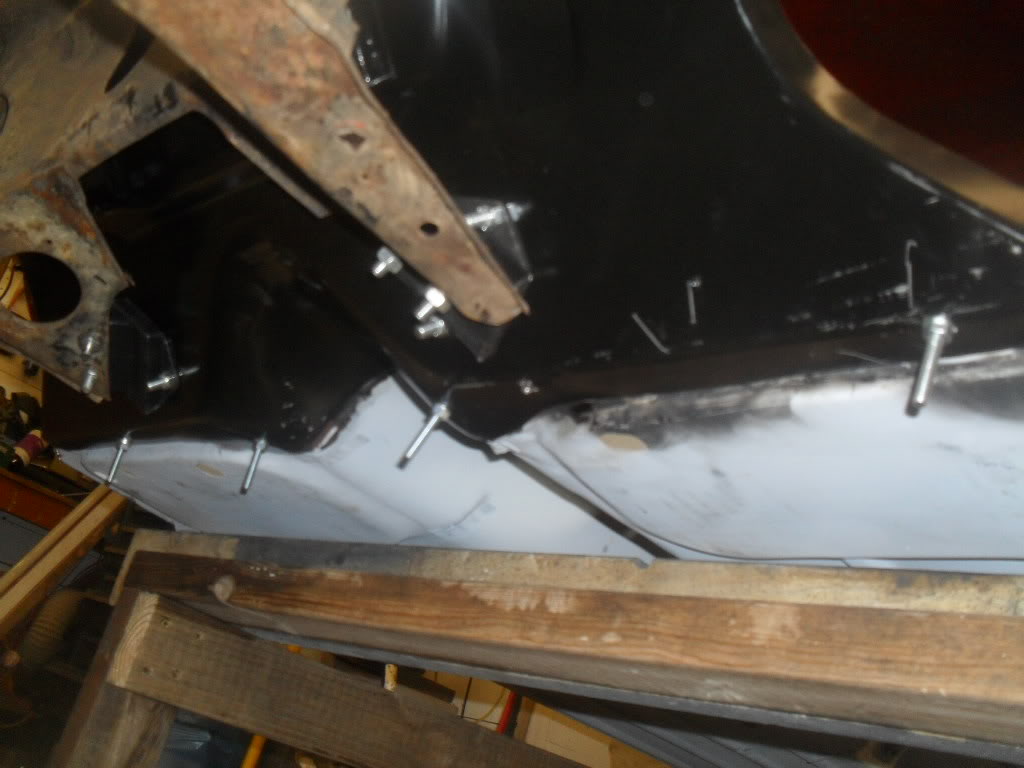
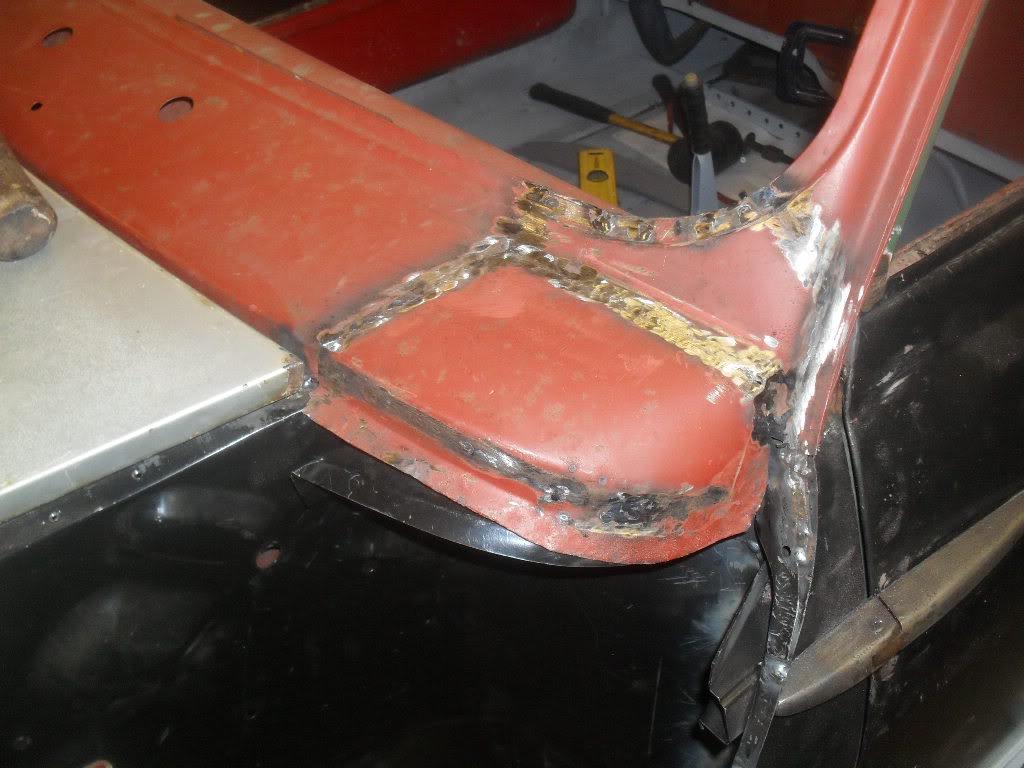
after that we welded in the new door post repair panel as the existing one was trashed.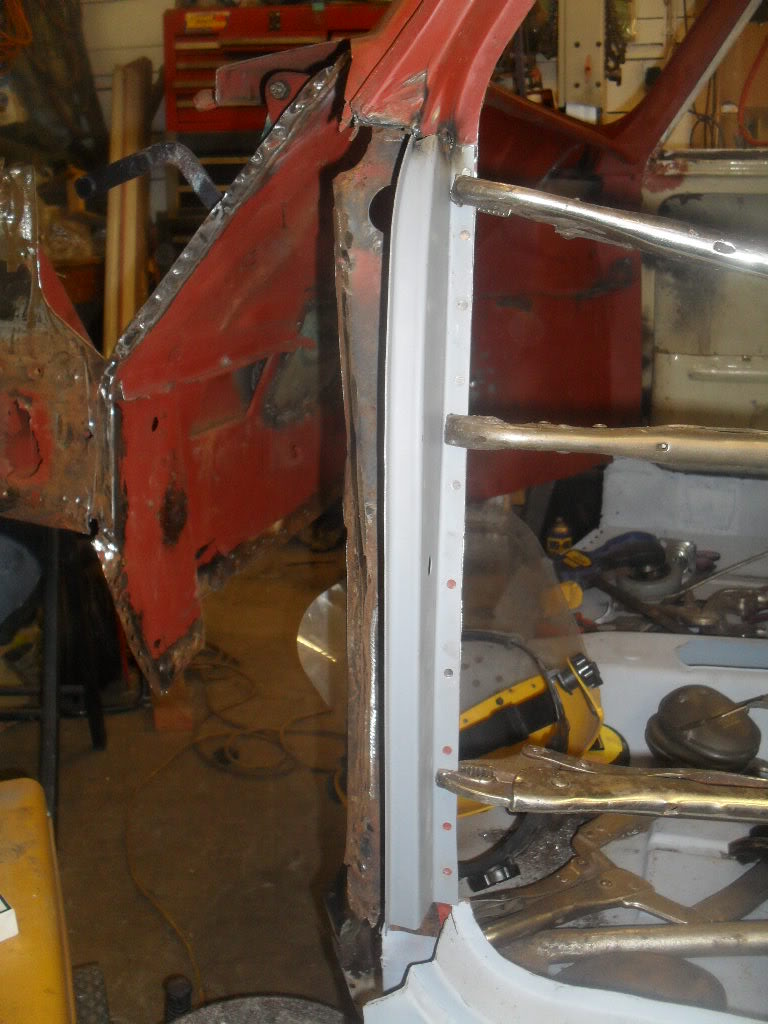
with the door post welded in and strengthened we set about lining up the inner wings
with this done both side it was time to bolt the front panel to the subframe and start linig up for
the wings and a panels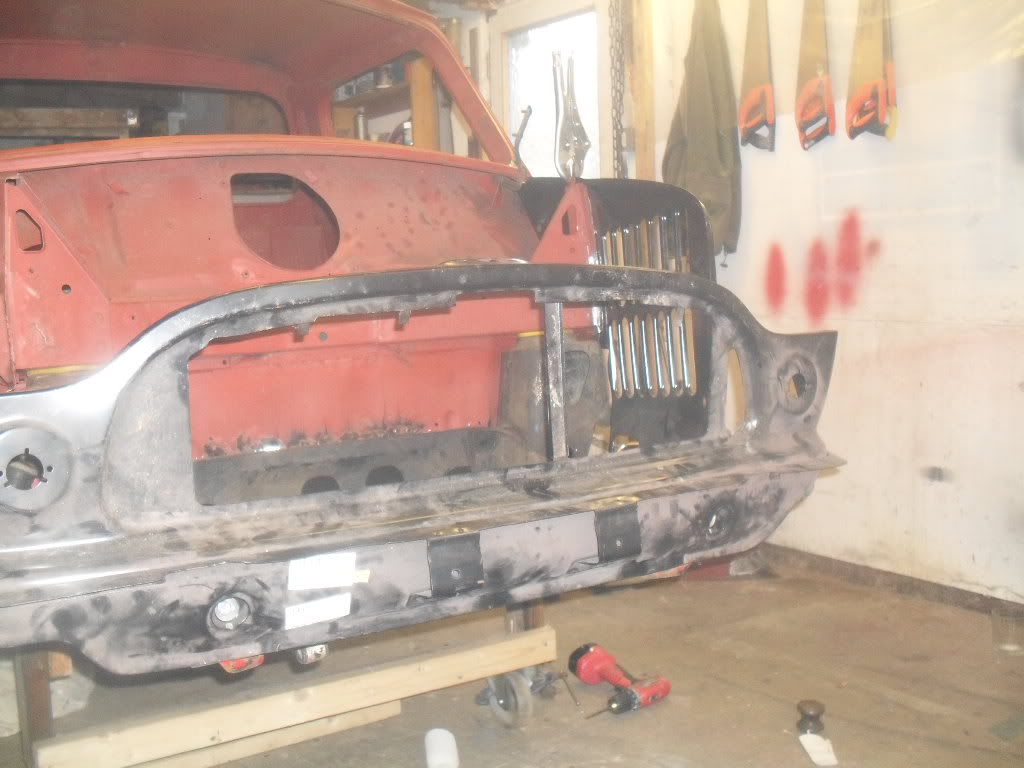
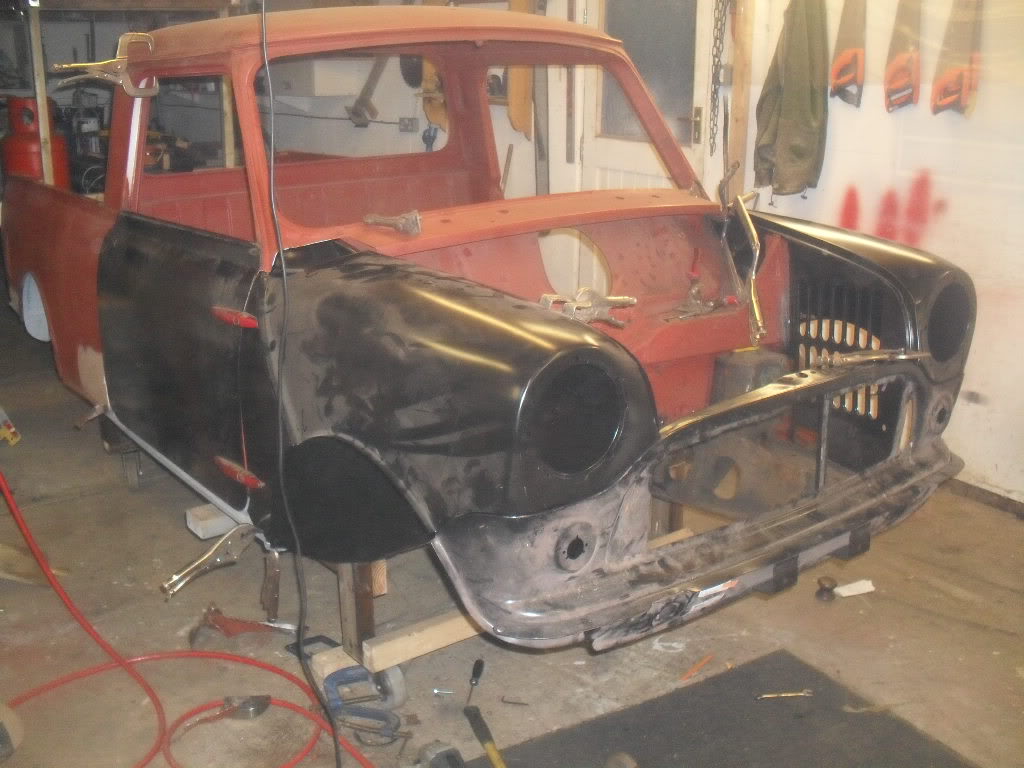
once we were happy all the wings were aligned properly (also trial fitted with a bonnet) we started
to weld the wings to the inner wings.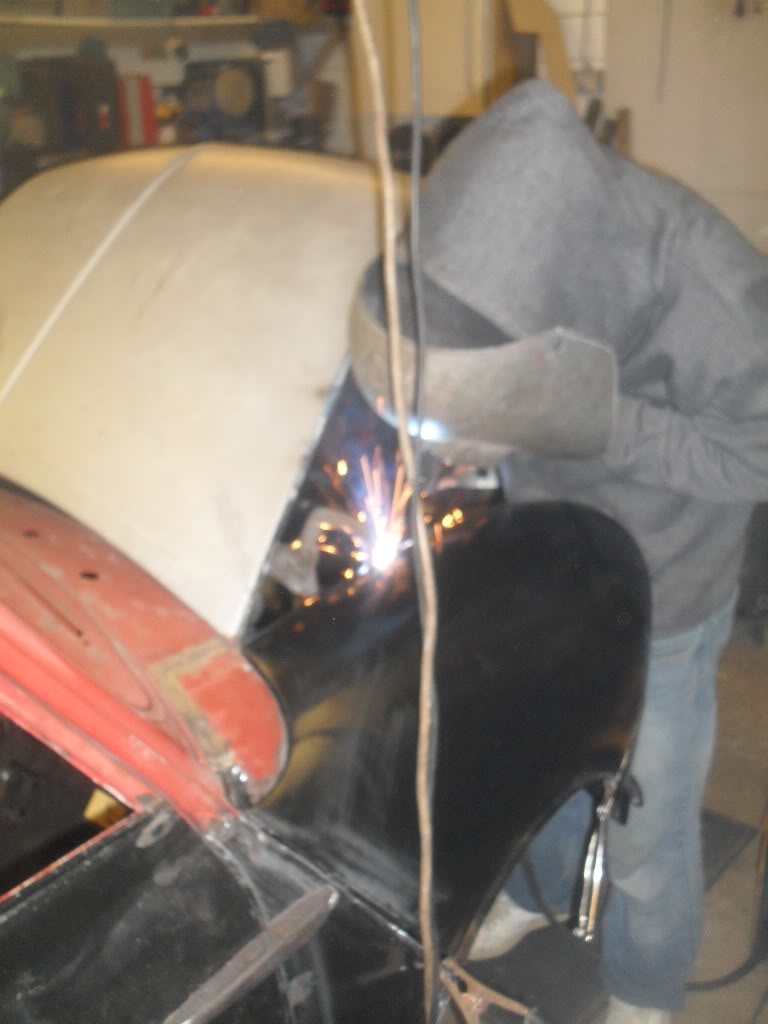
next we welded the window scuttle panels that we cut out back in.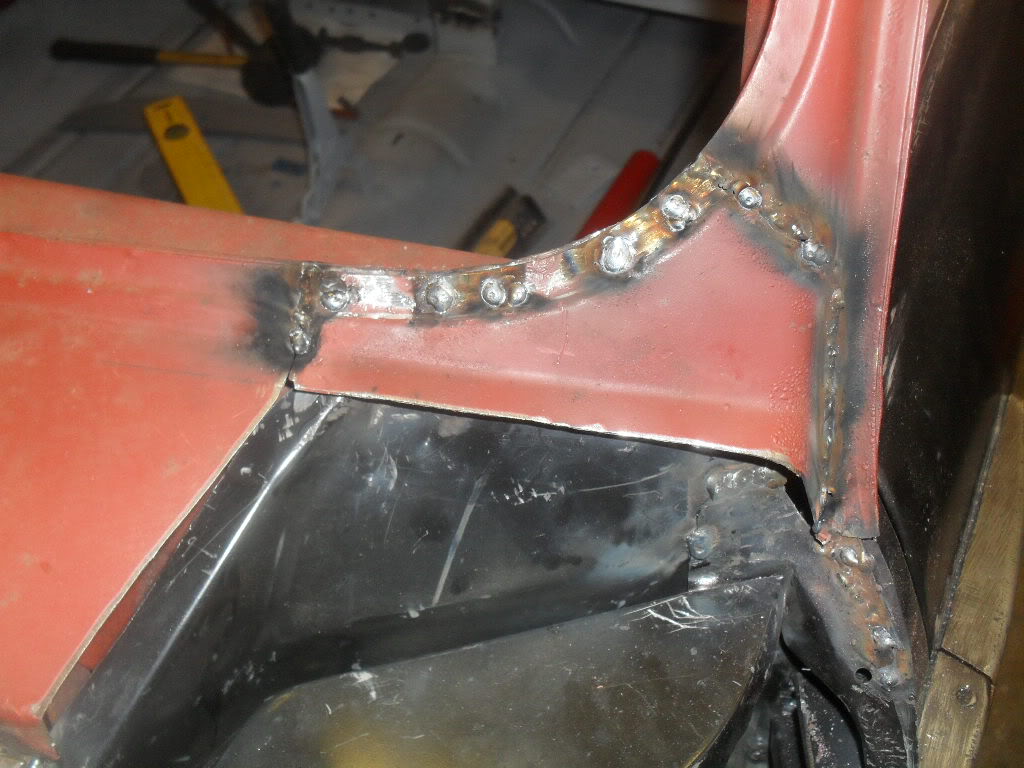
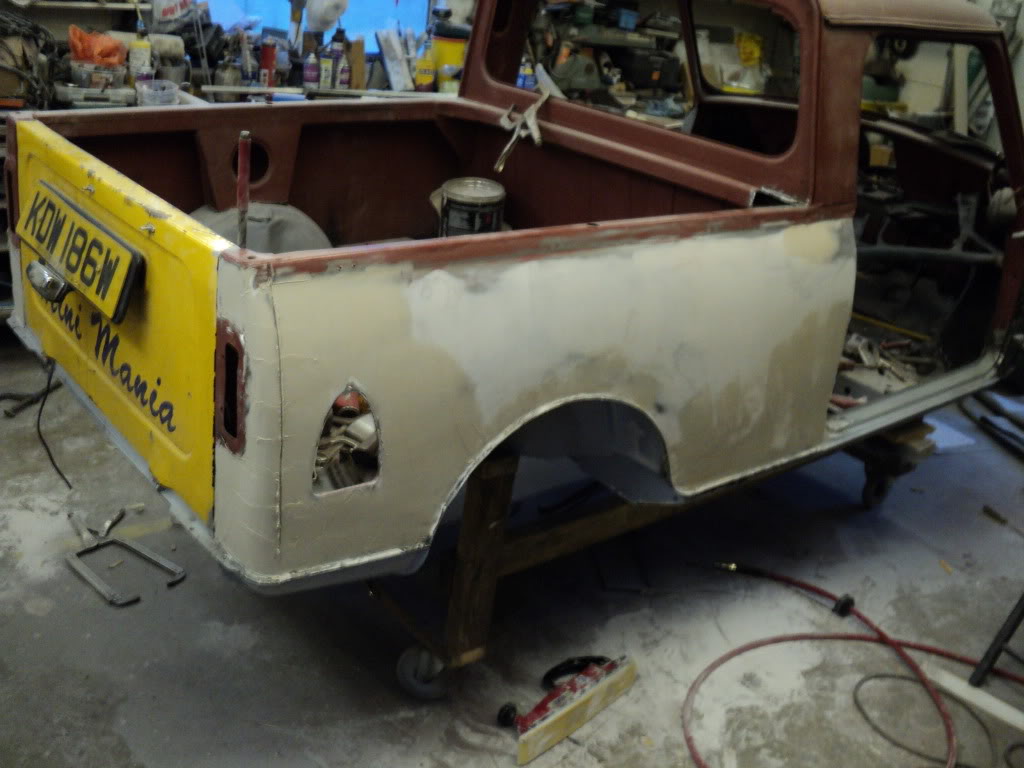
with this done we concetrated our efforts to the rear of the pickup. there were a few repairs
needed to the rear of the wings and the tail light panels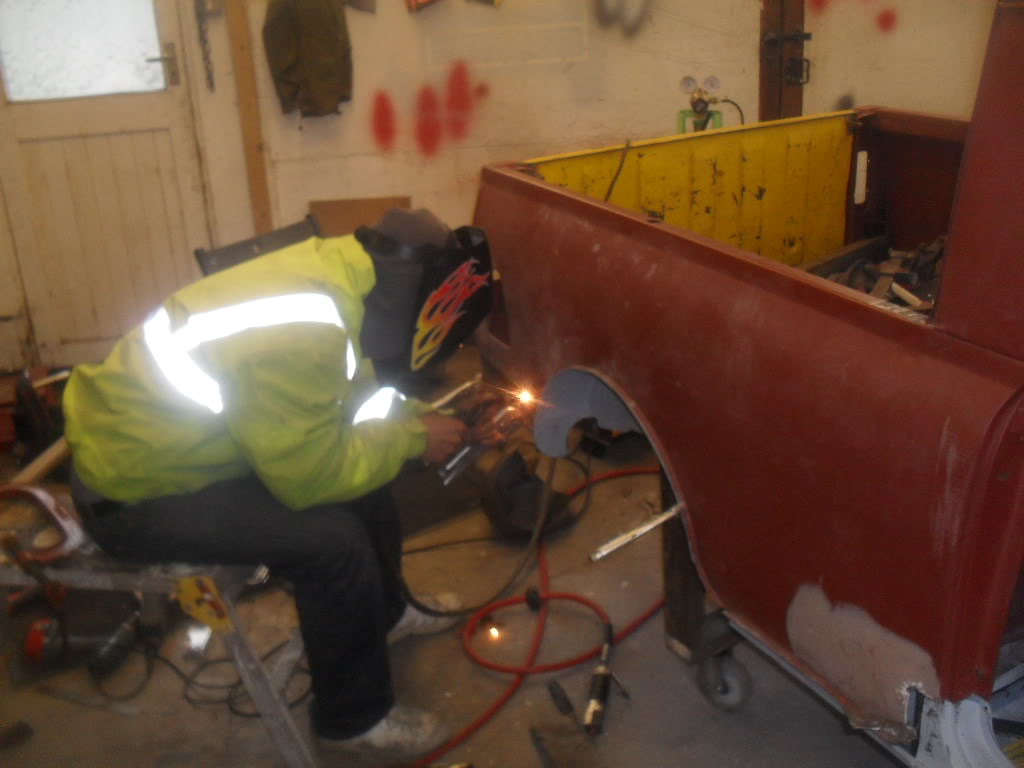
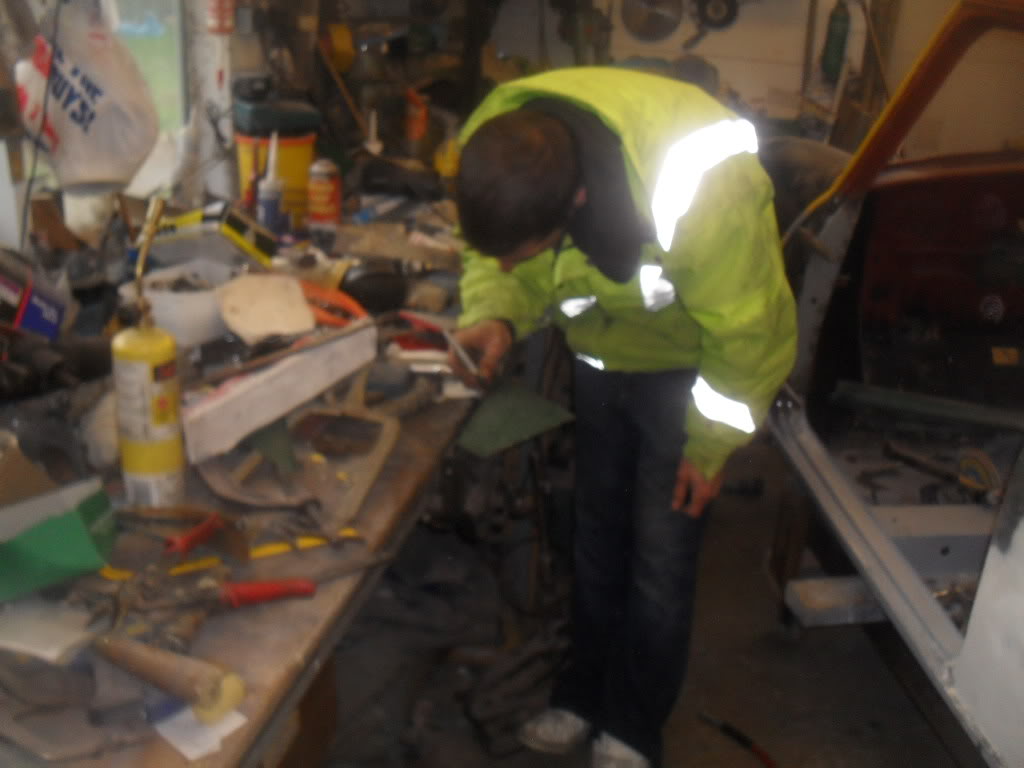
as funds are gettin a little bit thin we decided to make the repair panels for the tail light panel
ourselves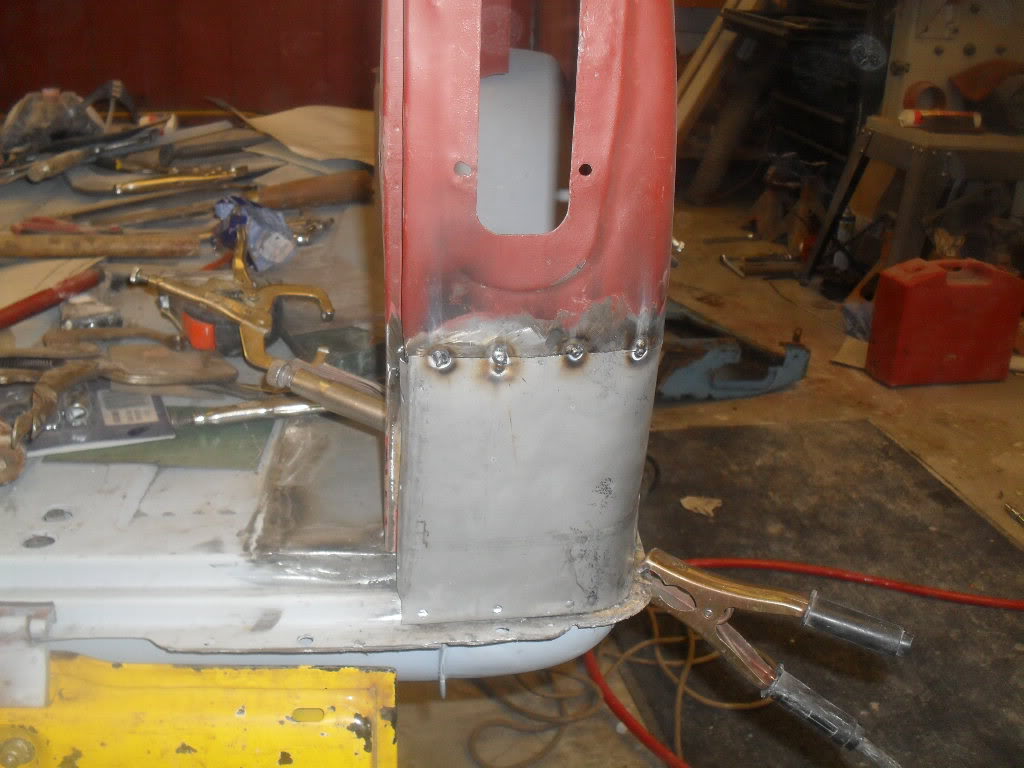
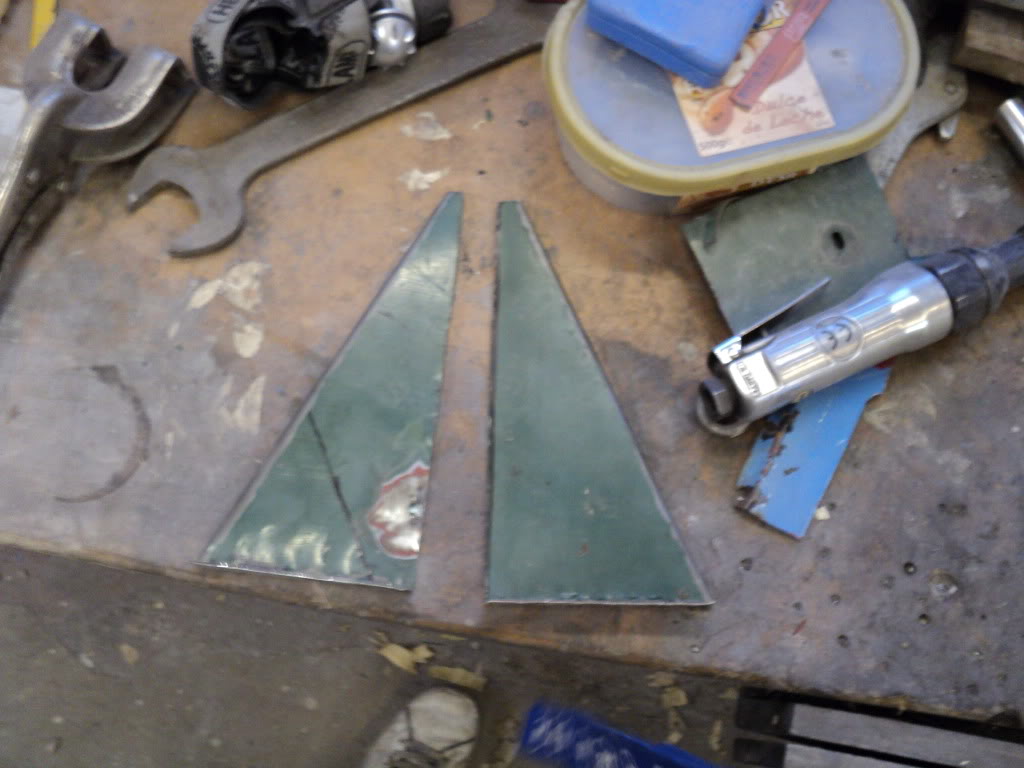
with these made, we made the triagle shaped tailgate strengtheners as the existing ones were pretty
rotten!!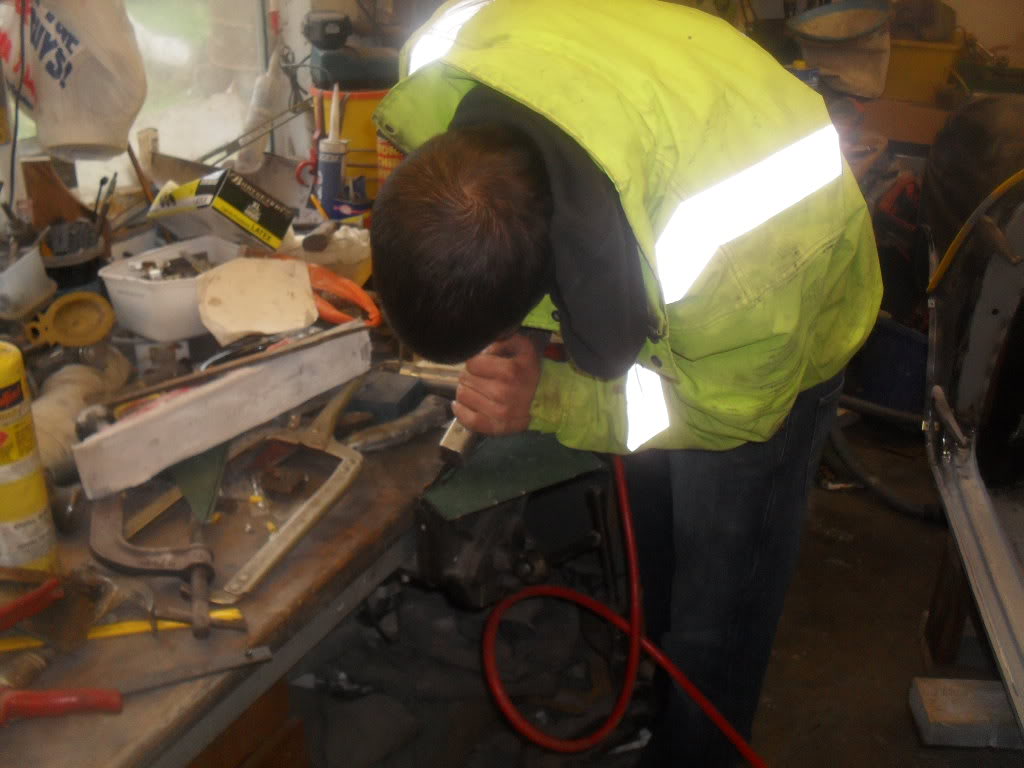
with those made we skimmed both wings and tailgate panels in filler ready for rubbing down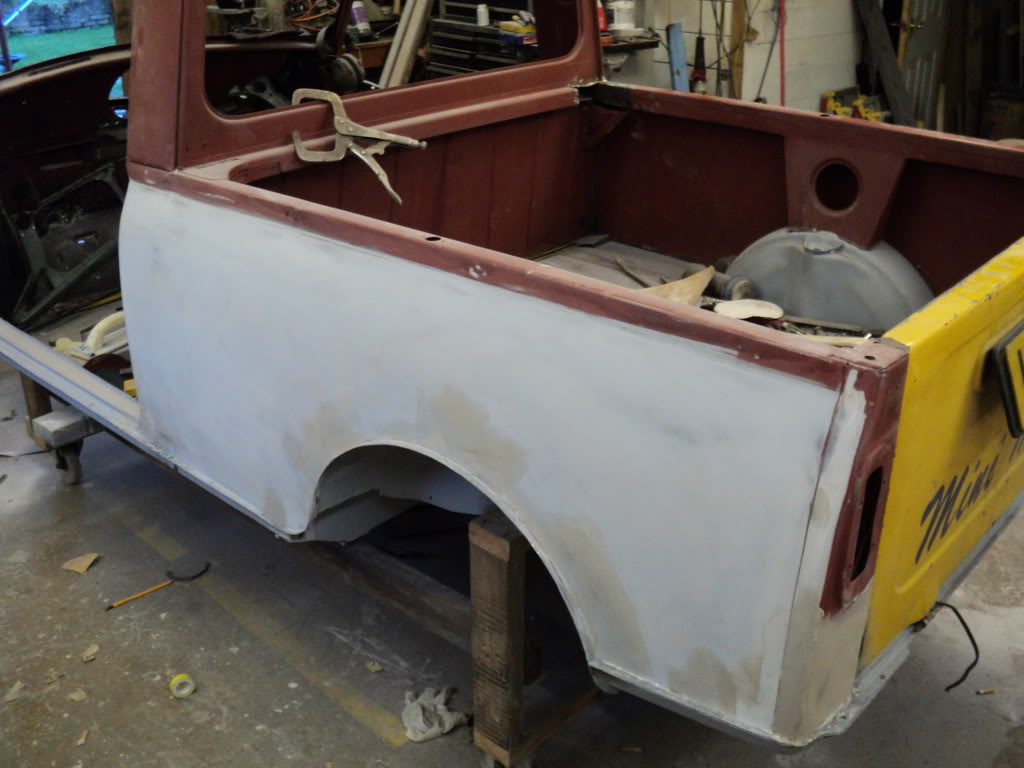
now finalay thats pretty much it totally upto date now the updates will be a bit slower now as we
are only working on it at weekends as we both have full time jobs! and again thanks for reading
about our project and the feedback is much appreciated.
forgot to add in before we skimmed with filler we needed a panel to go from the door step to the wheel arch. we had a part panel that we were able to skribe around to make a pattern to linish the round of the wheel arch. this was the first panel of that kind that i made and i dont think it turned out to badly!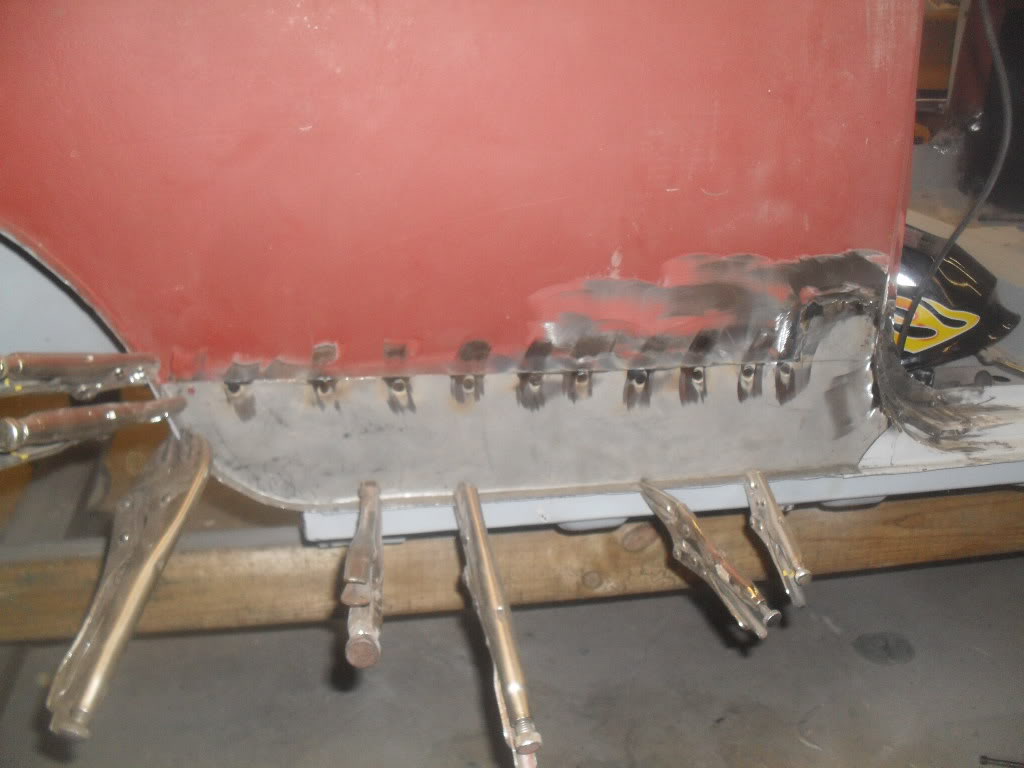
Love pickups!
Posted by Diggymart on 11/18/19 @ 1:06:53 PM