You must be logged in to rate content!
4 minute(s) of a 38 minute read
9-3-2013
alrite guys, little update for the past couple of days. started off by removing the rear vallence, we had thought of saving this but with the rust that was under the paint we decided it would be a much better job if we just replaced it drilled out all the spotwelds.
removed the vallence.

we got new vallence closing panels but didnt get the ones that go back to the vallence. so one of them neededa slight repair, the other just needed rust treating.


all welded in.

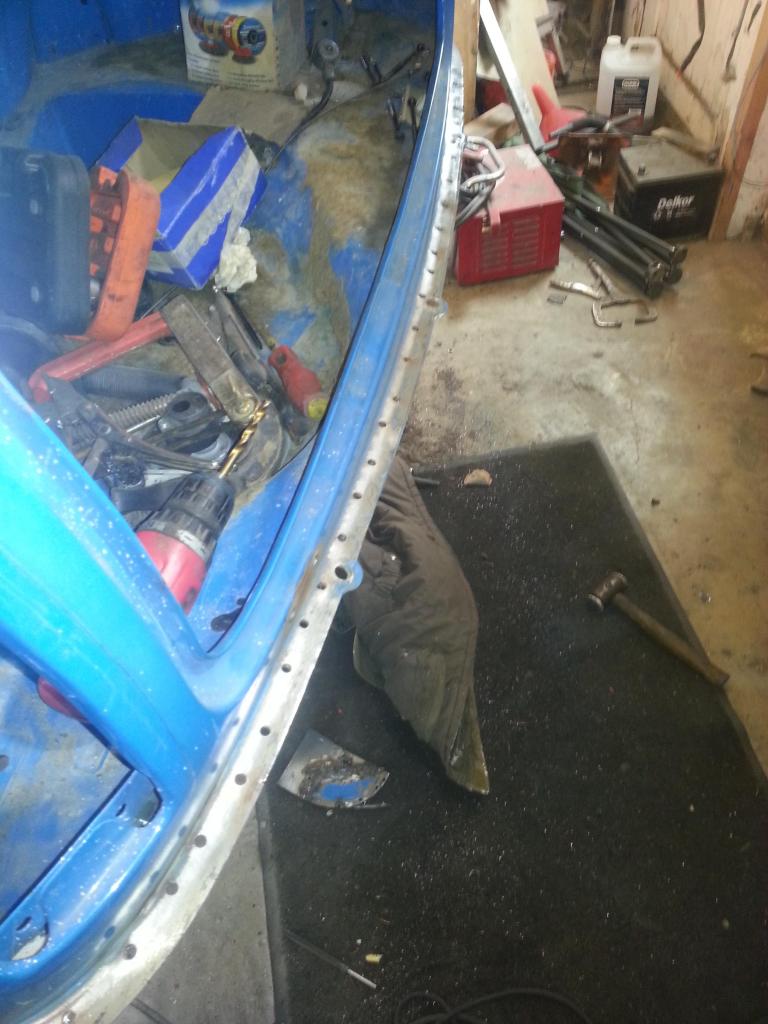
this is what we use to convert the rust.

after this there was a small repair needed to the drivers side wheel arch and boot floor

once the repairs were made, the rear valence was trial fitted to get the position for the closing panels.

welded in.


vallence all welded on.

with all the welding finished in the rear end, it wa time to stonechip the underneath.


with that done, we looked at at repairing the top of the drivers side wing.

all cut out.

repair panel made.

all welded in with the slight scuttle repair that was needed.

thats it for tonight, more tomorrow.
Great build and color!
Posted by Diggymart on 4/16/20 @ 3:08:29 PM