You must be logged in to rate content!
5 minute(s) of a 358 minute read
9-27-2015
Well...That went to pot !
I'll be honest, I've been really rather lazy of late but this weekend I decided to pull my finger out and get some more progress made on the Mini.
I'll start with the bits I purchased.
Few bits from Minispares -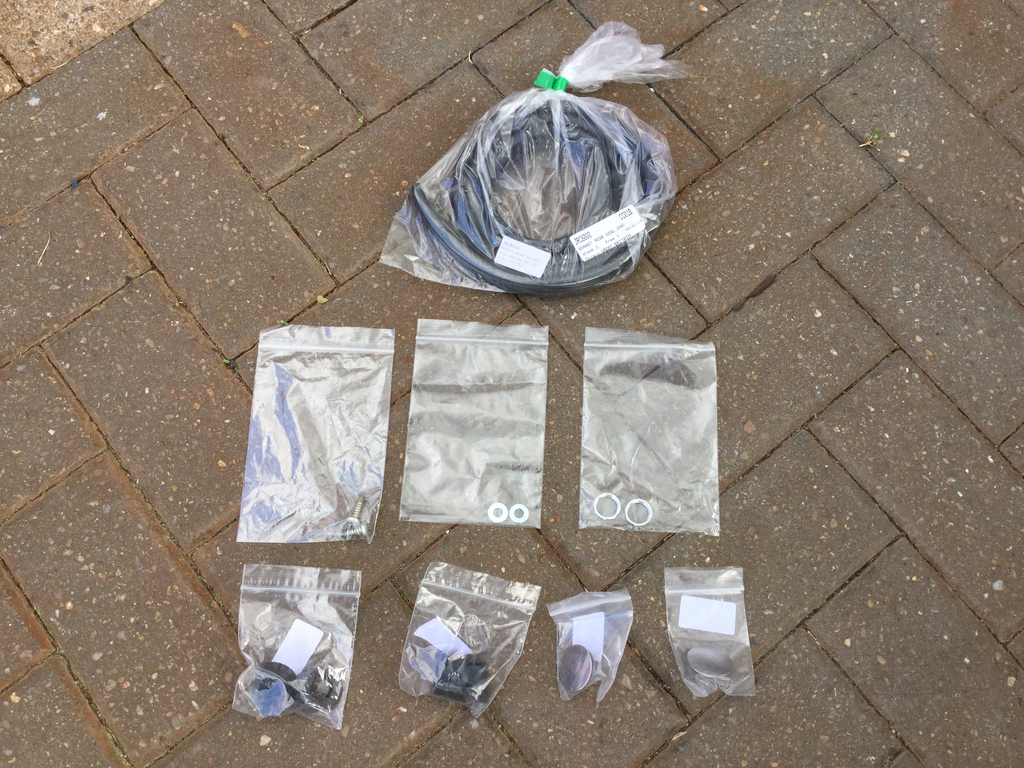
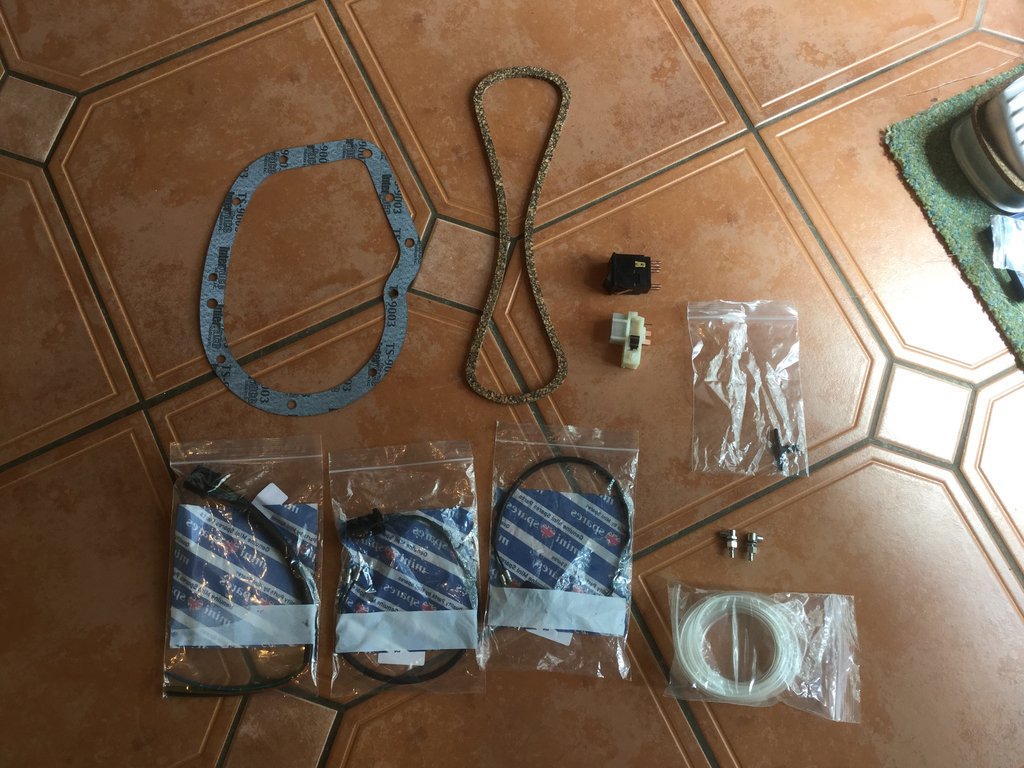
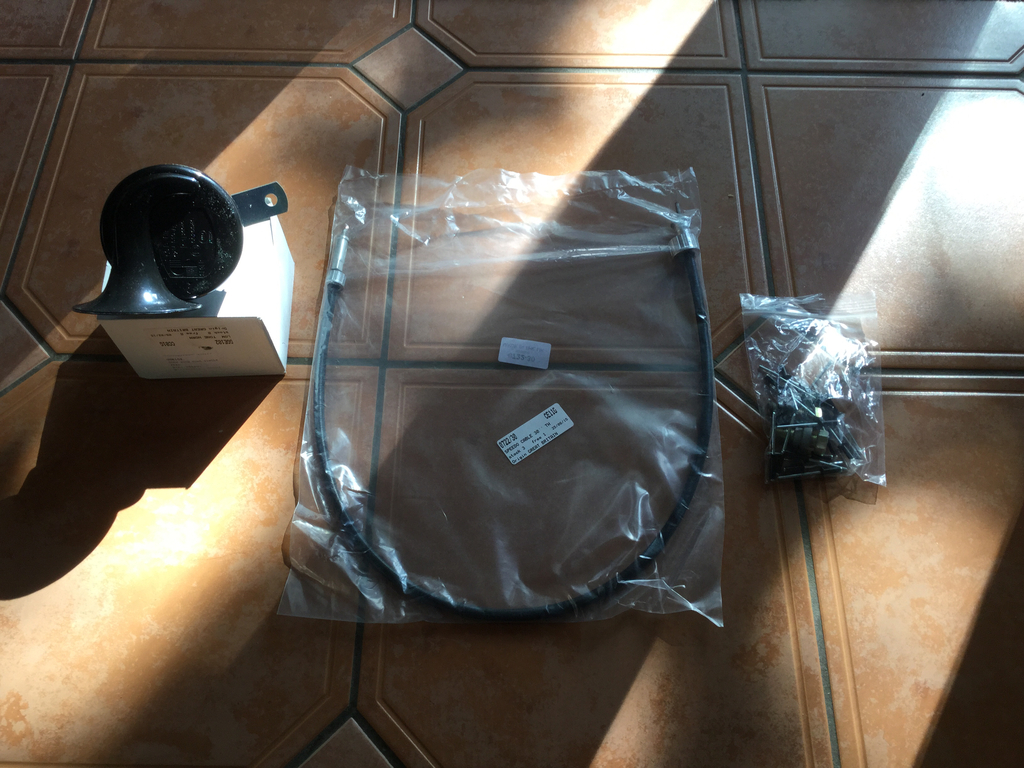
And some rubber wheel arch moulding trim -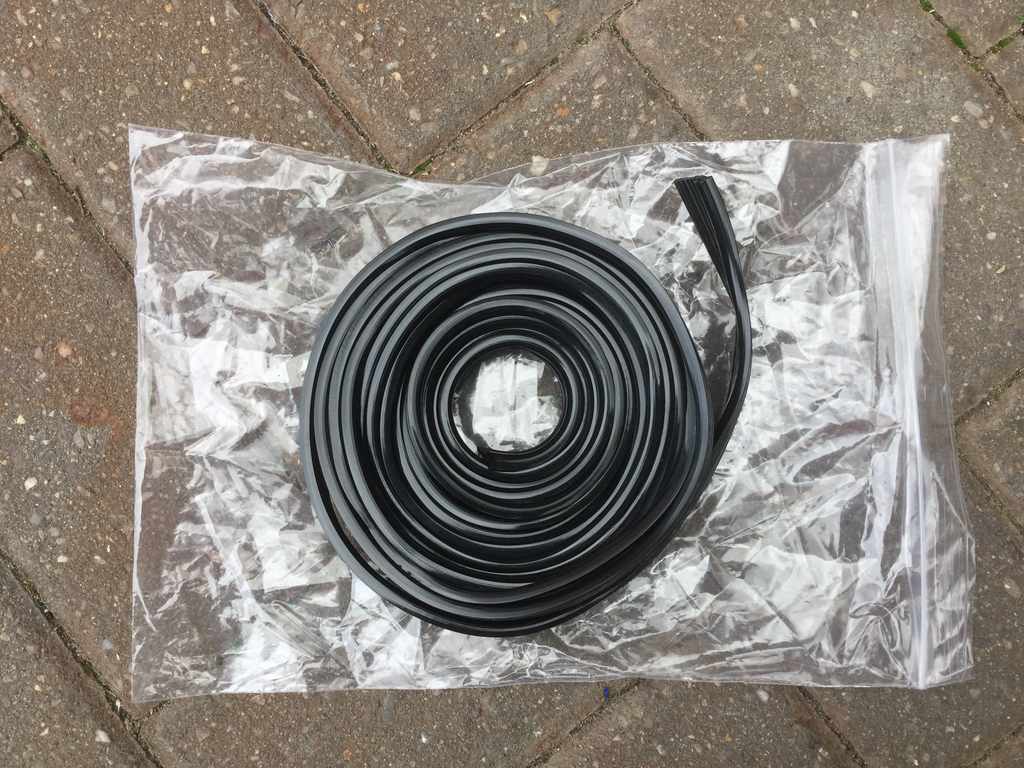
So, first job of the day was to get my wiper mechanism built up, I've replaced the 'worm' and also painted up the tubing that it sits in -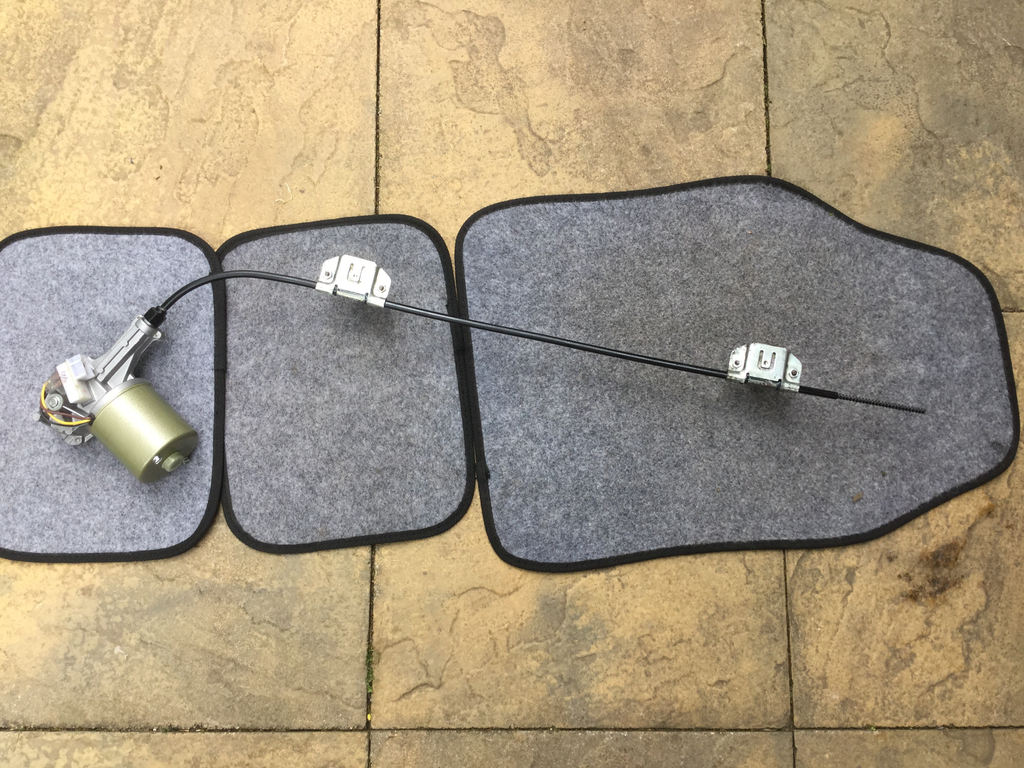
Then I plumbed in the washer tubes using the t-piece I bought -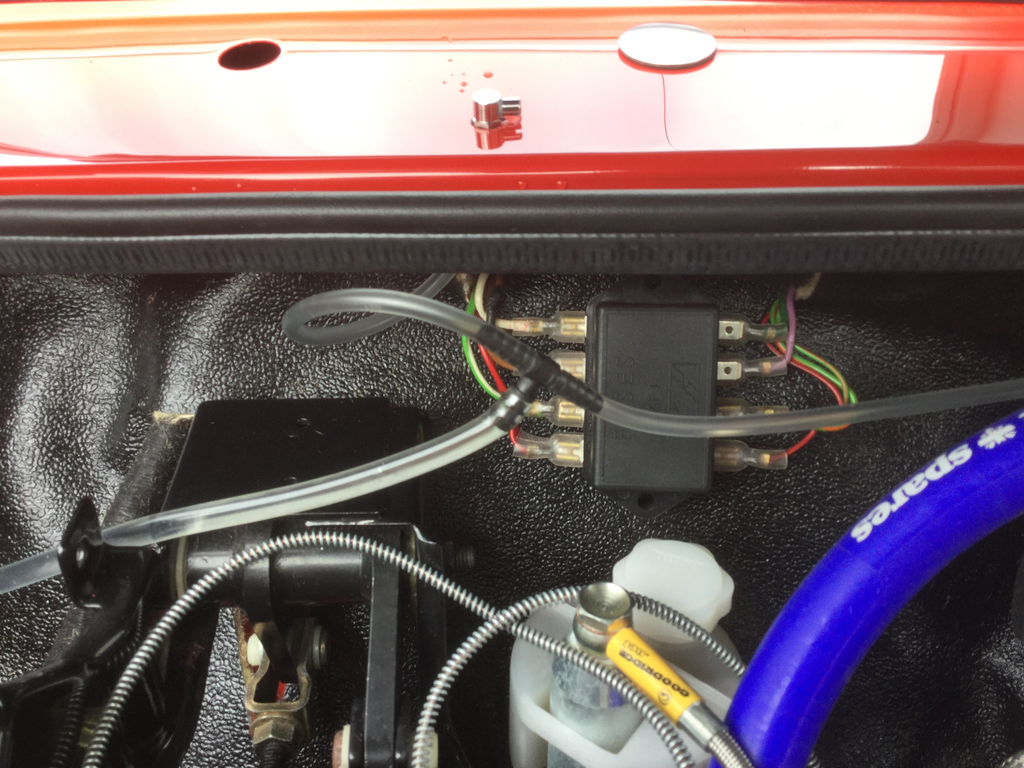
And fitted the washer jets and stainless wiper hole blanker's -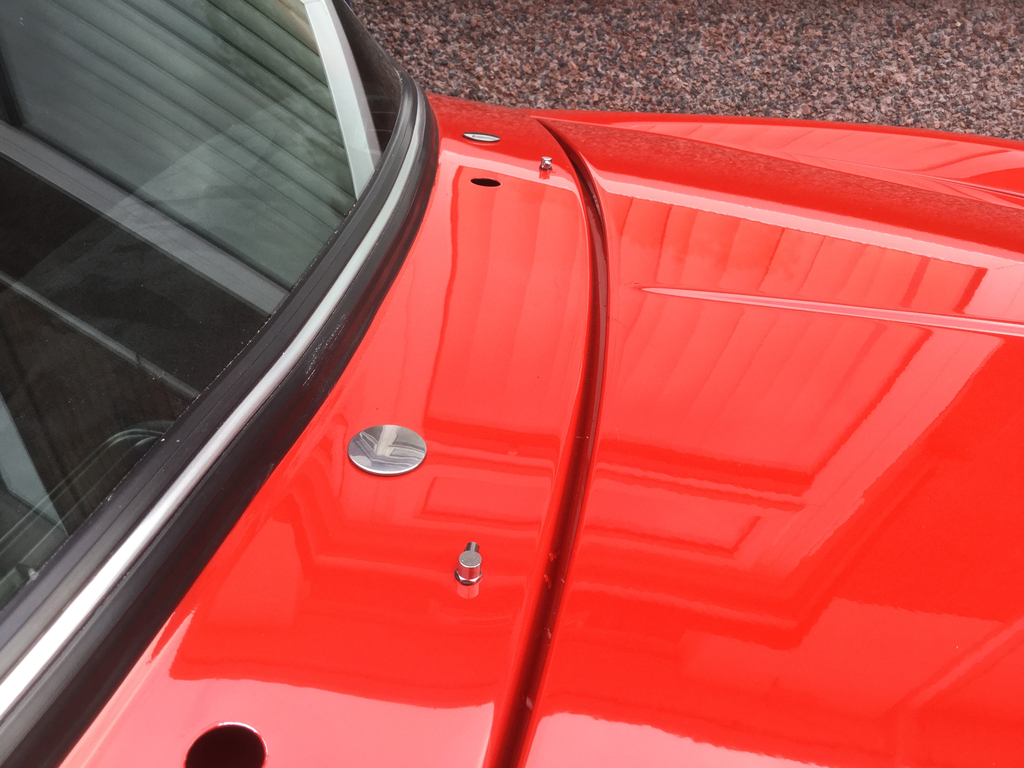
I also fitted the wiper mechanism but forgot to take a picture of that in place. Next on the to do list was fitting the door mirrors so I got the rivet gun out and fitted some aluminium M5 rivnuts -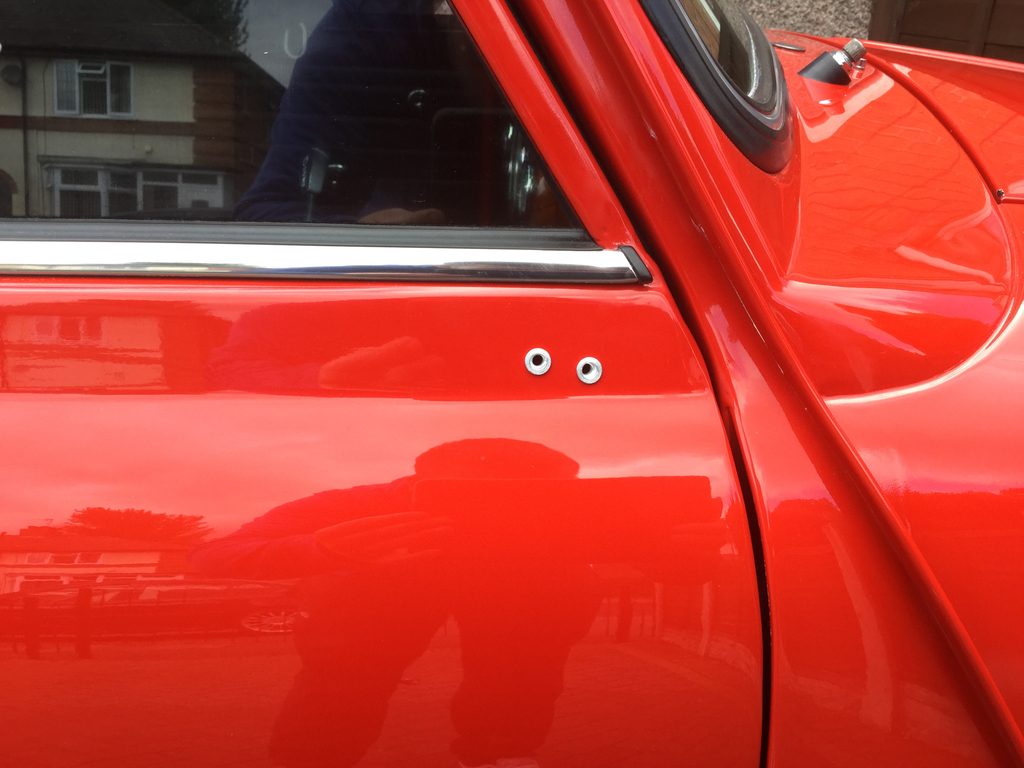
I used some stainless button head Allen bolts to secure the mirror to the door -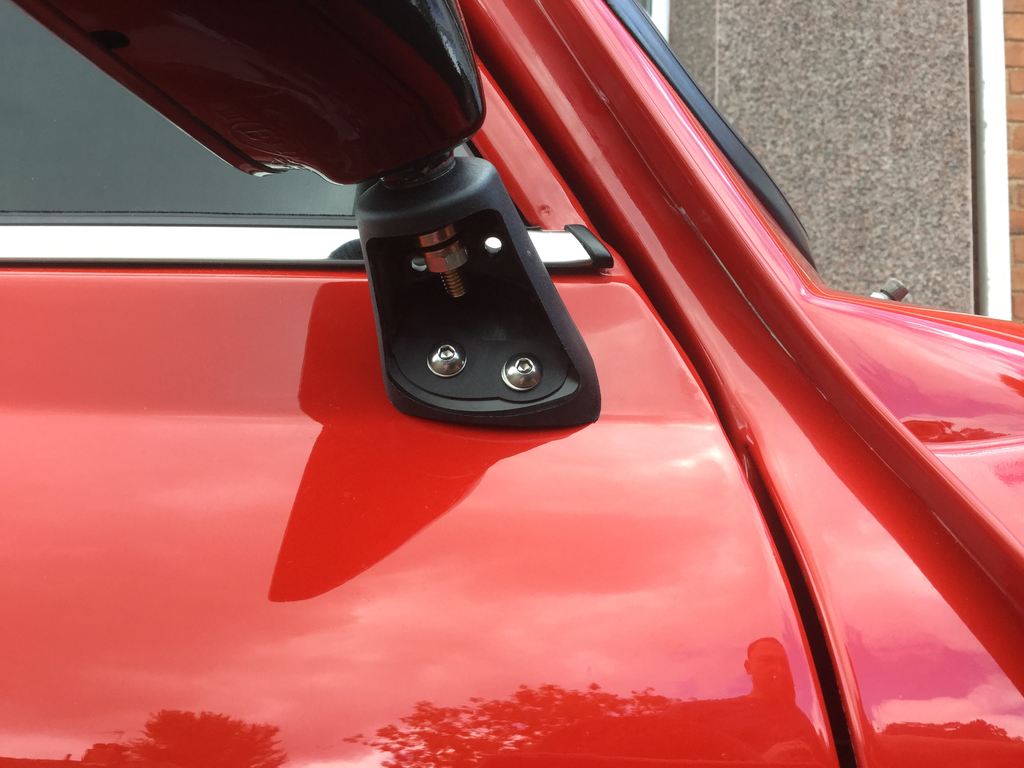
A couple of shots of the mirror fitted -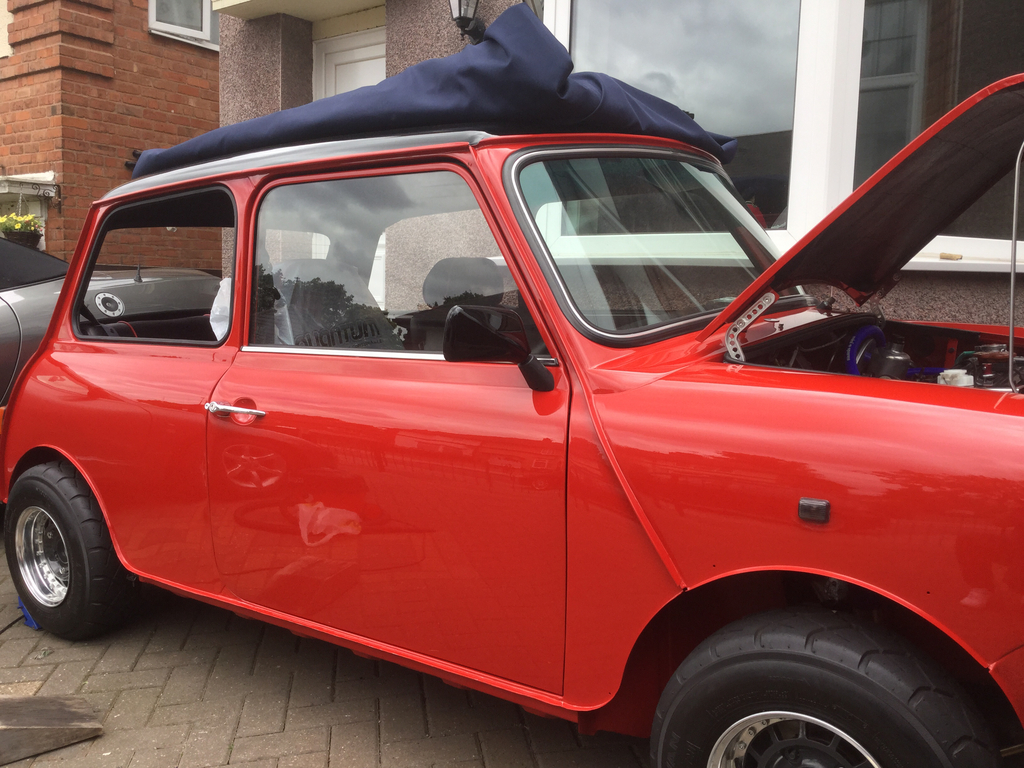
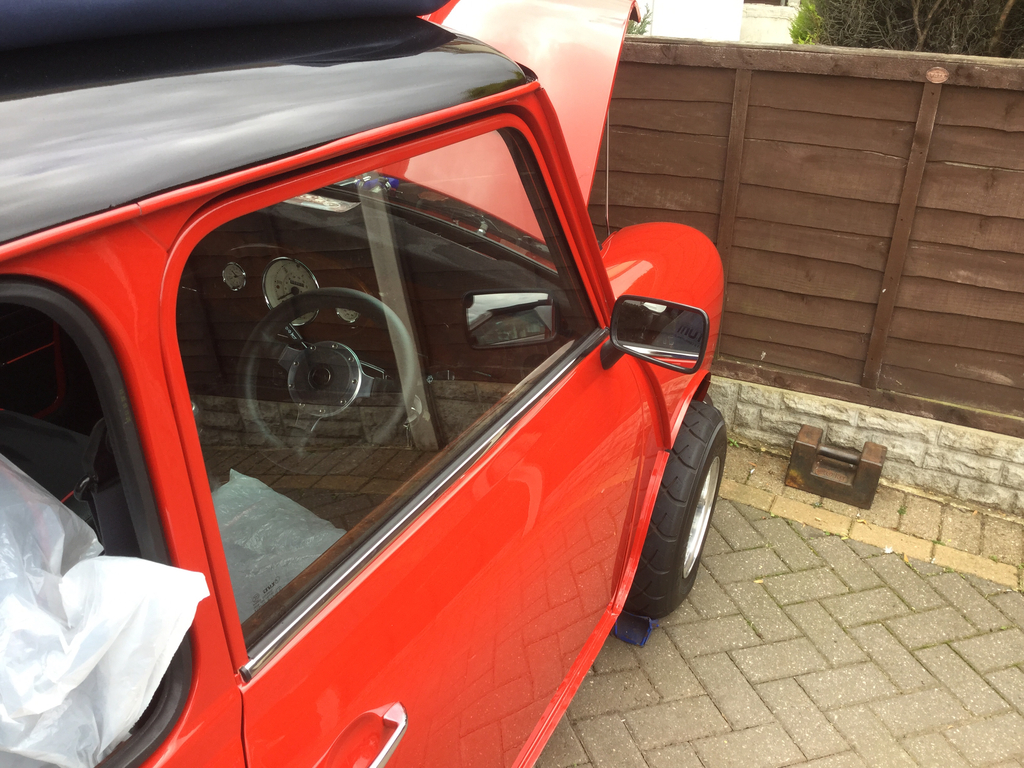
Rinse and repeat for the passenger side.
That took me until midday-ish so I decided to crack on and finish getting my headlights and front indicators in. First off a bit of wiring was required, I swapped the bullet connectors for some spade connectors on the main loom so I had to modify the headlight looms to fit those.
Here's the wires all connected up -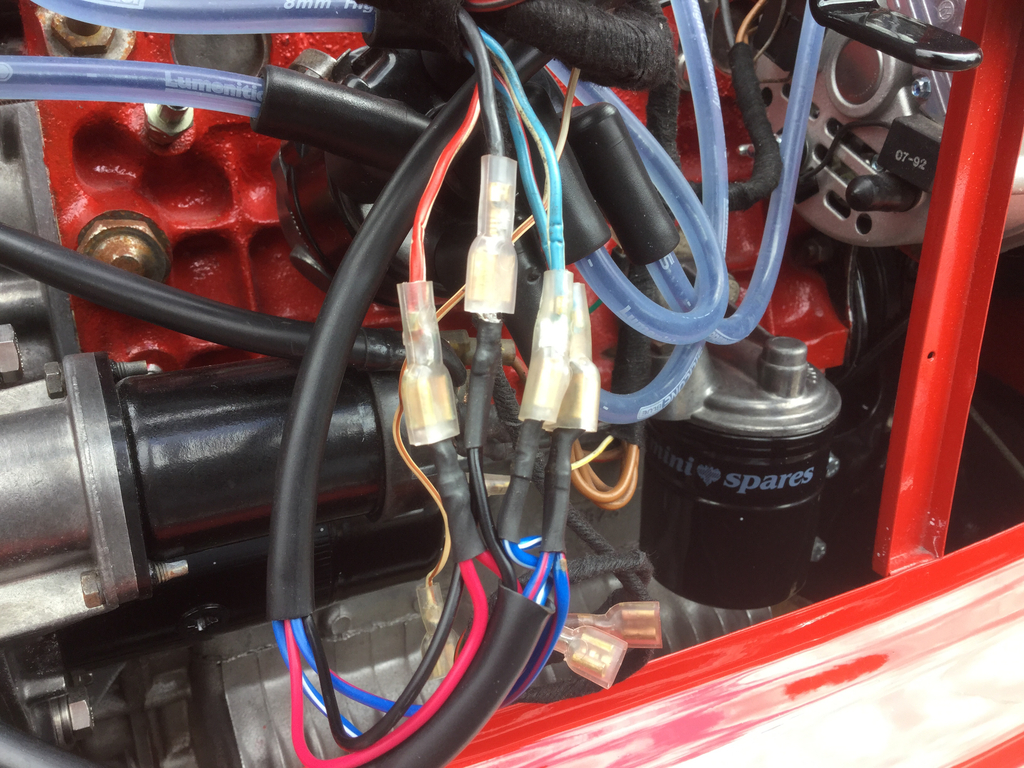
And then shrink wrapped -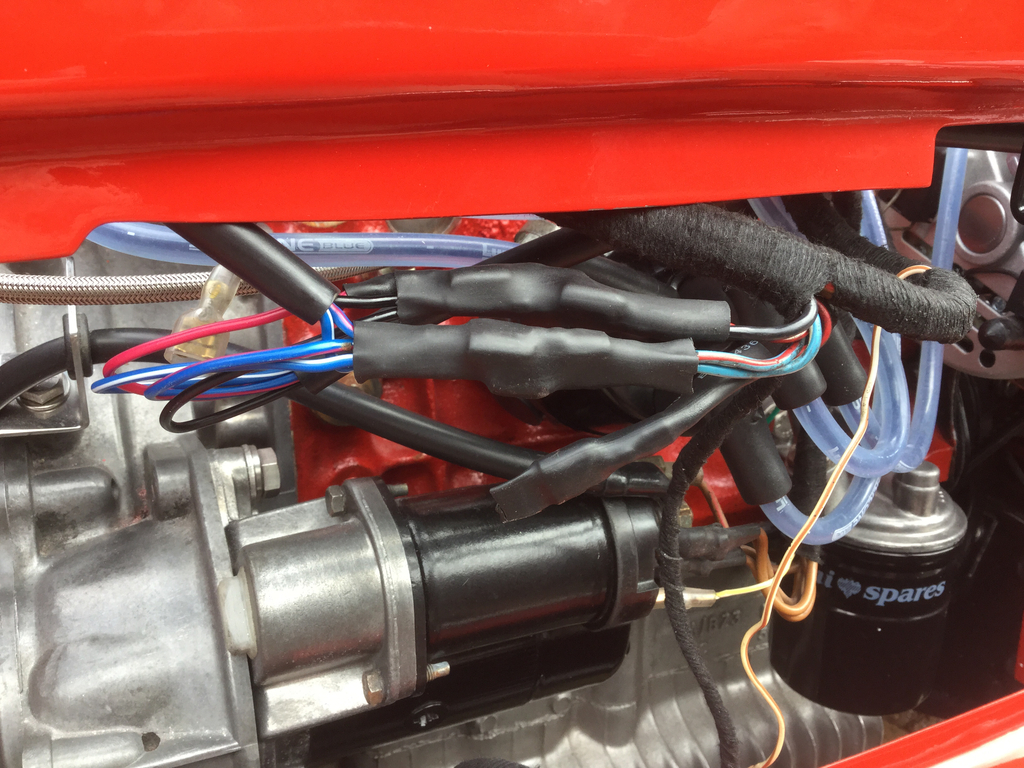
I bought some ready made indicator looms for an MPI Mini from Minispares so I had to modify those to fit my indicators. Here it is out of the packet -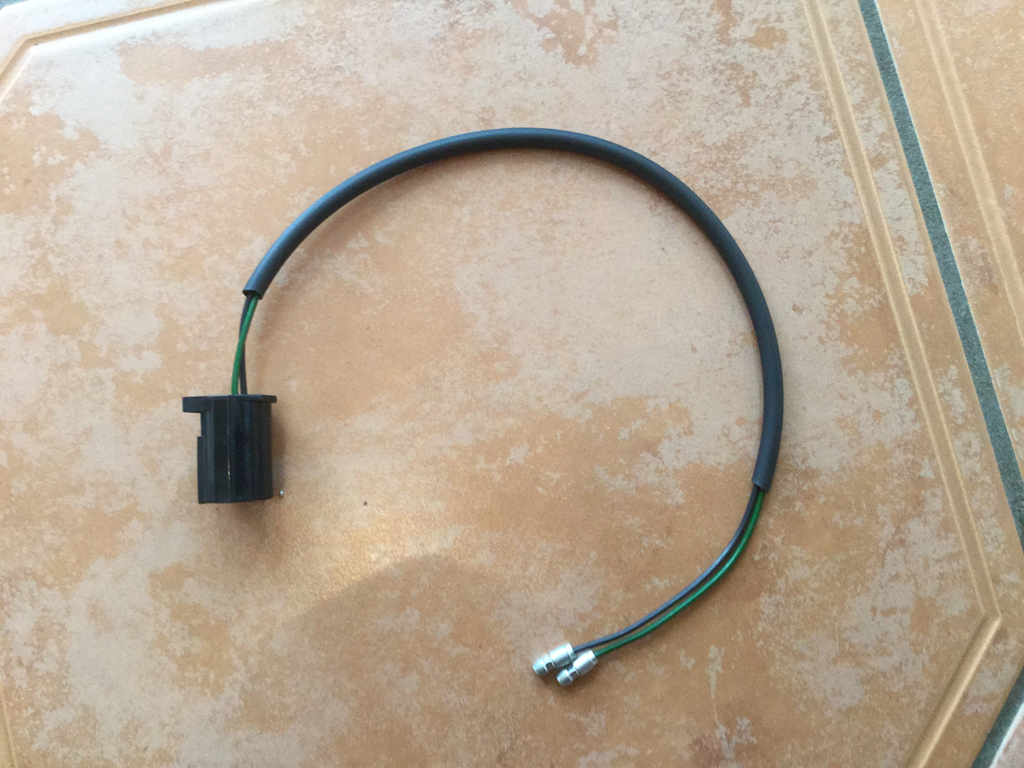
Snipped the plug end off -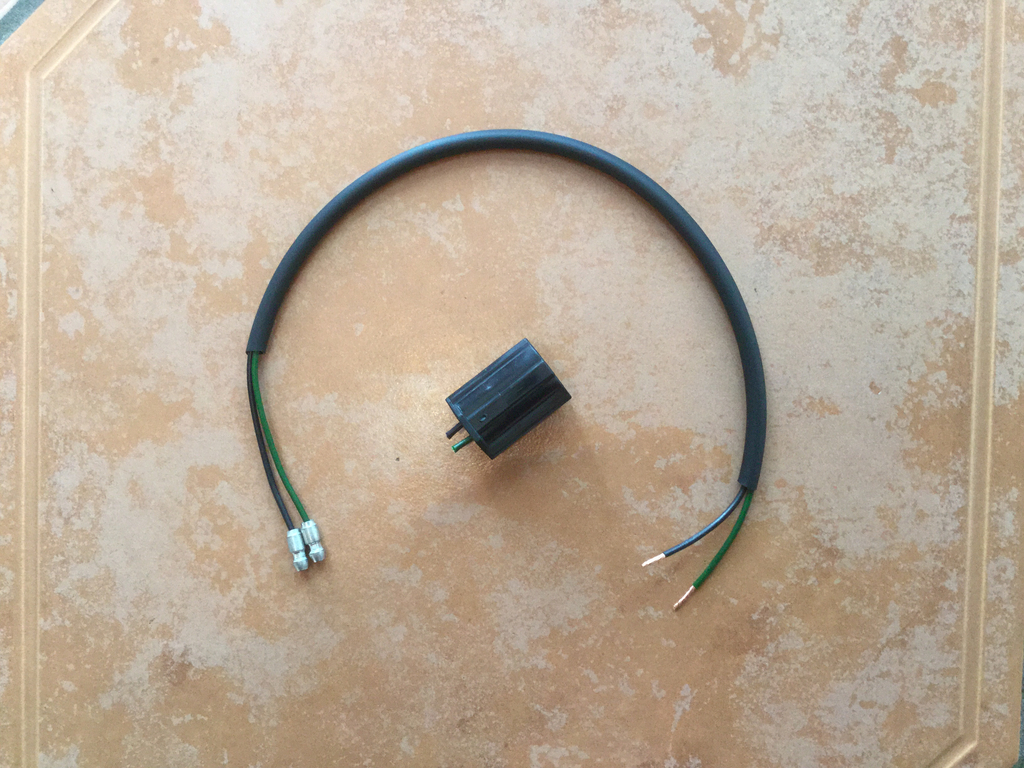
And soldered on some male spade terminals -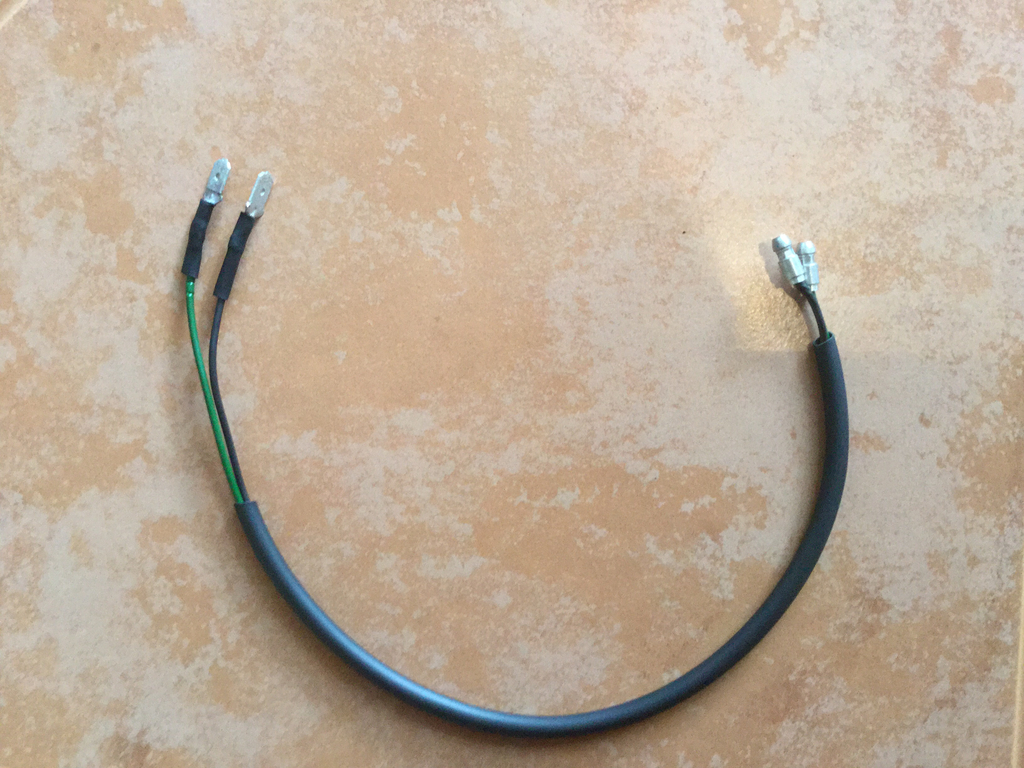
Here's both the looms ready to be fitted -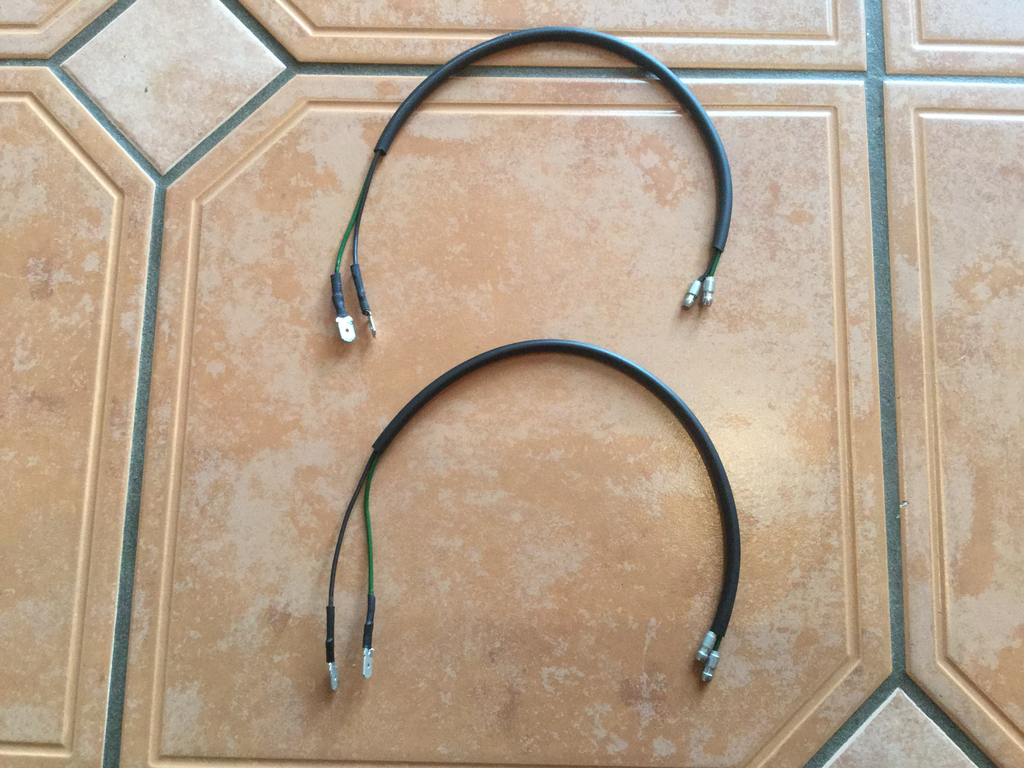
With all that wired up and some Osram Night Breakers fitted into my headlights, this was the result -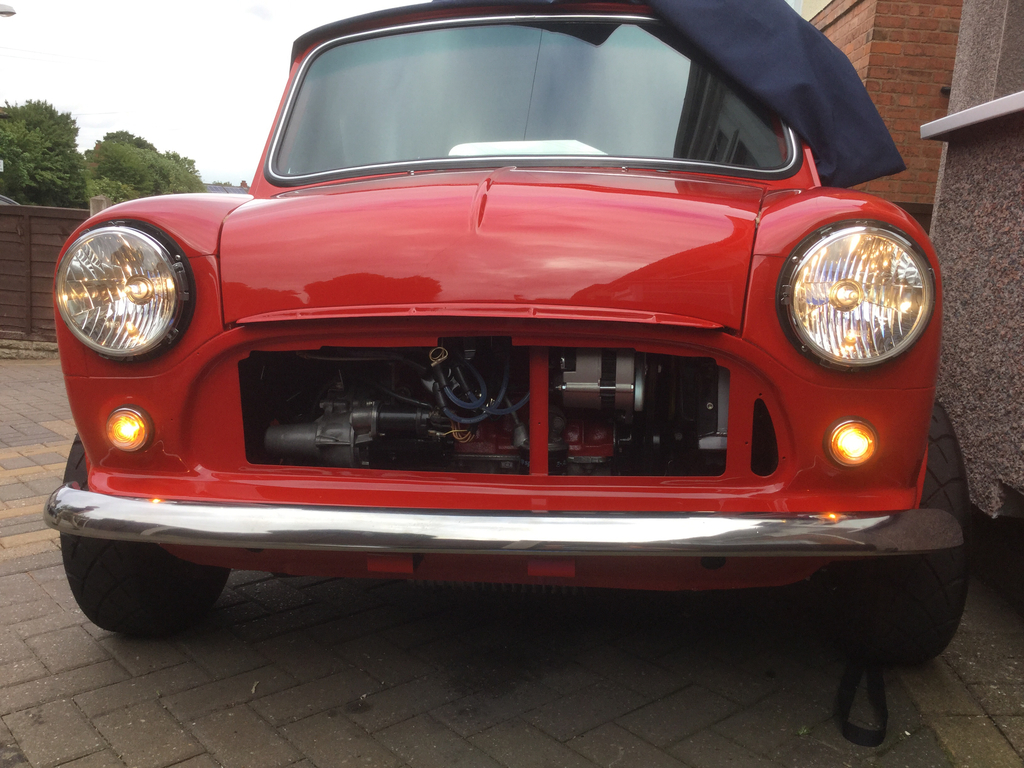
Whilst I had the soldering equipment out I also changed the wiper motor plug as I didn't spot that it was quite corroded when I refurbed the loom.
Here it is soldered up and shrink wrapped -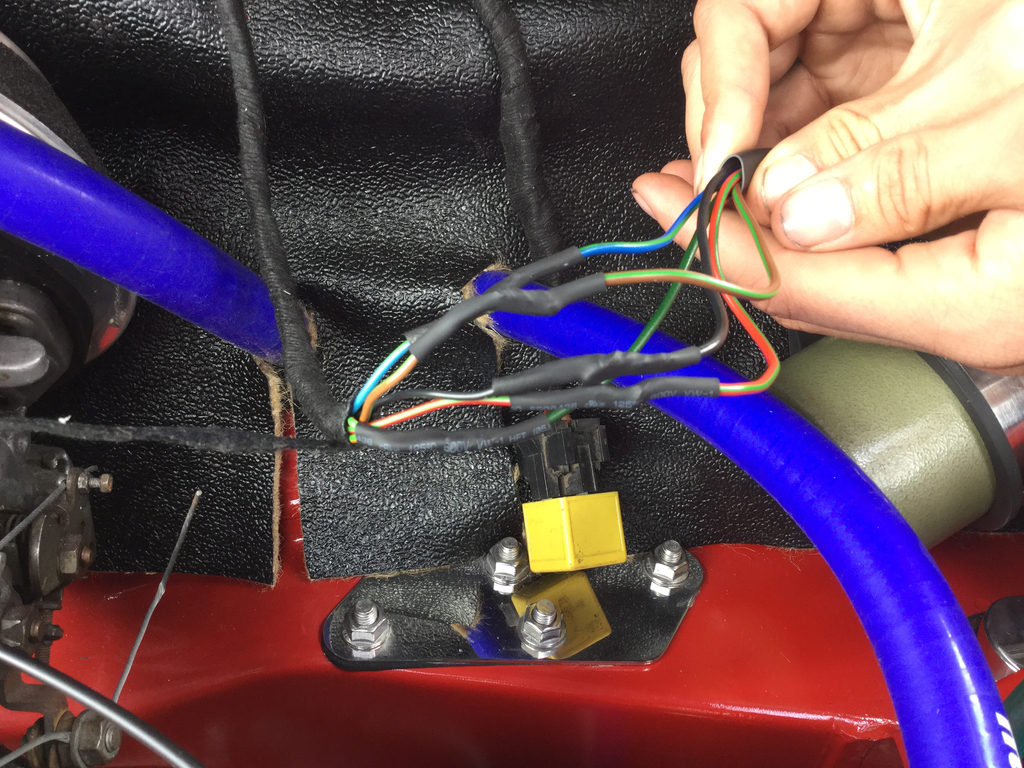
And then wrapped in loom tape -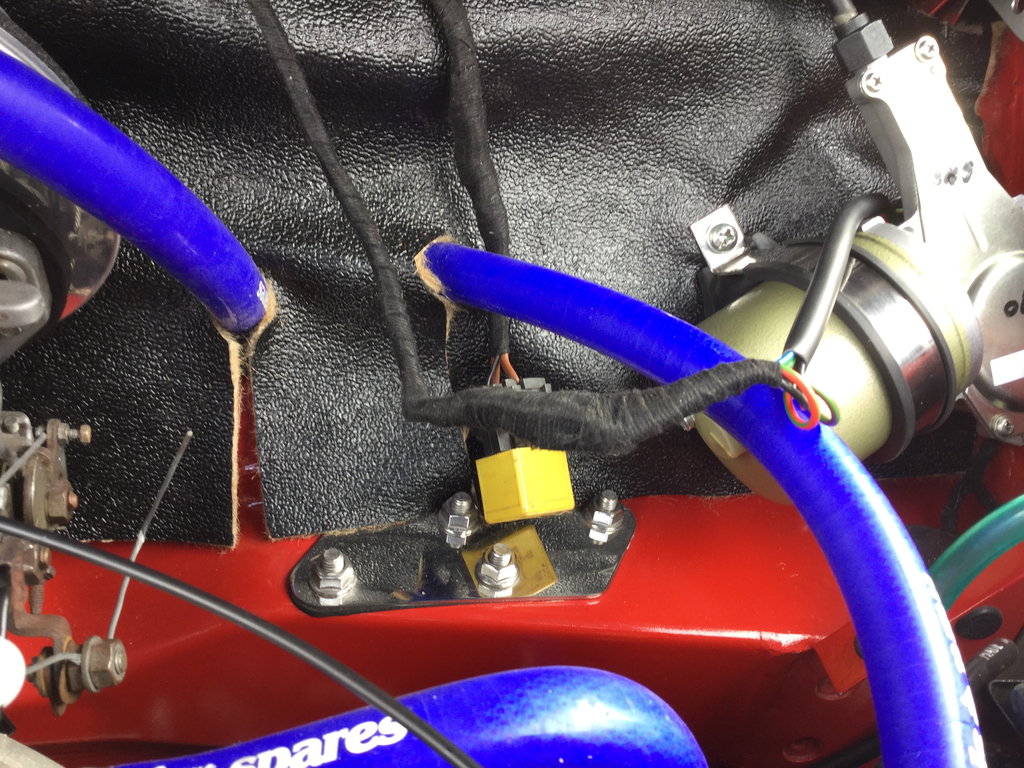
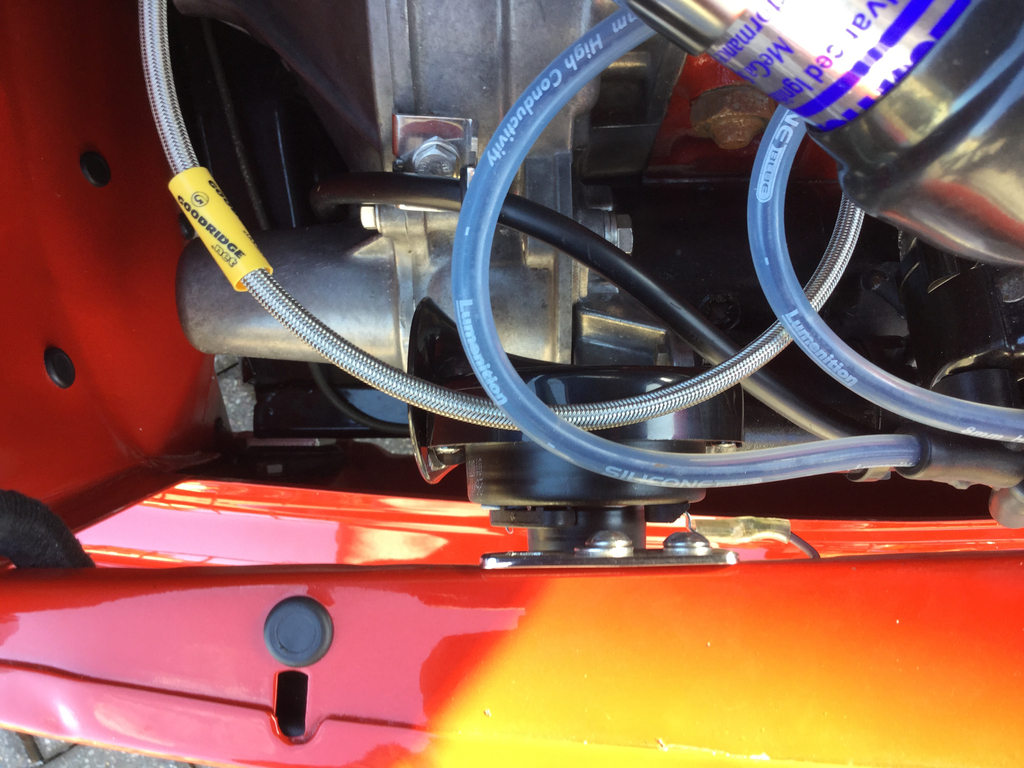
Fitted the horn along with a Smiffys stainless bracket -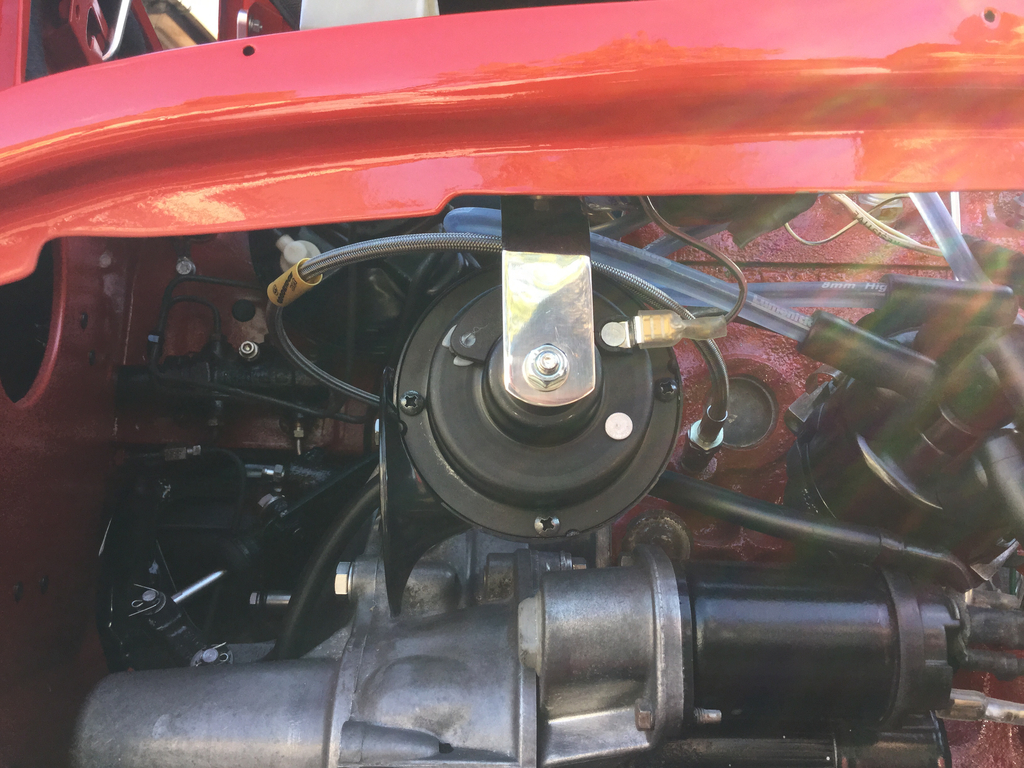
And finally I thought I'd fit my speedwell petrol bib and oil tag -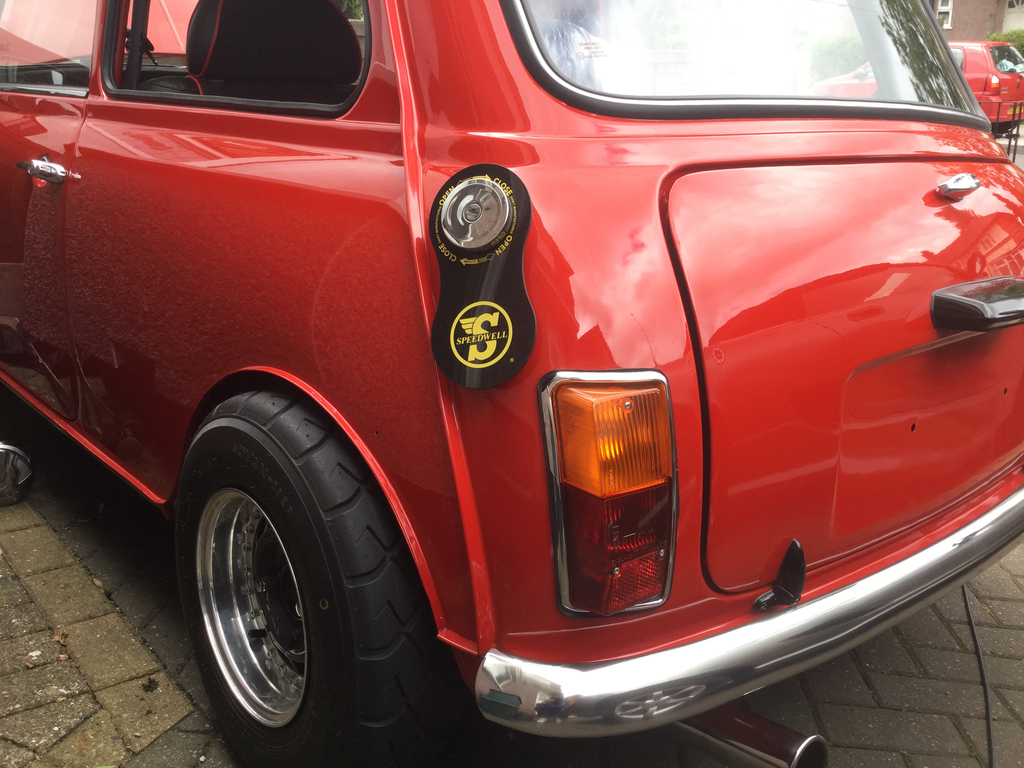
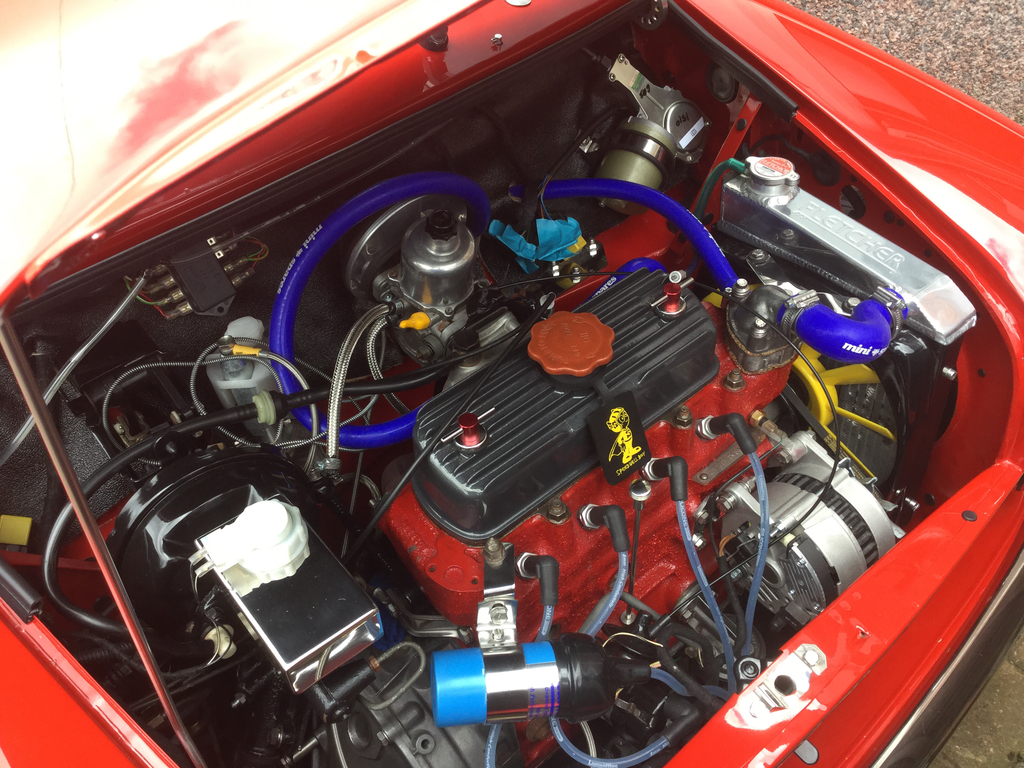
I've also started to fit my wheel arches so I'll have a few pictures of that tomorrow.