You must be logged in to rate content!
11 minute read

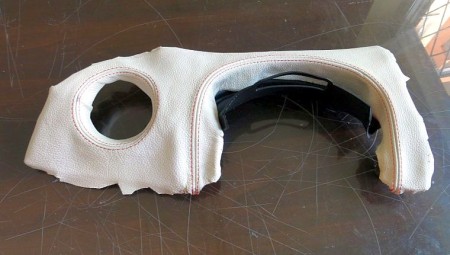
MINI DASH COVER INSTALLATION INSTRUCTIONS
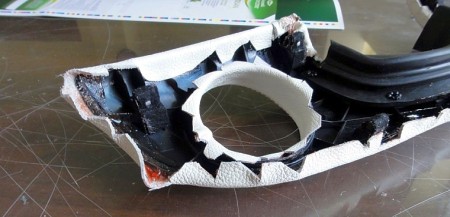
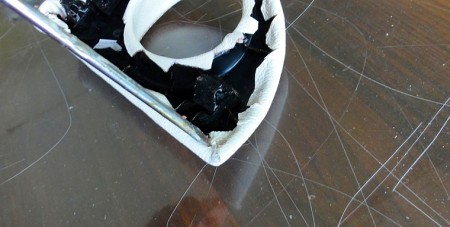
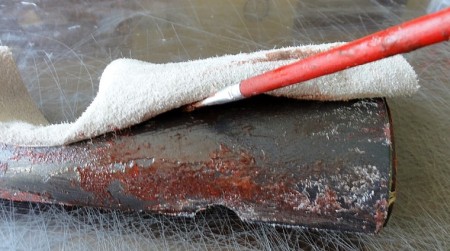
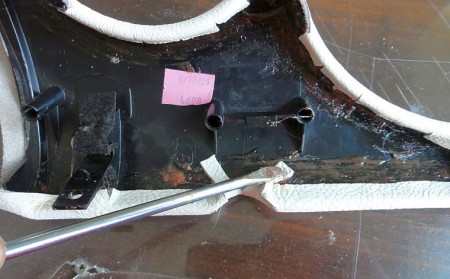
Remove plastic dash trims from the dashboard. They are mounted with plastic clips (4 on each part - 2 on the left side and 2 on the right) so just pry the edges of the trims with flathead screwdriver and they should unclip quite easily. First, remove the side panels, after they are removed, remove center gauge surround.
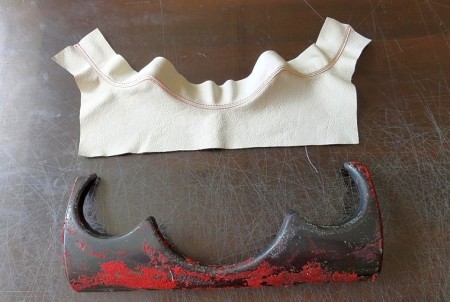
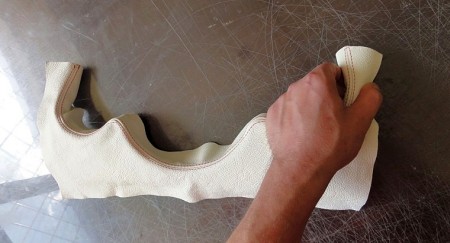
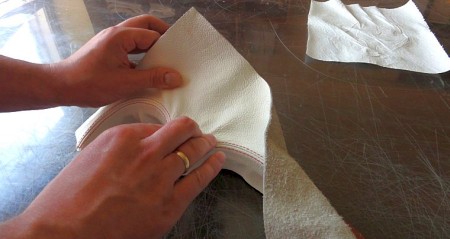
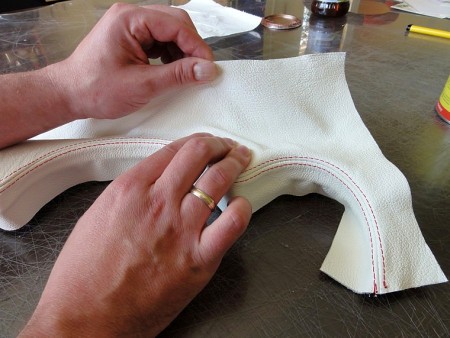
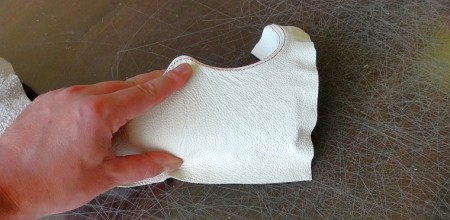
When you have the trims removed, test-fit the covers to pre-align them before glueing - once the glue settles down, corrections to the leather are difficult and can leave nasty marks on the leather so it is important to have the covers aligned to plastic trims properly.
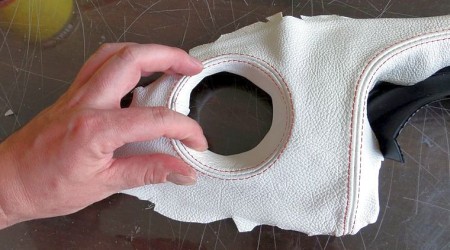
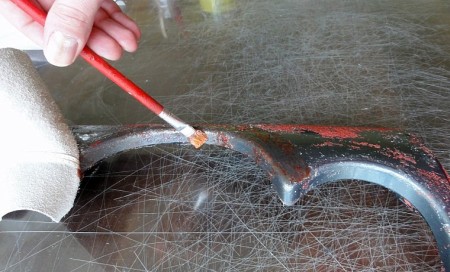
Apply the glue - start from round vent hole - apply the glue around the edge of the hole where the seam will go and to the inner surface of the hole. Let the glue cure a bit and then glue the leather aligning the seam to outer edge of the vent hole. This will require a bit of stretching towards the outside for the seam to lay evenly and properly around the vent hole. When you have the seam aligned and glued, work the leather inside the vent hole with your fingers to make it stick there.
At this stage you may also apply the glue to the surface between vent hole and steering column surround and glue the leather there at the same time - this will save time and secure proper alignment of the seam around the vent hole preventing it from being distorted when stretching leather later. You must only pay attention to first align and glue the seam around the vent hole and when you have the seam aligned, press the leather onto this surface - be careful not to let the leather stick here before you align the vent hole seam, otherwise it may be difficult to make corrections in this area later.

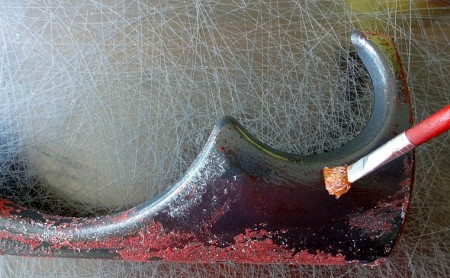
Now apply the glue to the edge of steering column surround part - same way as earlier - mainly where the seam will go, let the glue cure for a while and glue the leather aligning the seam to the edge. Work the leather along all the length of the surround.
You can also apply the glue on the whole inner surface of the surround glueing the leather there at the same time - again, this will save time and effort but be careful not to let the leather stick there before you have the seam aligned and glued properly.
When you glue the seam all the way, apply glue to the rest of the surface and glue the leather to the edges in all directions.
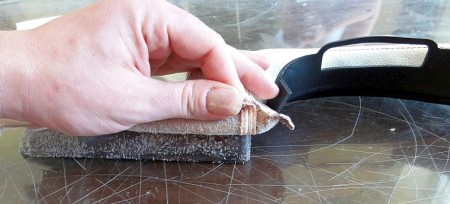
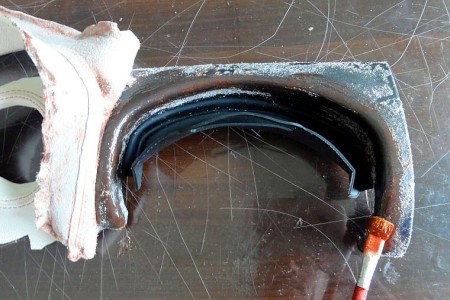
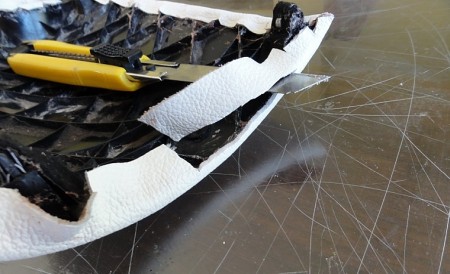
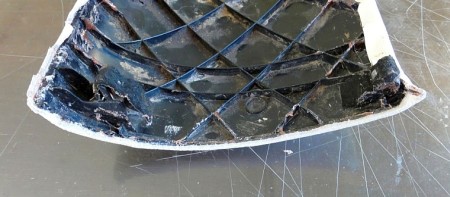
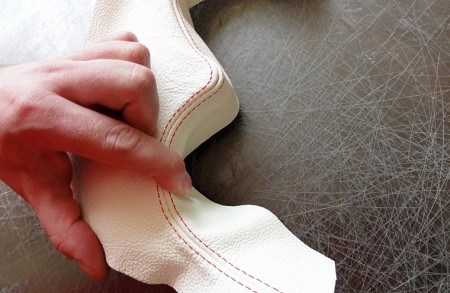
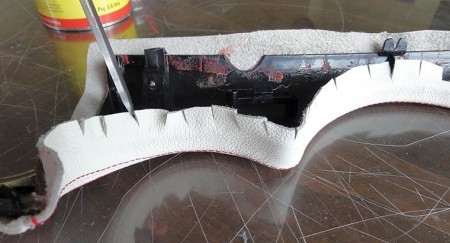
Now turn the plastic trim upside down to work with edges. First, make cuts in the leather where necessary - you need to make V-shaped cuts where the plastic edge is curved in order to make glueing possible - if you leave the leather as is, you will have a lot of excess causing wrinkles and folds.
There are also ÒribsÓ and clips on the back of plastic part where you need to make cuts to make the leather stick to the plastic on its whole surface.
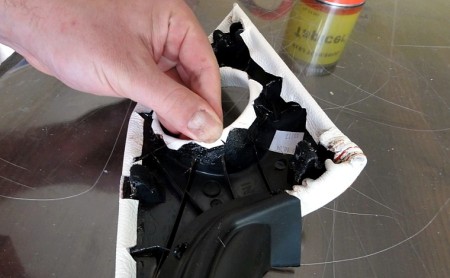
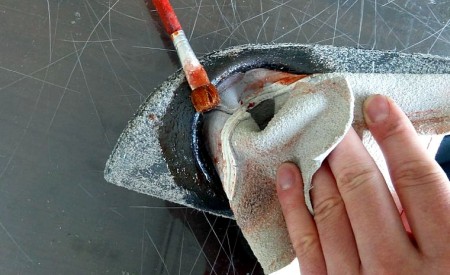
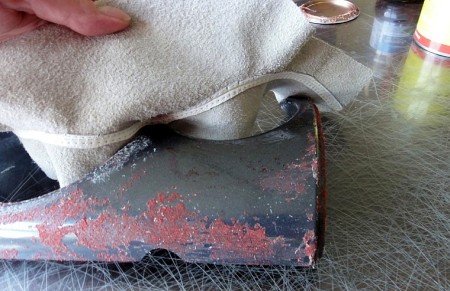
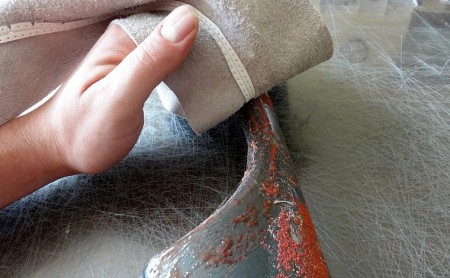
Then apply glue along all the edges and press the leather firmly to make it stick and hold for a while to let the glue hold. You may consider doing it in 3 stages - first - do the top edge, then the bottom and then the inner edge of the vent hole - this way you will avoid drying the glue too much.
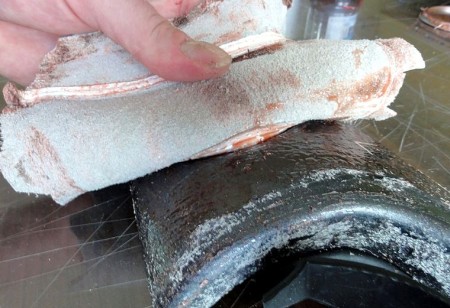
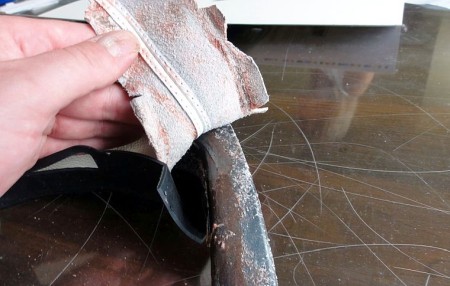
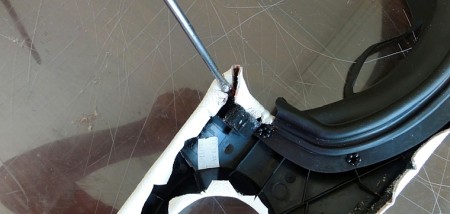
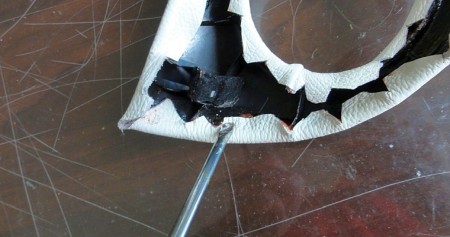
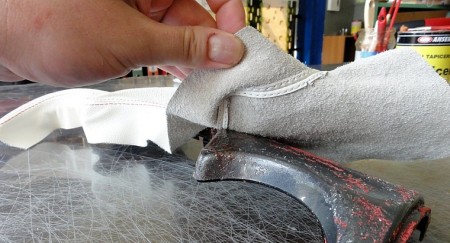
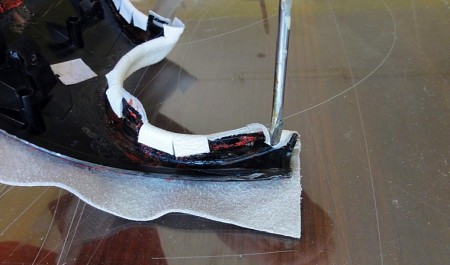
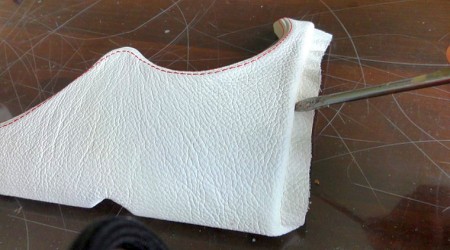
In order to finish the places where the seams are and on the corners you will have to make precise V-shaped cuts making sure you do not cut too much to avoid the cut being visible after trims are installed - the cut shouldn't erach closer than approx. 3mm from the edge of plastic part. Check how much you should cut twice before cutting ;-)
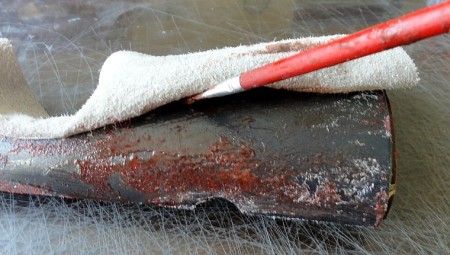
When finishing the edges you may need a screwdriver or similar tool to press the leather against plastic to make the glue work - the excess of leather is quite small in some areas (around the corners especially) and it may be difficult to apply enough pressure with your fingers only.
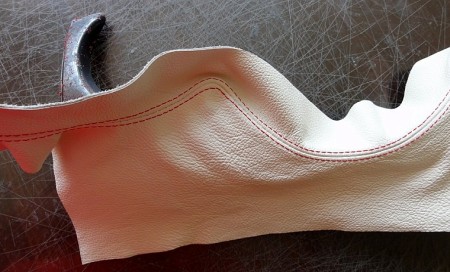
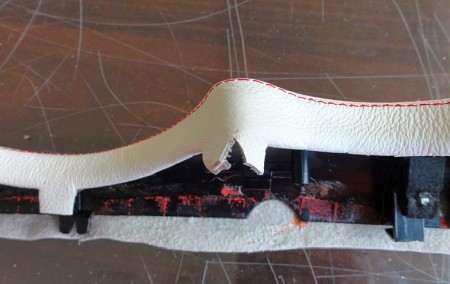
IMPORTANT: Do not fold the leather and glue it to the back of the plastic trims on the edges where trims meet each other (right edge of the left trim, left edge of the right trim and both side edges of the center trim). Instead, cut the leather the way it is shown below:
Otherwise, thickness of leather will make it impossible to snap wrapped panels back into the dash - they are very close to each other and even if you cut the leather this way, fitting the trims back will require precision and cautiousness.
Proceed with the same steps as described above with remaining two trim pieces - center gauge surround and right dash panel. The consecutive steps, comments and hints described above refer to all 3 dash trim parts. Below some photos to illustrate wrapping the centre part as it may be a bit difficult. Right part is the easiest - it is just the mirror reflection of the left part minus steering column surround.

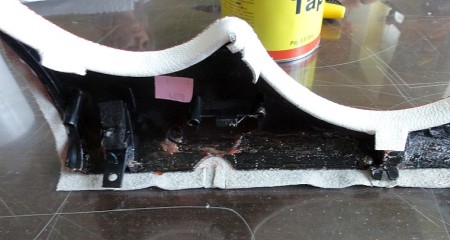
Two important things about wrapping center trim piece - the gauge surround:
Be careful with the two corners on both sides of the speedo - pre-align the cover carefully to make the seam go exactly along the edge. You may need to try a few times until you achieve the fitment you want so do not apply glue until you are 100% sure you will know how to place the seam there.
When wrapping this part, do not apply the glue to side edges as they will require some additional kind of work. Wrap only the main part, finish top&bottom edges and proceed to the side edges when the glue settles down. Then, apply the glue to the edge and press the leather hard with some screwdriver-like tool to make it stick all along the pitch without wrinkles. This will mean you'll have to do it again and again as the leather will be slowly coming off until the glue settles. So you will have to repeat pressing with screwdriver every time you see the leather is getting loose here. Pay attention to this area as it will be visible when you install wrapped pieces into the dash. And, if you let the leather delaminate even on a small part here whis will make it delaminate further.
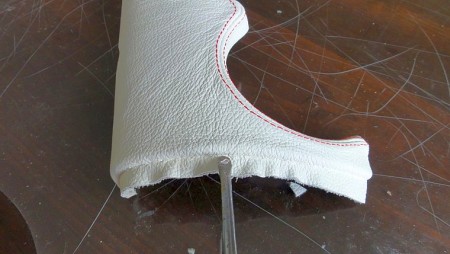
Then, trim the excess of leather the same way as with left trim part
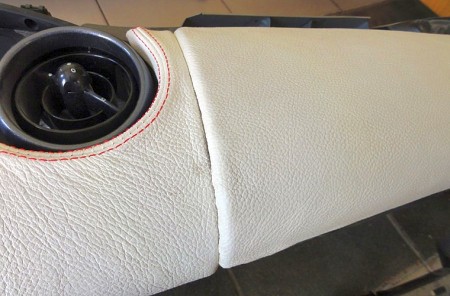
You can now snap wrapped trims into the dashboard. Start with center piece - it should snap into the dash quite easily.
Then snap side trims paying a lot of attention to the edges where they meet the center dash trim - this will be a very tight fit so if you are incautious you may unglue the leather from the edges of side panels.
Useful tip
You have installed a product made out of genuine leather. As you know, to maintain a leather product in good condition, you should take care of it. We suggest occasionally (every 4-6 week for example) applying some leather conditioner/UV protector to keep your leather from drying up in the sun and cracking.
Redline Automotive Accessories Corp. will not be held liable for any labor, incidental or consequential damages of any kind. Proceed at your own risk.