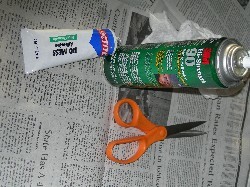
- - Glue (super glue works fine, or 3M-90 High Strength Spray Adhesive)
- - Xacto Knife & flathead screwdriver
- - Loctite all purpose
You must be logged in to rate content!
5 minute read

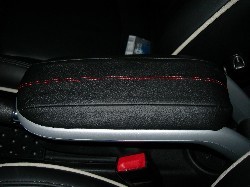
Mini 07+ ARMREST COVERS' INSTALLATION
1. Slide cover back and lift out (you may want to mark the front to avoid confusion when reinstalling however, there are sliding tabs on the front)
2. Place cover on flat surface upside down
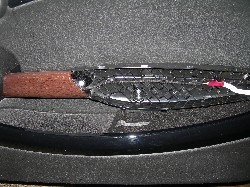
3. Use wide bladed flat screw driver to push back the tabs along both sides and the back, one at a time starting with the back tab. Push tabs toward the inside of the cover. As you push each tab use another flat bladed screw driver to lightly pry apart the two pieces. Do not pry up on the front as there are three sliding taps located there and you will break them off.
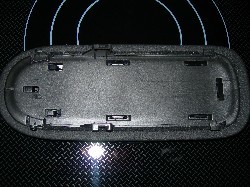
4. Once the back and sides are loose, slide the plate forward off the 3 front tabs.
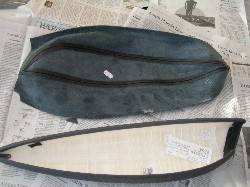
5. Lay the leather on a flat surface rough side up and place the cover on the leather. Note, I did not remove the vinyl simply installed leather over vinyl. Gather the leather around the edges and use tape to hold in place. Scotch tape will do just fine.
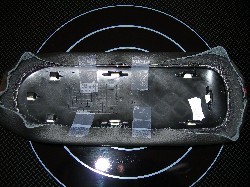
6. Slide the cover over the 3 front tabs ensuring the leather stays in place and then snap the rest of the tabs into place. You may have to use a flat blade to tuck leather in here and there. Once all is back together, take a razor knife and cut the tape close to the edge and remove from leather.
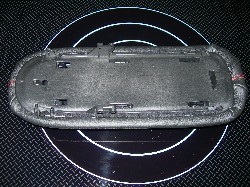
7. Reinstall lid on console. Take your time with this so as not to break any tabs.
8. Place thumbs in middle of arm rest and 8 fingers along the top edge and gently lift up and pull towards you. There are several tabs about 3/16s tall to raise the arm rest over. There are tabs on the underside as well. (Careful, the ambient lighting wiring is behind the arm rest. Do not curl your fingers over the edge and pull out the wiring. Just keep fingers on the edge.) The arm rests are easily removed with a little nudge.
9. Warm your leather and the arm rest with a hair dryer or place them near your wood stove as I did. This will make the next steps easier. We suggest you get the lay of the land here and go through your application of leather here before using spray glue. (Note we did not remove vinyl, simply glued leather to vinyl).
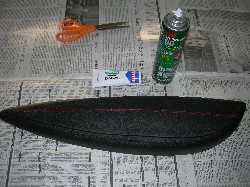
10. Spray the inside of the leather with 3M-90 High Strength Spray Adhesive (Home Depot or similar) and set aside (See Picture). Light spray on leather. Try not to over spray and get on show side of leather.
11. Spray the arm rest, heavier spray, including inside edge with same and set aside for only 30 seconds. If you wait too long it becomes hard to move the leather around.
12. Lay the leather, inside up on a flat surface and immediately put arm rest in the leather.
13. Turn over and use a decal like squeegee to smooth it out and pull on both sides to center the leather. This is the time to remove any glue that got on leather. Careful do not use Acetone as you may discolor the leather.
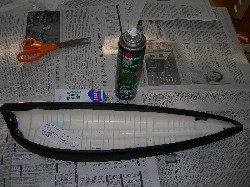
14. Begin folding over the edges to ensure they stick. If they do not stick, not to worry. Use Loctite all purpose (see Picture) (Home Depot or the like) and re-glue them.
15. You may have to use some scissors to cut the front and back ends so the leather does not bunch up on the corners. Now is the time to remove any glue that may have gotten on leather.
16. Continue to work the edges until all stay in place and allow to cure.
17. Be sure leather is not covering tab holes on inside of arm rest. Use razor knife to expose slots as required.
18. Reinstall on door by placing the bottom in place first and then using fingers again, gently lift top and lock in place. Note the leather thickness causes the reinstall to be more difficult than the removal but with patience they go on nicely.
Useful tip
You have installed a product made out of genuine leather. As you know, to maintain a leather product in good condition, you should take care of it. We suggest occasionally (every 4-6 week for example) applying some leather conditioner/UV protector to keep your leather from drying up in the sun and cracking.
Redline Automotive Accessories Corp. will not be held liable for any labor, incidental or consequential damages of any kind. Proceed at your own risk.