You must be logged in to rate content!
3 minute read
DIY - Replacing your Starter
Compliments of iwhitne @ dodgeforum.com
2-11-2010
Well the starter began to get weak yesterday and had to replace it today.
Tools: 8mm, 10mm, 13mm, 16mm Jack, Jack Stands, trouble light, sand paper/sos pad
Supplies: New starter. I got mine from Autozone for $188 with a $62 core return
1. Disconnect battery
2. Set parking brake and jack the truck from the axle to give enough room to creep under the axle. Set truck on jack stands.
3. I found it helpful to remove the driver's side tire.. but you don't need to.
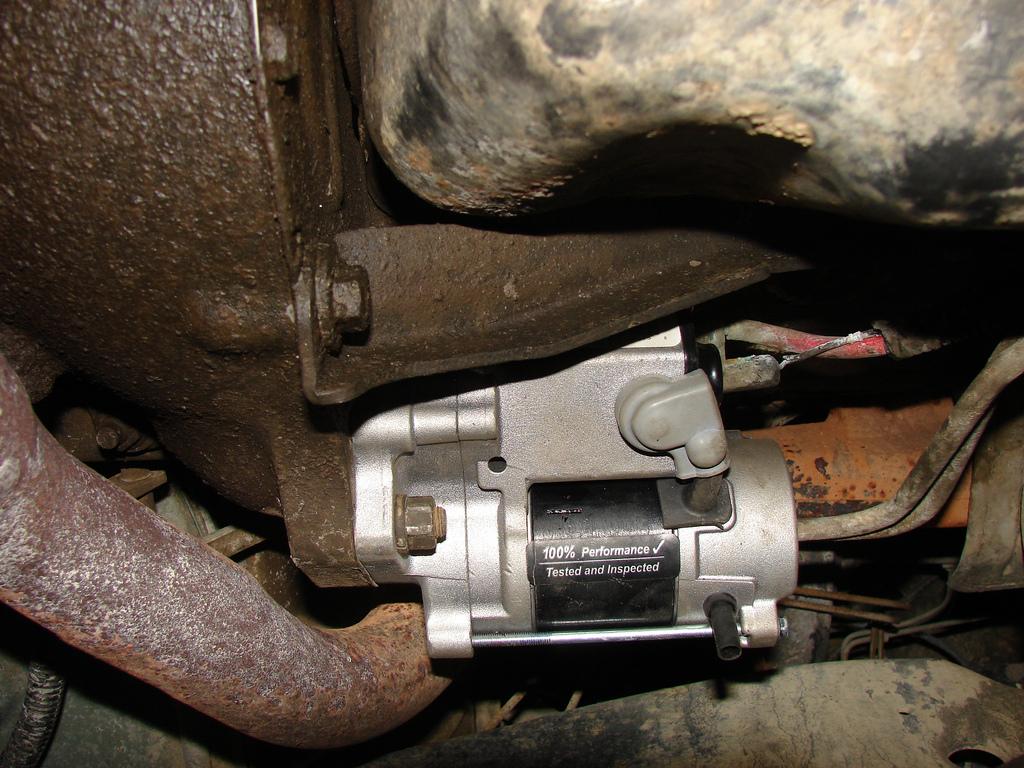
The starter is located on the back side of the motor drivers side. It is held in place with one 16mm bolt at the top, and one 16mm nut and lock washer on the bottom. There is also to wires connected together and connected to the top of the starter. It is almost impossible to remove the wires first due to space and the fact that you can't see the nuts from under the truck. So I removed the starter first the disconnected the leads.
4. Remove the starter by removeing the 16mm nut and 16mm bolt. There is a clip on the top bolt that can be gentley moved to pull the starter out.
DO NOT LET THE STARTER DROP... ONCE THE STARTER HAS BE PULLED OFF REST IT ON THE CONTROL ARM
5. Remove the wires from the starter, one is 8mm and one is 13mm
6. Use the sos pad/sand paper and clean the terminals that were connected to the starter
7. To install the starter do the reverse
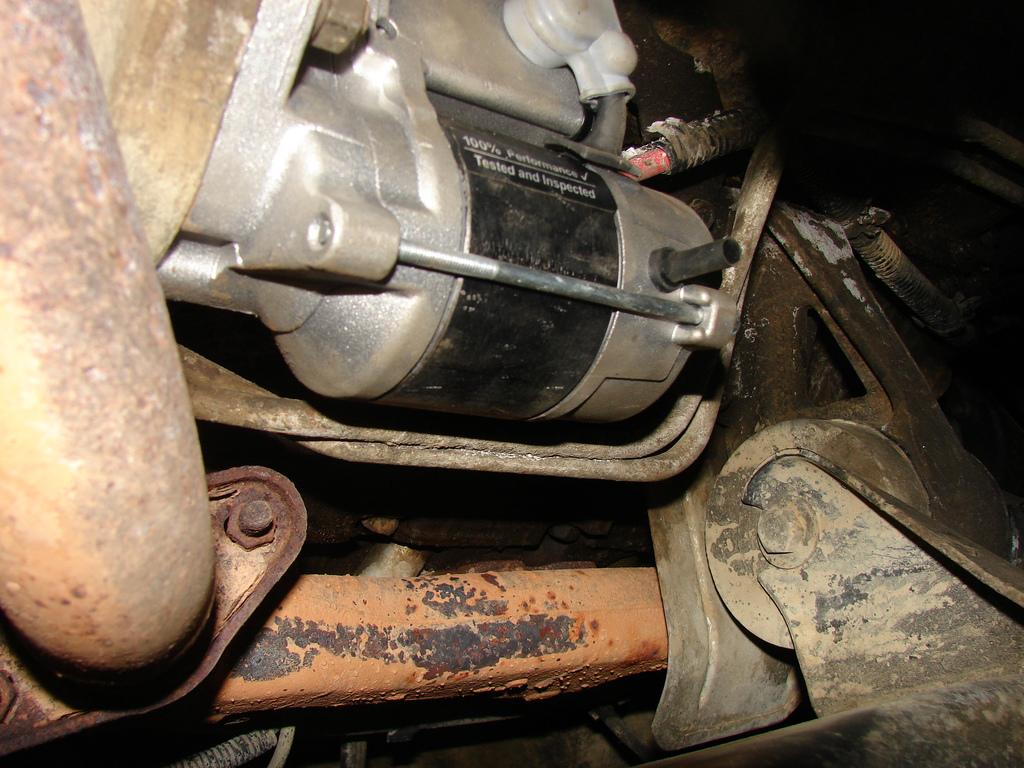
Tips: On the top bolt there is a clip connected to some metal lines... be very careful not to bend or put any undue stress on the lines. I was able to remove/install by tipping the top of the starter forward and slide it under the clip.
The top bolt can be very difficult to remove due to lack of space. I ran a very long extension to the front of the motor where I had more room to work. There are metal lines and the headers that cramp the work space.