You must be logged in to rate content!
5 minute read

DODGE DART 2012+ CENTER ARMREST COVER INSTALLATION INSTRUCTIONS
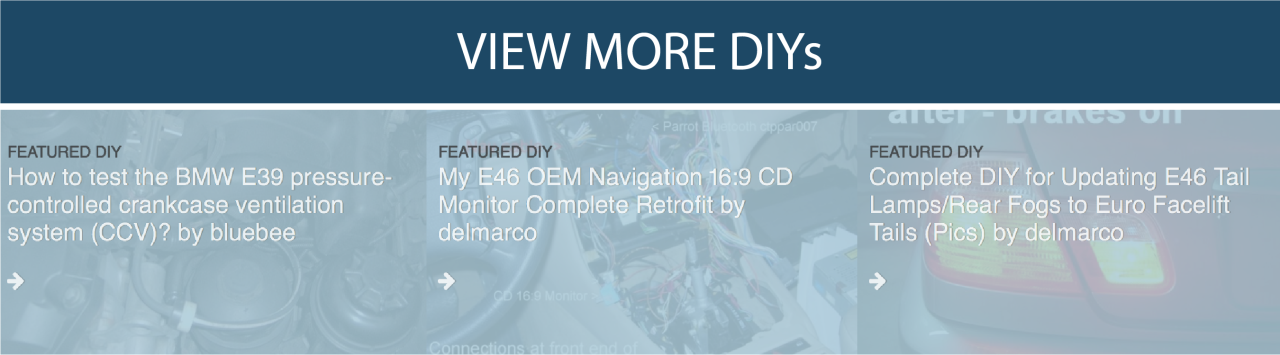
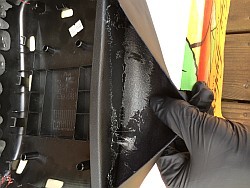
1. Remove your stock vinyl armrest. Open your console, slide your armrest all the way forward, and use a plastic trim tool to pry in from the side.
If you slip the tool in all the way, and apply a little pressure, one side of the armrest should unclip completely, you can then repeat this process on the other side
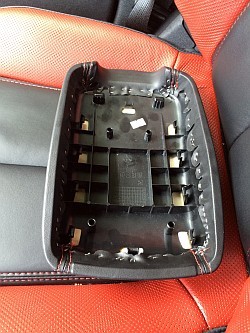
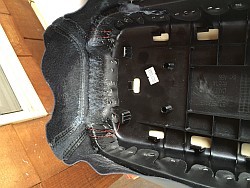
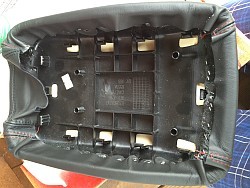
2. What you're left with is just the top of the armrest. A plastic base with some foam padding, and a vinyl cover stapled over it.
3. Since the stock armrest has pretty good padding, you can just install the cover over it, if want to, you could order an extra 6/8"layer of foam padding. Either way, get your armrest and new cover ready, and prep a surface to use for the adhesive.
4. Here, a 3M 90 High Strength adhesive was used, but you could as well use 3M 77 or other similar spray adhesive. Make sure you shake the can so the adhesive mixes and applies properly.
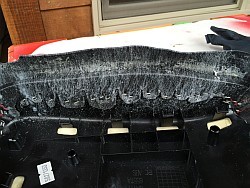
Spray the top of the armrest with a nice even coat of the adhesive, a couple of passes will do.
5. Now spray the under side of the leather cover with an even coat of the spray adhesive.
6. Carefully position the cover over the armrest, and begin smoothing out the leather so that it sits correctly on the armrest. If it isn't right, remove it and try again. The adhesive remains sticky for a while, and is pretty forgiving.
7. Once the top is smoothed out and situated correctly, you can begin applying adhesive to the sides of the armrest. Just hold back the cover and spray into the seams on both sides.
8. Once you have the sides mounted and smoothed, do the same thing with the front and back of the armrest.
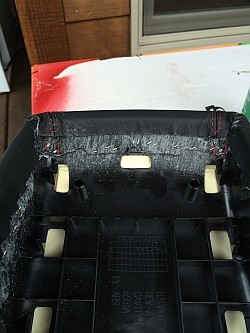
9. Now, we're going to begin working on the edges of the armrest, folding in all of the excess leather around the sides, and getting it to stay in one place.
10. Once the necessary areas are trimmed, apply adhesive all the way to the edges of the leather, and to the inside edges of the armrest. This will hold down the excess flaps, so go a little heavier.
11. The front and back are tricky, because of the stitching seams. I recommend doing the side first, and then the front and back so that the seams can sit over the other leather.
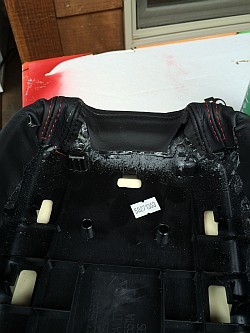
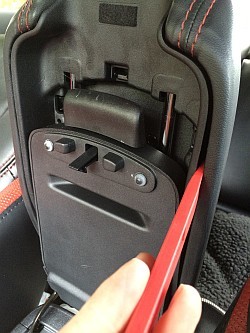
12. Now that all of your edges are locked down, we need to hold them in place. Go back to the car, and slide out the two silver bars you see on the top of the console lid. (These allow the armrest to slide forward).
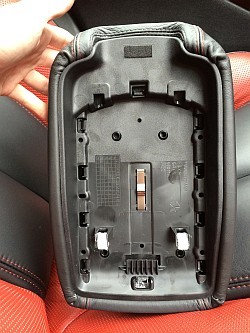
13. Now that those are removed, remove the plastic piece there, and clip it onto the bottom of the newly covered armrest. The plastic will hold down and secure all of the edges.
Note that to re-attach the armrest to the center console, after the adhesive has fully dried and the edges are secure, you'll need to remove the plastic piece and put it back on the console with the silver bars in place. Then you can clip your armrest back into the plastic piece by applying firm and even pressure from above
Useful tip
You have installed a product made out of genuine leather. As you know, to maintain a leather product in good condition, you should take care of it. We suggest occasionally (every 4-6 week for example) applying some leather conditioner/UV protector to keep your leather from drying up in the sun and cracking.
Redline Automotive Accessories Corp. will not be held liable for any labor, incidental or consequential damages of any kind. Proceed at your own risk.