You must be logged in to rate content!
5 minute read

DODGE NEON 2000-05 SHIFT BOOT INSTALLATION INSTRUCTIONS
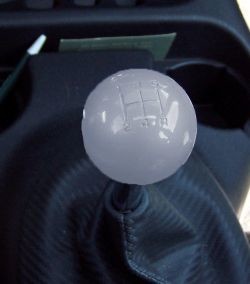
1. Start by removing the stock shift knob. To do this you will need to quickly and firmly yank the shift knob along the length of the rod. It might not come off on the first attempt, but keep trying. It’s on their fairly firmly!
If you cannot get it off by yanking, another method is to place a towel underneath the shift knob and use a hammer on the underside of the knob and attempt to hit it off.
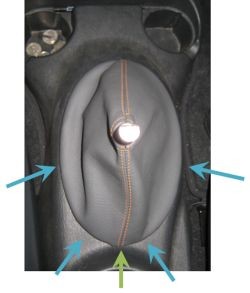
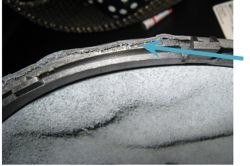
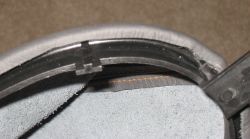
2. Using the blue arrows as a guide, push in on those areas and pull UP on the rear-section (green arrow). This will loosen up the clips holding the boot in place. Slide the rear up and as you do so, the front will easily come loose (there is a small tab on the front used as a guide).
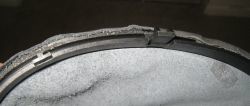
3. Using a razorblade, neatly remove the stock shift boot and leave the stock oval ring behind. Don’t worry if you cut into the ring as you’ll never see it after the installation.
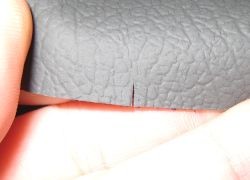
4. Inspect the shift boot...
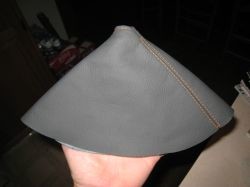
5. ... then place 2-3mm slits along the bottom edge of the shift boot approximately 1.5” apart.
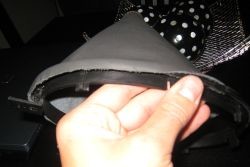
6. Place the shift boot over your newly cleaned stock ring...
7. ...here’s a view from the underside.
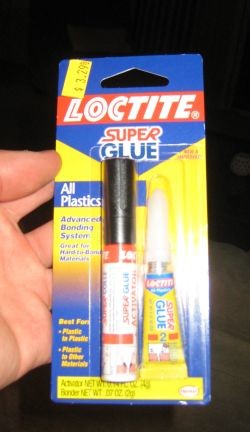
8. Get out the glue you are going to be using for the install. I recommend a multi-purpose high-strength glue. This glue was intended for plastics (the ring) and for leather (the new shift boot).
9. Pull the cover slightly (~4mm) over the edge of your stock oval ring.
Prep the area marked with the blue arrow (the outermost ring on the bottom).
From here, carefully line the outer most ring with beads of glue.
10. Press the shift boot down onto the glue. I recommend doing one section at a time (from one cut mark to the next). Do this until you have completed the shift boot.
You will notice some overlap of material underneath the boot, but this will not interfere with aesthetics or function.
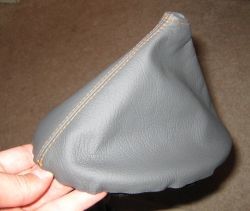
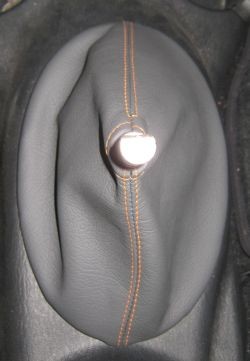
11. Inspect your completed shift boot.

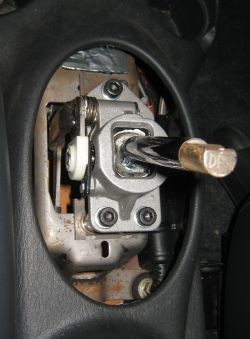
12. Inspect the shifter, and prepare for the install.
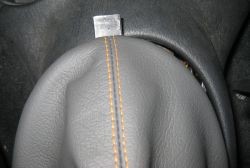
13. Slide new leather boot over the shift knob, and remember to keep the large tab facing the front of the car. Slide the tab under the center console and snap down the rear section.
14. Replace shift knob by forcefully hitting on the top of it. It will snap back into place.
ENJOY YOUR NEW LEATHER BOOTS!
Useful tip
You have installed a product made out of genuine leather. As you know, to maintain a leather product in good condition, you should take care of it. We suggest occasionally (every 4-6 week for example) applying some leather conditioner/UV protector to keep your leather from drying up in the sun and cracking.
Redline Automotive Accessories Corp. will not be held liable for any labor, incidental or consequential damages of any kind. Proceed at your own risk.
