You must be logged in to rate content!
17 minute read

348 fuel pump rebuild
Compliments of ernie @ ferrarichat.com
12-11-2008
Well boys, it's that time again. Brotherhood mechanic class, Stooge style.
Todays leason: How to tear apart a 348 fuel pump.
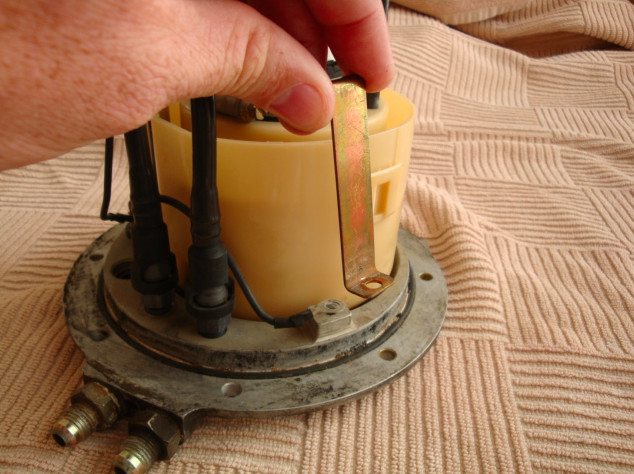
Step 1
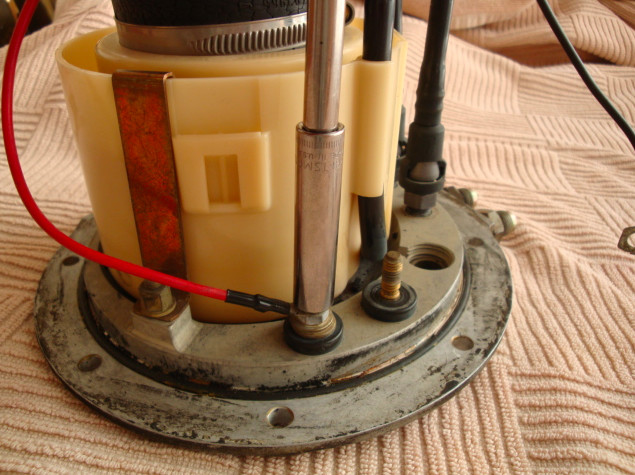
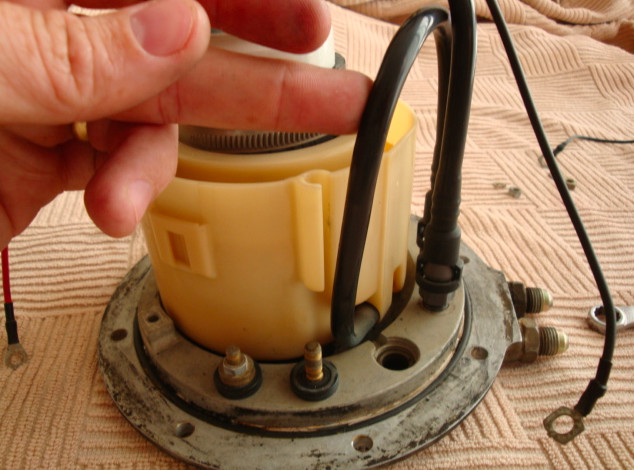
First we need to remove the nuts for the brackets on both sides of the pump. And then remove the brackets holding down the pump cup.
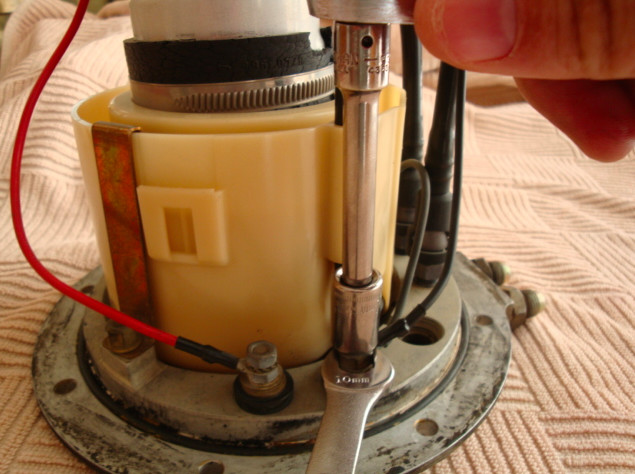
Step 2
Then we remove the ground wire from the pump to the housing.
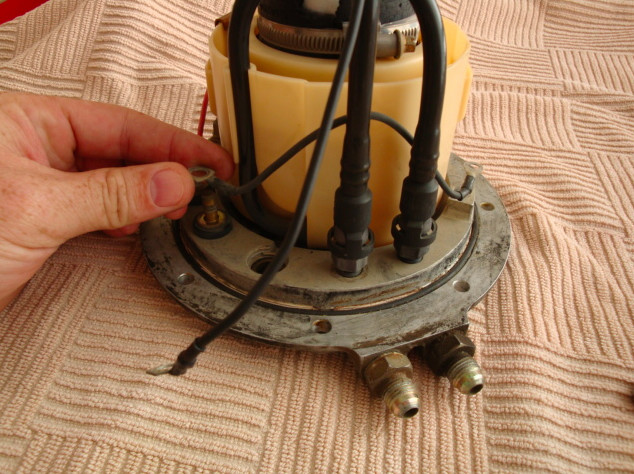
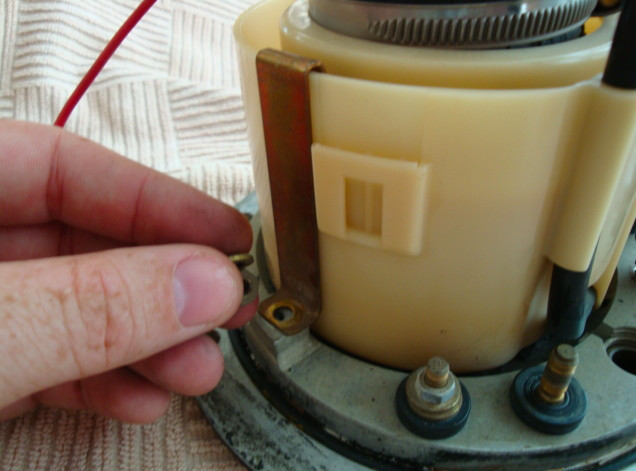
Step 3
After we have the fuel pump ground remove, we need to remove the ground wire that runs from one side of the housing to the other.

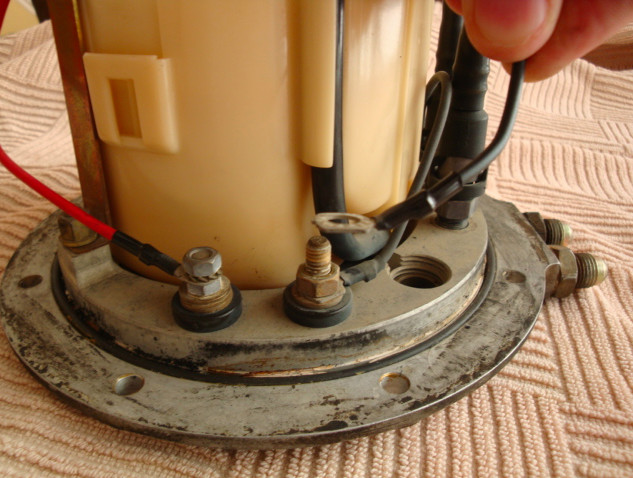
Step 4
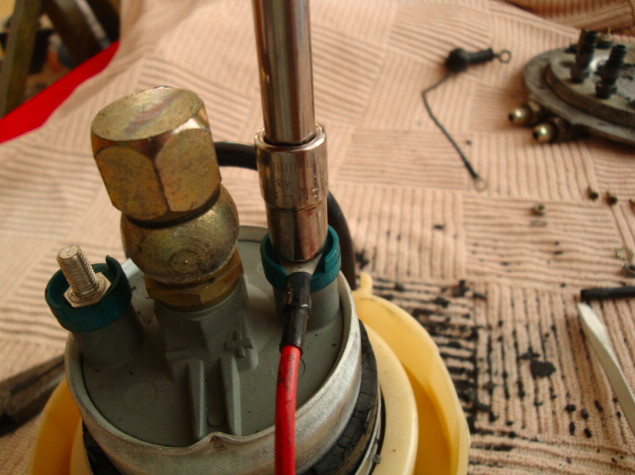
Next wire in line is the positive wire for the fuel pump.
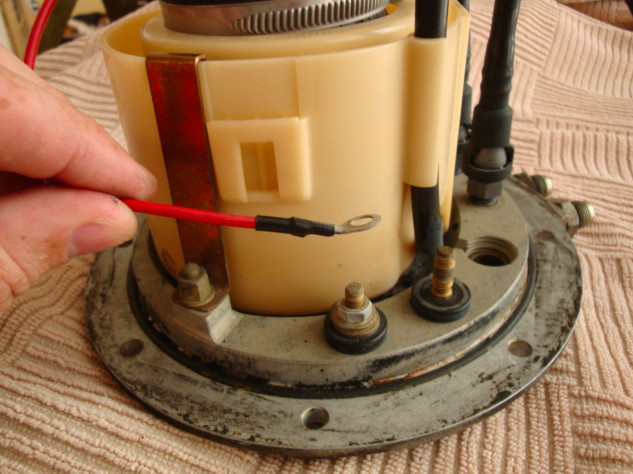
Step 5
Next wire in line is the positive wire for the fuel pump.
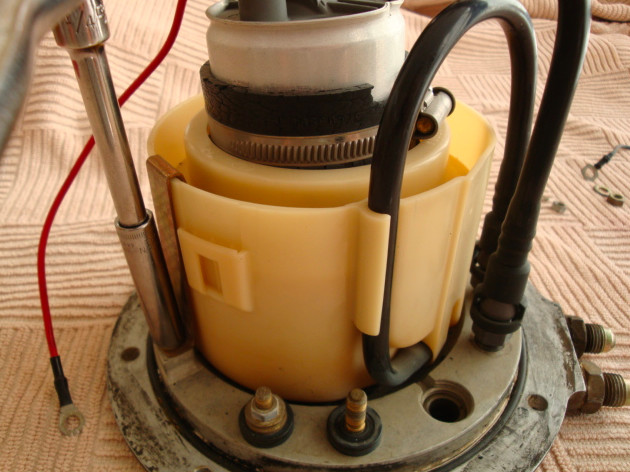

Step 6
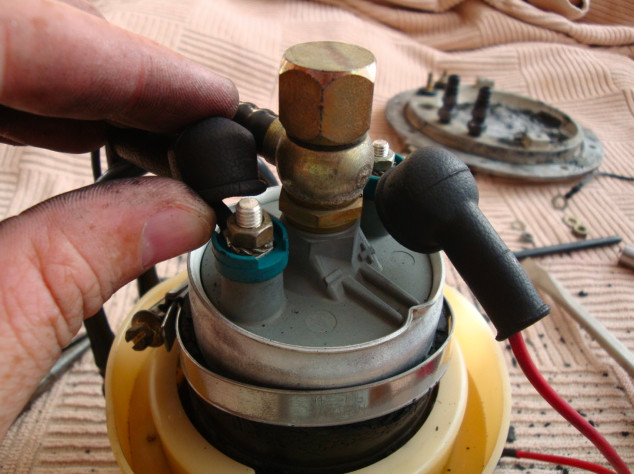
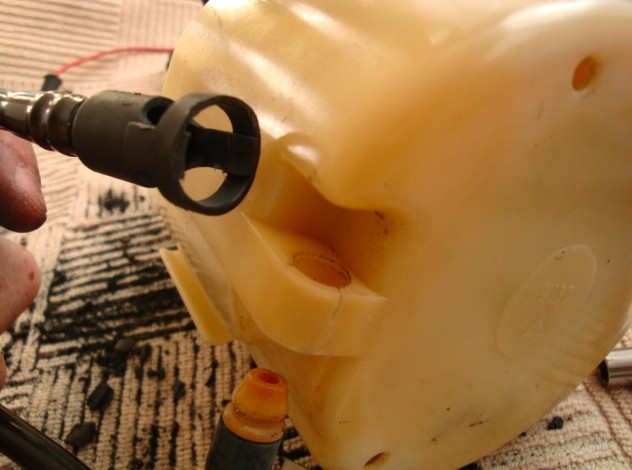
Using your finger pop the return line out of the plastic clip on the cup.
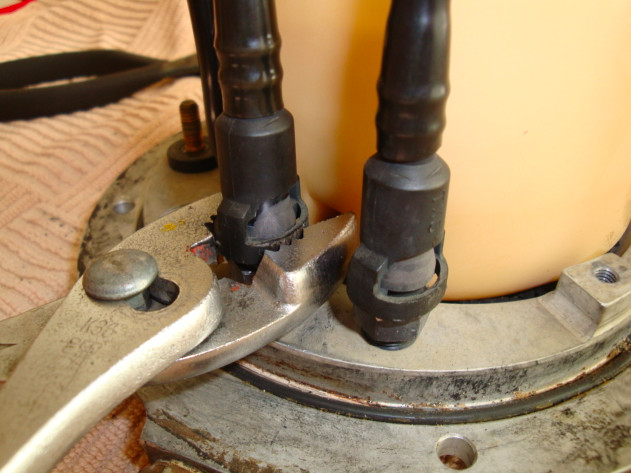
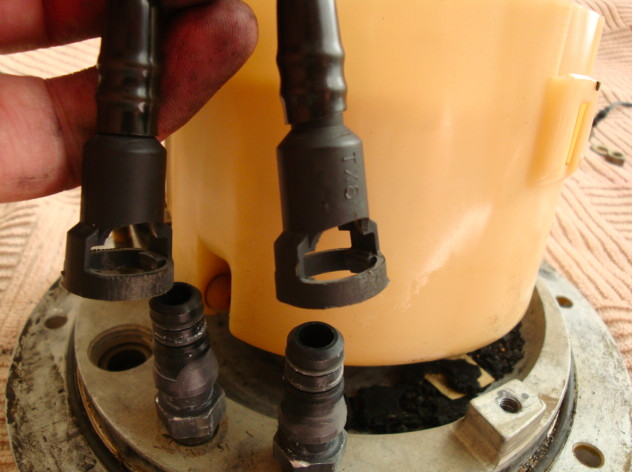
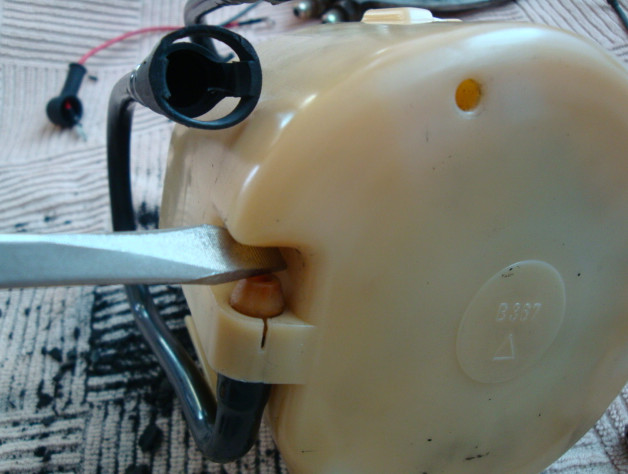
Step 7
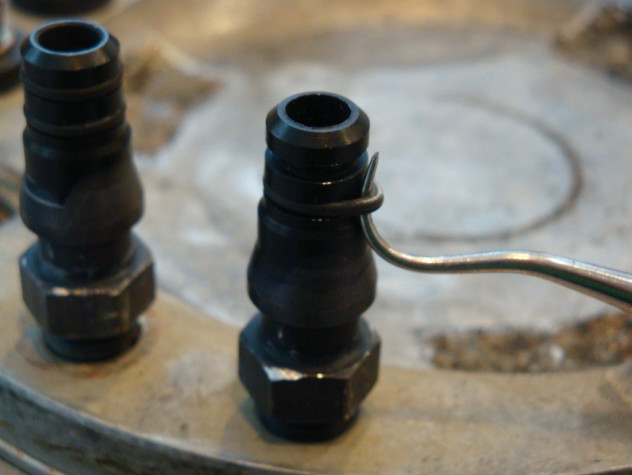
Now you will need to squeeze the fasteners on the sides with a pair of pliers, to get the plastic to spread so that the clip can get over the groove on the back of the nipple, and then get them off. The metal nipples have 2 rubber o-rings on them so a good idea is to wiggle the end to get the rubber to break loose. Keep in mind some of these things have been attached for 19+ years. It is a bit of a pain to get the fasters off but they will come off. I used a standard screw driver to help keep pressure under the fastener while pulling up on it. Be careful not to scratch the nipples because they need to make a good seal when you put it back together.
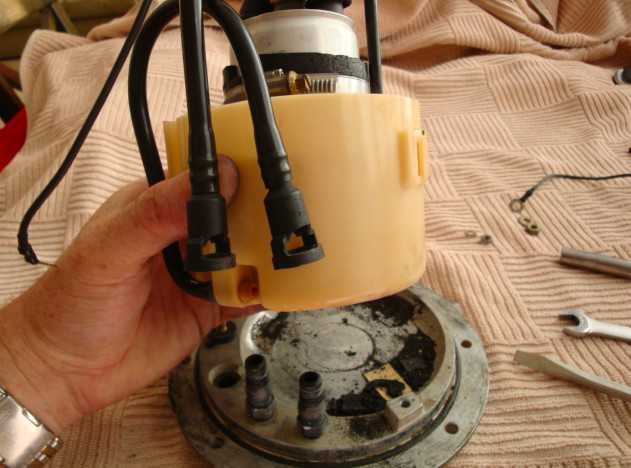
Step 8
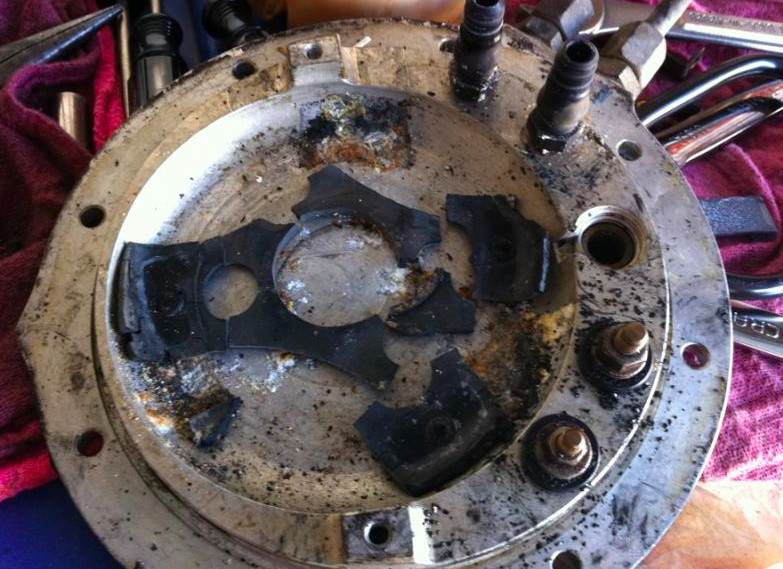
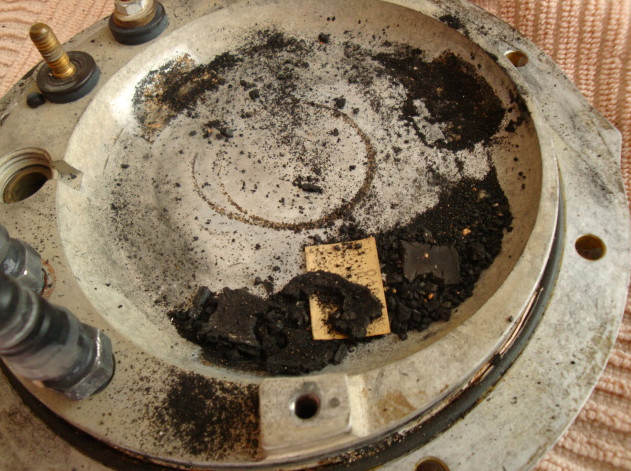
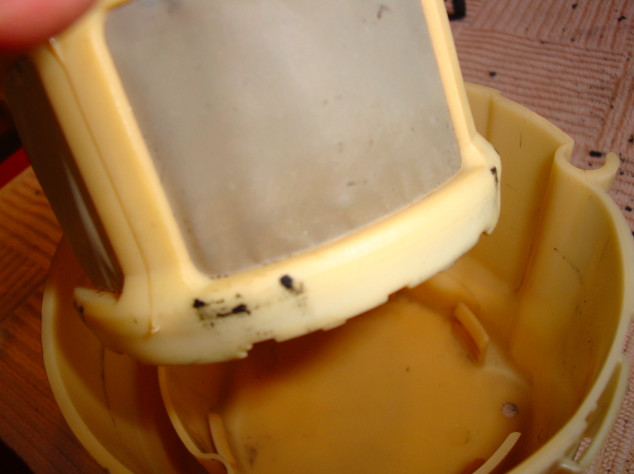
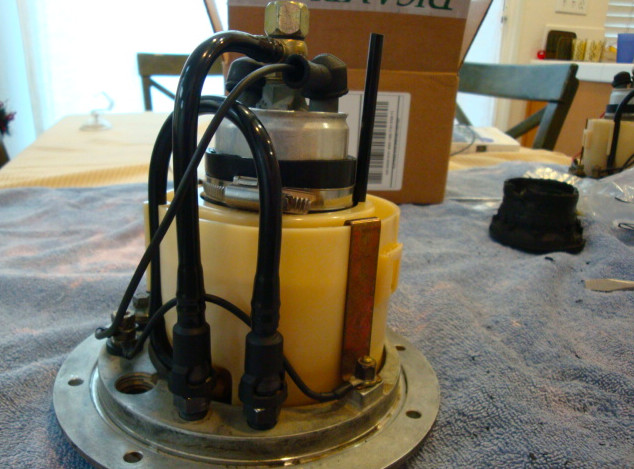
Now that the wires and tubes are disconnected the pump can be removed from the bottom housing.
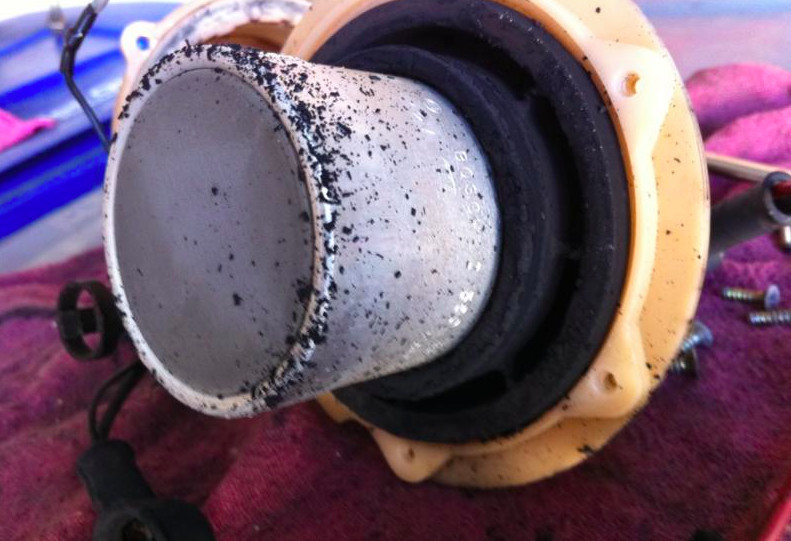
What is all that crap on the bottom???
Step 9
Now remove the positive and negative wire from the pump itself.
Step 10
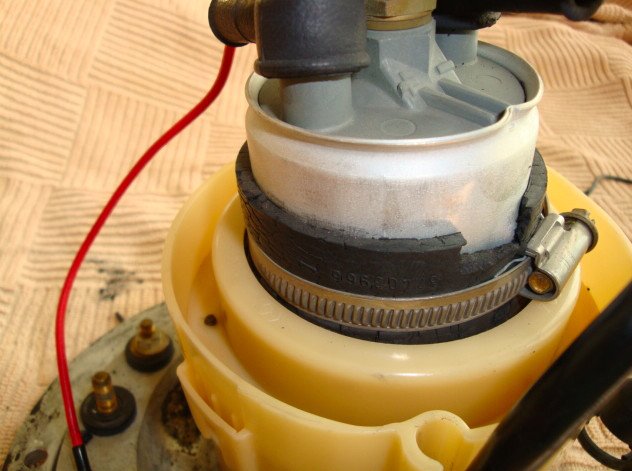
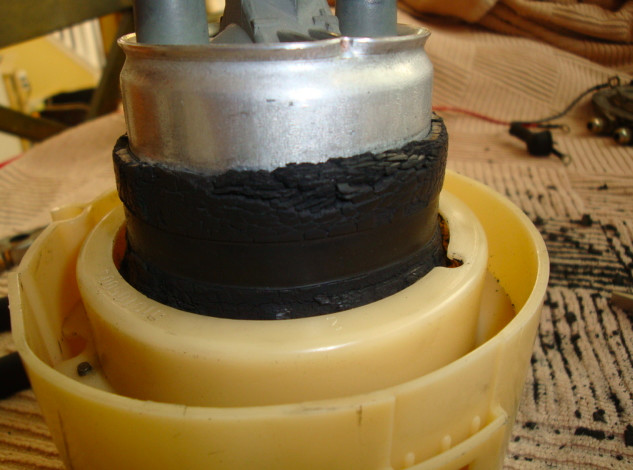
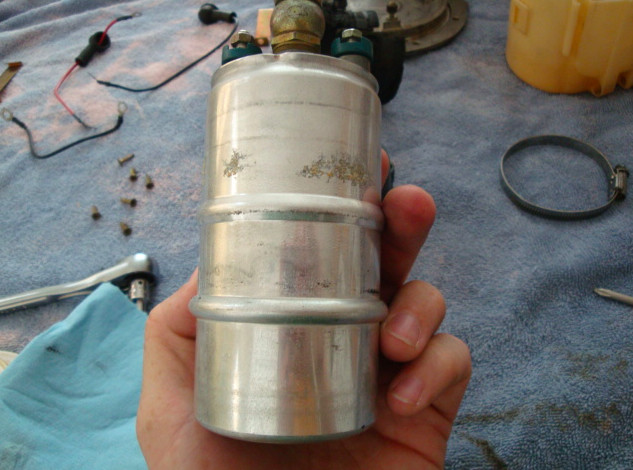
The clamp holding a rubber sleeve to the fuel pump needs to be removed.
You can see that the rubber is pretty dried up in these pictures. By the way the number stamped on the rubber sleeve is 82403966.
Step 11
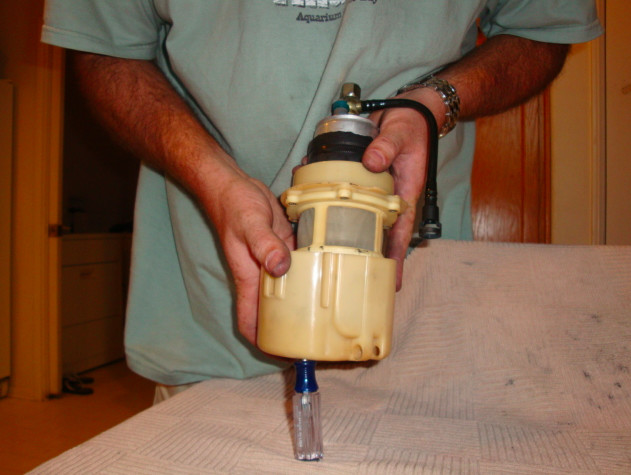
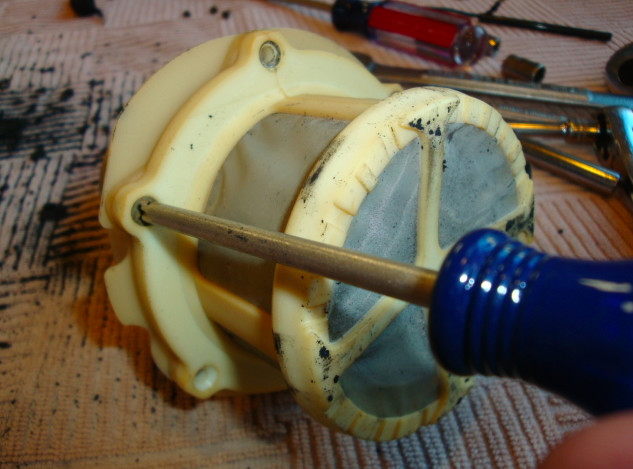
The return line attached to the bottom of the cup needs to be popped out. I used a standard/flat screw driver to pop it out of the hole.
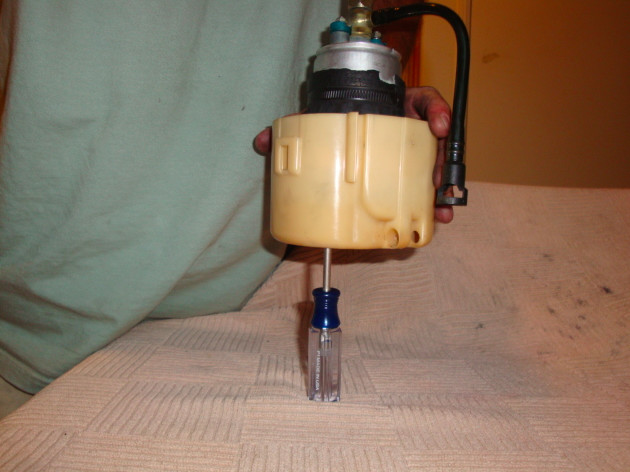
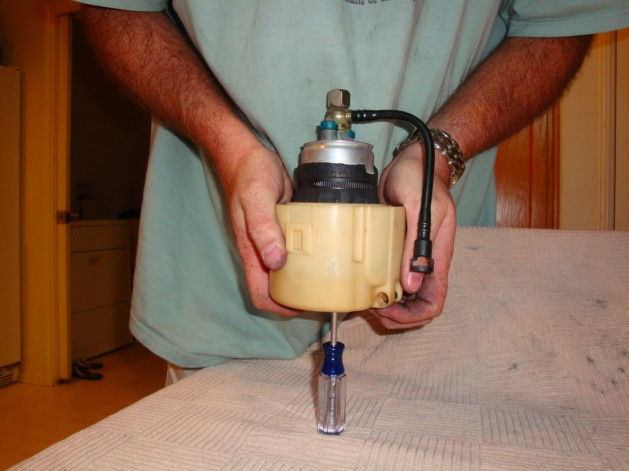
Step 12
There are 3 holes on the bottom of the cup. The holes line up with screws that are on the bottom of the pump screens inside the cup.
So to get the pump out you need to put a philips screw driver trough the hole and fit it into the slot in the screw inside.
Then balance the cup using both hands.
Now while holding the sides of the cup,
push the cup down, so that the screw driver pops the pump out of the cup.
Again make sure that you have the screw drive inserted in the slot on the philips screw inside the cup. You don't want to have the screw driver slip and rip the screen.

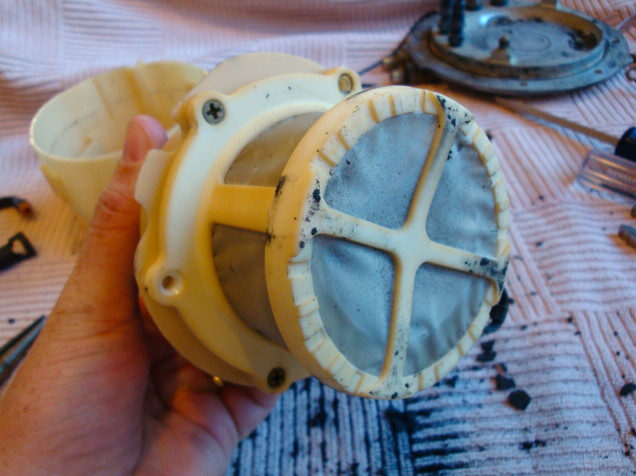
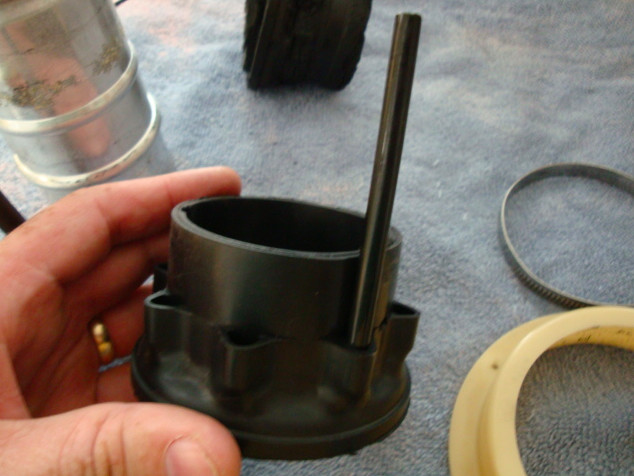
Step 13
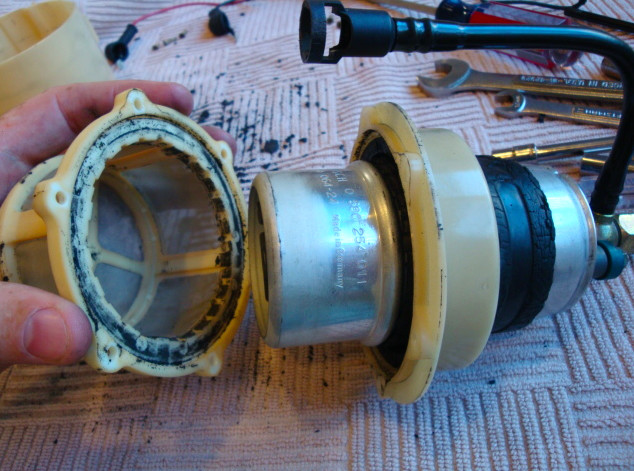
Now you can remove the pump from the cup.
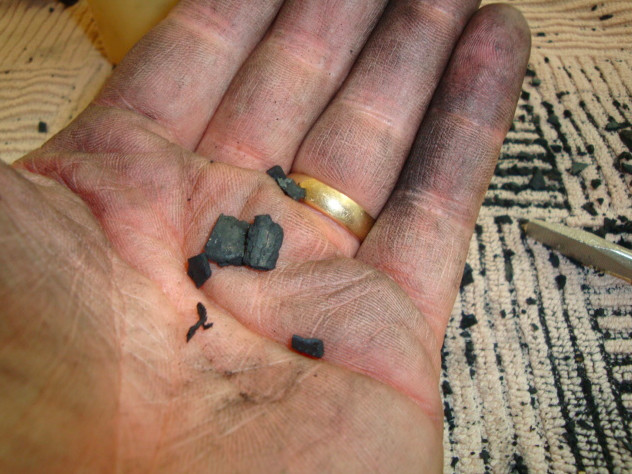
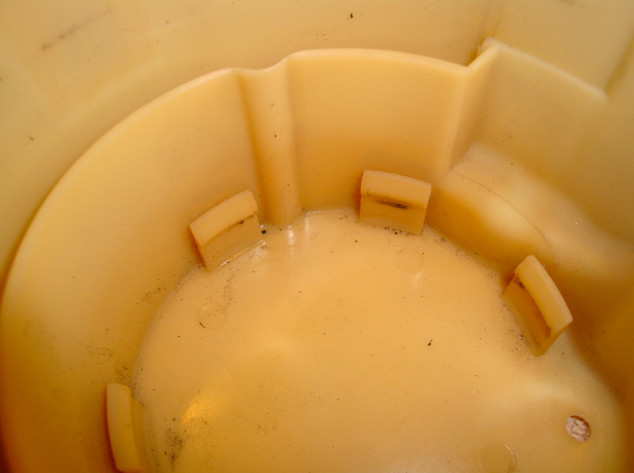
Would you look at all that crap. It's all deteriorated rubber from the sleeve on the pump. I could break bits off with my fingers it was dried up so bad.
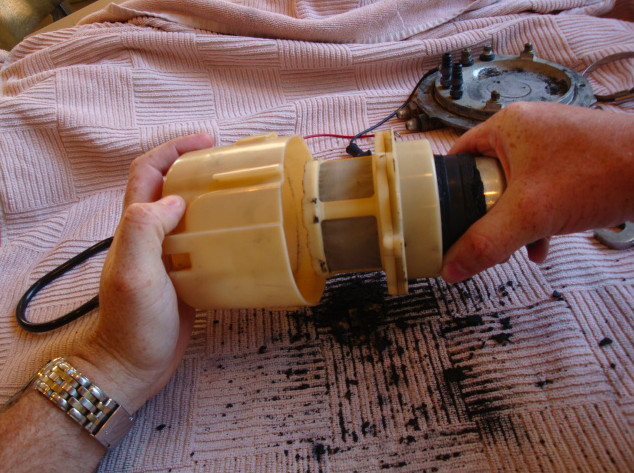

In these pictures you can see how the pump is held inside the cup. There are little clips along the bottom of the cup. The ridge on the bottom of the pump screen gets clipped down to the bottom. That is why you need the screw driver placed inside the 3 holes on the bottom to help pop the pump out.
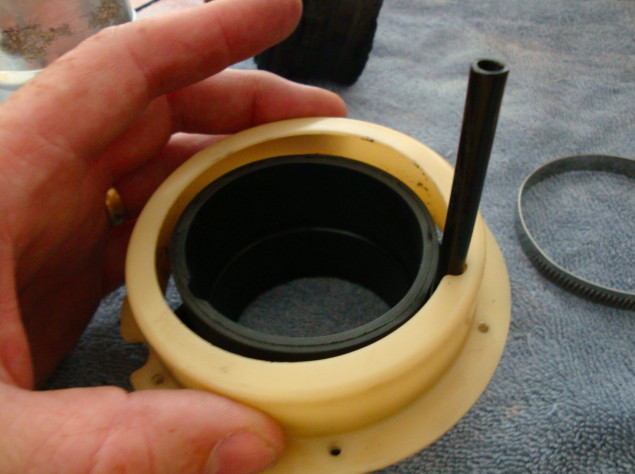
Step 14
Next you will be removing the pump screen housing.
You can now see the philips screws on the bottom of the screen housing that you had the screw driver inserted in when you popped the pump out of the cup.
Remove the 6 screws.
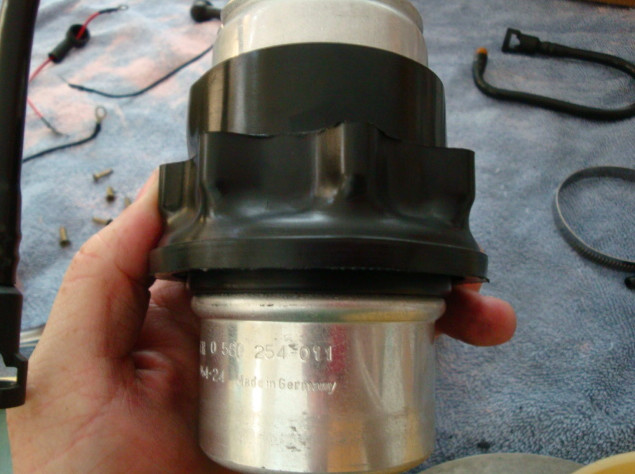
Then take the bottom of the screen off the top housing ring.
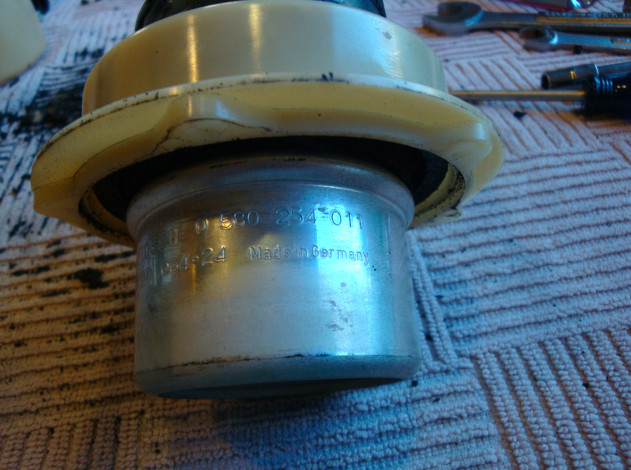
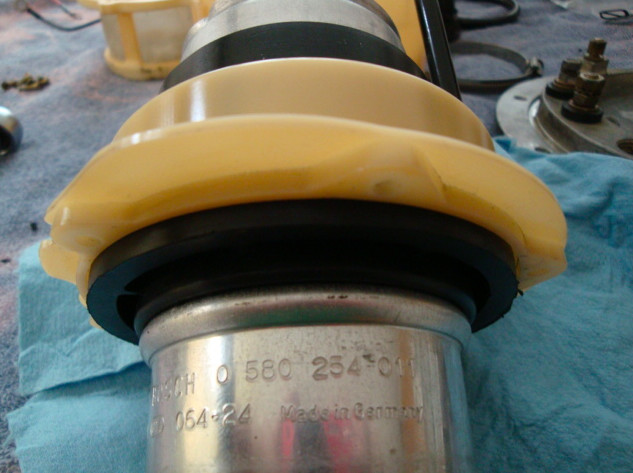
Here is the bottom of the pump, and the Bosch fuel pump number 0 580 254 011.
Step 15
The last step I could have included in step 14, but oh well. It's nothing more than removing the top ring of the screen housing from the pump. I didn't remove the feed tube from the top of the pump because I couldn't get an open end wrench on the nut, so I just left it alone. So when I removed the top ring I just slid it off the pump and over the tube.
Here is the dried up rubber sleeve. This thing is THRASHED! It's a good thing that Ferrari had the common sense, FOR ONCE , to put a screen on the bottom of the pump. If any of those rubber bits I dumped out earlier had gotten sucked up into the pump it would have been ruined. What is funny is that the rubber sleeve (Ferrari parts books calls it a gasket) helps to seal up the top of the screen housing, so go figure.
So on your next engine out service you may want to have your fuel pumps checked to make sure the rubbers sleeves aren't showing signs of deterioration.
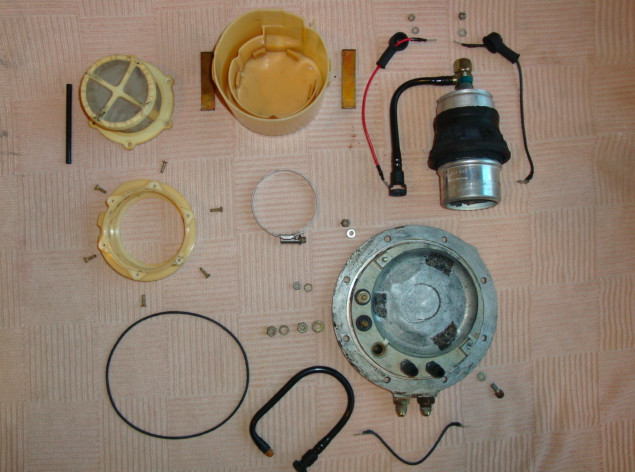
Here is an exploded view of the fuel pump.
1-21-2009
Well guys, I finally got around to finishing the pumps today. Knowing how you boys love "show-and-tell" I figure I'd post some more pics.
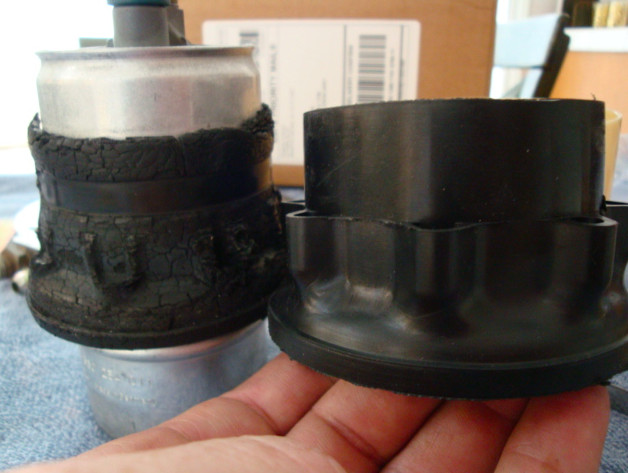
Check this one out. It's a side by side of the old pump gasket vs the new gasket. As you can see the old one was way jacked up.
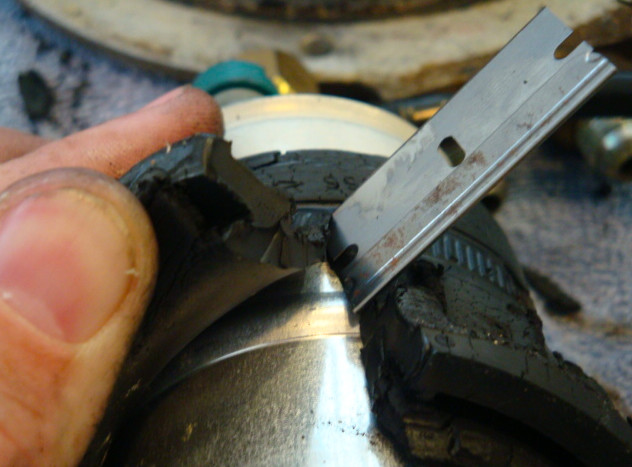
So to make things easier I took a razor and cut off the old gasket. That thing was so crumbly I wasn't about to attempt to slide it off.
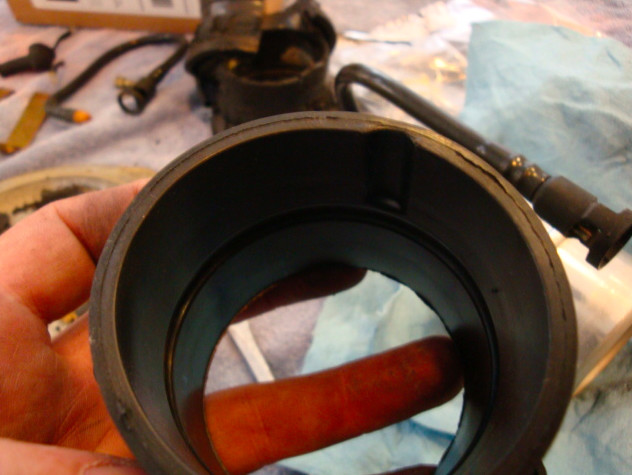
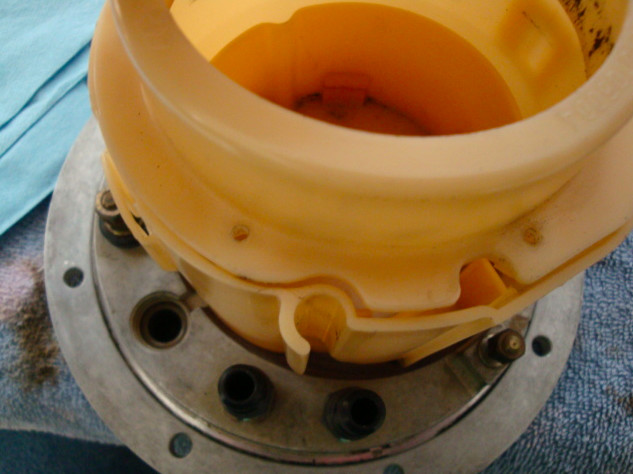
Now that the old gasket is off you can see the retaining ring, and the little alignment bump on top.
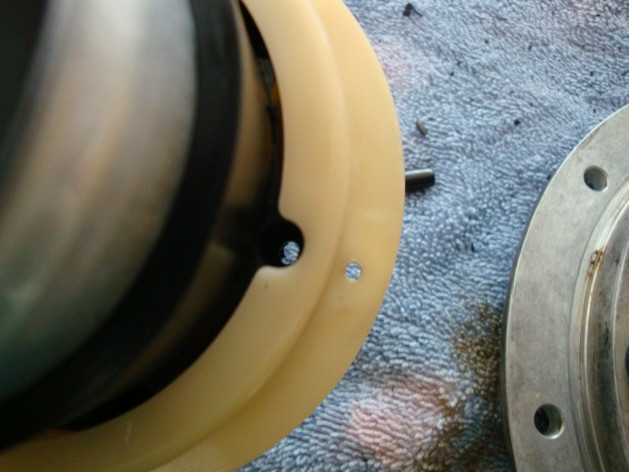
Then next picture shows the inside of the gasket with a notch for aligning up to the bump, and a groove where the retaining ring with go. These help keep the gasket in place and properly align the gasket for the breather tube hole.
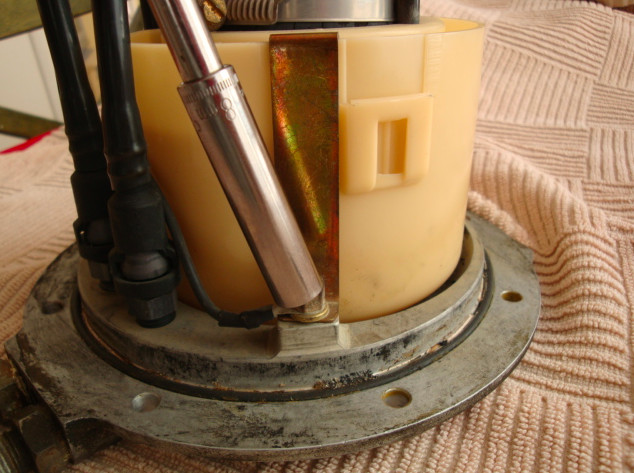
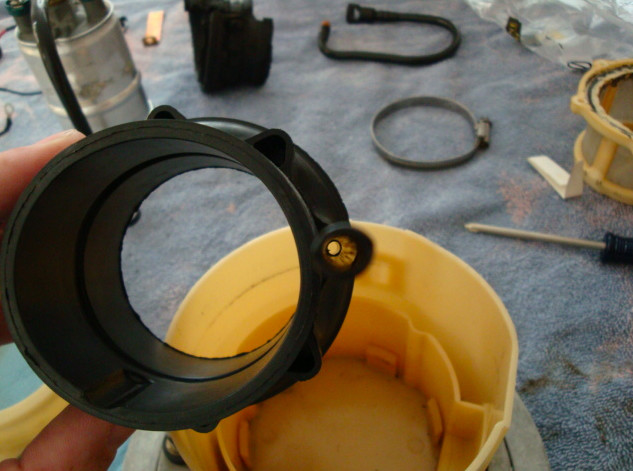
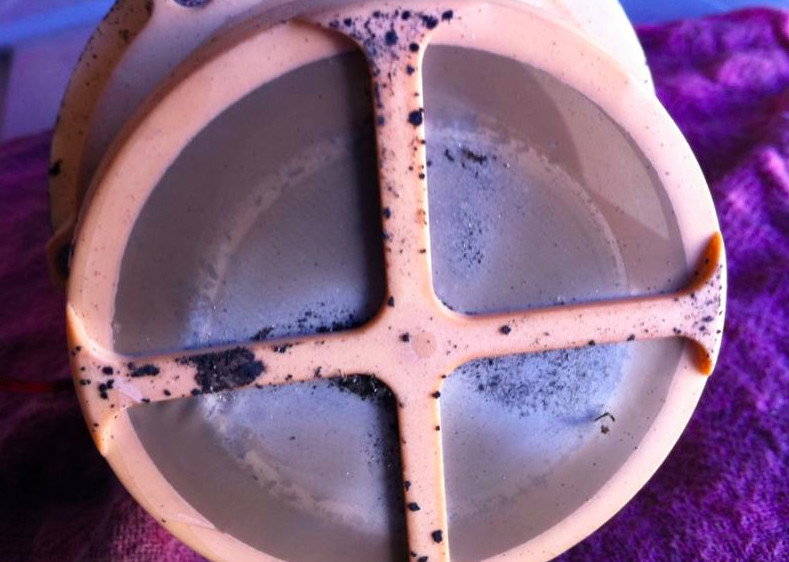
In the gasket there is a hole for a breather tube. There is also a notch in the top ring, of the pump filter screen, for the tube to stick out through. The reason there is a bump on the pump is so that gasket is positioned just right. See the top ring neededs to fit into the cup, based on the shape of the hole on the top of the cup (as seen in the bottom picture).
Now we need to put the gasket on the pump. What I did was, get a dab of motor oil on the tip of my finger, and then run my finger around the retaining ring. This why I could slide the rubber gasket over it much easier. Yes, yes, I know oil isn't good for rubber, which is why I only used a tab on my finger. Plus these things will be completely submerge in gasoline shortly, so I figure that the gasoline will dissolve the tiny bit of oil. Anyway, after I slid the gasket on, I twisted it just a little so that the top notch in the gasket fit over the little bump on the top of the pump. You only need to slide the gasket over the top retaining ring. The bottom one is to keep the gasket from going down too far.

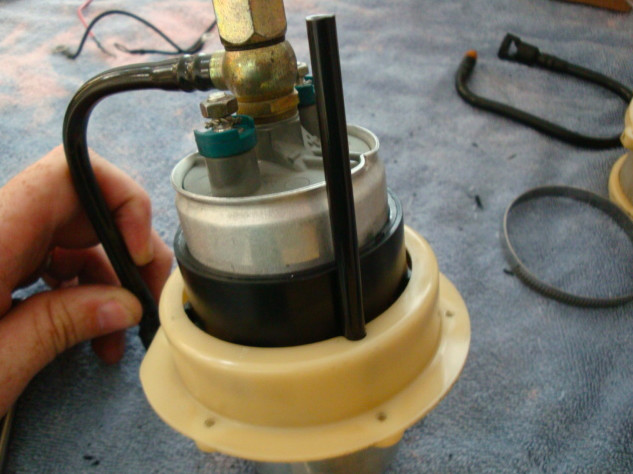
Now it was time to put the top ring of the screen over the gasket. When you do you can use your fingers to push in the dampening bumps so that the ring can slide all the way down. Once you are done with that make sure to line up the notch in the top ring with the hole in the gasket for the breather tube. Then put the breather tube into the hole in the gasket.

The last thing I did before I put the pump back together was to replace the o-rings on the nipples. I used a dental pick to pry up the o-ring. Be careful not to scratch the nipples when removing the o-rings, as the nipples are made of aluminum. It's best to start by removing the o-ring on the bottom. This way you can just roll it over the top o-ring. Then when you put the new o-rings on, put the top ring on first and then the bottom ring.
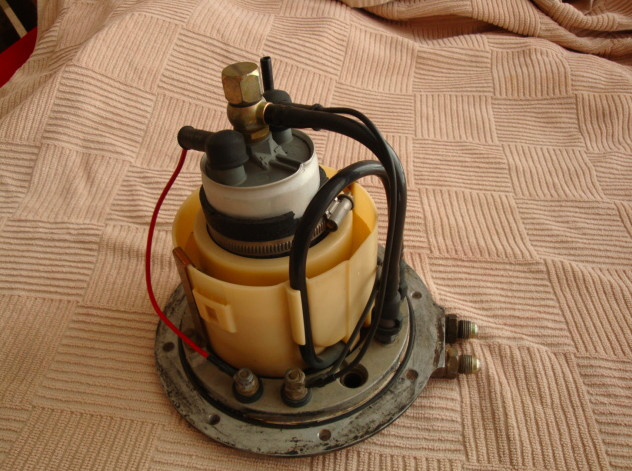
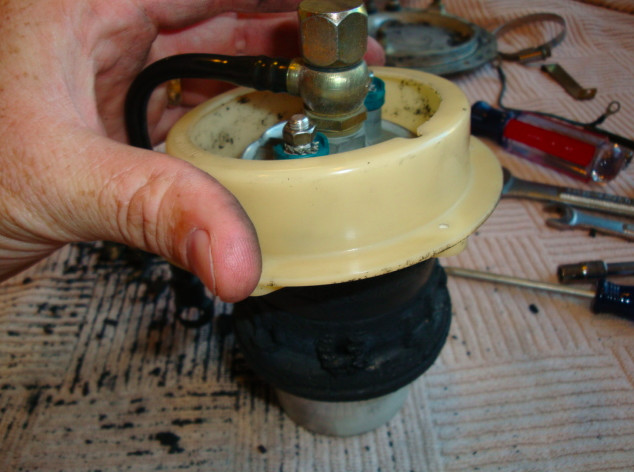
Here's the fuel pump put all back together with the new goodies ready to go.
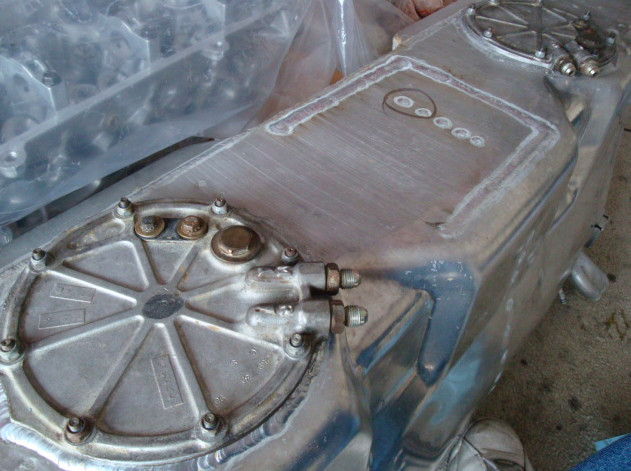
Since my fellow Stooges love busting my balls, and since I had the gumption, I went ahead and put the pumps back in the tank. That marker circle around the spot welds is where the old spot weld pulled out, and what caused the tank to leak. The other weld is where the shop cut open the tank and removed the broken off baffle.
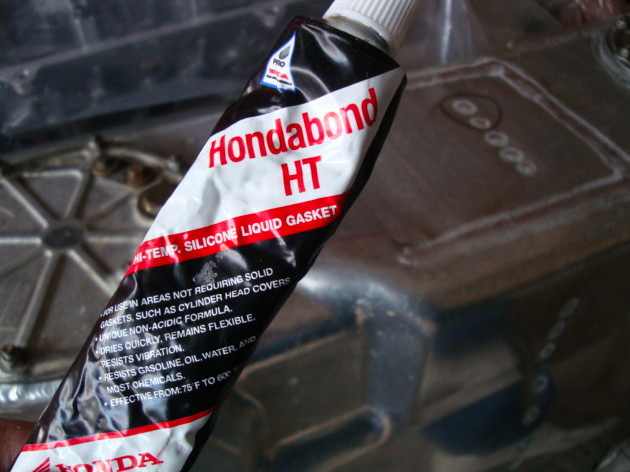
Also, there is a large o-ring that runs around the bottom of the pump. I used some Hondabond HT that I rubbed around the ring to help seal it up and to hold it in the groove. If you don't the o-ring will just drop out of the groove, and you don't want that. If the o-ring doesn't seal properly that can lead to a gas leak, and we don't want our Ferrari getting BBQ'd now do we.
Well kids, that's it. That's how you replace the racked up old gasket on a 348 fuel pump, Stooge style.
10-2-2012
Another update fellas.
I bought a spare fuel tank a couple of months ago. Today I pulled the fuel pumps out of the spare tank to inspect the condition of the pumps and the vibration sleeves. It's a good thing I did.
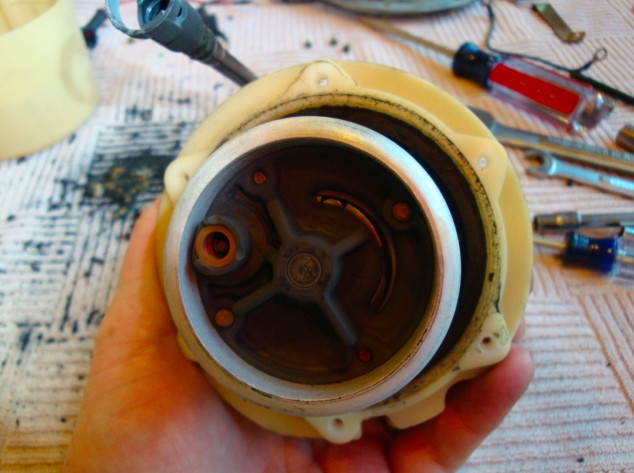
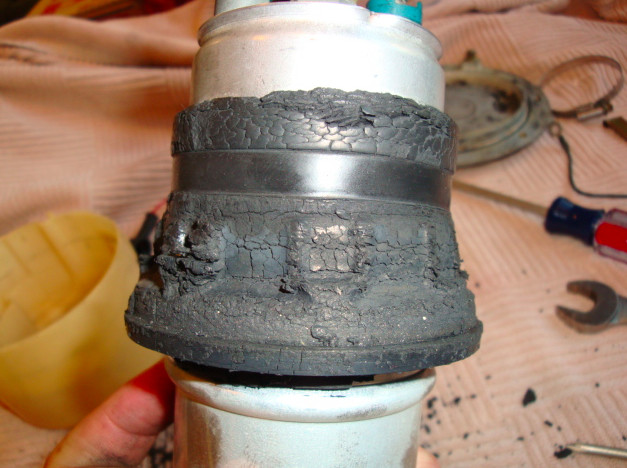
Can anyone see a problem?
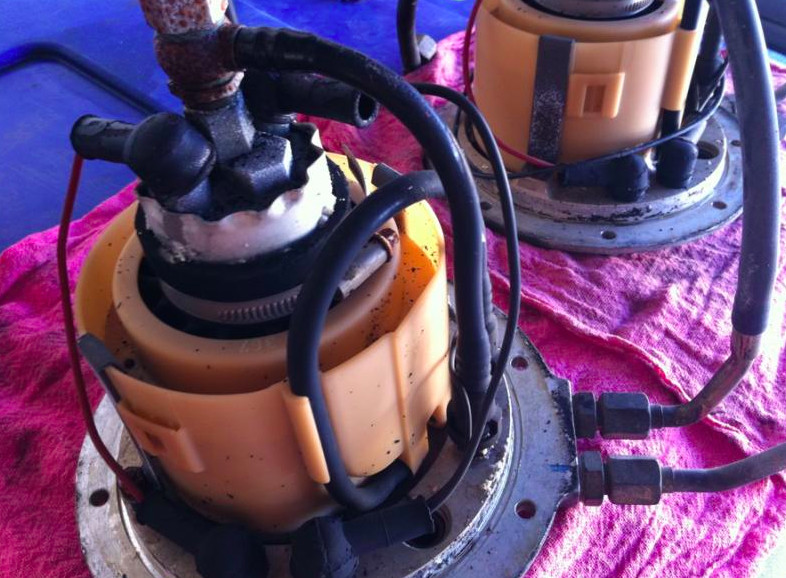
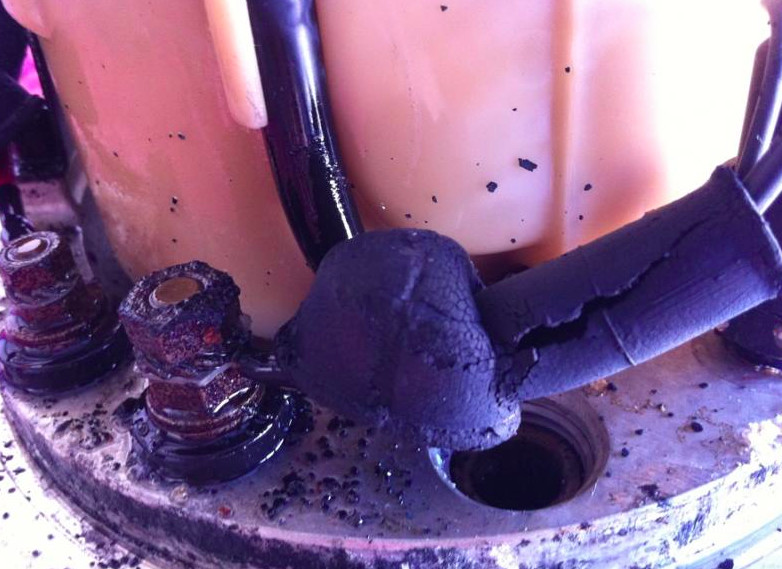
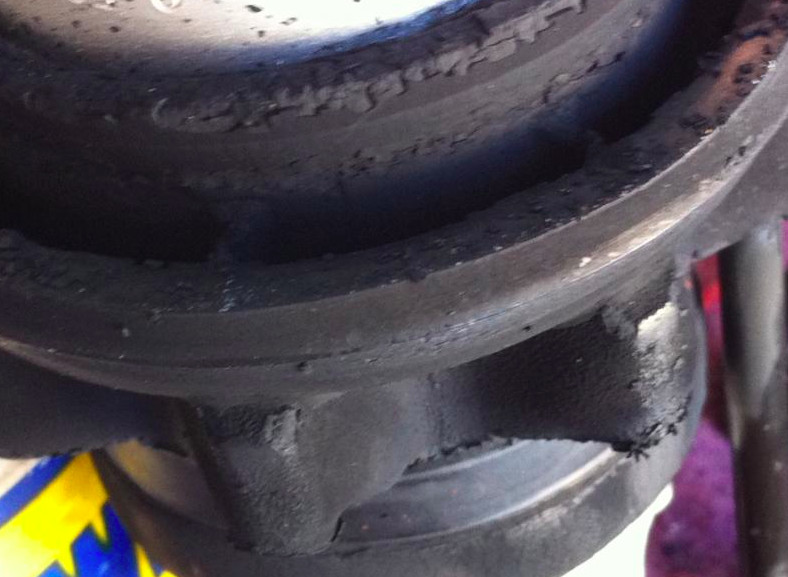
I pulled the pump out of the cup, and looky what I see. Why it's deteriorated rubber, ALL OVER THE PLACE!
So listen to me guys.
Change
The
Vibration
Dampening
Sleeves
On
Your
348s
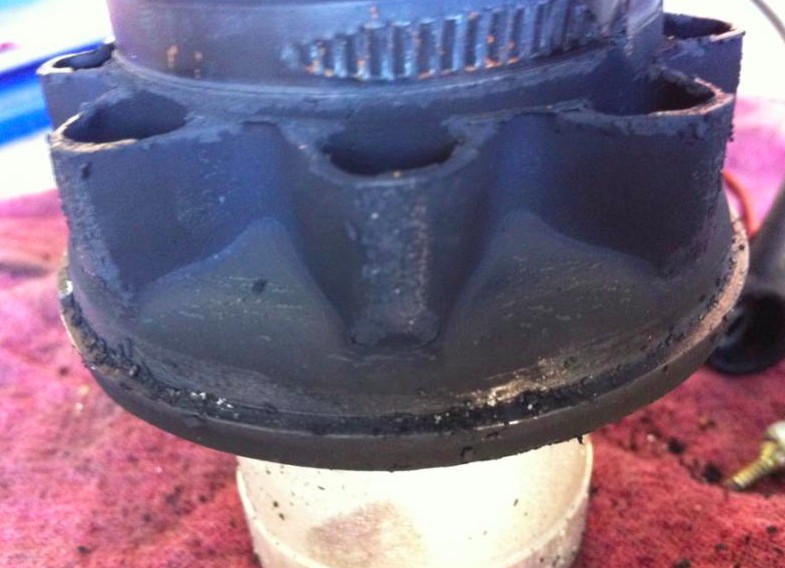


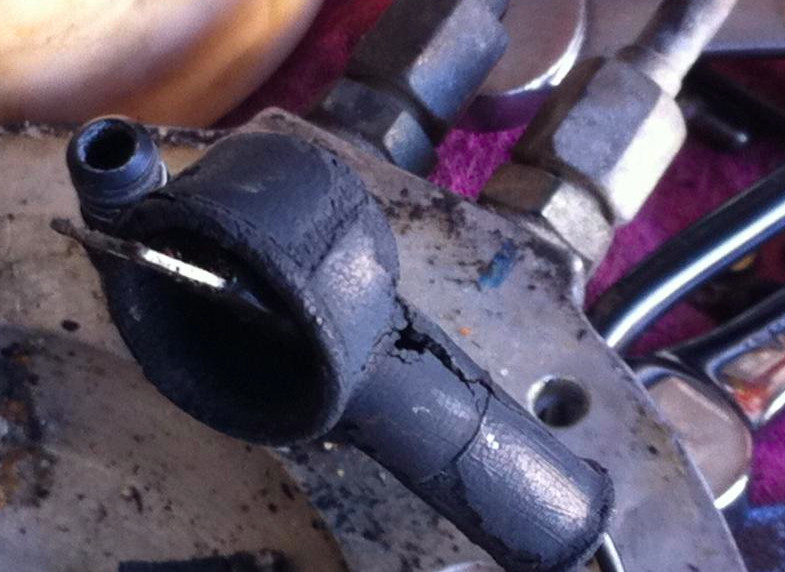
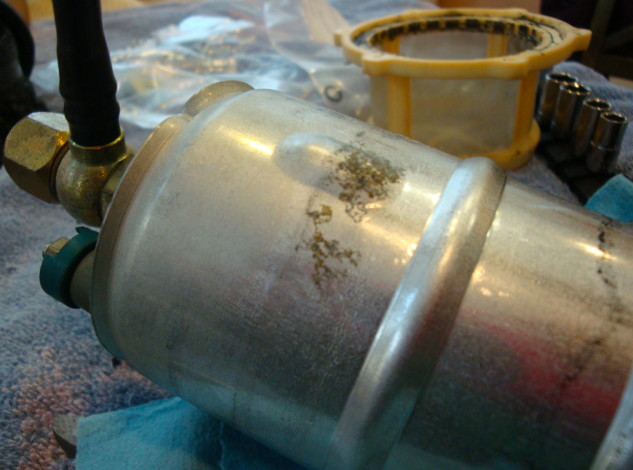
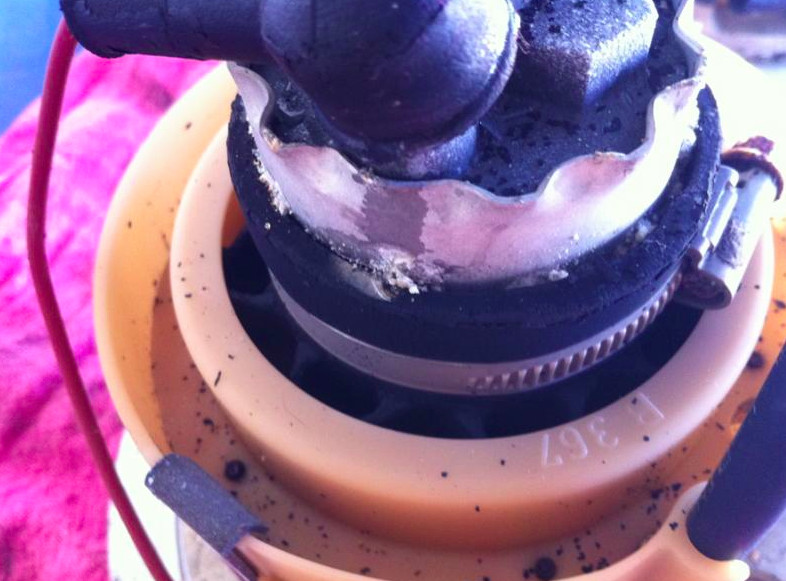
Here is another pic of the dry rotted sleeve.
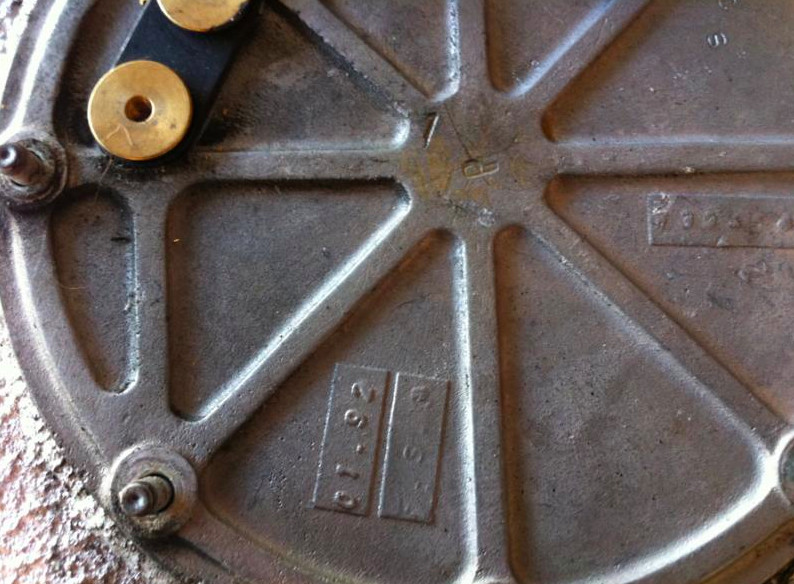
Have a look at the date stamped on the bottom fuel pump housing, it's a '92. That's 20 years boys, two decades. The rubber used to make these sleeve does not last.
And a couple more pics to reiterate my point.