You must be logged in to rate content!
7 minute read
STICKY BE GONE: Ash Tray, Mirror Cntrlr (lots of pics)
Compliments of brokenarrow @ ferrarichat.com
5-24-2009
CAVEAT: This is fun for me, but I only embark on these missions knowing I may screw things up and be forced to buy NEW parts to replace what I've screwed up. Sometimes it works out, sometimes it doesn't. I do this because the alternative, leaving it the way it is, is unacceptable, and I'm willing to pay for a new part if I blow it. These are my missions...
Well, obviously I've had some time on my hands lately. A quick note; the Ferrari Dealer put a new ashtray in when I bought the car almot two years ago, and it is sticky as hell. The Mirror controller is even worse. I've put them both off knowing they'll take more work to do than the switches did. Today was the day.
I began with the ashtray:
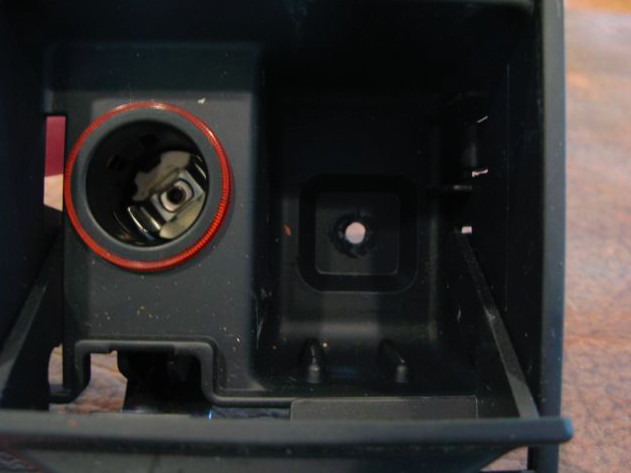
First I removed the ashtray insert and removed one phillips screw. That released the entire ashtray unit from the center console. I unplugged the little light and lighter plug so I could completely take it out of the car.
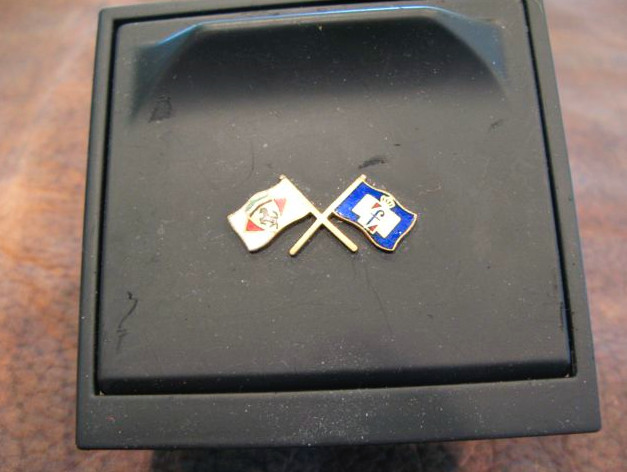
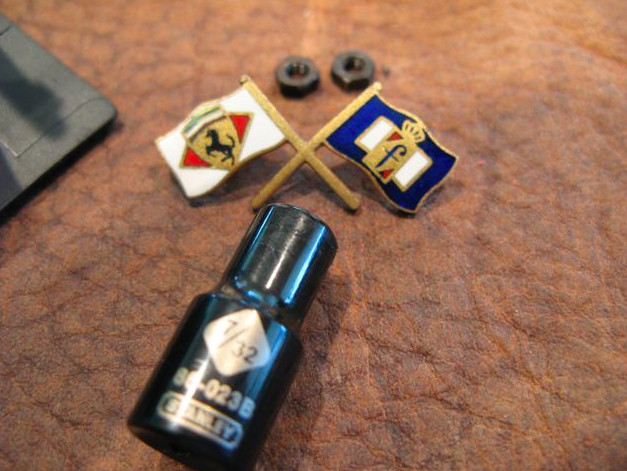
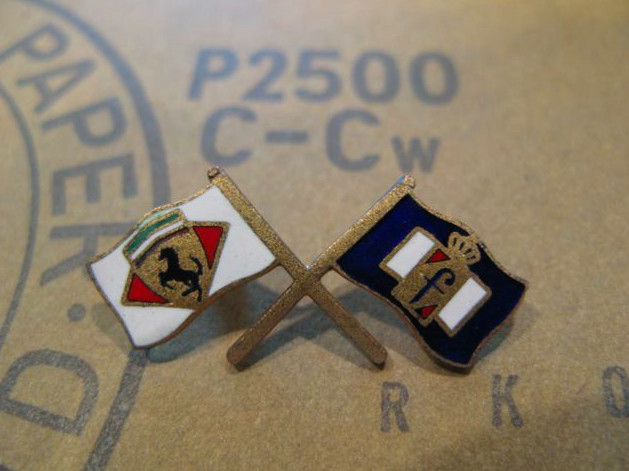
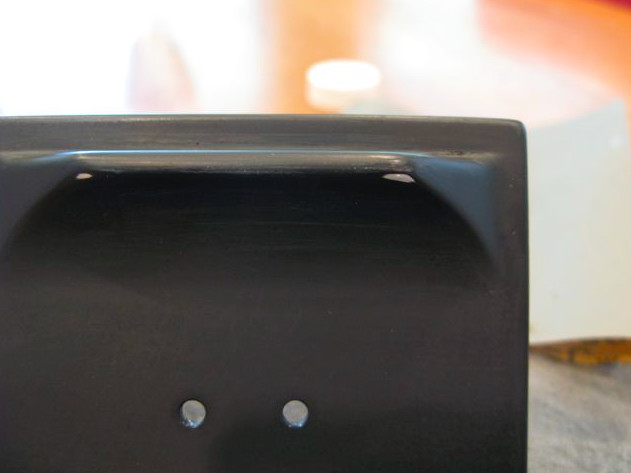
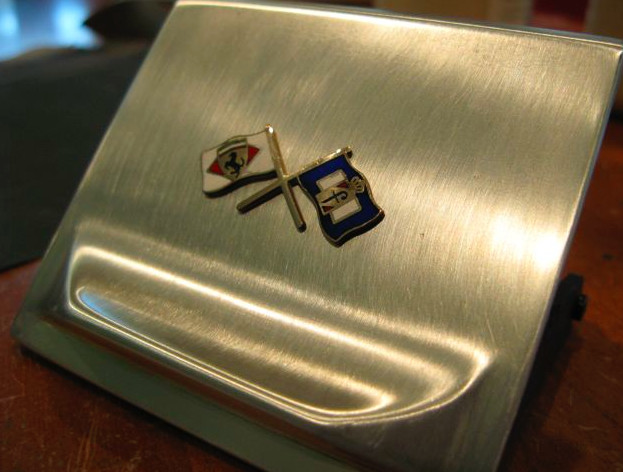
Upon careful inspection, the unit was a mess; both the top and the flags (dulllll). So I removed the door, a solid metal piece (push the two tabs CAREFULLY out and push the door up--pop), by the way, and the flags (held on by two tiny nuts). I then rubbed it down with alcohol, and let me tell you, the tar was very stubborn. I didn't like the way it looked stripped. Being metal, it had a different appearnce than the plastic I had done. So I decided to sand it with 2000 then compound it a little. Oooops, I went too far and took it down to the metal.
Okay, now either take it all the way down, or touch it up. I figured I can always paint it, so let's take it down and see what it looks like. Surprise,..it looks bad-ass. I ran the sanding lines in the same direction of the shifter gate (I have a standard--is there really anything else?).
I then took 2500 to the flags, then polish, then a cloth, and it looked great. I put it aside and went back out to the car to dig into the Mirror Controller.
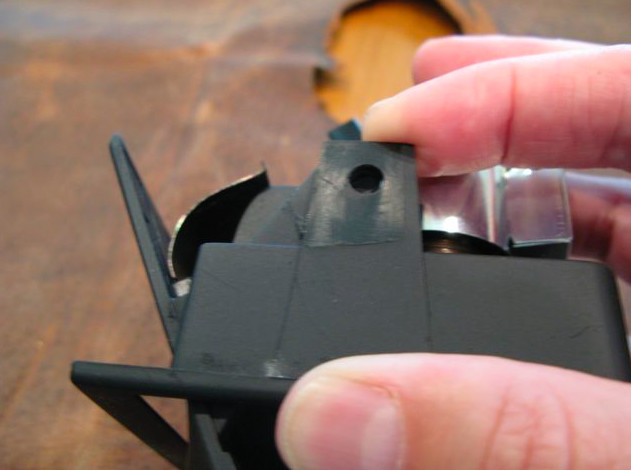
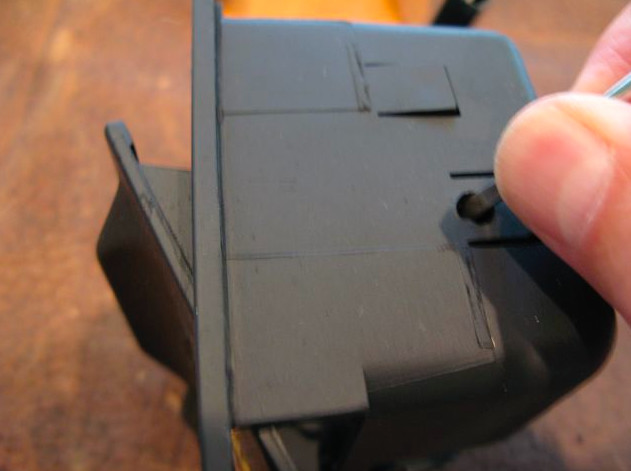
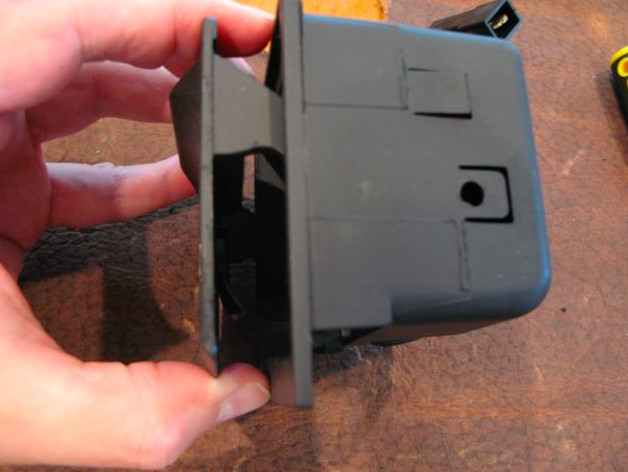
The mirror controller was much more difficult to access. I had to remove the center console from the car to really get at it. This requires removing a bolt from under that small leather strip at the rear of the console (it prys right up as it's held in with nothing but adhesive tape).
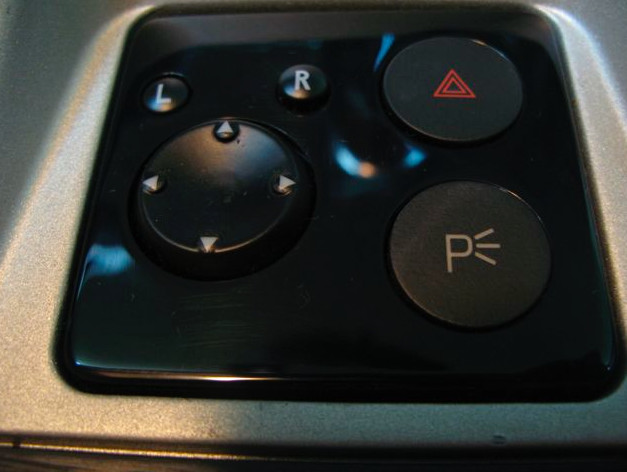
Then where the ashtray was, there a black hex screw that must be removed. Then the four screws holding the shifter plate down (it apparently attaches to the trany through a spacer). The shifter ball must be removed as well so the plate can clear the shifter. Now you can manuever the console off the shifter after removing all the harnasses; one big one from the back really. The others (to the buttons) you can remove once you have it out of the car.
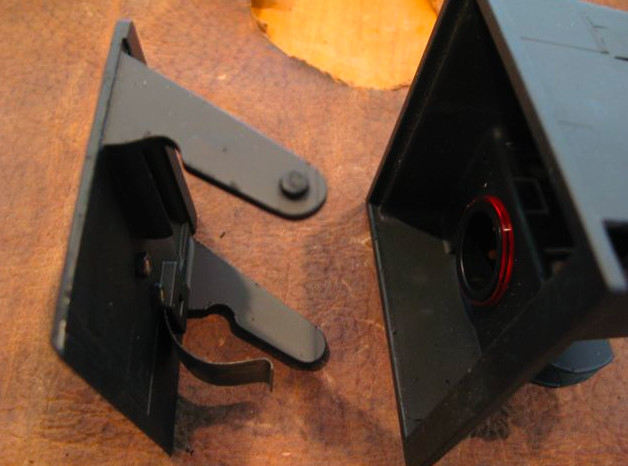
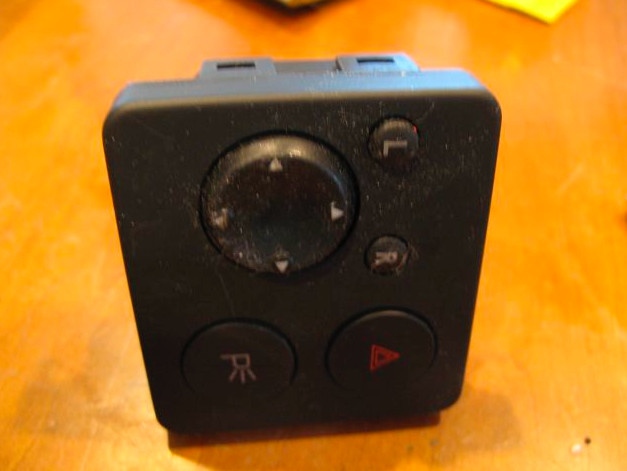
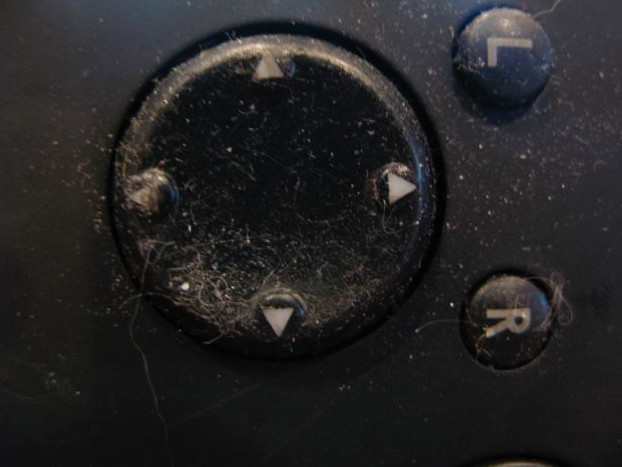
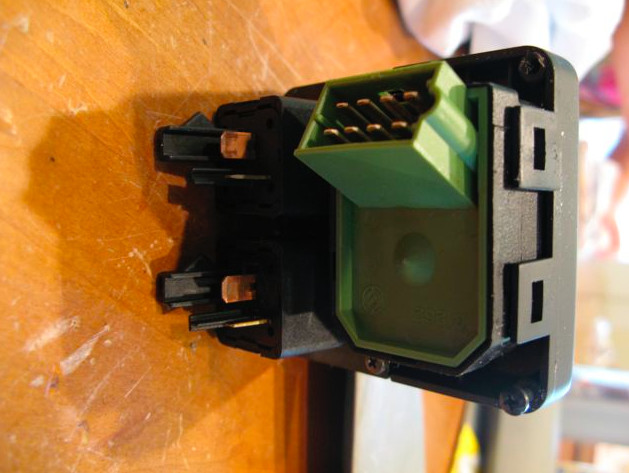
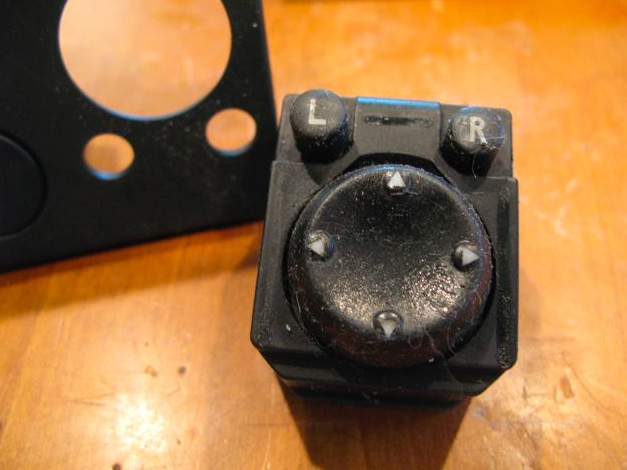
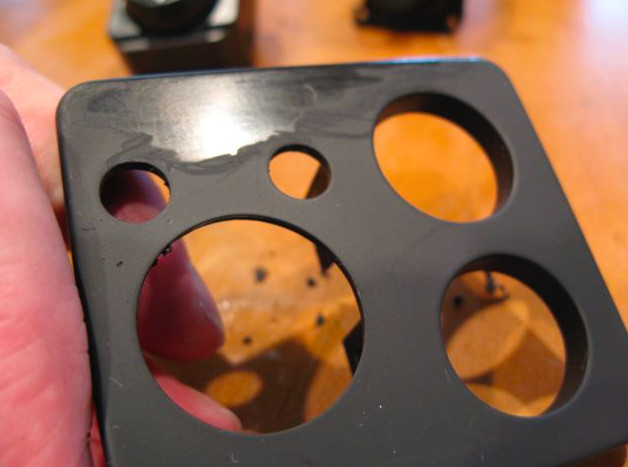
Now that the console is out, I unscrewed the four phillips screws and the Controller came out from the bottom of the console. Then there are some flanges that you G-E-N-T-L-Y spread to release each of the switches from the unit. Now you can get to work cleaning. Tha damn mirror controller was very hard to clean up well, but I got it done.
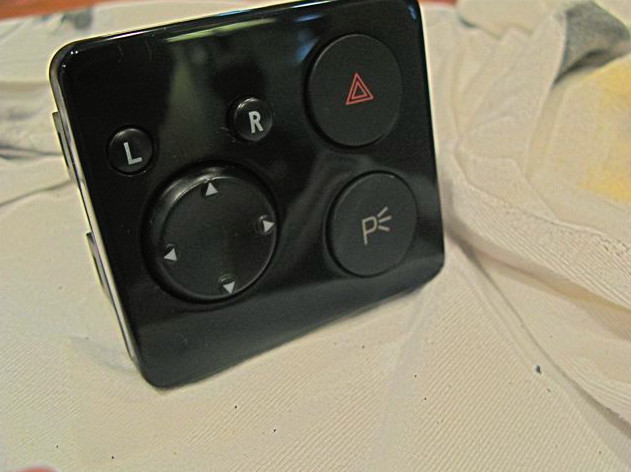
The Hazard and Parking buttons are really fine the way they are, and you can't do anything to them anyway. So let's move on...
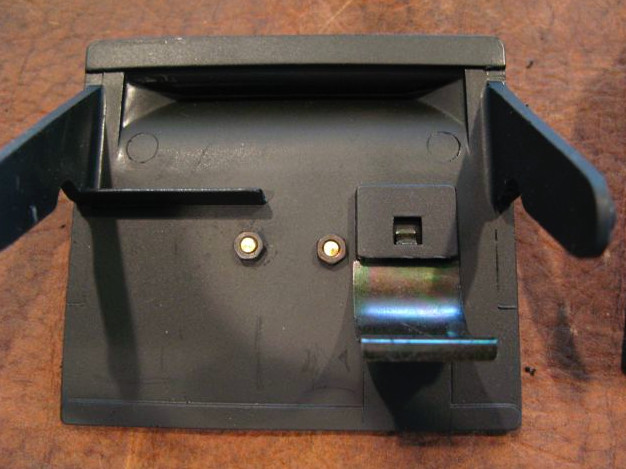
I was hoping the face plate (also the unit) that held the Hazard and Parking and Mirror Controller in was some form of metal (sand it to a satin finish). Well, it wasn't. Bummer. It is the most stubborn plastic I've ever seen. I did not want to release the rubber crap. When it was finally all cleaned off, it had some rather strange stains randomly on the face. It look like it had freckles. That pissed me off. So I decided to sand it with 2000 knowing I could buff it out. I sanded it and went up to 2500 then used rubbing compound to bring it to an I-Pod like finish. V E R Y H A P P Y!!
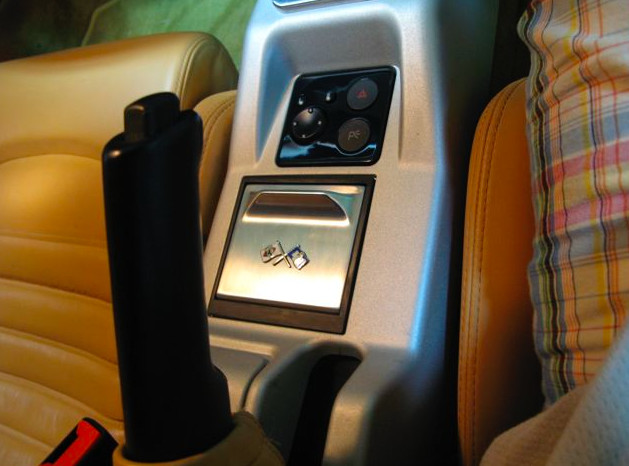
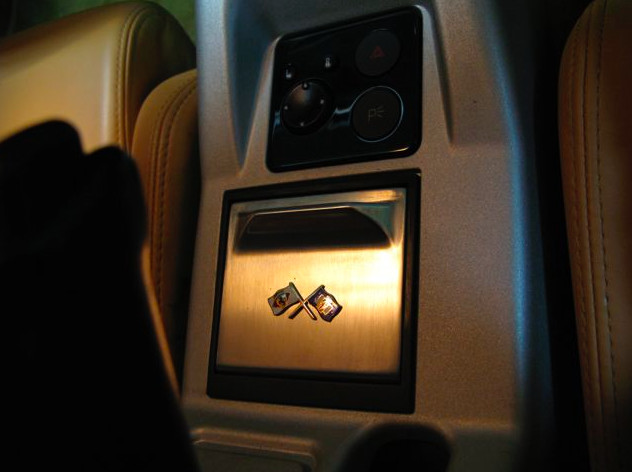
Check out the results...

Good details!
Posted by Diggymart on 5/5/20 @ 6:08:46 PM